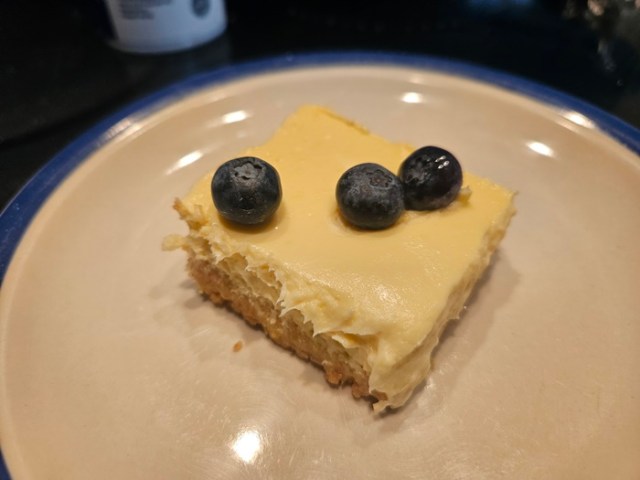
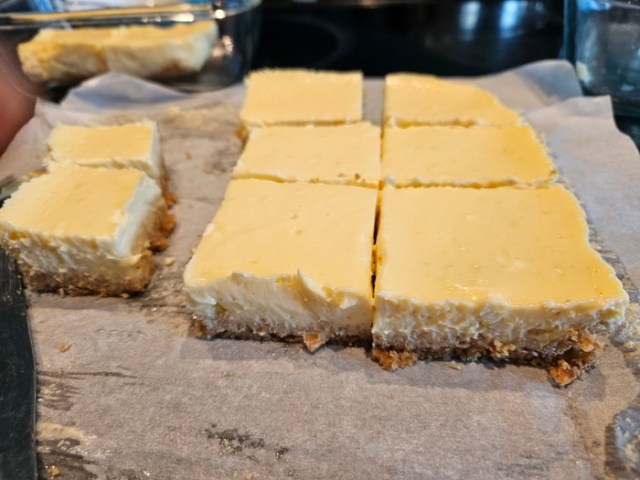
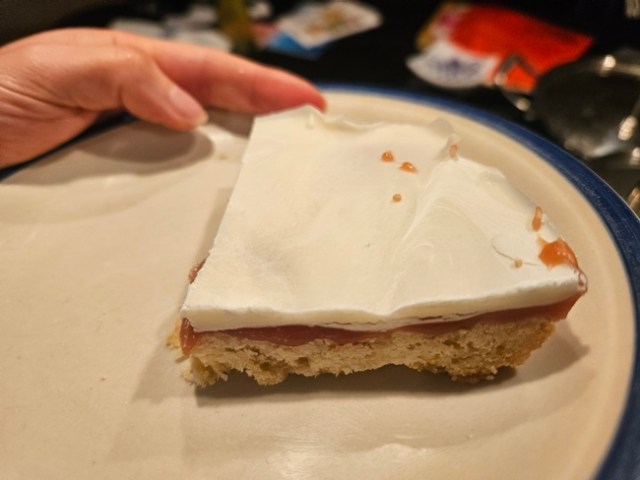
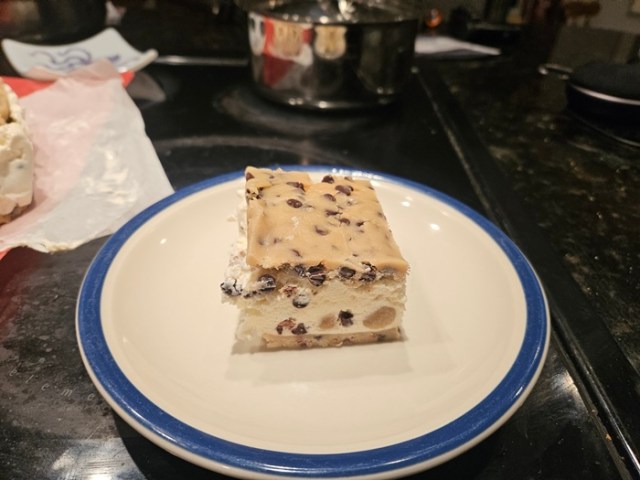
Healthier/a bit lighter than cheesecake, but still definitely dessert, these bars were a cheering bright flavor to push back the cold.
 Ingredients:
Crust:
- 1 cup graham cracker crumbs (the original recipe said ~8 full-sheet graham crackers, but it only took 5 1/2 for me)
- 1 tablespoon granulated sugar
- 3 tablespoons unsalted butter, melted
Filling:
- 6 ounces reduced fat cream cheese, softened to room temperature (block, not from a tub)
- 3/4 cup plain nonfat or low-fat Greek yogurt, at room temperature
- 2 large eggs, at room temperature
- 1 large egg yolk, at room temperature
- 1/3 cup granulated sugar
- 1/3 cup fresh lemon juice (2–3 lemons)
- 1 tablespoon lemon zest (I zested both lemons I used for juice, which was more than 1T, but more the more the merrier in this case)
- 1 teaspoon pure vanilla extract
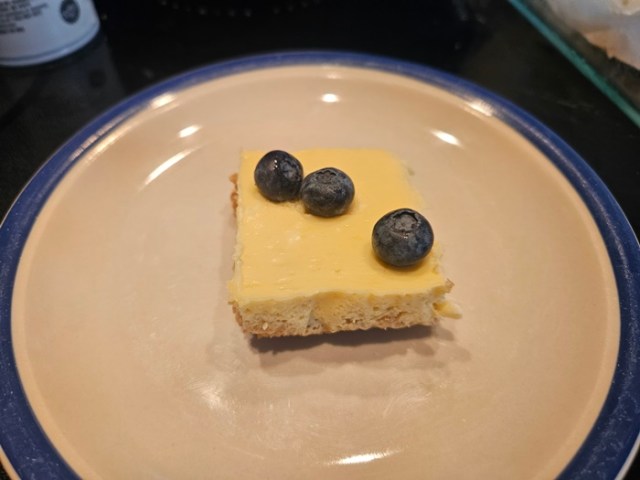
optional for garnish: whipped cream and/or berries
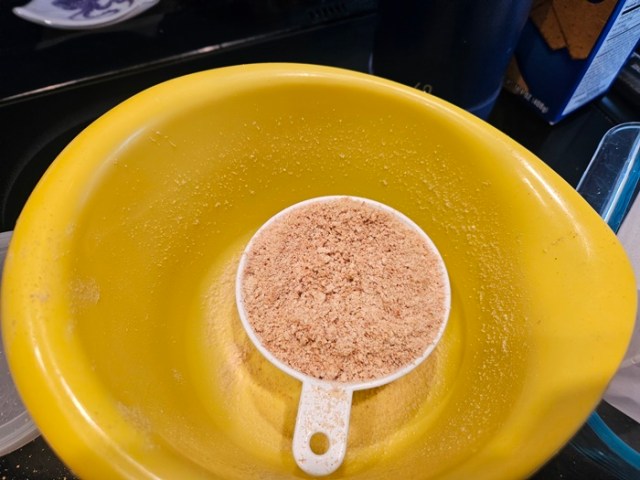
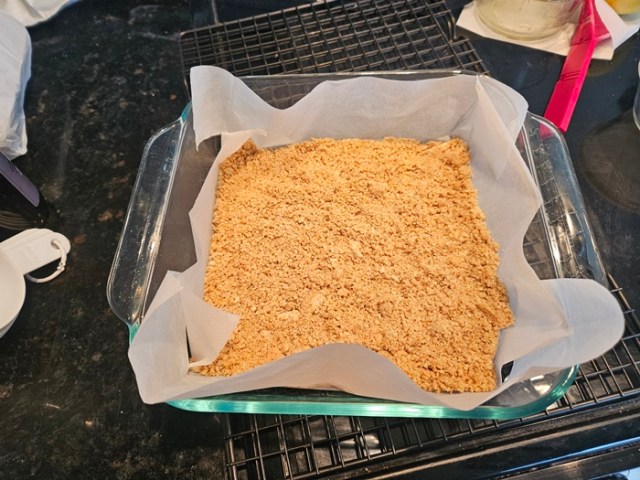
To make the crust, first preheat the oven to 300 degrees and line an 8×8″ pan with parchment. In a medium bowl, stir together the crust ingredients. Pour into the lined pan and spread evenly, then press down gently. Bake for 8 minutes then set aside to cool.
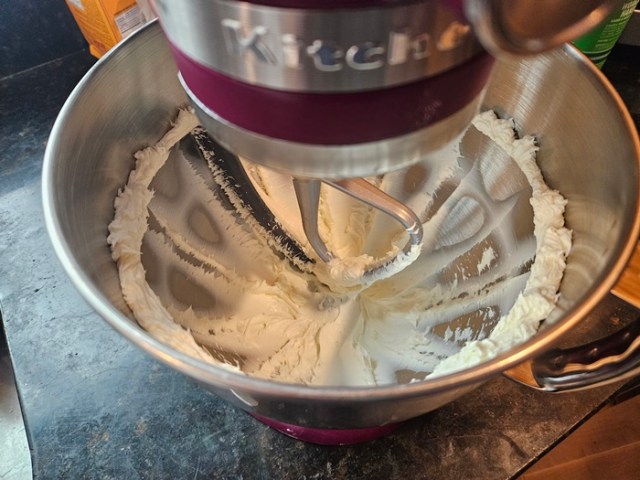
 Meanwhile, beat the cream cheese with a mixer on high until smooth and creamy, about a minute.
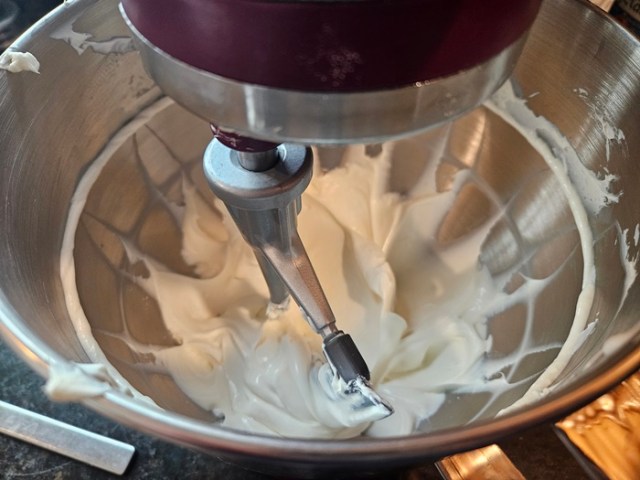
 Add the yogurt and beat until well combined at medium-high, another minute.
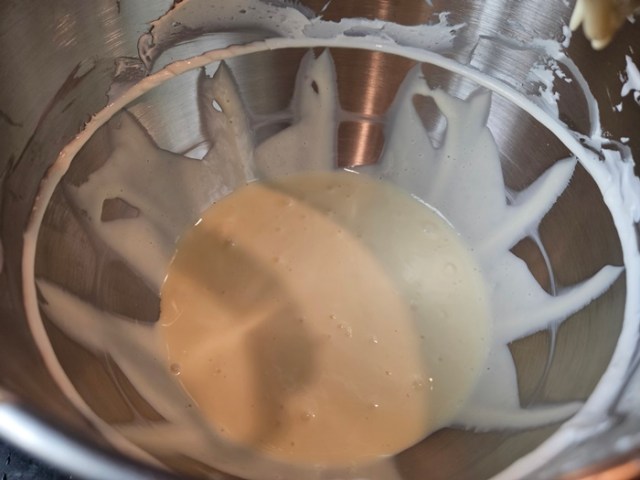
 Beat in the eggs/yolk.
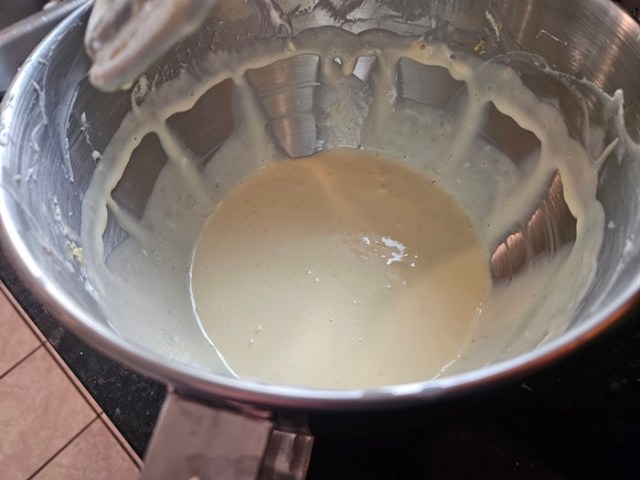
 Beat in the sugar, lemon juice and zest, and vanilla, making sure to scrape down the insides of the bowl.
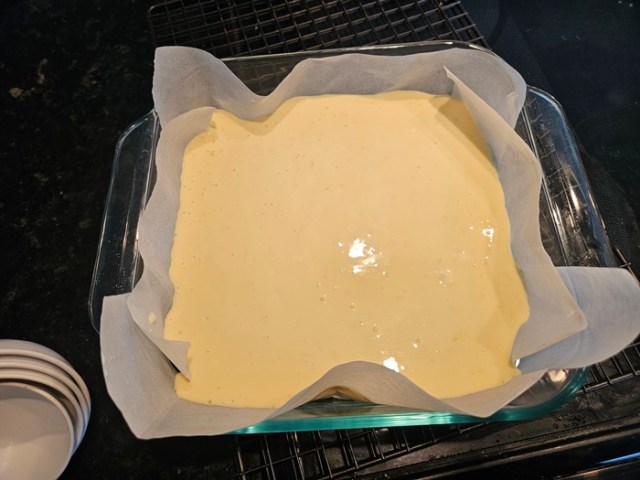
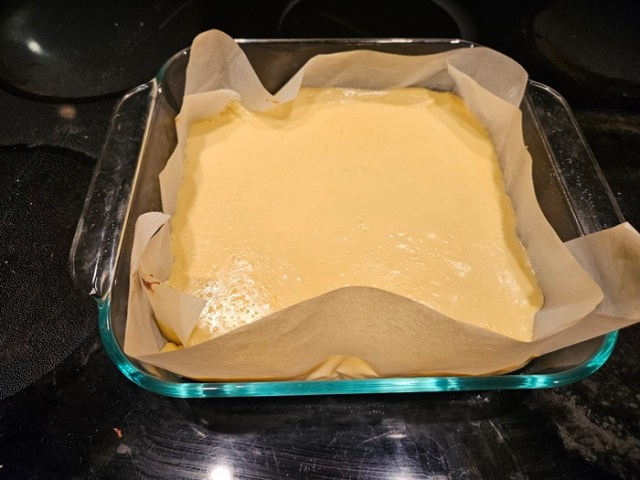
 Pour the filling into the crust.
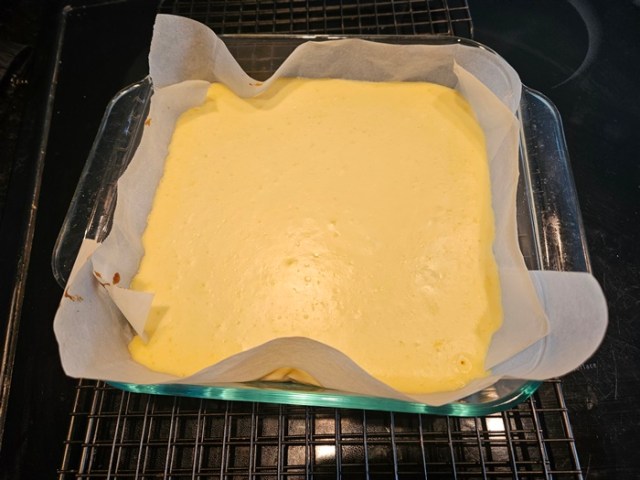
 Bake 34-38 minutes, until still somewhat jiggly but not still liquid.
 Cool on a wire rack at room temperature for 1 hour, then refrigerate at least 3 hours, up to overnight.
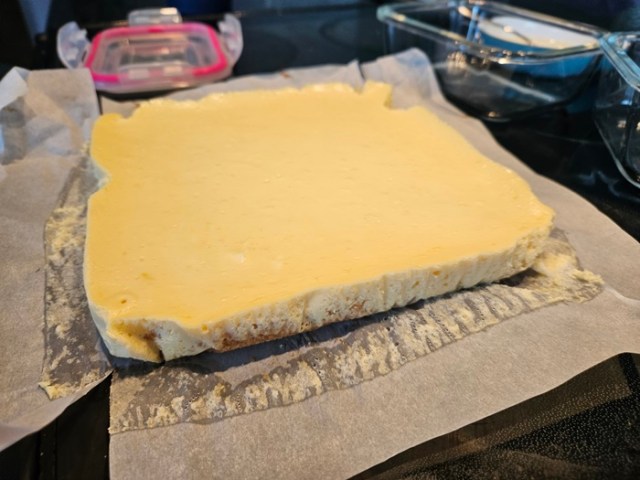
 When ready to serve, use the parchment to remove the bars from the pan and cut with a sharp knife, wiping down the knife between cuts if you care about nice edges. Serve with whipped cream and/or berries as desired. Store in the fridge for several days, or freeze and then thaw overnight in the fridge to keep for longer.
Greek Yogurt Lemon Bars
From Sally’s Baking Addiction.
Crust:
- 1 cup graham cracker crumbs
- 1 tablespoon granulated sugar
- 3 tablespoons unsalted butter, melted
Filling:
- 6 ounces reduced fat cream cheese, softened to room temperature (block, not from a tub)
- 3/4 cup plain nonfat or low-fat Greek yogurt, at room temperature
- 2 large eggs, at room temperature
- 1 large egg yolk, at room temperature
- 1/3 cup granulated sugar
- 1/3 cup fresh lemon juice (2–3 lemons)
- 1 tablespoon lemon zest
- 1 teaspoon pure vanilla extract
optional for garnish: whipped cream and/or berries
To make the crust, first preheat the oven to 300 degrees and line an 8×8″ pan with parchment. In a medium bowl, stir together the crust ingredients. Pour into the lined pan and spread evenly, then press down gently. Bake for 8 minutes then set aside to cool.
Meanwhile, beat the cream cheese with a mixer on high until smooth and creamy, about a minute, then add the yogurt and beat until well combined at medium-high, another minute. Beat in the eggs/yolk, then the sugar, lemon juice and zest, and vanilla, making sure to scrape down the insides of the bowl after each step. Pour the filling into the crust and bake 34-38 minutes, until still somewhat jiggly but not still liquid. Cool on a wire rack at room temperature for 1 hour, then refrigerate at least 3 hours, up to overnight.
When ready to serve, use the parchment to remove the bars from the pan and cut with a sharp knife, wiping down the knife between cuts if you care about nice edges. Serve with whipped cream and/or berries as desired. Store in the fridge for several days, or freeze and then thaw overnight in the fridge to keep for longer.
 Ingredients:
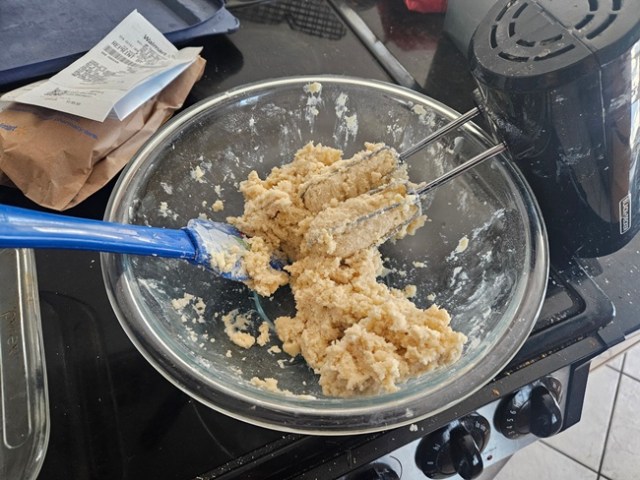 Press the dough into the lined dish and pierce all over with a fork.
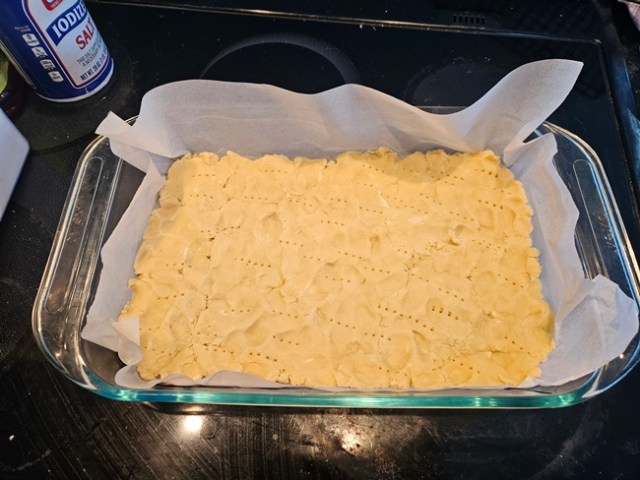 Bake 40-45 minutes, until lightly golden brown, then set aside (still in the dish) to cool.
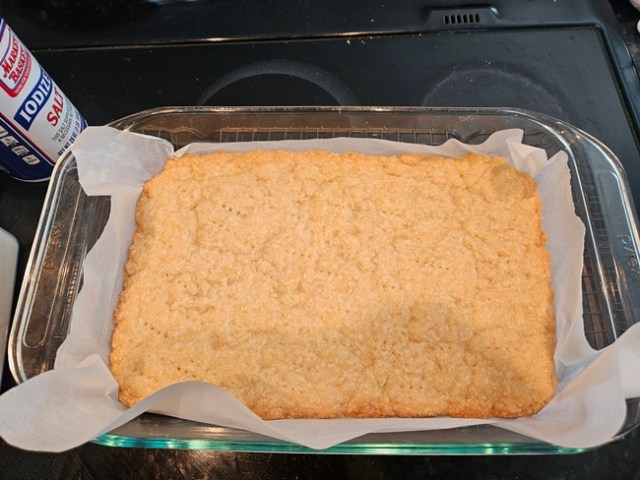 I beat together the dough and then realized that the cream I had was actually half-and-half, so threw the dough in the freezer for a few days until I’d gone to the store, let it thaw in the fridge for a day, and then proceeded.
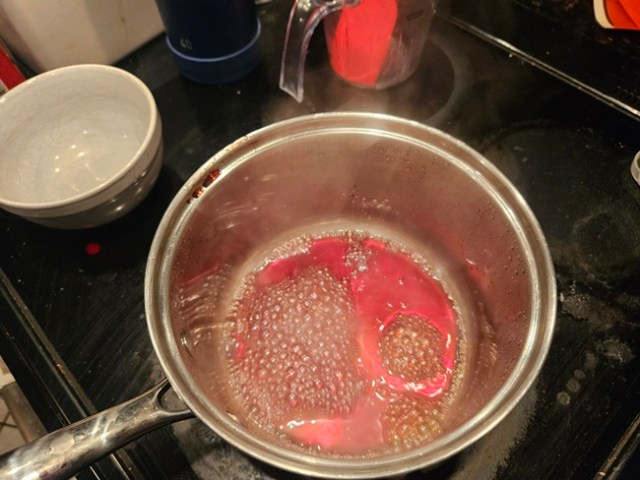 Reduce the heat while you add the butter, sugar, and cream, then raise to medium-high and cook until the mixture reads 255 degrees on a candy thermometer.
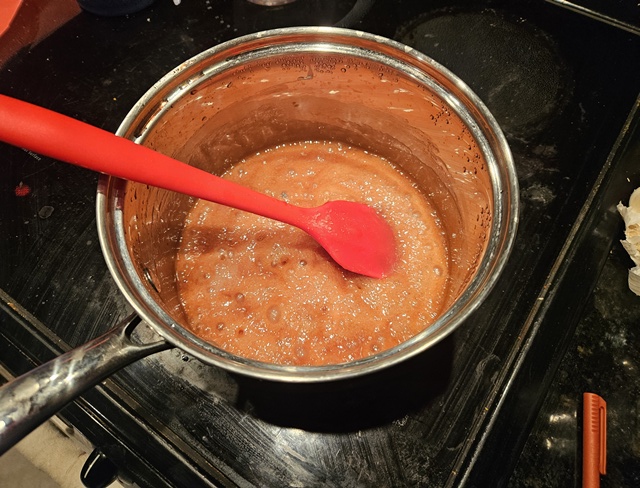 Remove from the heat, stir in the salt, and then quickly pour over the shortbread, spreading with a silicone spatula if needed to get an even layer. Let cool to room temp.
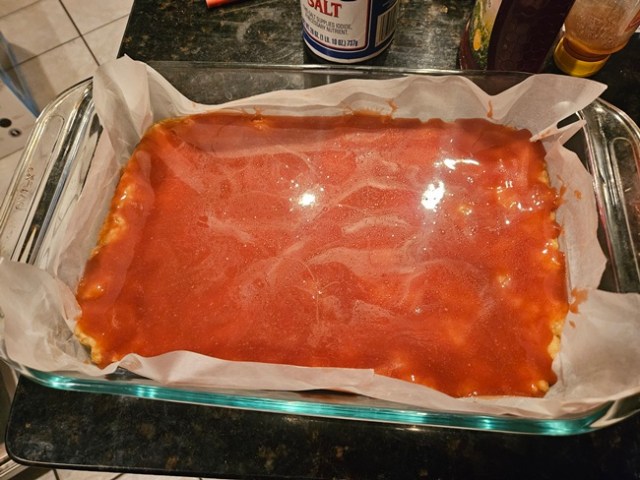 When you’re ready, melt the white chocolate and oil in the microwave (the chocolate probably has instructions on the package – I was pleased how well store brand white chocolate melted), stir until smooth, and then spread in an even layer over the caramel.
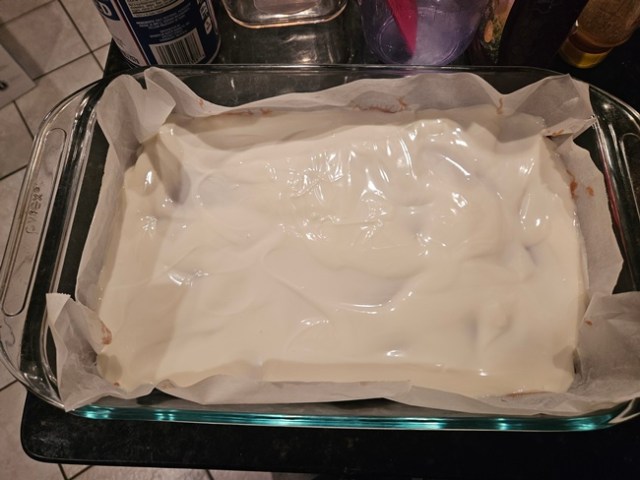 Let set at room temperature or in the fridge, then remove from the pan and slice.
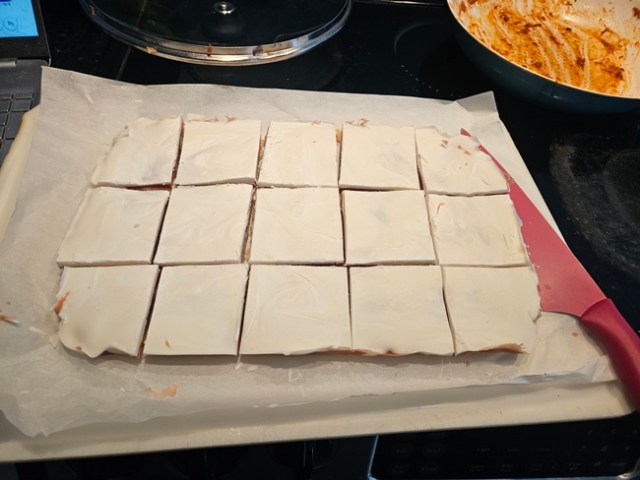
 Ingredients:
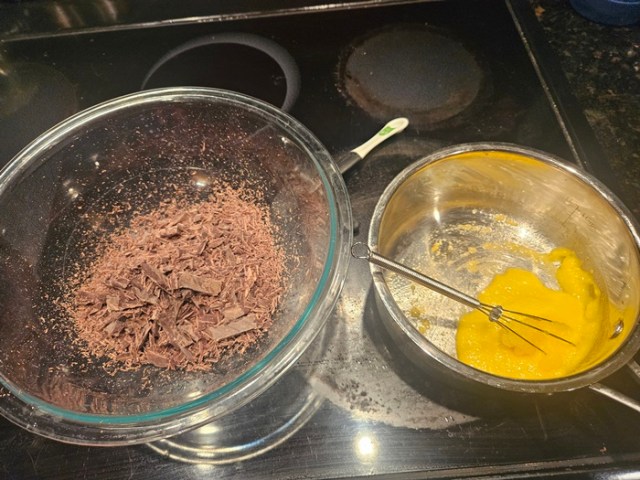 Whisk in 1/2 cup of the cream until fully incorporated.
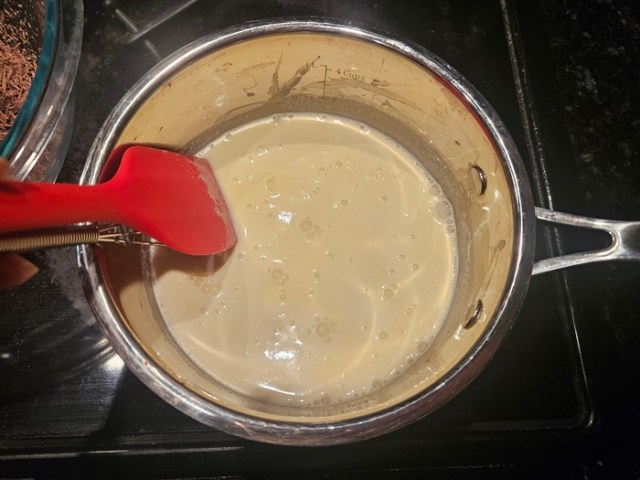 Place over medium heat and cook, while whisking constantly, until the mixture reaches 160 degrees.
 Pour the egg/cream mixture through the sieve into the chocolate, and discard anything solid left in the sieve. Add the vanilla and espresso powder and whisk together the chocolate, then let cool to room temperature, 20-30 minutes, stirring once in a while.
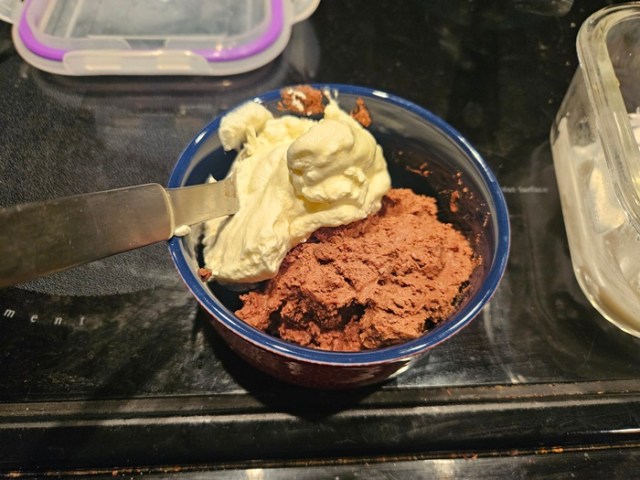
 When the chocolate mixture is most of the way cooled, beat the remaining 3/4 cup cream in a stand mixer with the whisk attachment, beating until stiff peaks form. Whisk 1/3 of the whipped cream into the chocolate mixture by hand to lighten.
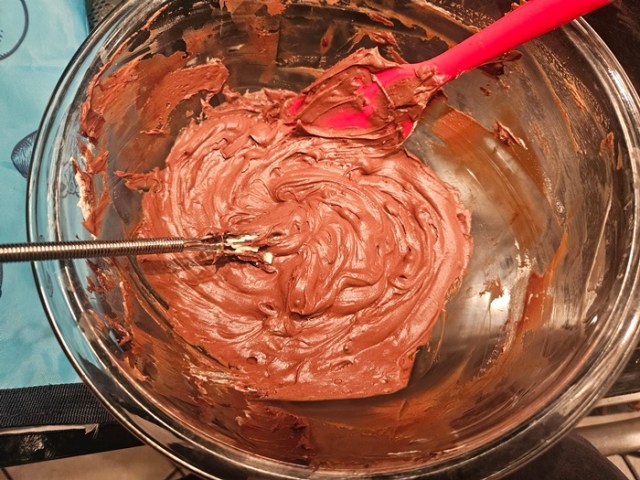 Use a rubber spatula to fold the remaining whipped cream in just until mixed/no white streaks remain.
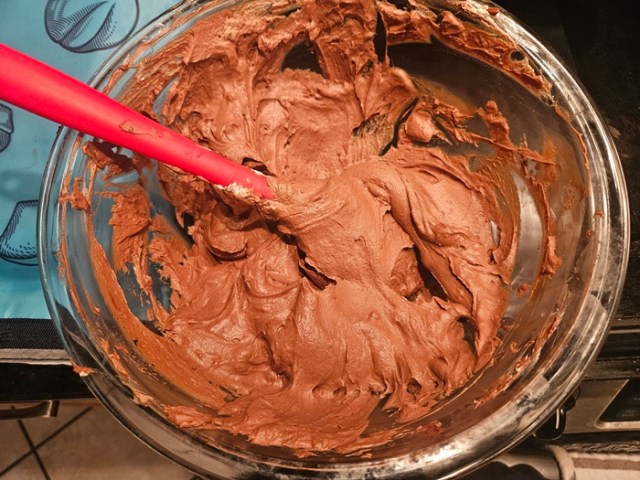 Transfer to a nice bowl or small ramekins, cover, and refrigerate until set, at least 6 hours.
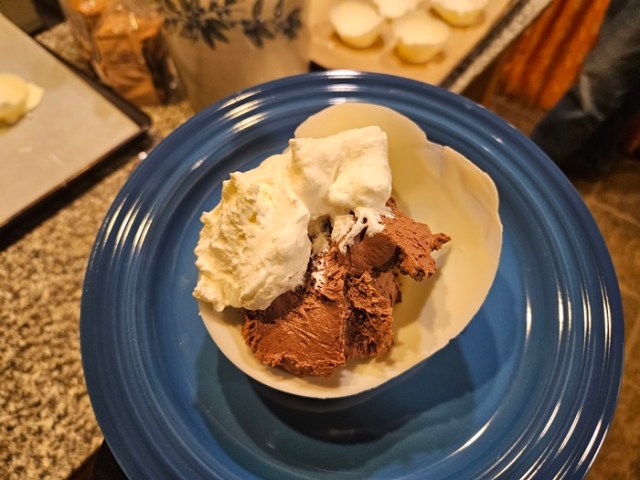
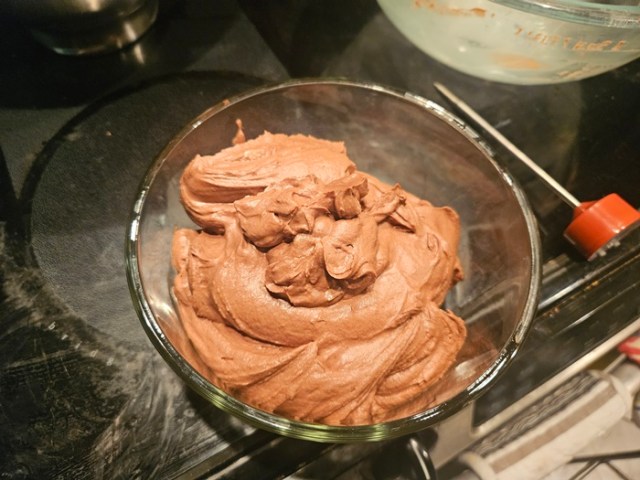 Serve with whipped cream, sprinkles, in chocolate bowls, or however else you like!

 Ingredients:
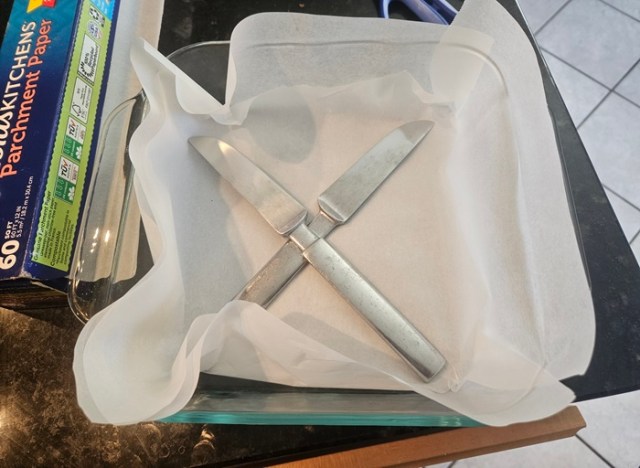
 Stir in the milk, vanilla, and salt, then add the flour.
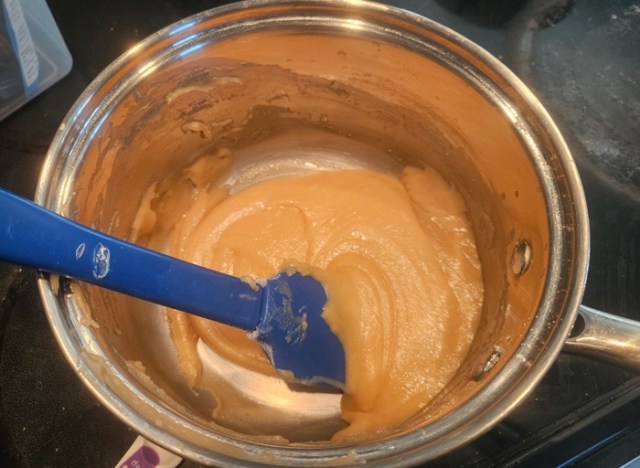 Let cool, if necessary, so that the dough won’t melt the chocolate chips, then stir them in as well.
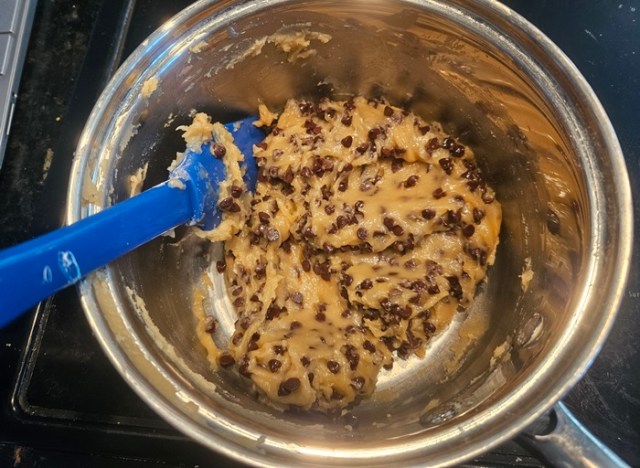 Divide the dough in half and press half into the pan, using a silicone spatula and/or your hands to press until it evenly covers the bottom of the pan.
 Place an additional piece of parchment on top of the dough, then repeat with the other half of the cookie dough, creating two layers. Cover the pan and freeze for at least an hour. During that hour, or when ready to turn into sandwiches, let the ice cream soften slightly (place in the fridge rather than letting it melt straight to soup).
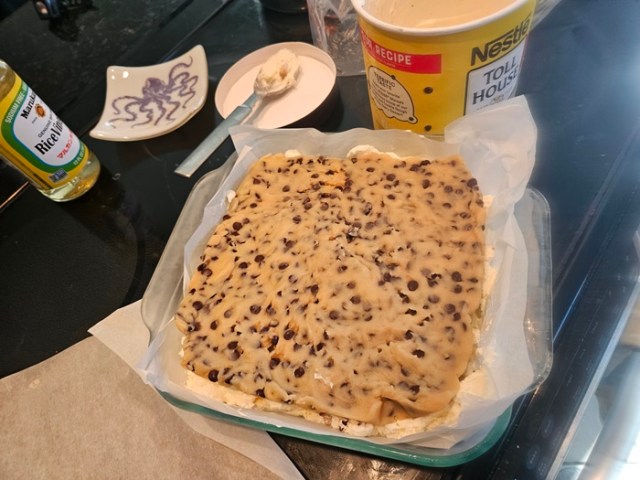
 Spread the softened ice cream over the cookie dough into an even layer, and then top with the second piece of cookie dough, pressing gently to make them hold together.
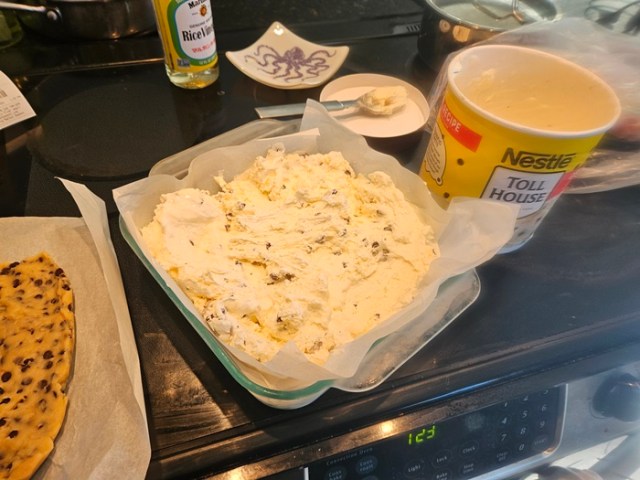
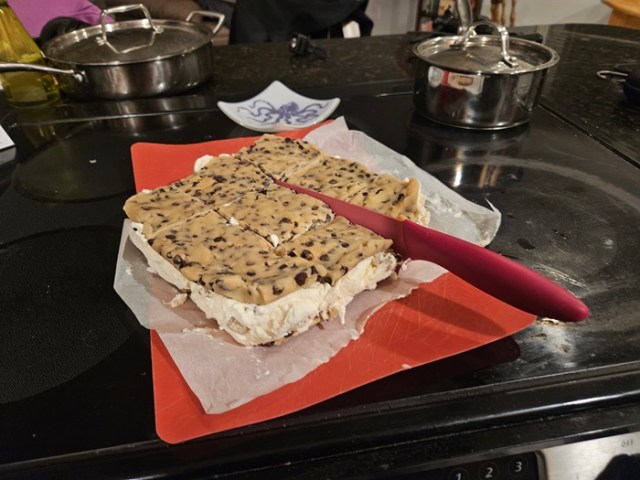
 Cover and freeze at least 2 hours, ideally longer.
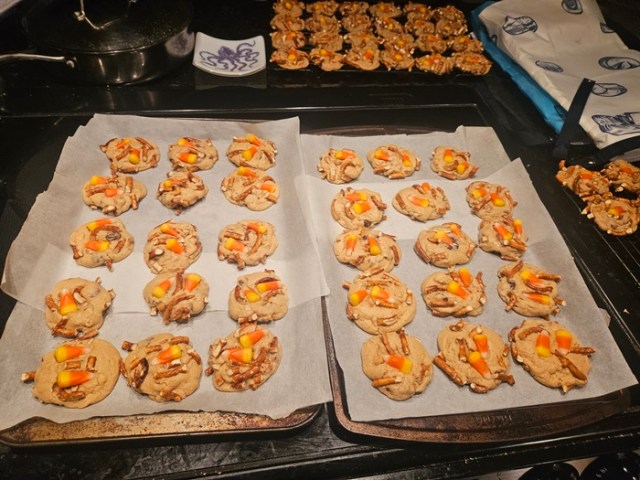
 I ended up using a whole 8 ounce bag of pretzels, give or take a few bits, and you can mix in whatever combo of chocolate/white chocolate/butterscotch/caramel chips you have to make up the 2 cups of bits. I found it worth lining 4 baking sheets with silpats/parchment, so you can keep balling dough while the first batch bakes, with how many cookies this made.
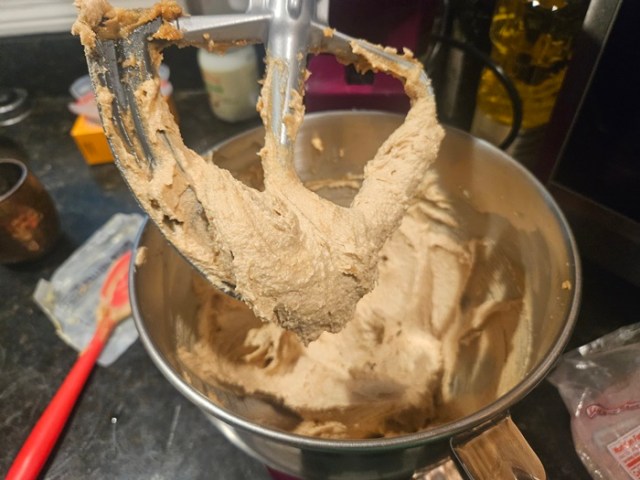 Add the eggs and vanilla and beat another minute or two.
 Add the flour and mix on low until just combined.
 Add the chocolate chips and oats and stir in by hand.
 Preheat the oven to 350 degrees. Place your crushed pretzels in a pie plate or other low-sided dish.
 Bake for 9 minutes, remove from the oven and press a piece or two of candy corn into each cookie.

 Transfer to a wire rack to cool completely.
 Ingredients:
 In a mixer bowl, combine the flour and salt. Using the mixer’s dough hook on low speed, stir together, then slowly drizzle in the peanut butter mixture. Once all the peanut butter mixture is added, and the dough has begun to come together, increase the speed one notch and continue to mix until the dough is shiny and smooth, around 6 minutes.
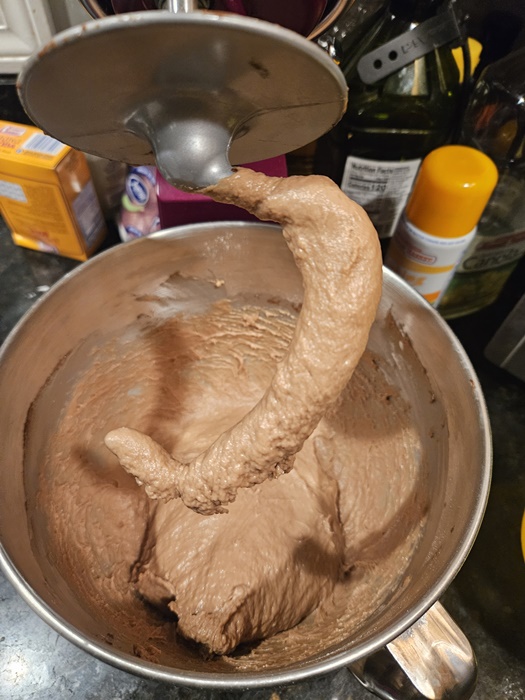
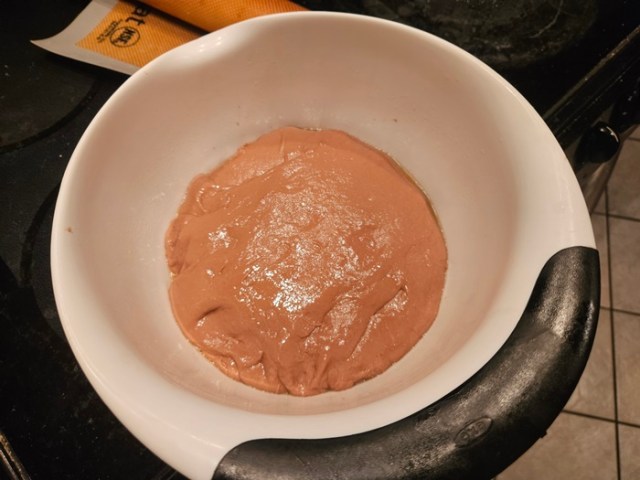
 Turn the dough out into a greased bowl, turning the dough ball to ensure that all sides of the dough are coated with oil. Cover the bowl with plastic wrap and let rise somewhere warm until doubled, about an hour.
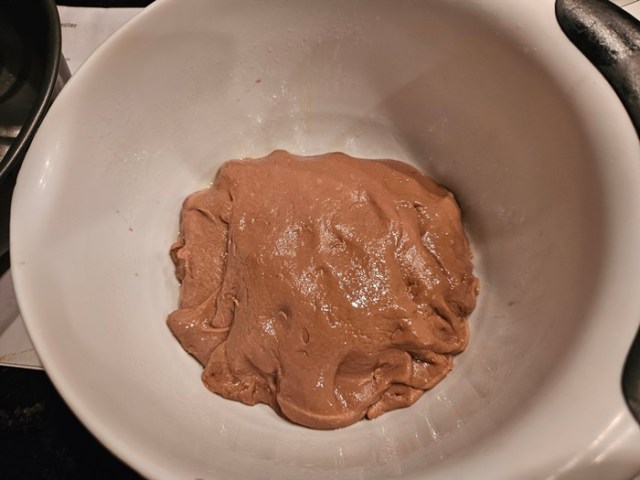
 Once the dough has risen, punch down and turn out onto a clean, lightly floured surface (a silpat is great here). Use a bench knife to divide the dough in half, and each half into further halves, and repeat until the dough is divided into 64 even(ish) pieces.
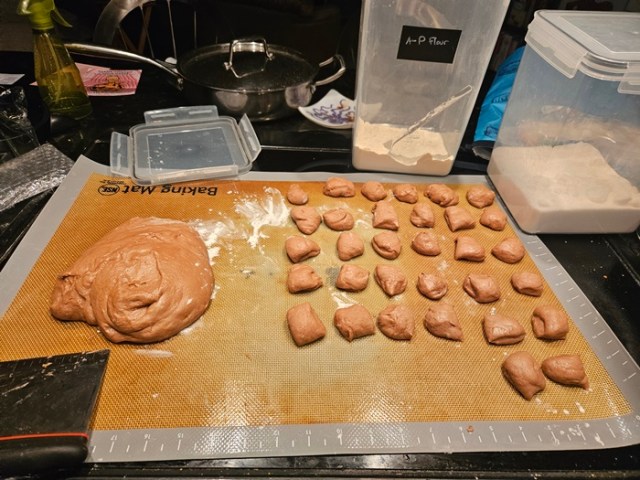 Grease a 10-12 cup bundt pan well, then sprinkle a cup of mini marshmallows around inside it. Dunk each piece of dough in melted butter, then roll in sugar, and place in the bundt pan.
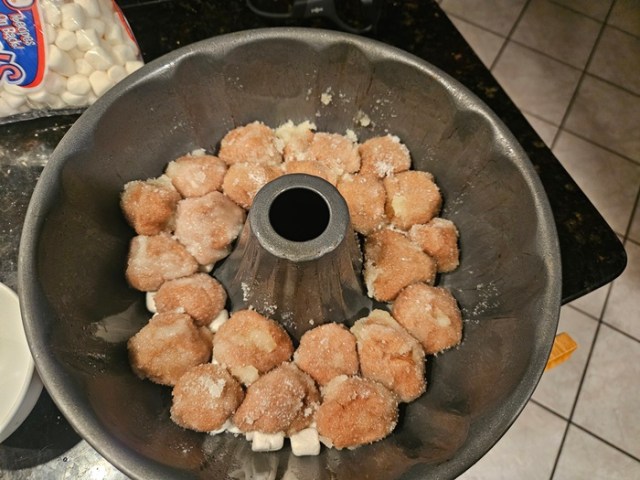 Once a full layer of pieces have been put in the bundt pan, sprinkle in another cup of marshmallows on top of the dough pieces, then begin layering another set of buttered/sugared dough pieces.
 Mine got two full layers of dough pieces, and 3 layers of mini marshmallows, plus another scattered layer, about half coverage, of dough pieces. Cover with plastic wrap.
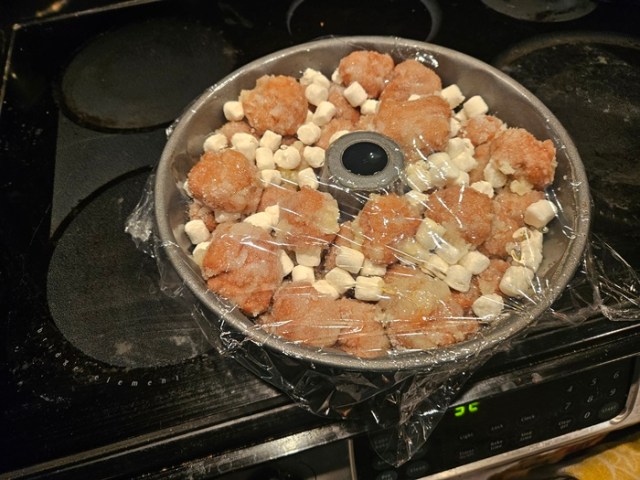 You can let the dough rise an additional 40-50 minutes now, until the dough has risen over the edge of the pan, or let rise ~20 minutes before refrigerating overnight, so it will be ready to cook in the morning. If refrigerating, let rise for 30 minutes in the morning before baking.
 When ready to bake, preheat the oven to 350 degrees. Bake for 20 minutes, then cover with foil (to prevent burning) and bake an additional 15-20 minutes, until the top is a dark brown and the butter/sugar mixture is bubbling.
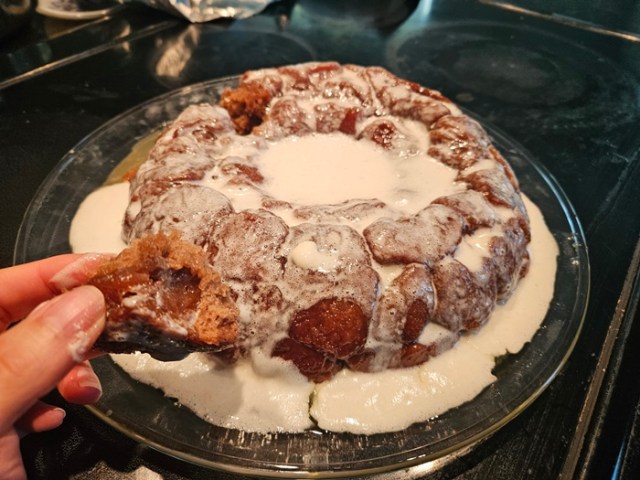
 Cool for 5 minute in the pan, then turn out onto a plate. (If you want to turn out onto a wire rack, be aware there will probably be melted sugar goo coming out with it, so you’ll want a dish under the rack.)
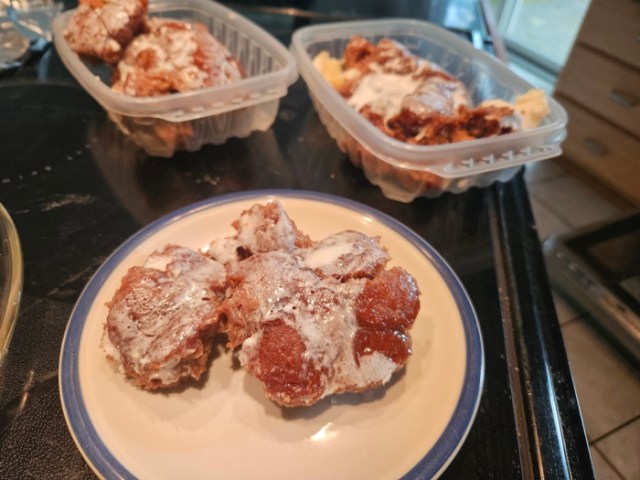
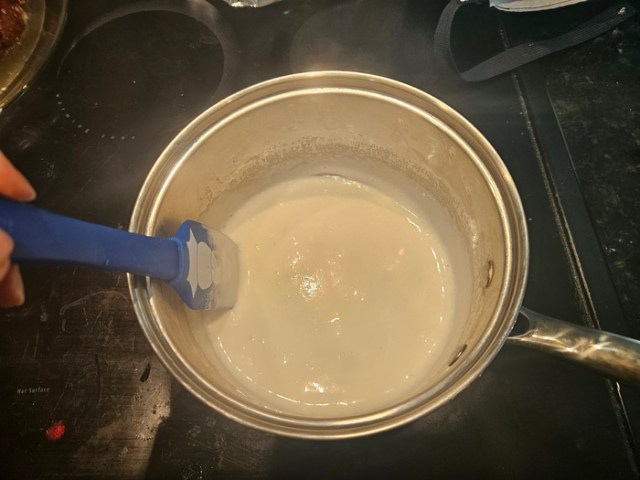 Pour over the monkey bread. Serve still warm, either pulling apart chunk-by-chunk or slicing with a bread knife.
 Ingredients:
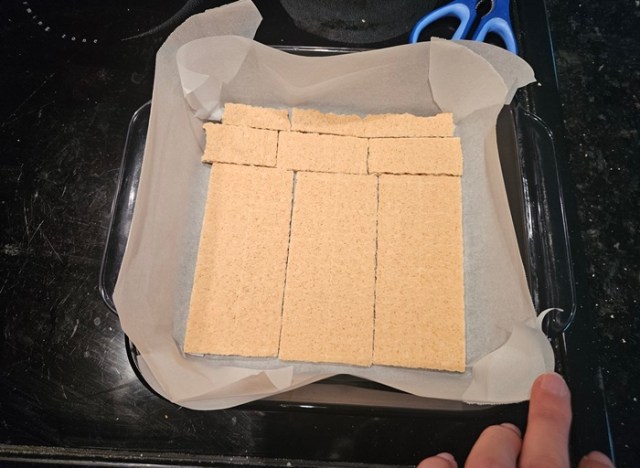 In a small dish, microwave the chocolate chips in 30 second bursts, stirring well after each, until melted and smooth. Pour the chocolate over the graham crackers and spread to cover the crackers evenly. Set the pan aside.
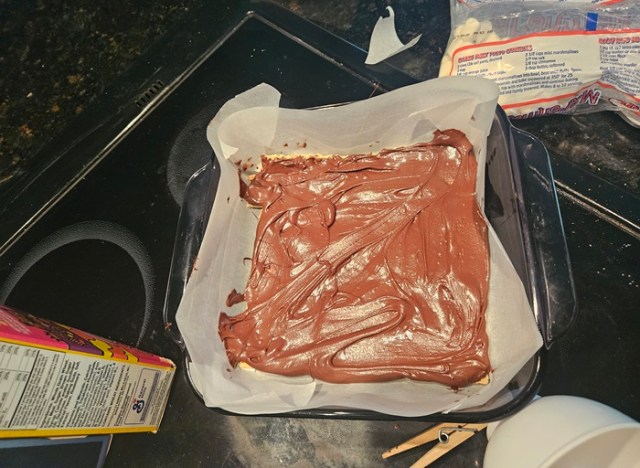 In a large bowl, combine the Rice Krispies, Golden Grahams, and 2 cups of the mini marshmallows. Measure the other 9 cups of marshmallows out so they’ll be ready quickly when you need them.
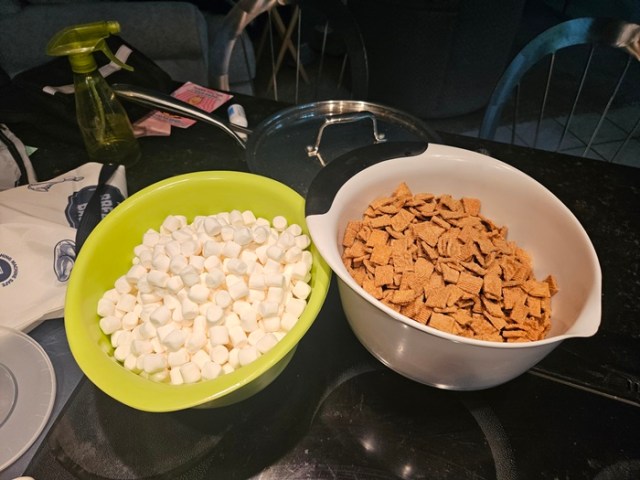 In a large pot, melt the butter over medium heat, stirring occasionally. Once melted, continue cooking until some brown flecks start to show in the melted butter, then reduce heat to low.
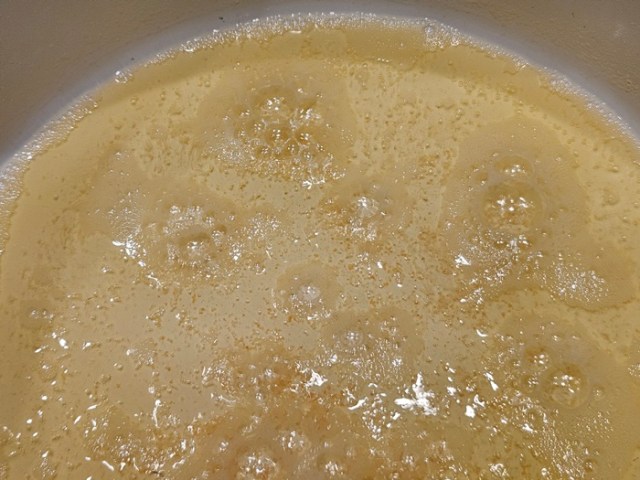 Stir in the milk powder and continue to cook a further 1-2 minutes, stirring constantly, until copper colored.
 Turn off the heat and stir in the salt, vanilla, and 9 cups of marshmallows, stirring to combine.
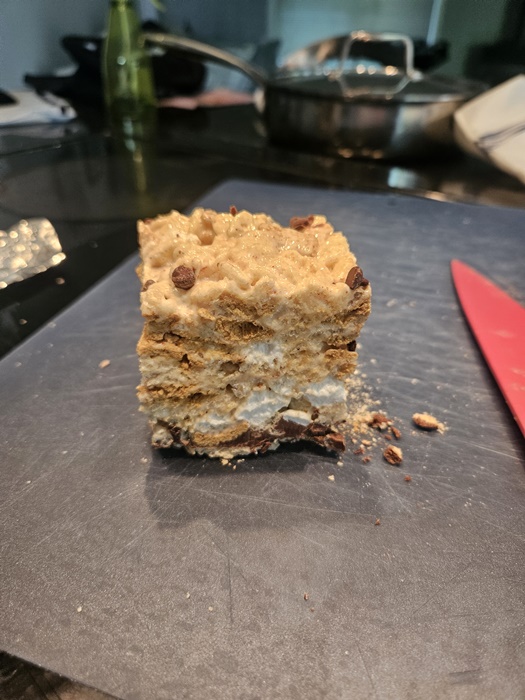
 Turn off the heat and remove from the burner. Add the cereal and stir until fully combined.
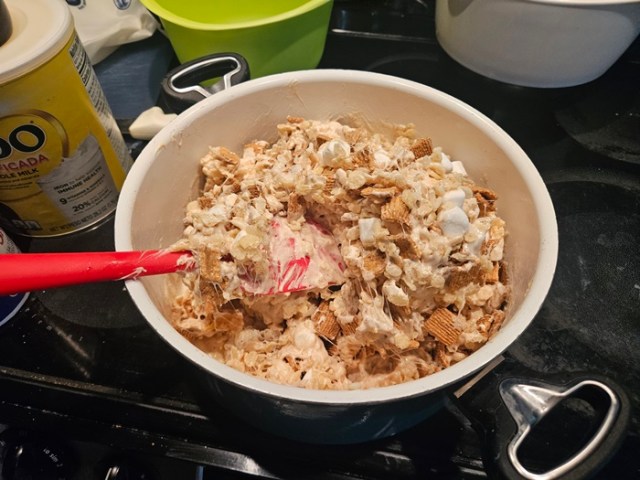
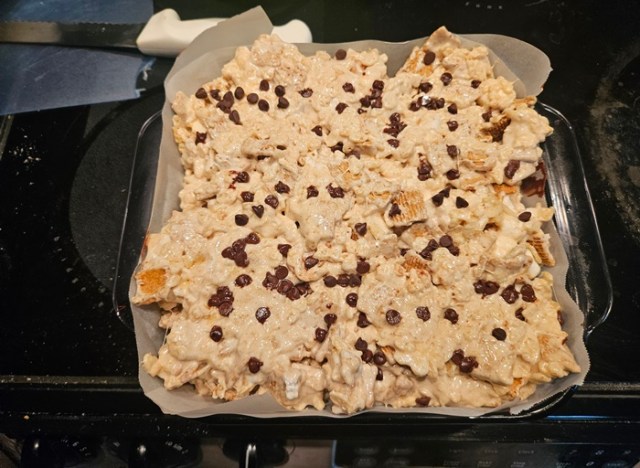 Refrigerate until the chocolate has set, around 90 minutes. Remove from the pan, slice, and serve, storing extras in an airtight container at room temp.

 Ingredients:
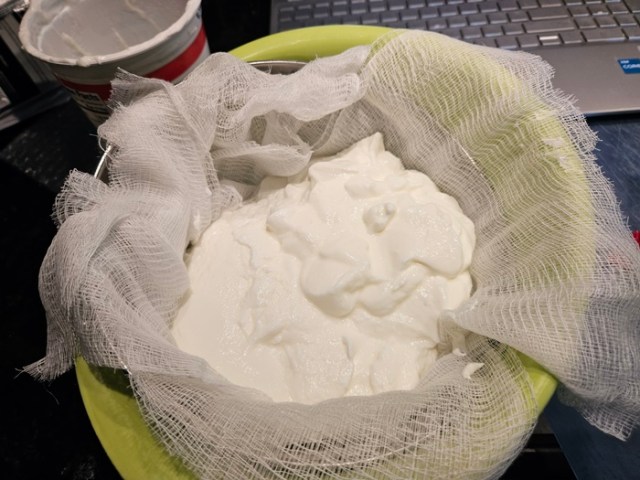 Cover loosely with plastic wrap and refrigerate at least 8 hours, until 1 1/4 cups of whey have drained out. If more whey than needed is drained out, you can stir it back in.
 In a small dish/measuring cup, sprinkle the gelatin over the orange juice and let sit for 5 minutes. Microwave until the mixture is bubbling around the edges to dissolve the gelatin, about 30 seconds. Stir in the zest, and set aside to cool for 5 minutes.
 In a large bowl, combine the strained yogurt, sugar, syrup, and salt. Whisk in the orange juice, stirring until the sugar is fully dissolved, then cover and refrigerate until at or below 40 degrees (this took 4+ hours for my batch).
 Churn according to your ice cream maker’s directions, 25-35 minutes.
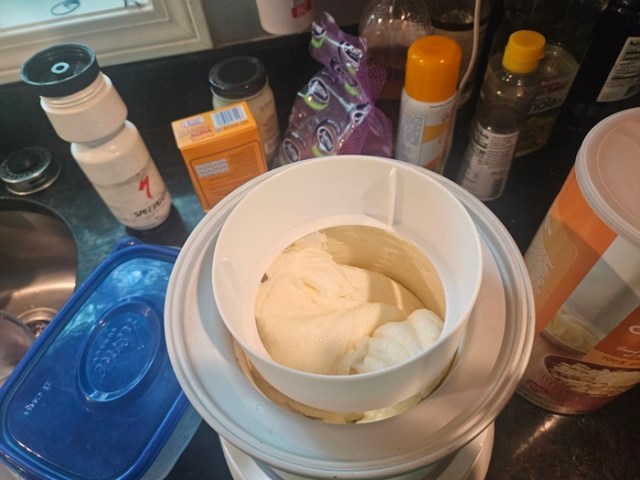
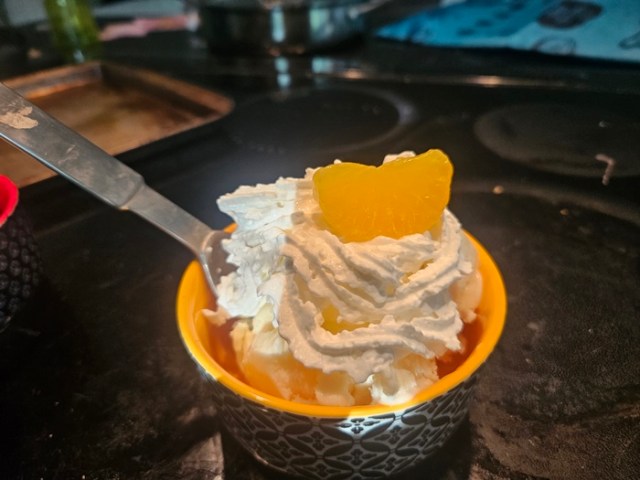
 Transfer to a container, and freeze at least 2 hours to firm up before serving.

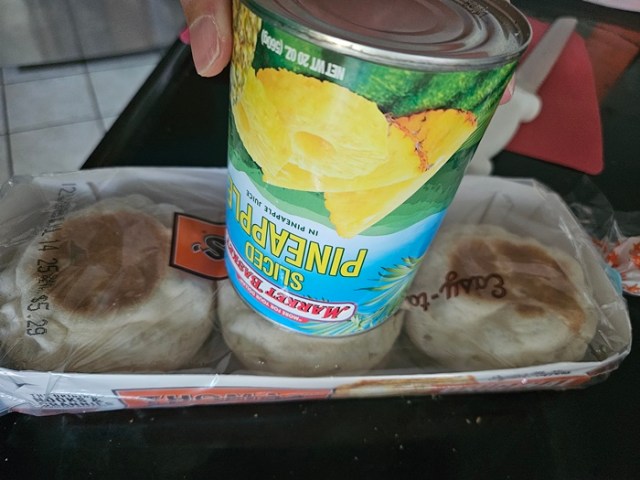
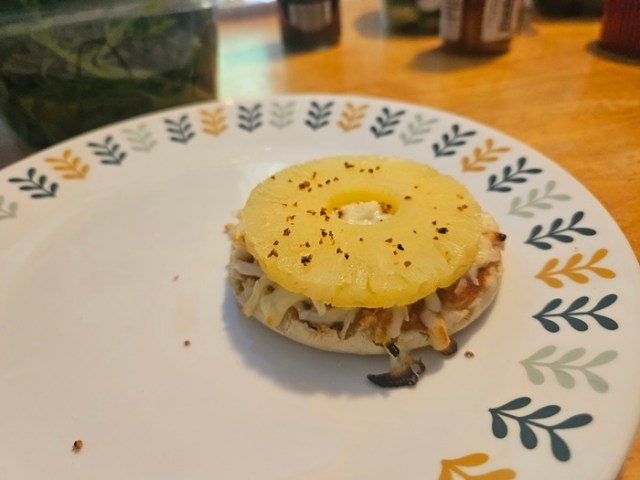
 Honestly you shouldn’t need much guidance on this one, but here we go:
 Add a handful of cheese and a pineapple ring.
 Bake, ideally in a toaster oven, for 10 minutes at 350. (In a toaster oven, you don’t need to worry about preheating for this.)
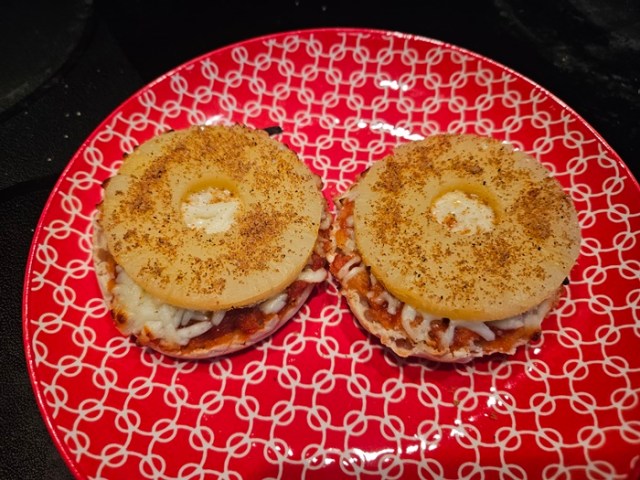
 Ingredients:
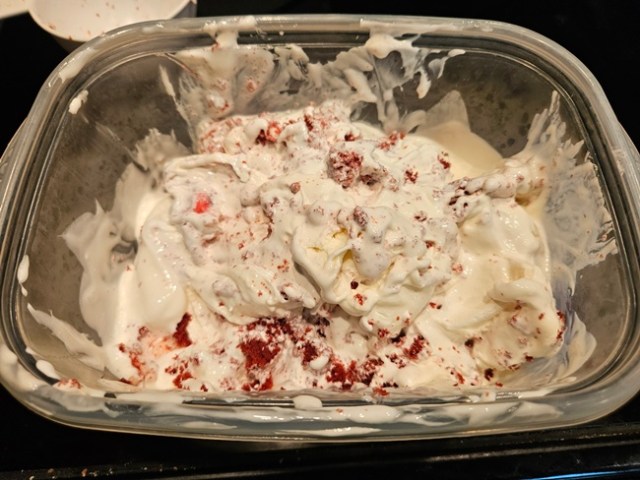
 While it’s going, place half of the cake crumbs in a large tupperware/bowl that you’re going to store the ice cream in. Transfer the chilled ice cream to the container, top with the remaining cake crumbs, and then fold to mix the cake into the ice cream.
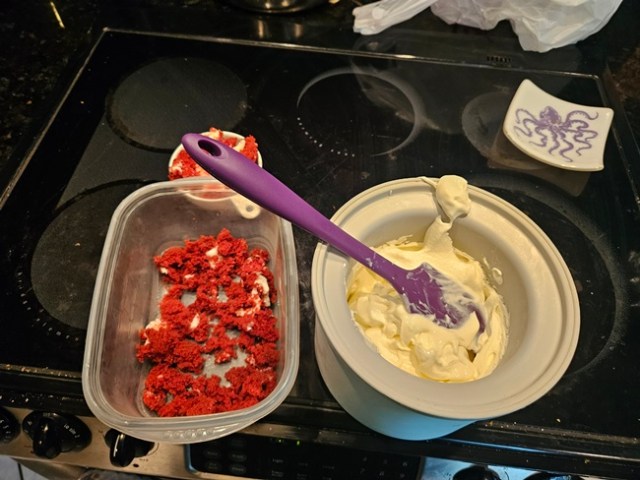
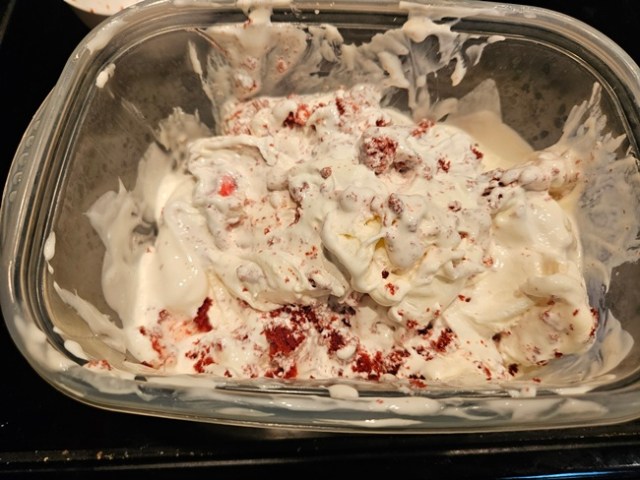 Cover and freeze for several hours to firm up before serving.