I had a couple issues with this recipe as originally written, but didn’t really mind because fixing them gave me an excuse to make this pie a second time, and the flavor was great from the start! One of the two changes revolved around gluten-free Oreos, which seem to need a separate butter/cookie ratio from regular Oreos to make a good crust, so I’ll list both ways in the ingredient list, just make the crust that suits your needs. (It’s a few more Oreos to the same amount of butter, and leaving out the sugar.)
 Ingredients:
Crust (regular):
- 2 cups chocolate cookie crumbs (such as Oreos, including filling, processed in a food processor)
- 1/4 cup granulated sugar
- 4 tablespoons unsalted butter, melted
Crust (gf):
- 24 gluten-free Oreos, processed in a food processor to crumbs
- 4 tablespoons unsalted butter, melted
Filling:
- 1 teaspoon gelatin
- 2 tablespoons water
- 8 ounces cream cheese, room temperature
- 1 cup powdered sugar
- 1 teaspoon vanilla extract
- 1-2 pinches of fine salt, optional
- 10 ounces (284g) salted caramel sauce or topping from the ice cream section
- 1 1/2 cups heavy cream
- 1-2 tablespoons chocolate sprinkles or shavings
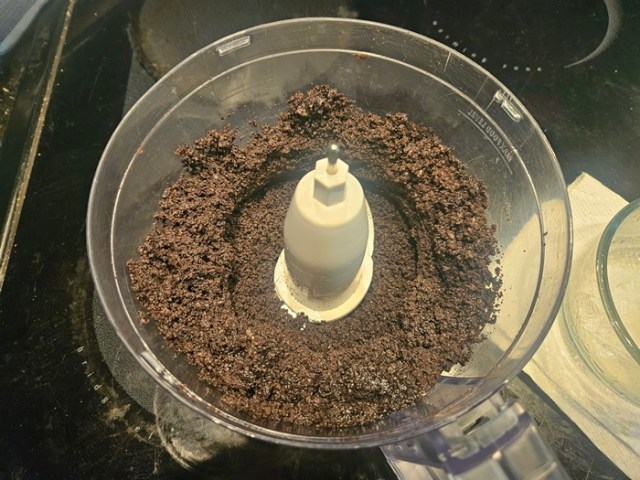
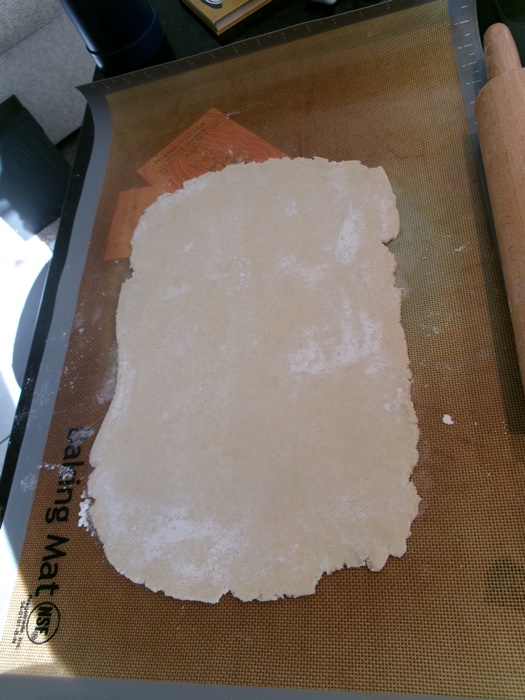
Preheat oven to 350 degrees. (I got away with just using my toaster oven.) Process the Oreos, then add the butter, and sugar if needed, for the crust and process briefly to combine.
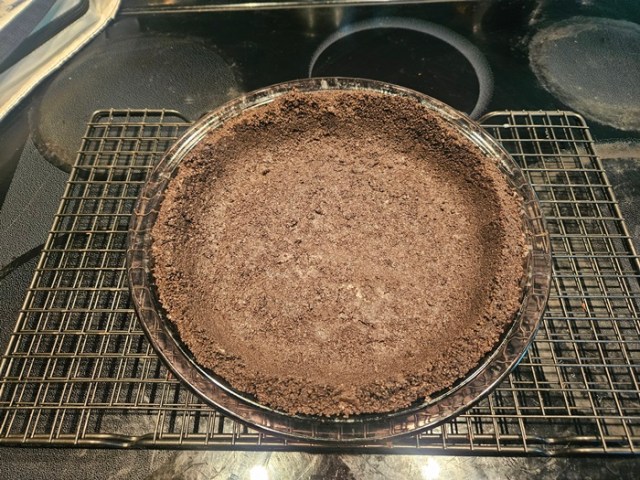
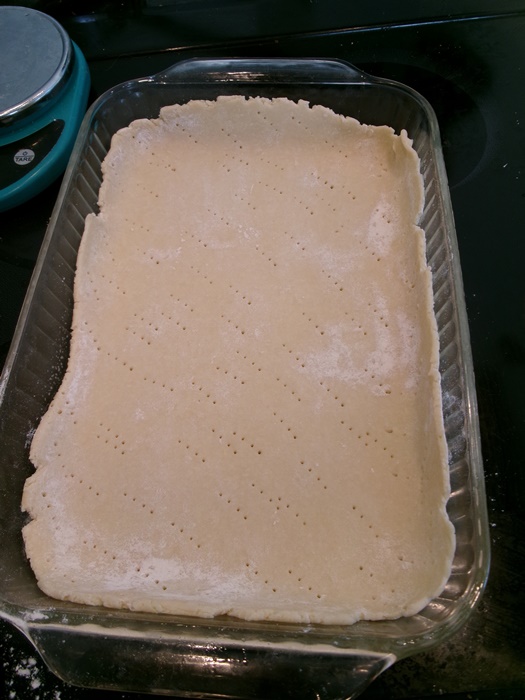
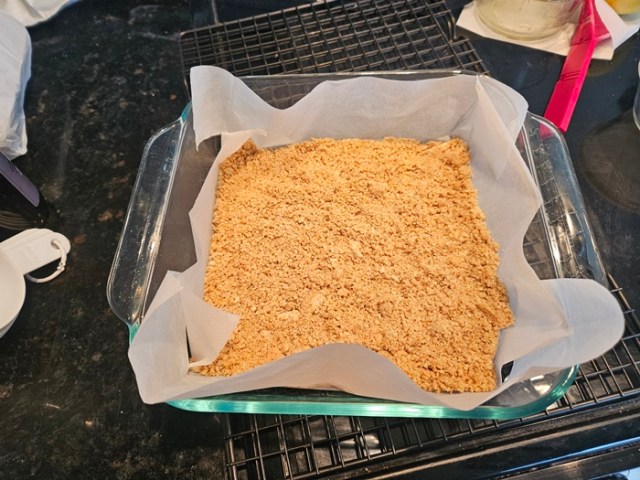
 Transfer the mixture into an ungreased pie dish and spread evenly around the bottom and up the sides.
 Use the bottom of a glass/ramekin/measuring cup to press the crust firmly into the pan. Bake for 10 minutes, then allow to cool to room temperature.
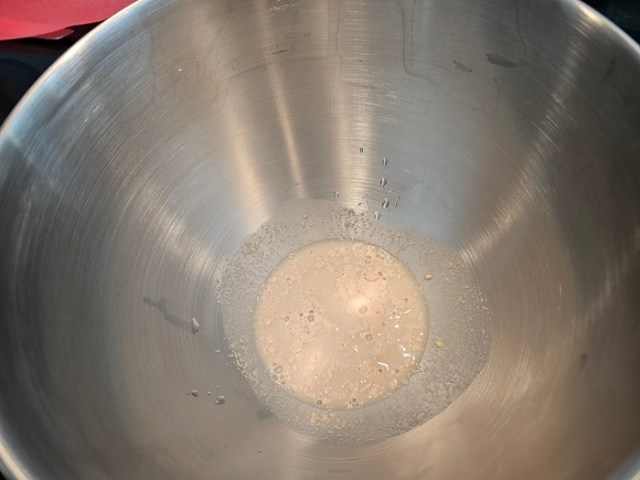
To make the filling, combine the gelatin and water in a small dish and set aside.
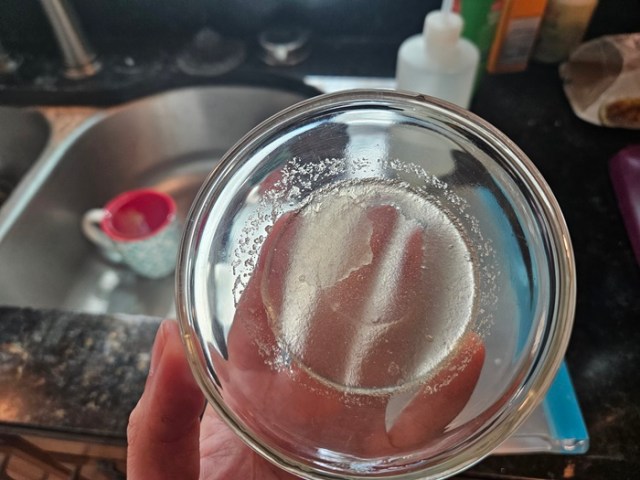
After it’s had some time to hydrate.
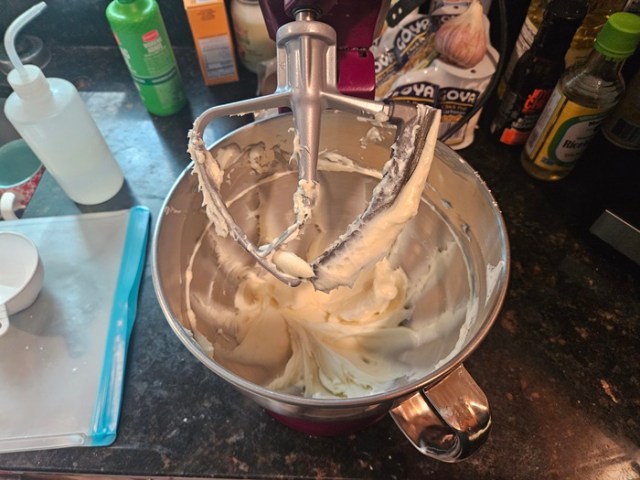
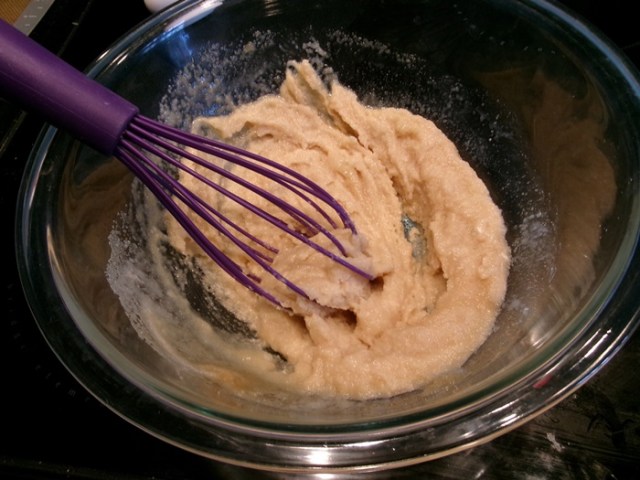
Beat the room temperature cream cheese for a few minutes with the paddle attachment of your blender to smooth.
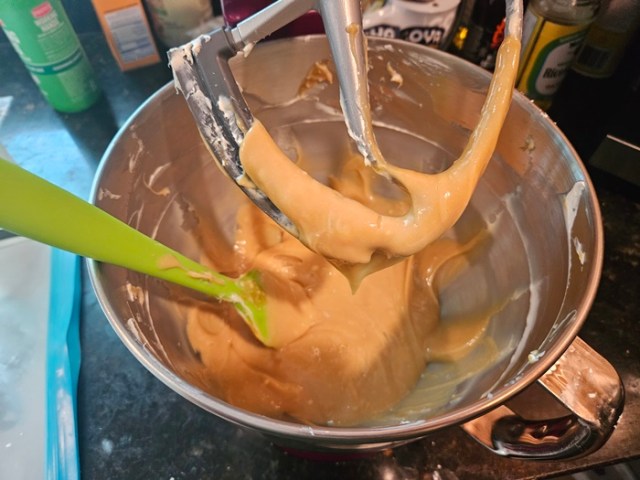
 Add the powdered sugar, vanilla, and salt and beat until well combined. (You may want to stir it by hand with a spatula a few times to start incorporating the powdered sugar, so it doesn’t all fly out of the bowl when you turn the mixer back on.) Mix in the caramel. Microwave the dish of gelatin for 10-15 seconds, to melt, then mix that in as well and set the bowl aside.
 In a clean bowl, whip the cream until soft peaks form.
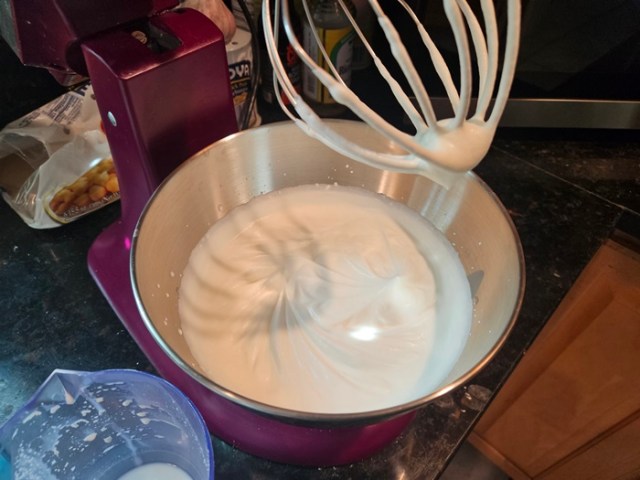
Possibly beating to stiff peaks would be another way to help the pie hold together when sliced, but adding gelatin was the way I went.
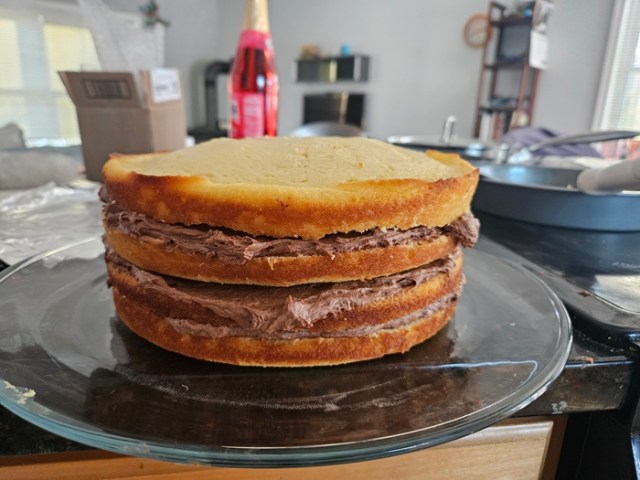
Gently fold the whipped cream into the caramel cream cheese mixture.
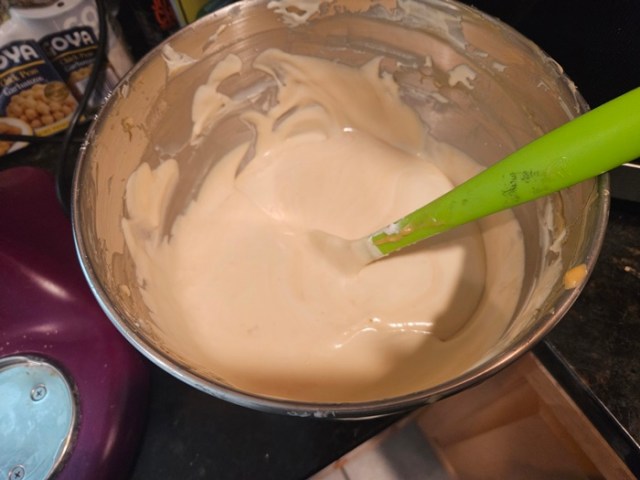
This will firm up some when chilled.
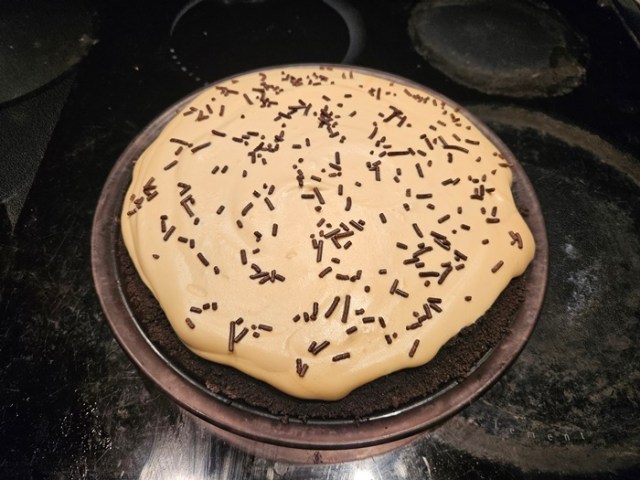
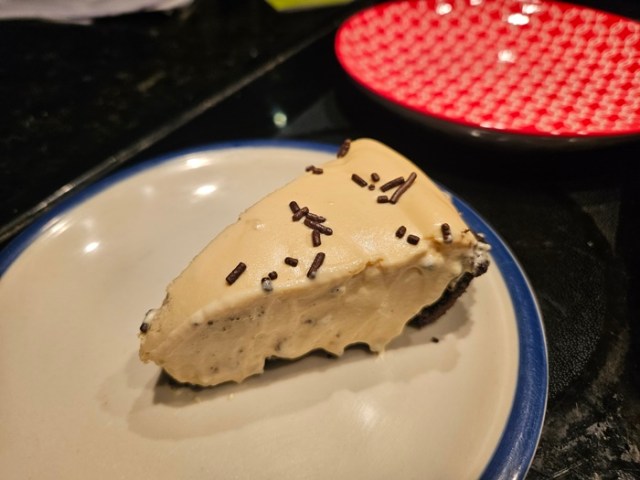
Turn out into the cooled crust. Sprinkle with the chocolate sprinkles, then refrigerate at least 8 hours before slicing and serving.
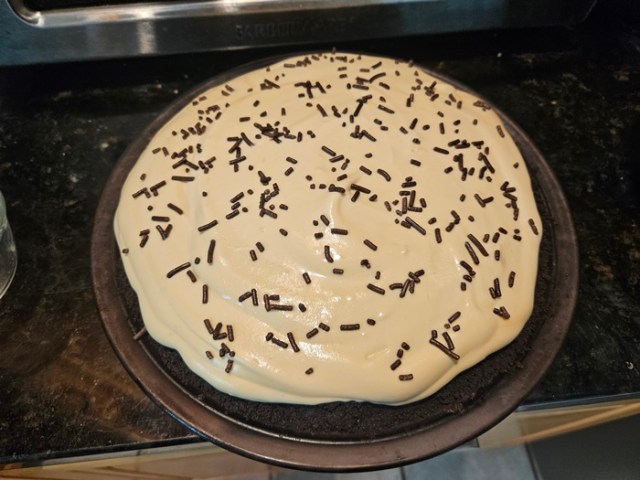 After that 8 hours, loosely/gently applied saran wrap won’t stick too much to the surface, if you don’t have some other way to cover the leftovers in the fridge.

Salted Caramel Icebox Pie
Adapted from Bake or Break.
Crust (regular):
- 2 cups chocolate cookie crumbs (such as Oreos, including filling, processed in a food processor)
- 1/4 cup granulated sugar
- 4 tablespoons unsalted butter, melted
Crust (gf):
- 24 gluten-free Oreos, processed in a food processor to crumbs
- 4 tablespoons unsalted butter, melted
Filling:
- 1 teaspoon gelatin
- 2 tablespoons water
- 8 ounces cream cheese, room temperature
- 1 cup powdered sugar
- 1 teaspoon vanilla extract
- 1-2 pinches of fine salt, optional
- 10 ounces (284g) salted caramel sauce or topping from the ice cream section
- 1 1/2 cups heavy cream
- 1-2 tablespoons chocolate sprinkles or shavings
Preheat oven to 350 degrees. Process the Oreos, then add the butter, and sugar if needed, for the crust and process briefly to combine. Transfer the mixture into an ungreased pie dish and spread evenly around the bottom and up the sides. Use the bottom of a glass/ramekin/measuring cup to press the crust firmly into the pan. Bake for 10 minutes, then allow to cool to room temperature.
To make the filling, combine the gelatin and water in a small dish and set aside. Beat the room temperature cream cheese for a few minutes with the paddle attachment of your blender to smooth, then add the powdered sugar, vanilla, and salt and beat until well combined. Mix in the caramel. Microwave the dish of gelatin for 10-15 seconds, to melt, then mix that in as well and set the bowl aside.
In a clean bowl, whip the cream until soft peaks form. Gently fold the whipped cream into the caramel cream cheese mixture, then turn out into the cooled crust. Sprinkle with the chocolate sprinkles, then refrigerate at least 8 hours before slicing and serving.
 Ingredients:
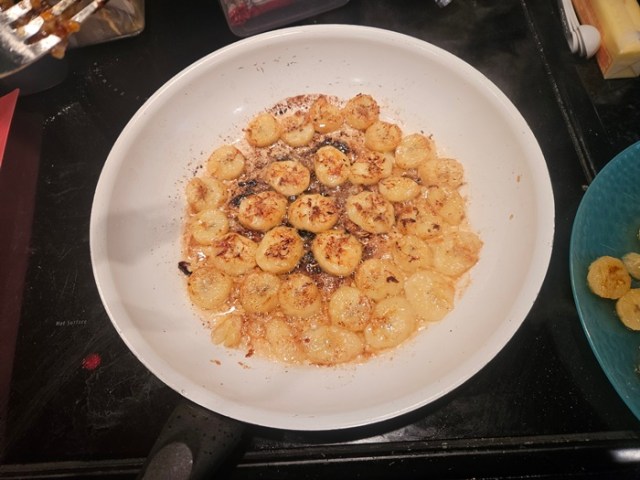
 Melt 2 tablespoons of the butter in a large skillet over medium heat. Once the butter is melted and frothy, add as many slices of banana as you can in a single layer, cooking for 2-3 minutes per side until browned and caramelized and until they release easily from the skillet.
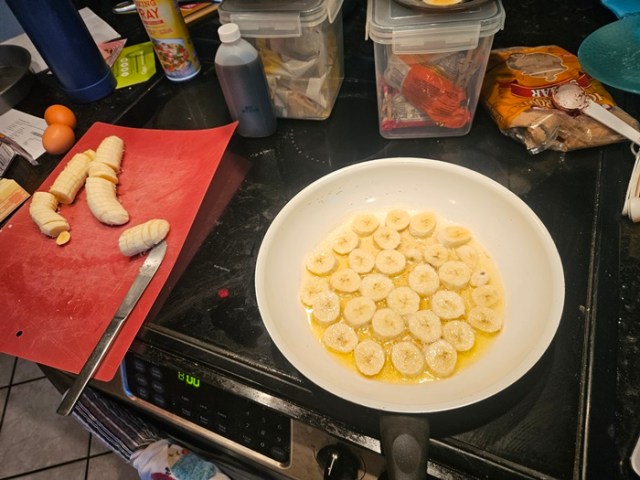
 After cooking on both sides, transfer the cooked bananas to a plate, add more butter to the pan if needed, and cook the remaining butter slices. Once complete, set the plate with the cooked bananas aside.
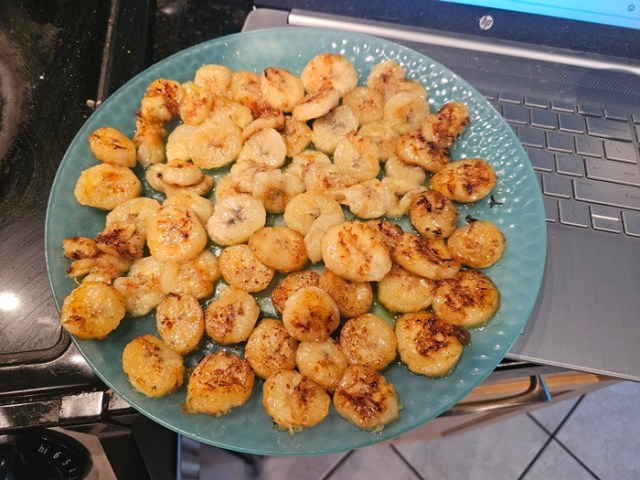 In a small saucepan, melt the 4 tablespoons of butter for the caramel over medium heat. Once melted, add the 1/2 cup brown sugar, stir, and cook for 3 minutes, stirring occasionally, until the sugar has dissolved and the mixture darkens slightly. Reduce the heat to low and add the vanilla and cream, whisking together. Simmer for a further minute, then remove from the heat.
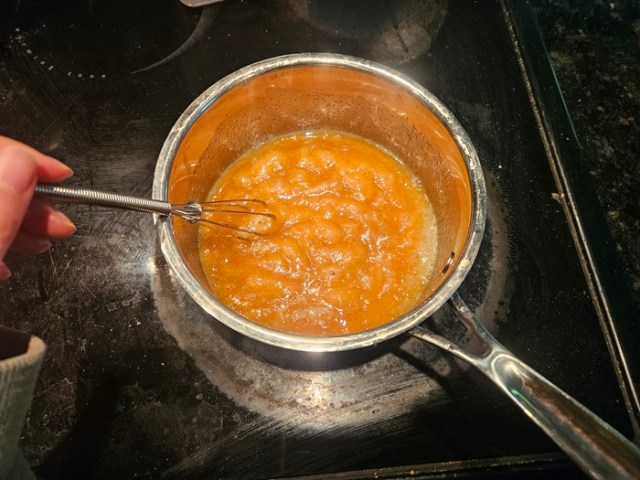 Grease a 9″ cake pan, then pour the caramel in in an even layer. Place in the refrigerator for 15 minutes.
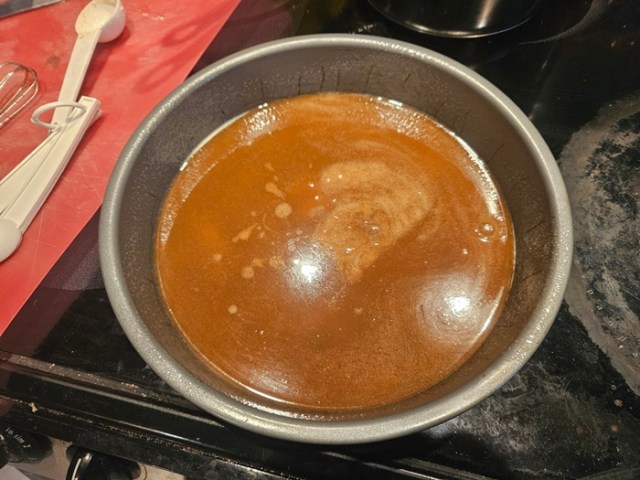 Meanwhile, preheat the oven to 300 degrees. In a small bowl, sift together the flour, cocoa powder, baking powder, and salt, then set aside.
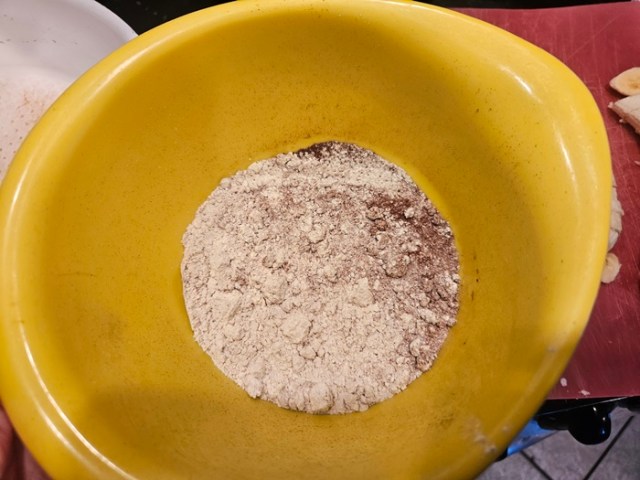 In a large bowl, cream together the remaining 4 tablespoons of butter and half cup of brown sugar.
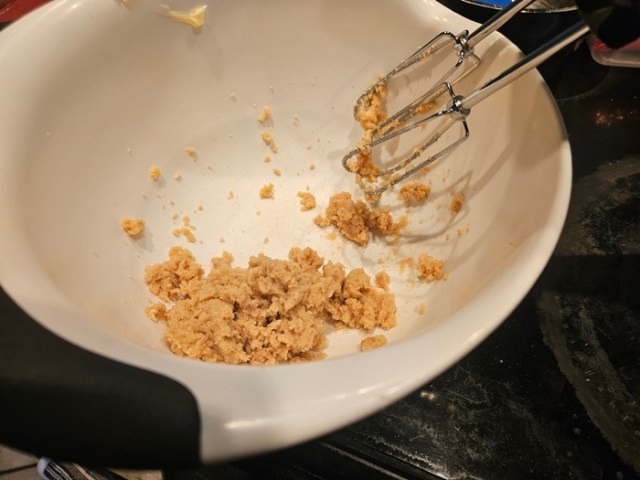 Beat in the eggs. Add half the sifted dry goods, followed by half of the milk, then the remaining dry goods, and remaining milk. Beat until just combined, then fold in the peanut butter chips by hand. Set batter aside. (It seemed pretty liquid-y to me, but the texture of the finished cake was good.)
 Remove the chilled cake pan from the fridge and arrange the bananas over the caramel, overlapping them slightly and pressing them into the caramel.
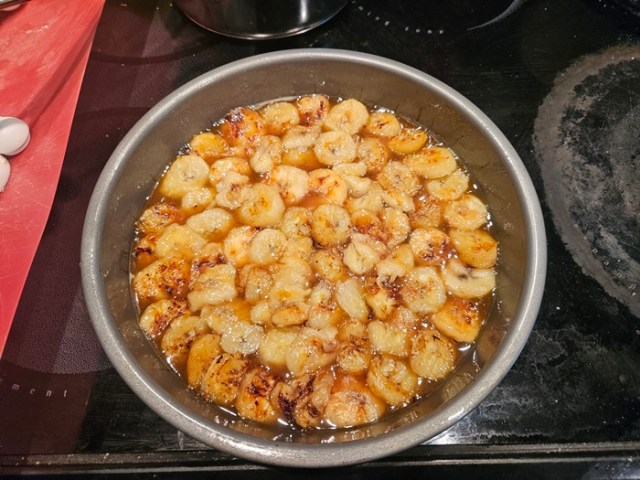 Pour the cake batter on top of the bananas.
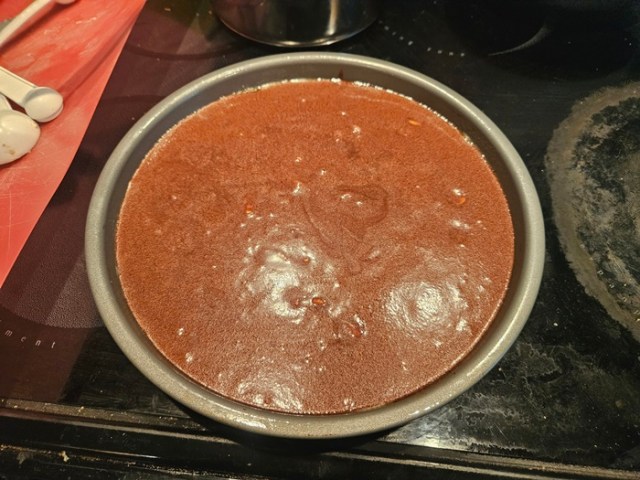 Bake for 55-60 minutes, rotating halfway through, until it passes the toothpick test.
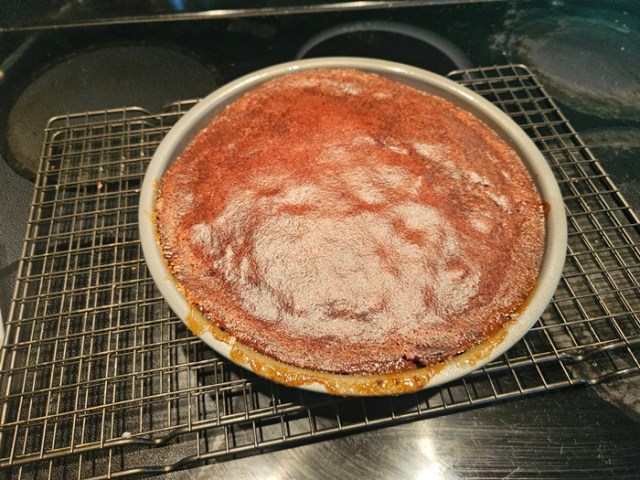 Cool at room temperature for at least 30 minutes, and then while the cake is still warm, invert onto a plate.
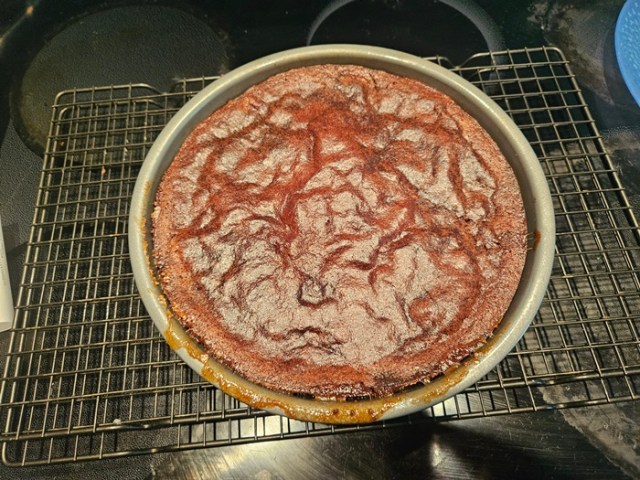
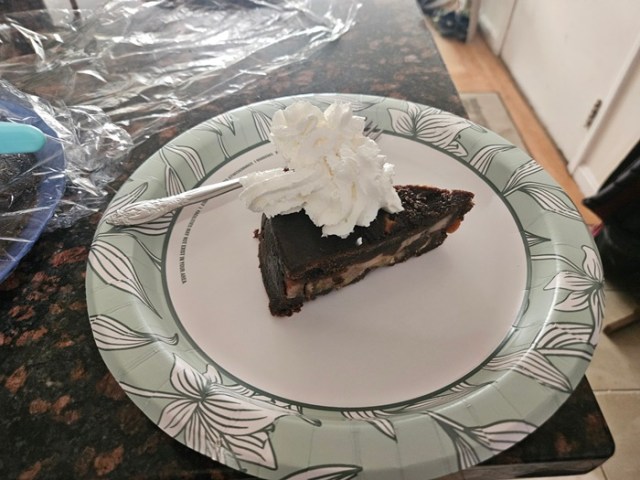
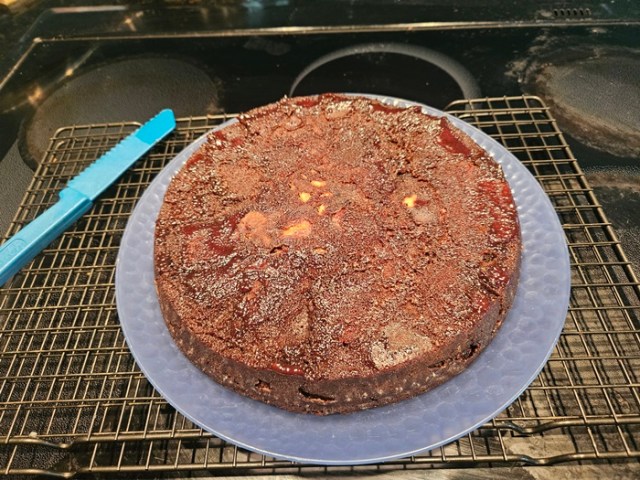 Serve with whipped cream and a pinch of sea salt. Theoretically a bit less whipped cream if you’re going to eat more the next day for breakfast, but I’m not the cops!
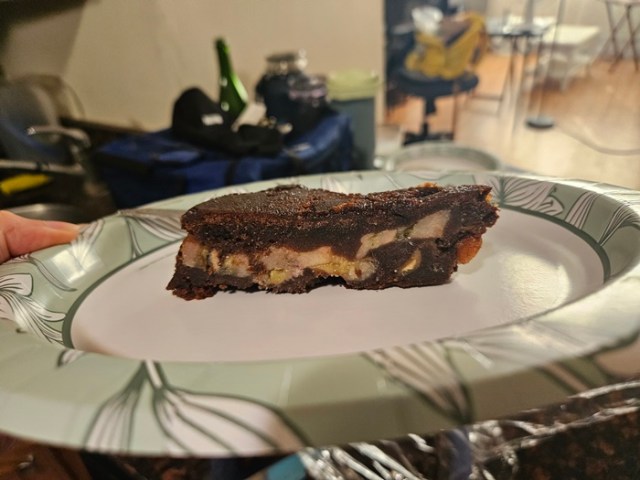

 Ingredients:
 Remove from the heat and beat in the sugar.
 Add the eggs, then the espresso powder, salt, and vanilla.
 Fold in the flour, then the caramel bits and chocolate chips.
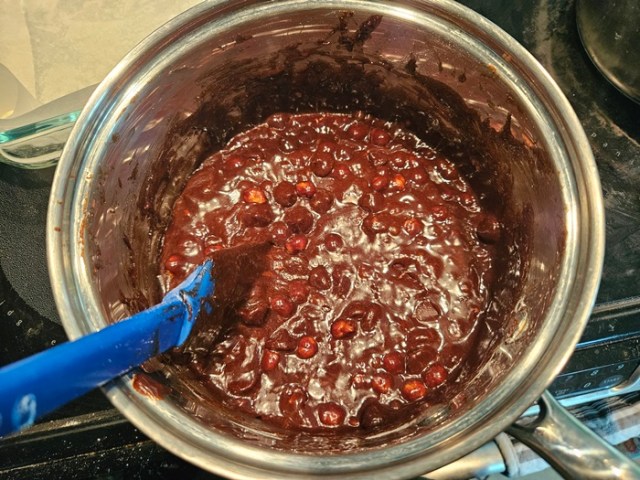 Transfer into the prepared pan.
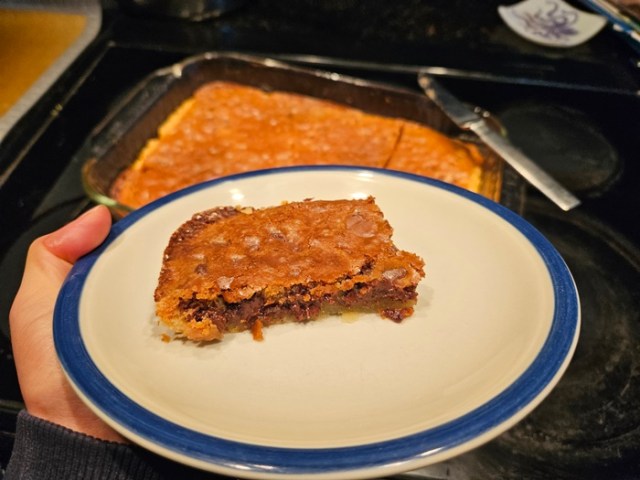
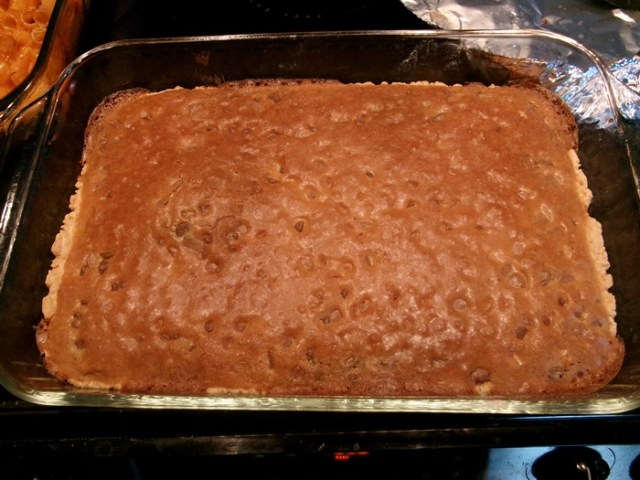
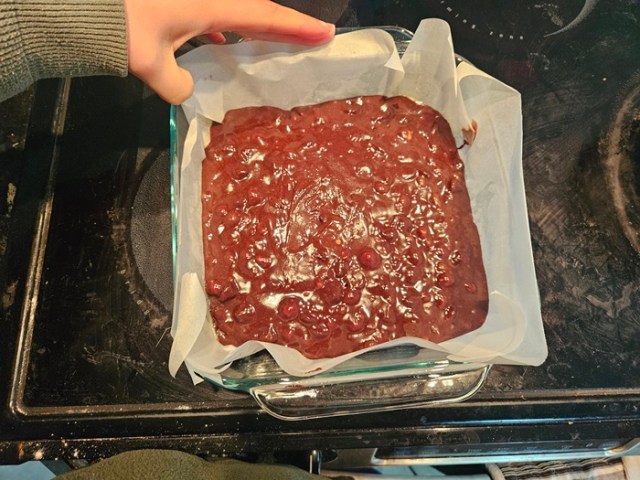 Bake for 20 minutes. Rotate the pan, then bake another 15-20 minutes, until the edges have darkened and the top looks cooked.
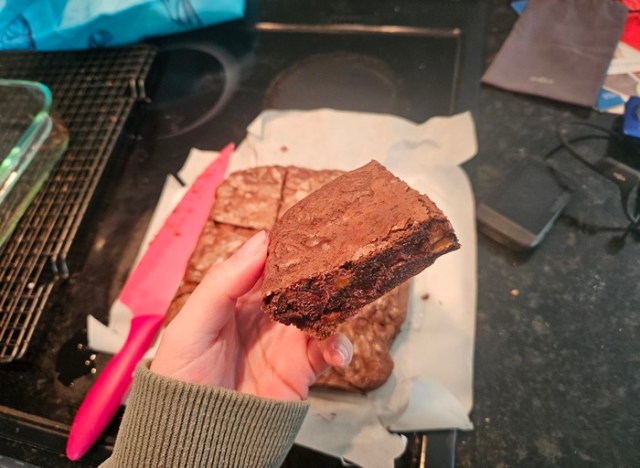
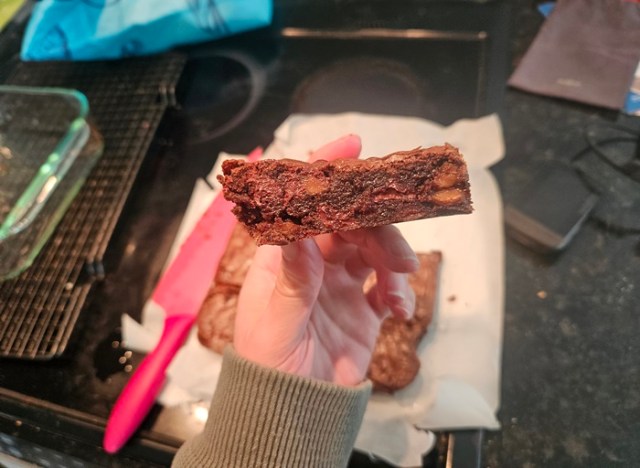
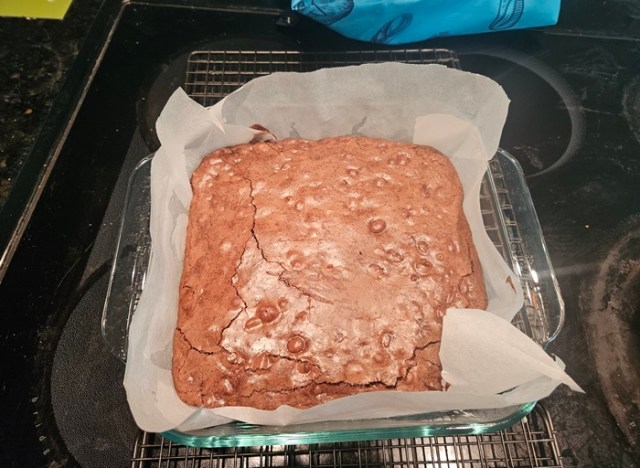 Cool in the pan at least 30 minutes, then remove from the pan (remembering now that the bottom of your parchment will be greasy so you don’t want it directly on your counters), slice, and serve.
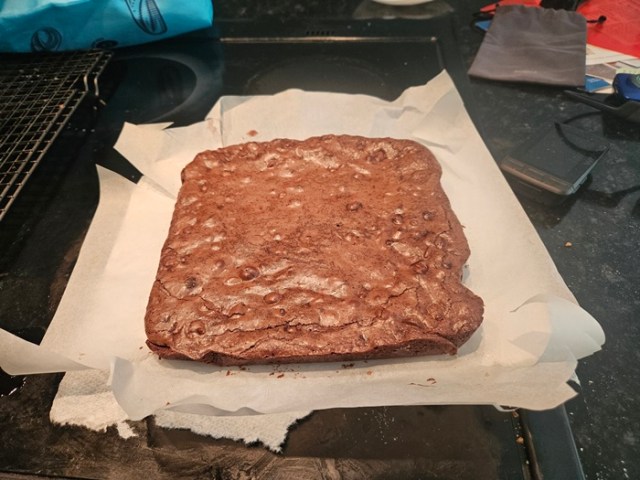
 Ingredients:
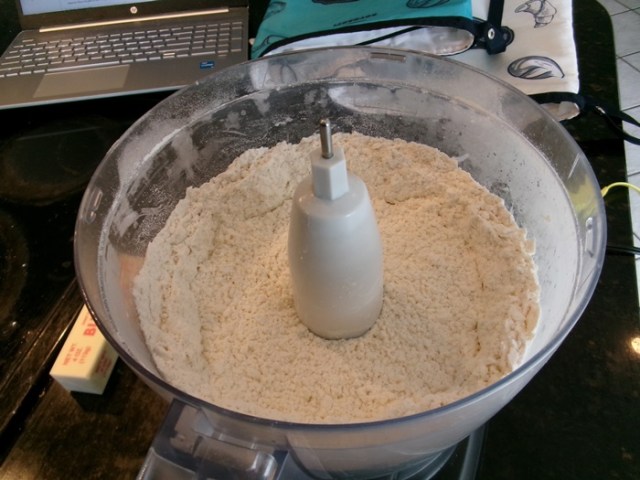
 Mix in the eggs and vanilla.
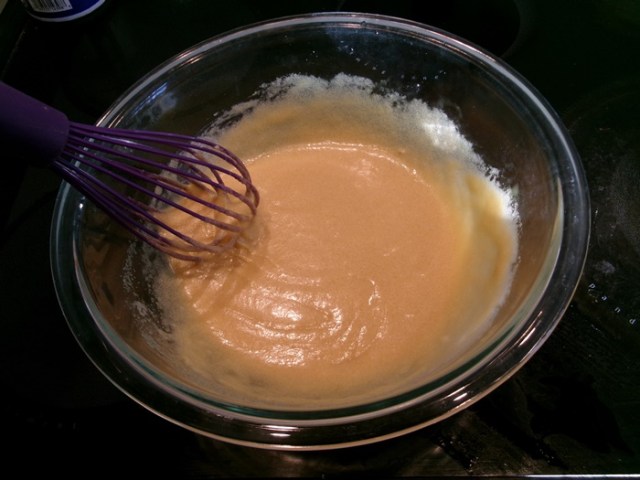 Whisk in the flour and salt, then the chocolate chips.
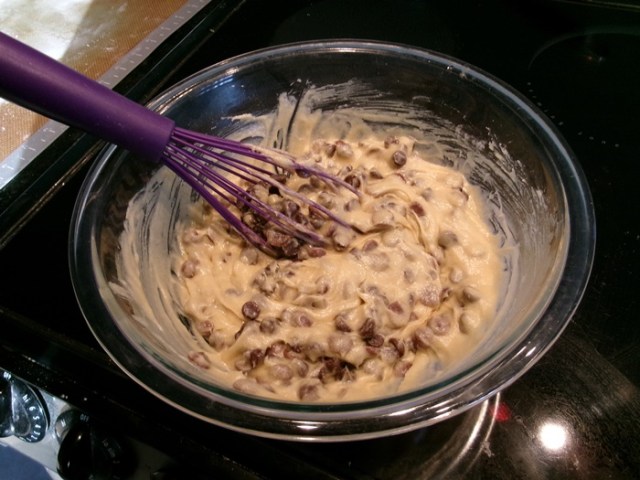 Spread into the crust.
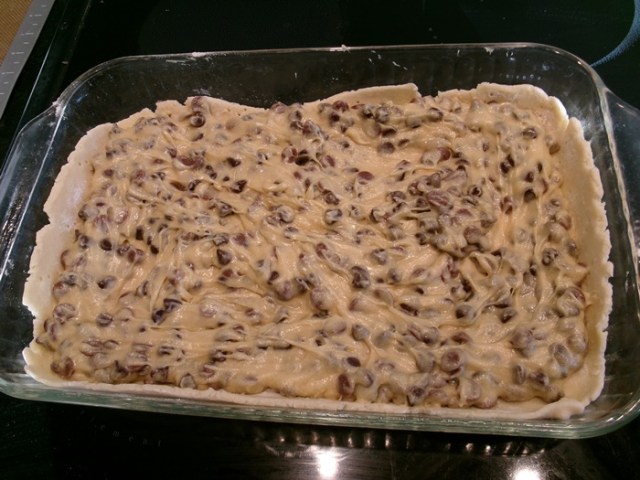
 Cool in the pan, on a wire rack, then slice and serve. If you lined the pan with parchment, you can lift out before slicing. Store in an airtight container.
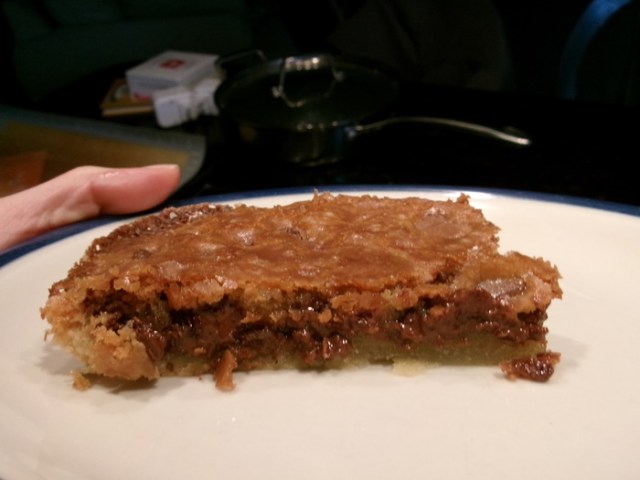
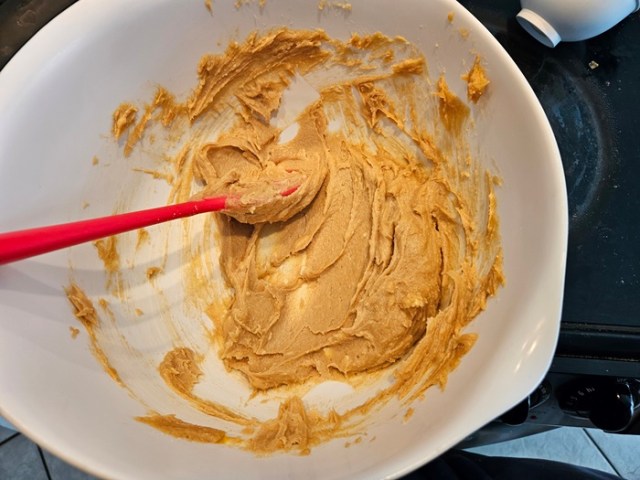 Stir in the cereal and chocolate chips.
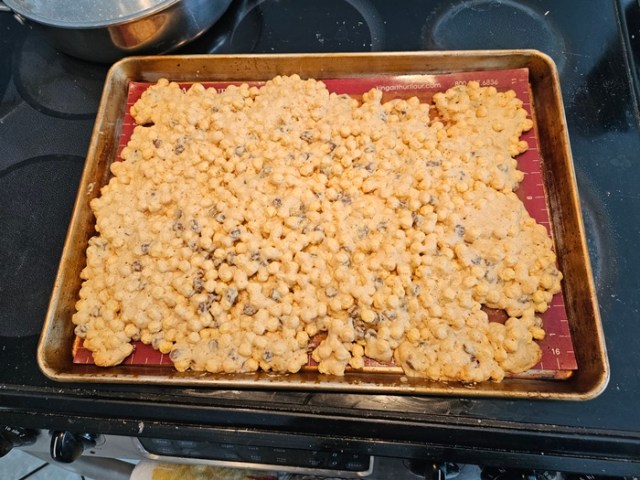
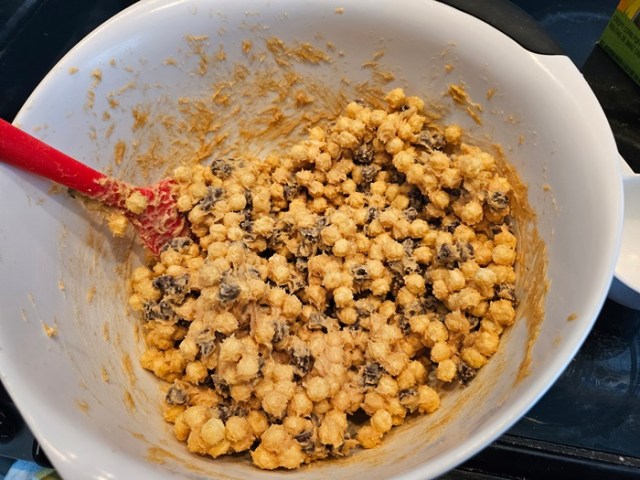 Turn out onto the lined pan and press into an even layer – it may be helpful to spray a silicone spatula with baking spray to press with.
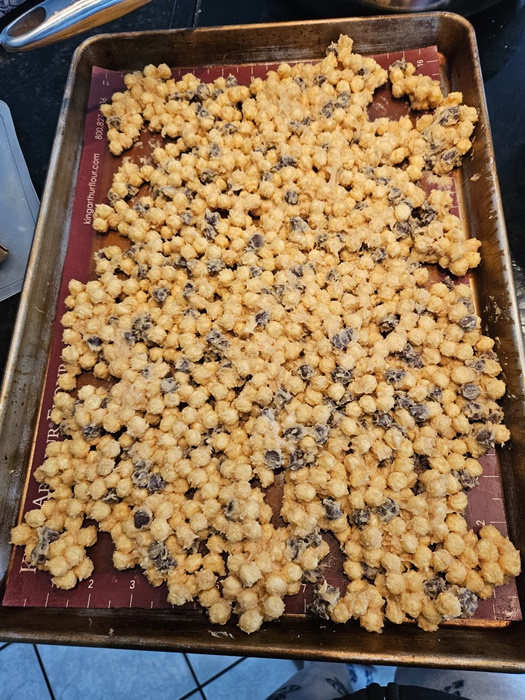 Bake 10 to 12 minutes or until golden brown. Cool in the pan on a wire rack, then break into chunks and store in an airtight container.
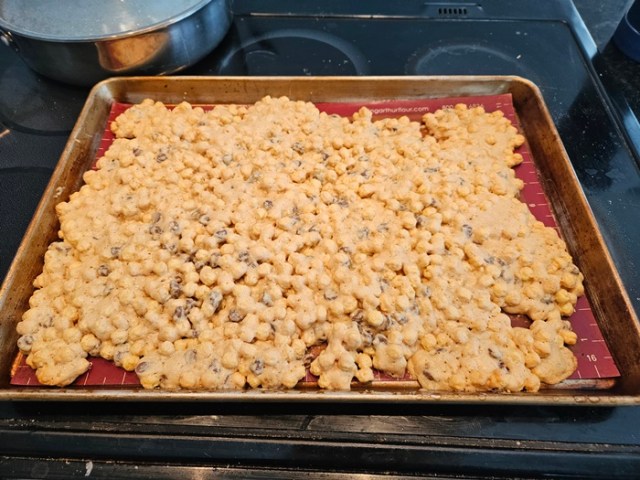
 Combine the buttermilk, honey, salt, and baking soda (perhaps in a large measuring cup, which you can also use to microwave the buttermilk to warm it), whisk together, then pour into the yeast mixture.
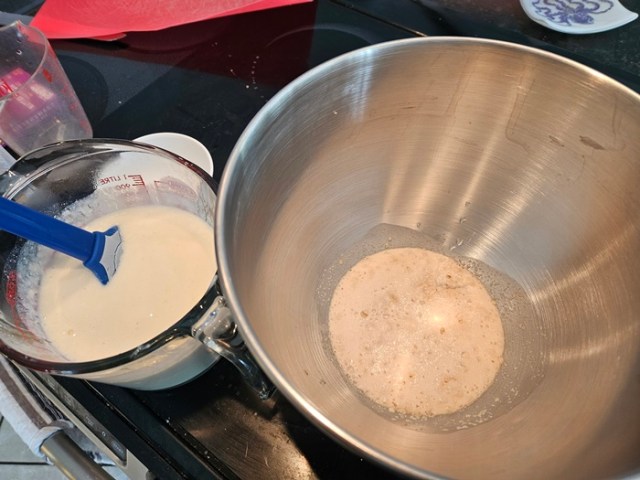 Add 3 cups of the flour and mix until smooth on low speed of your mixture, starting with the paddle attachment, 3-5 minutes. Add the melted butter and mix until completely combined.
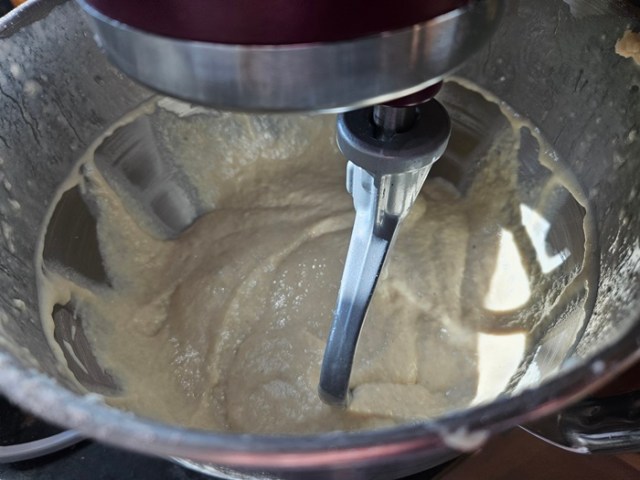 Add the remaining flour 1 cup at a time, continuing to mix on low speed. I do recommend briefly stirring by hand after each addition, so that turning on the mixer doesn’t create a huge cloud of loose flour. When the dough pulls from the sides of the bowl, remove and knead until smooth. I had hoped to knead fully just with the dough hook, but it seemed like much of the dough wasn’t really getting kneaded, so I did do it by hand.
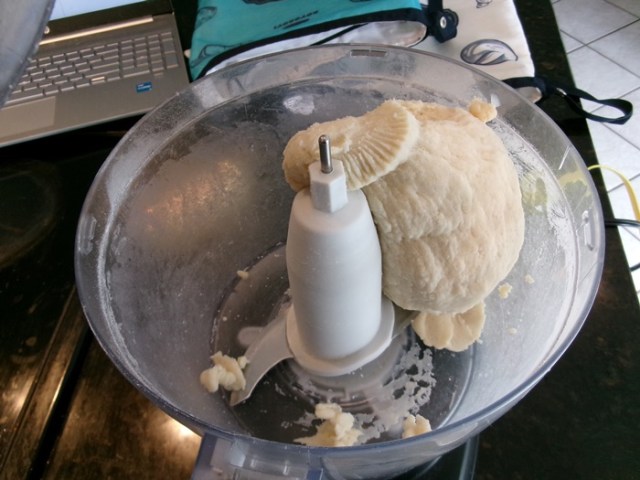
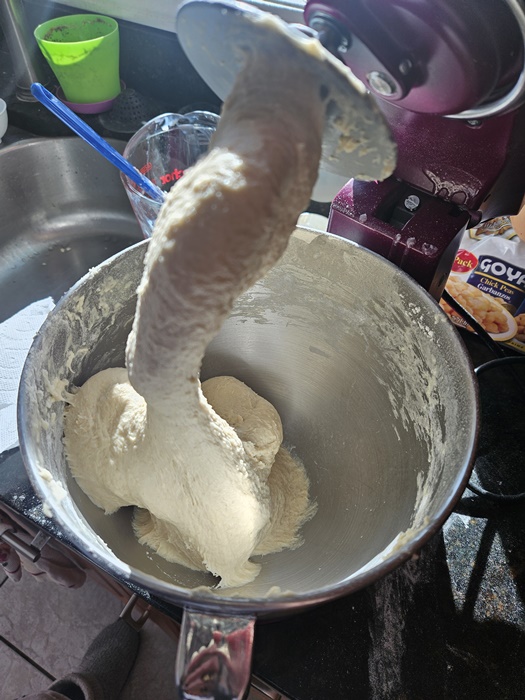 Place the kneaded dough in a greased bowl, rotate to cover all sides of the dough in the grease, and cover. Let rise somewhere warm for 1 1/2 hours, or until doubled.
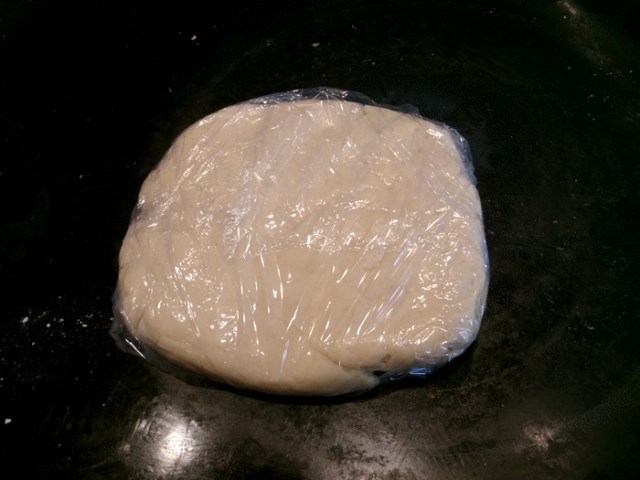
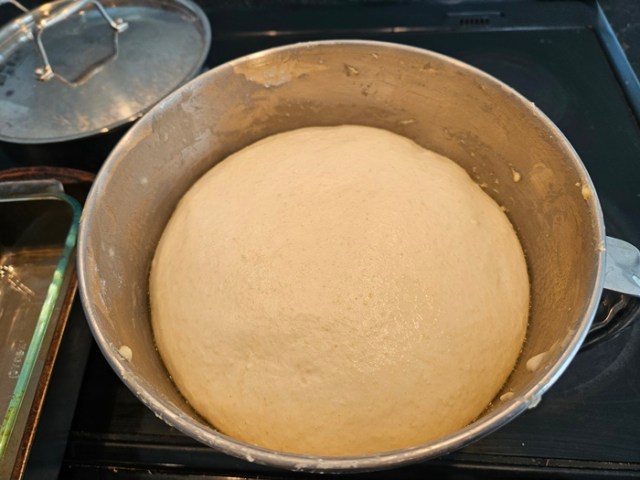
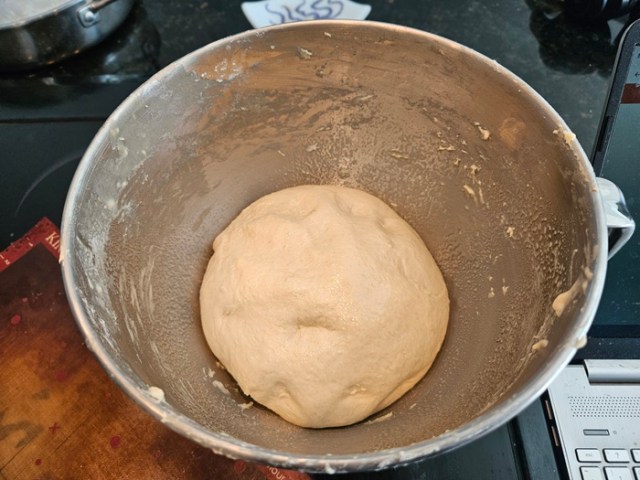
 Grease two bread pans. Once risen, punch down and shape into two loaves, putting each into a greased pan with seam-side down. Lightly grease the top of the bread, then cover and let rise a further 45 minutes, or until the dough has reached the top of the bread pans.
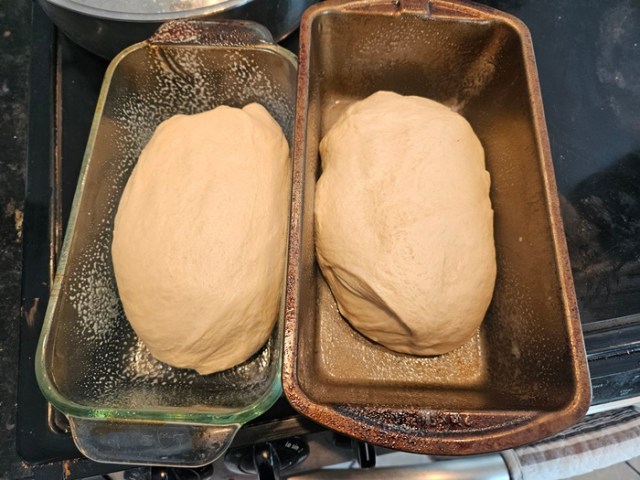
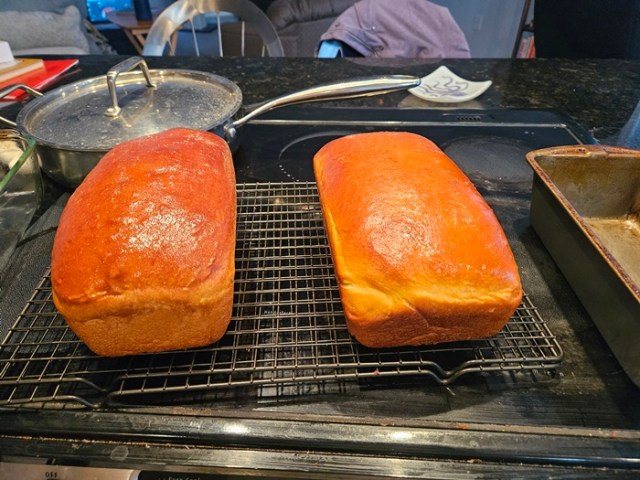
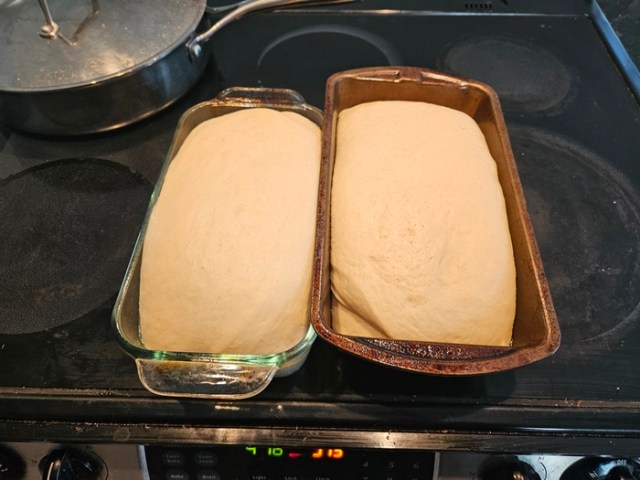 Preheat the oven to 375, put in the loaves, and bake for 30 minutes.
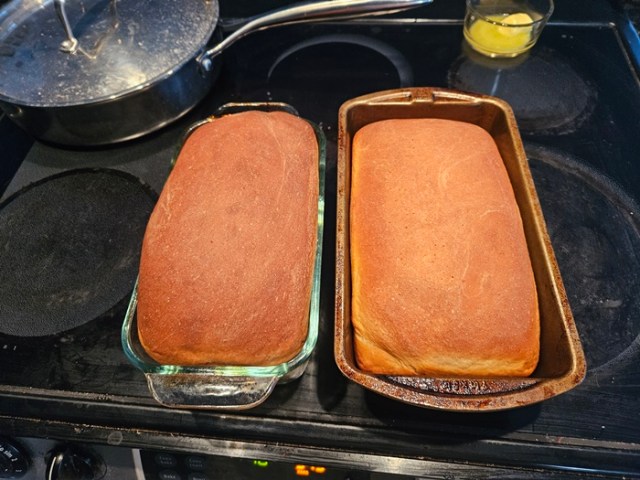 Remove the bread from the oven and brush the tops with melted butter.
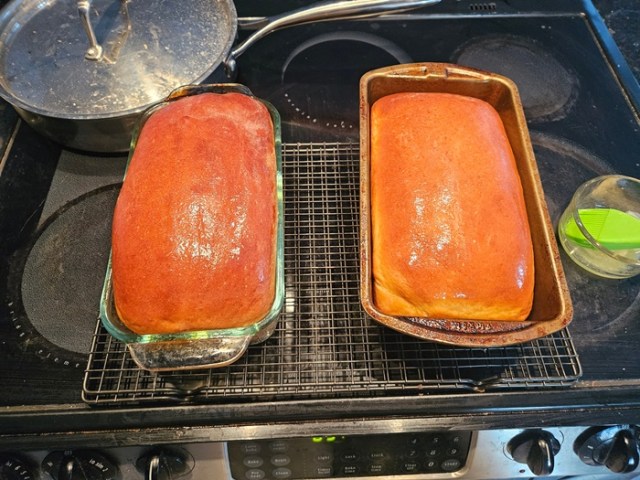 Let cool on a rack in the pans for 10 minutes, then remove from the pans and let cool completely on a wire rack.
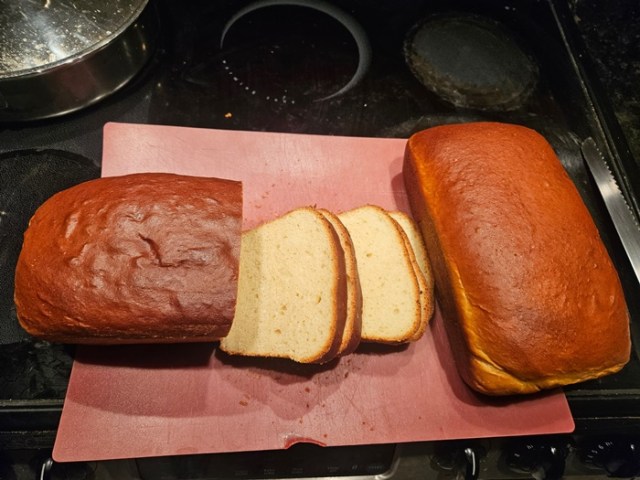
 Ingredients:
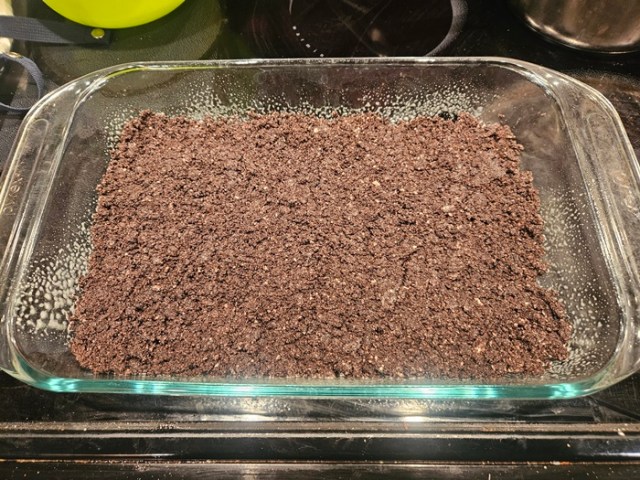 Bake until set, about 8 minutes, then move to a wire rack to cool. You’re done with the oven now and can turn it off.
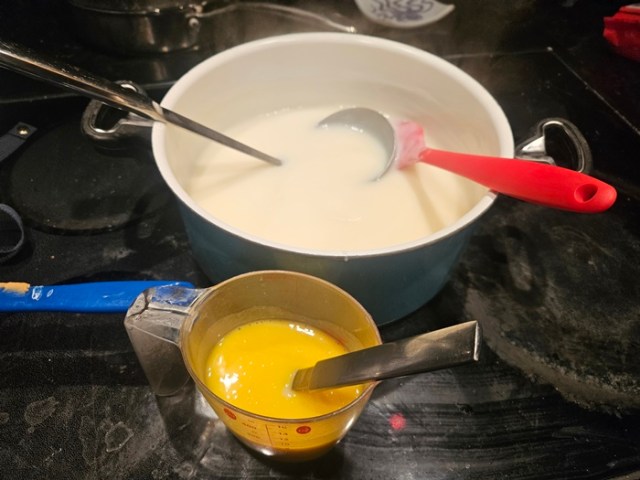 Pour the warm egg mixture back into the larger pot and return to the heat, bringing to a gentle boil while stirring constantly.
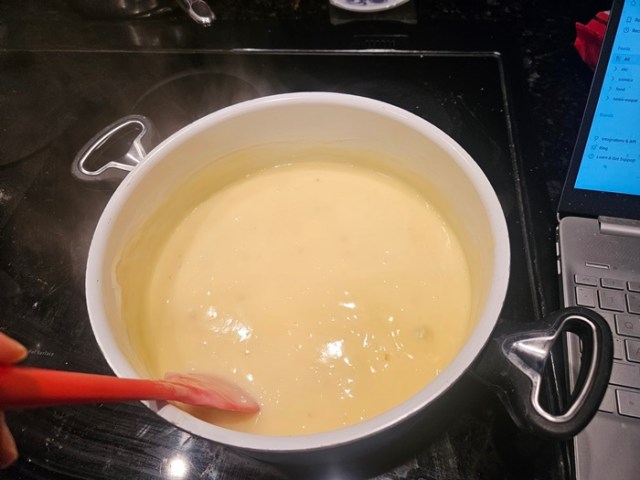 Boil for two minutes, then remove from the heat. Add the peanut butter and stir until smooth.
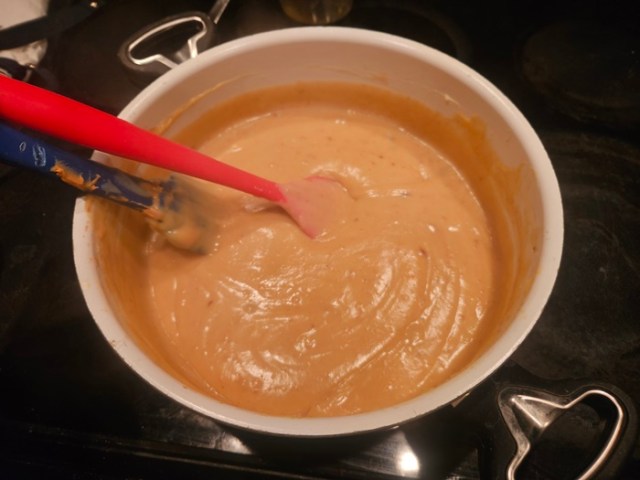 Pour into the cooled crust, cover, and refrigerate at least two hours.
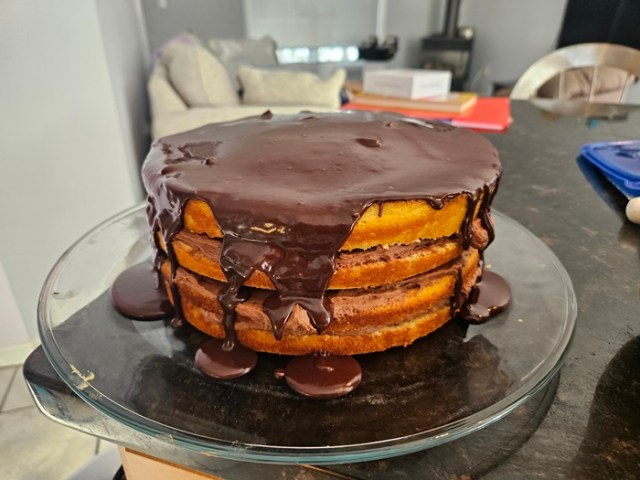
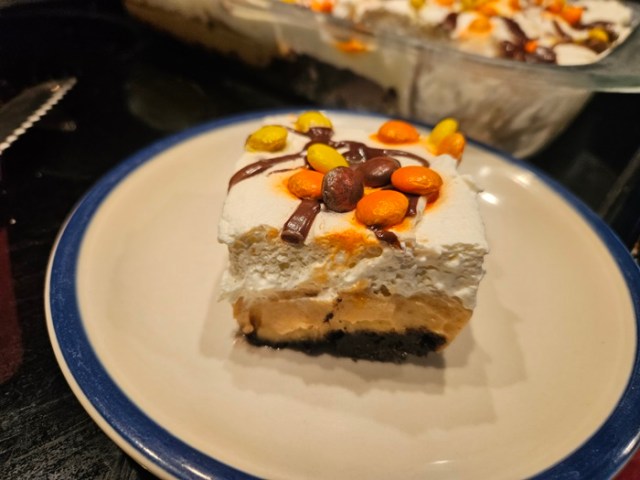
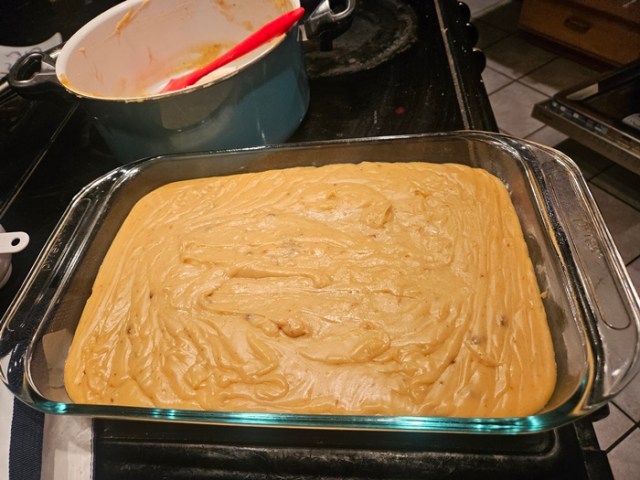 After the filling has cooled, beat the heavy cream until it begins to thicken, then add the powdered sugar and continue beating until stiff peaks form. If you don’t expect the custard to all get eaten that day, add the tablespoon of pudding powder, which will ensure no liquid starts seeping out of the leftover whipped cream. Spread the whipped cream over the peanut butter layer, then top with the Reese’s Pieces and chocolate sauce.
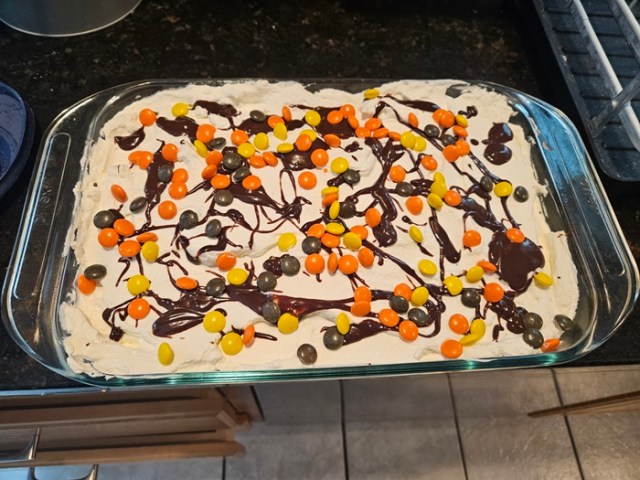 At fridge temperature, this is a dish you serve with a spoon. For nice slices, freeze maybe an hour, then slice. Once it’s fully frozen, it becomes hard (but still possible) to draw a knife through, so half-frozen would be ideal.
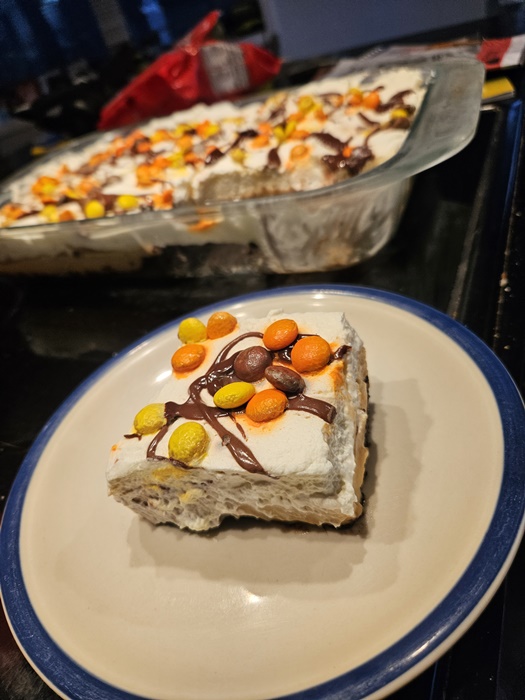
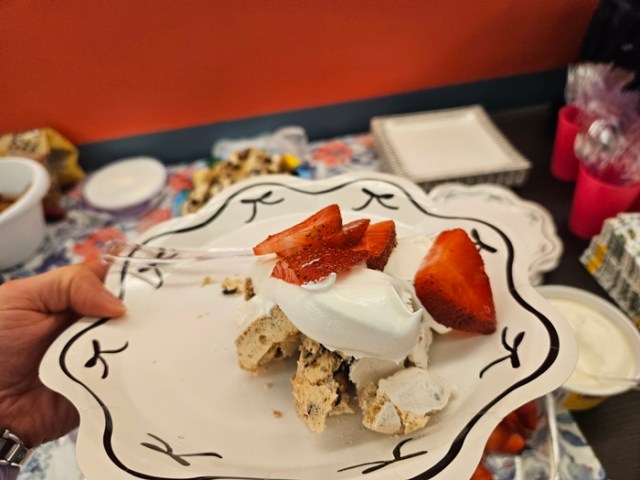
 If you’re not already aware – it’s easier to separate egg whites from the yolks cleanly while they’re cold, but then egg whites beat up better at room temperature, so this will go better if you separate your eggs and then let the whites sit for a bit to warm.
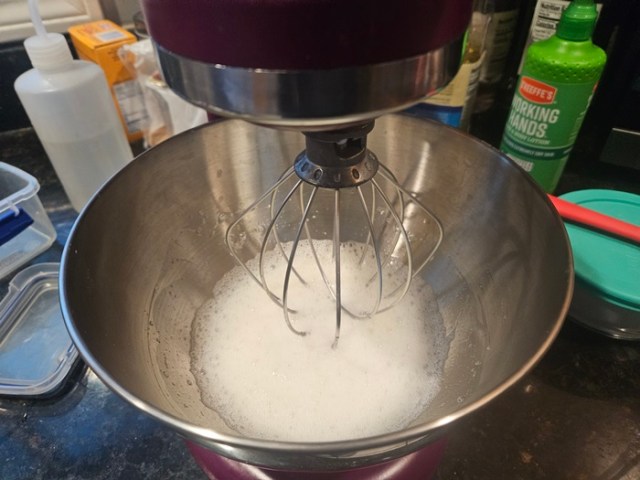 Gradually add the sugar mixture to the egg whites and continue beating until the egg whites reach stiff peaks.
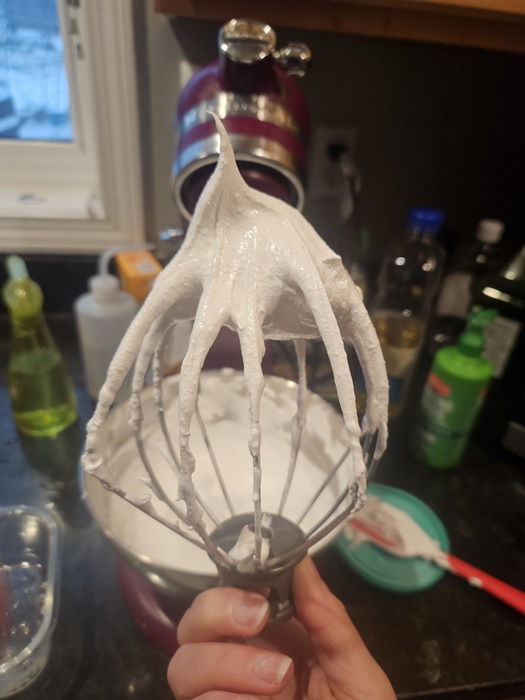 Beat in the vanilla, then fold in the crushed Ritz and mini chocolate chips by hand.
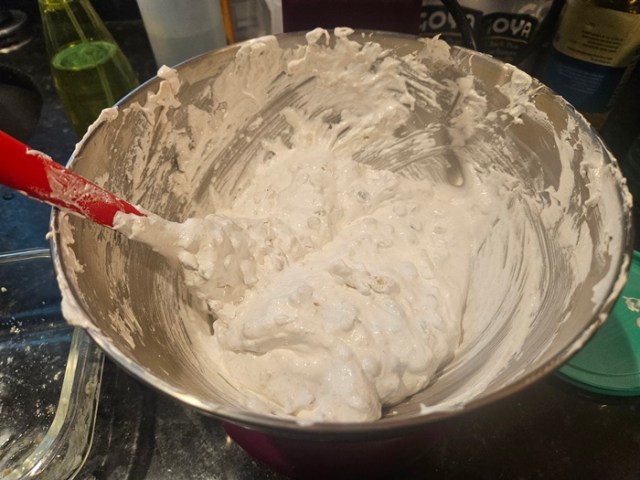 Transfer the meringue mixture to the greased pie pan.
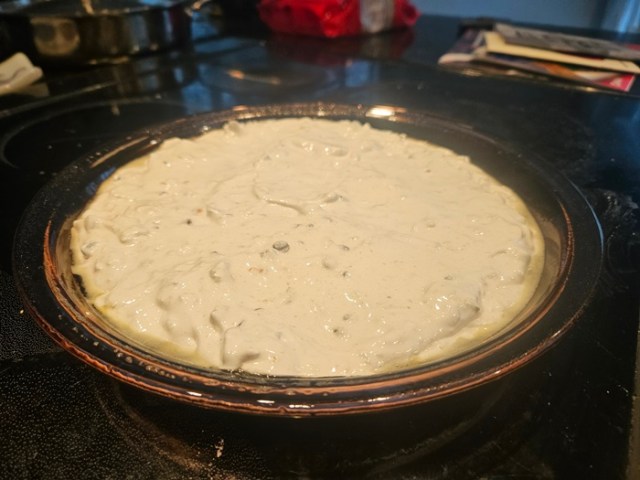 Place the meringue in the oven and reduce the temperature to 325 degrees. Bake for 30 minutes, then remove from the oven and place the pan on a wire rack to cool completely.
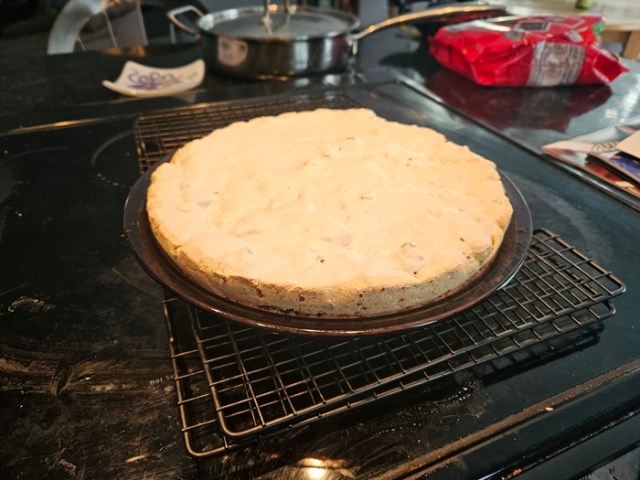
 Ingredients:
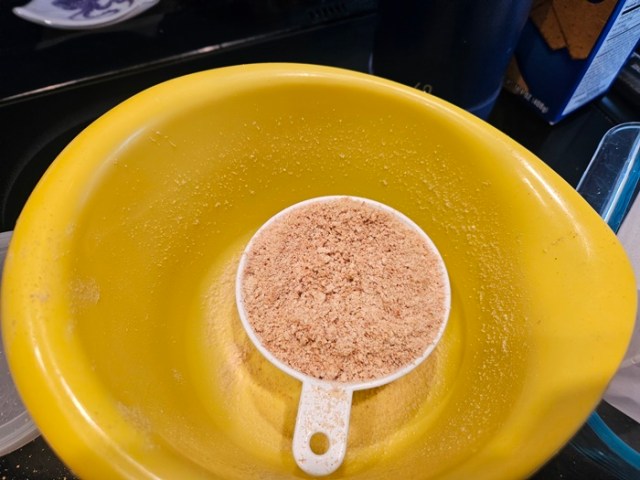
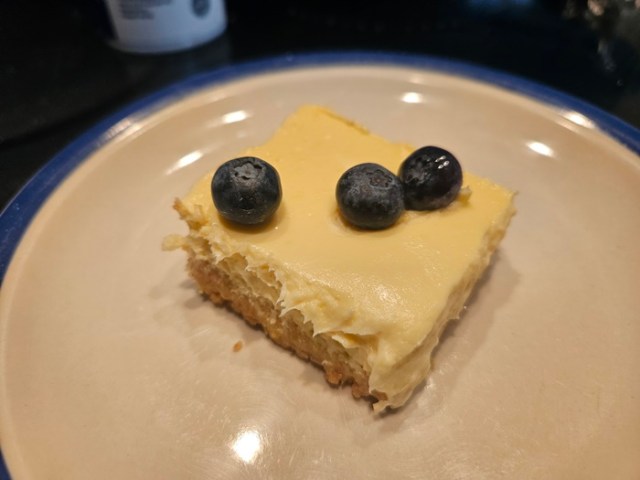
 Meanwhile, beat the cream cheese with a mixer on high until smooth and creamy, about a minute.
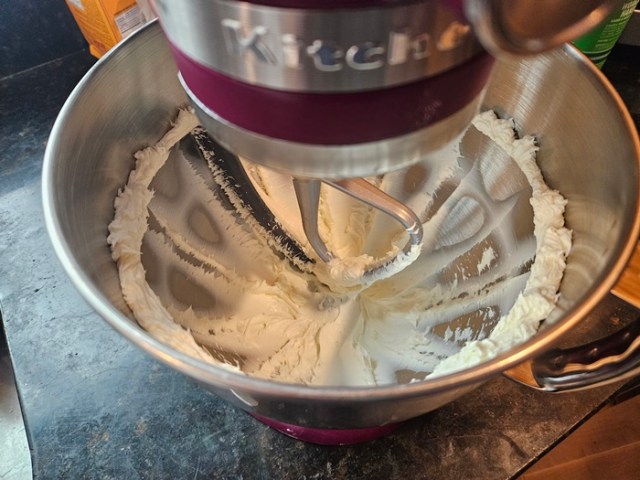 Add the yogurt and beat until well combined at medium-high, another minute.
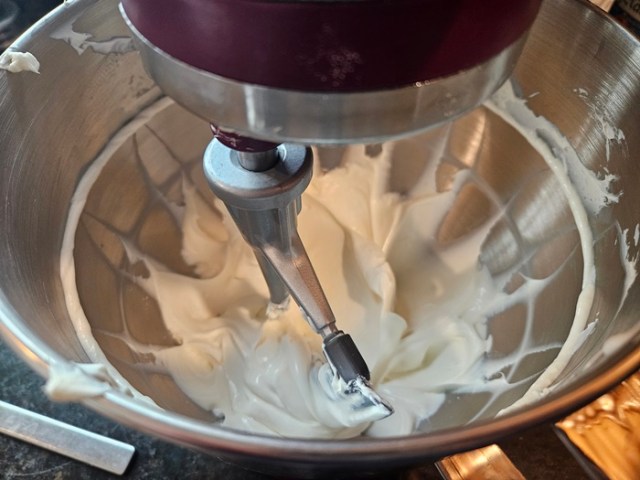 Beat in the eggs/yolk.
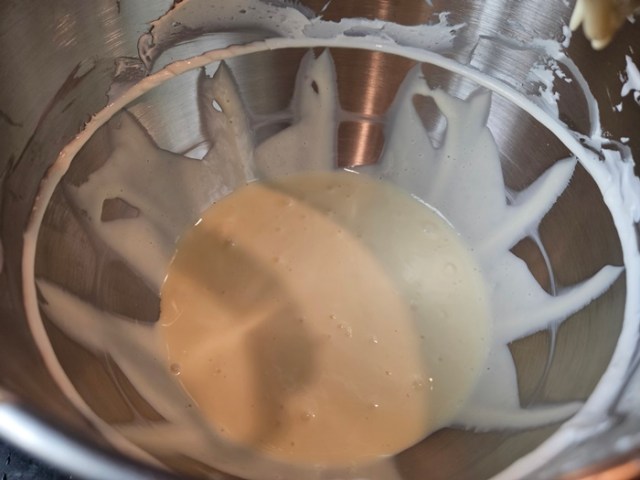 Beat in the sugar, lemon juice and zest, and vanilla, making sure to scrape down the insides of the bowl.
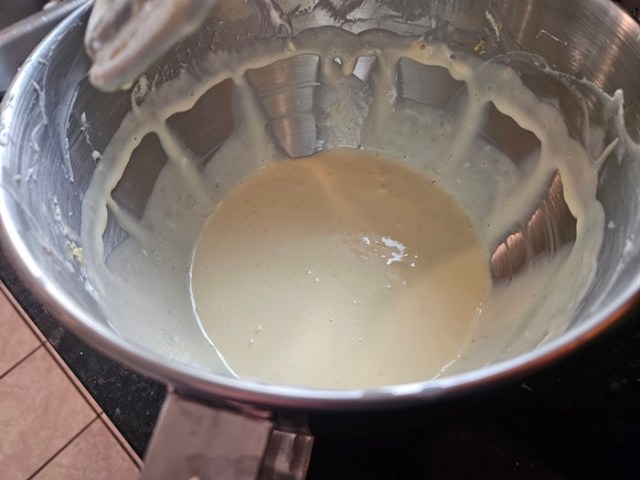 Pour the filling into the crust.
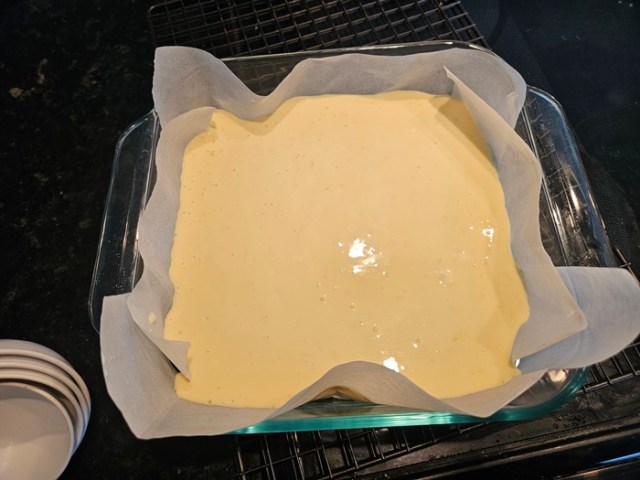 Bake 34-38 minutes, until still somewhat jiggly but not still liquid.
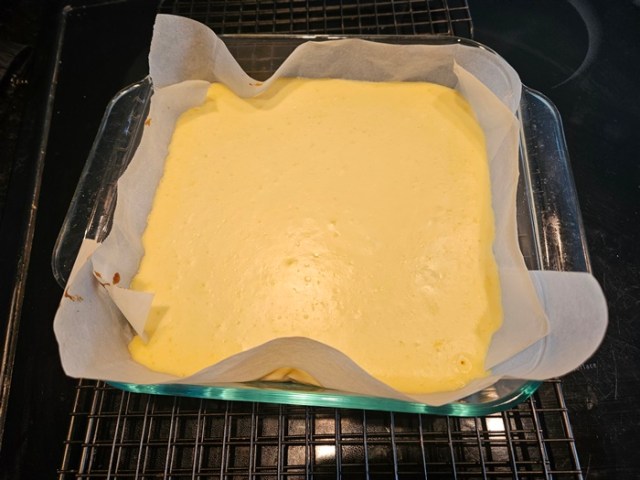 Cool on a wire rack at room temperature for 1 hour, then refrigerate at least 3 hours, up to overnight.
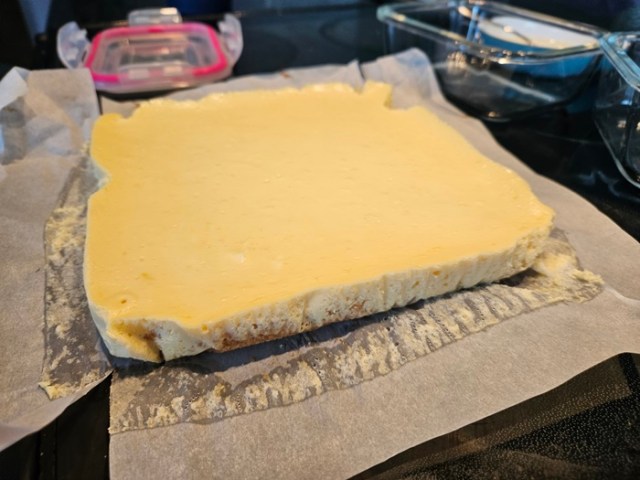
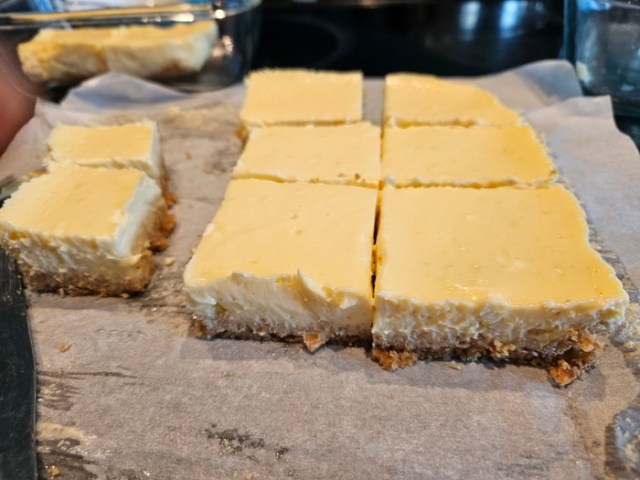
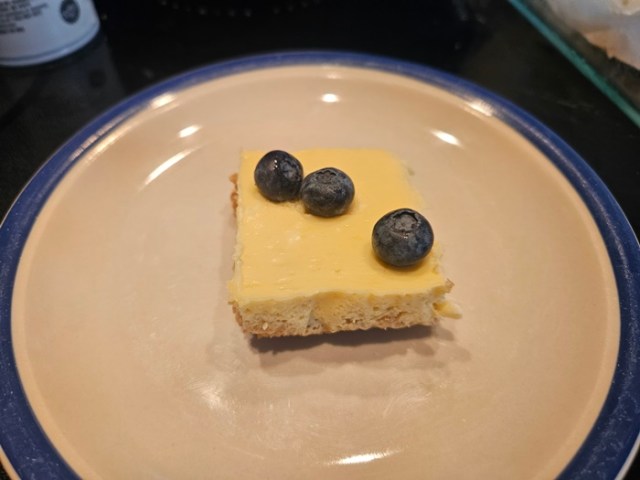
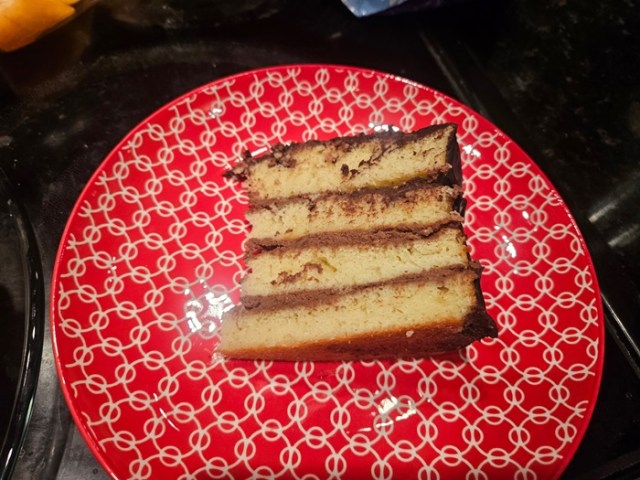
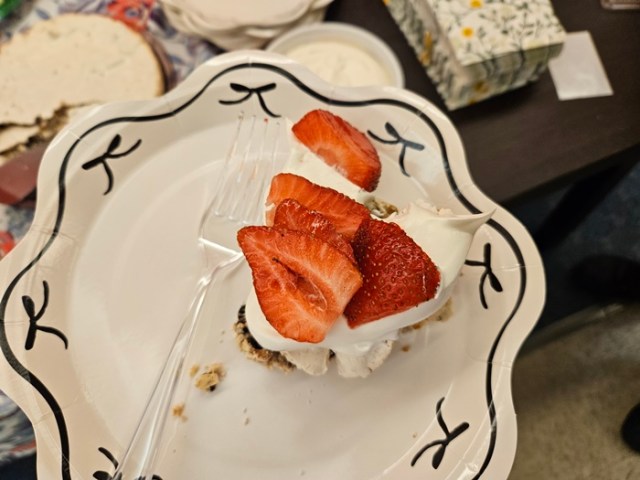
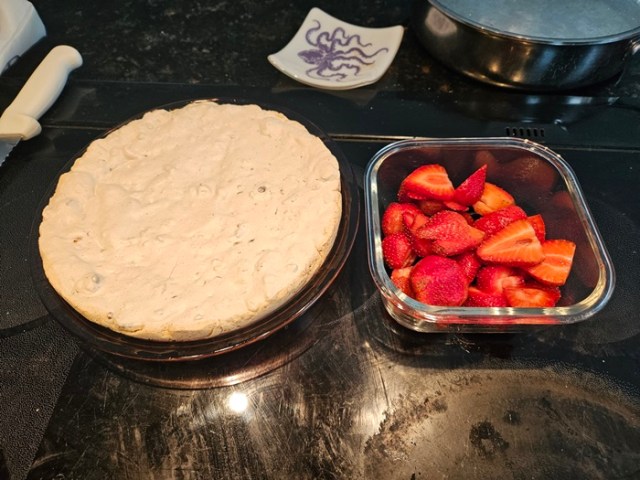
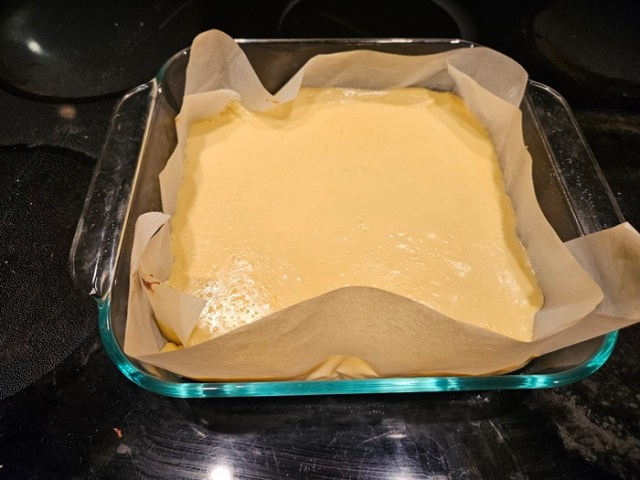 When ready to serve, use the parchment to remove the bars from the pan and cut with a sharp knife, wiping down the knife between cuts if you care about nice edges. Serve with whipped cream and/or berries as desired. Store in the fridge for several days, or freeze and then thaw overnight in the fridge to keep for longer.