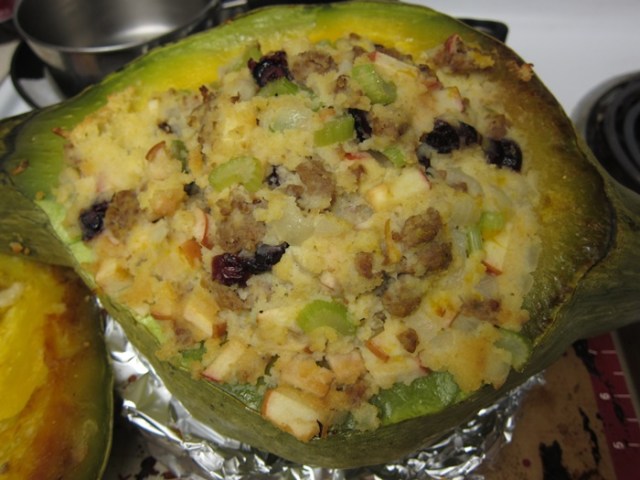
A massive delicious squash with all sorts of good flavors! This would be a pretty amazing thing to serve at a Thanksgiving, but I guess I’m also up to the challenge of eating it all myself… You’ll want to give yourself about 2 hours to make this, but most of the second hour will be hands-off time. The recipe is flexible, so you can add more or less of various ingredients depending on a) what you like, and b) what’s actually going to fit in your particular squash.
 Ingredients:
- 10-12 pound blue hubbard squash
- olive oil
- 1 pound sweet Italian sausage, casings removed
- 1 sweet onion, chopped
- 3 stalks celery, chopped
- 1/4 teaspoon salt
- dash ground pepper
- 1 pound prepared cornbread, cut into 3/4-inch cubes
- 2 small/1 large apple(s), chopped
- 1/2 cup craisins
- 1/2 teaspoon parsley flakes
- 1/2 teaspoon ground sage
- 1/2 – 1 cup reduced-sodium chicken broth
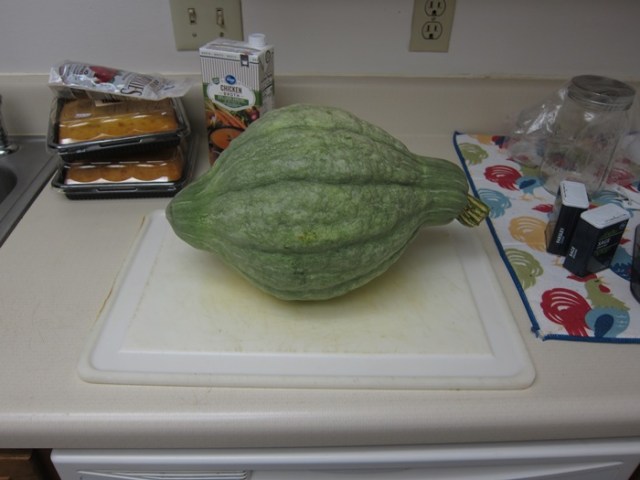
Only used one of those cornbreads in the back.
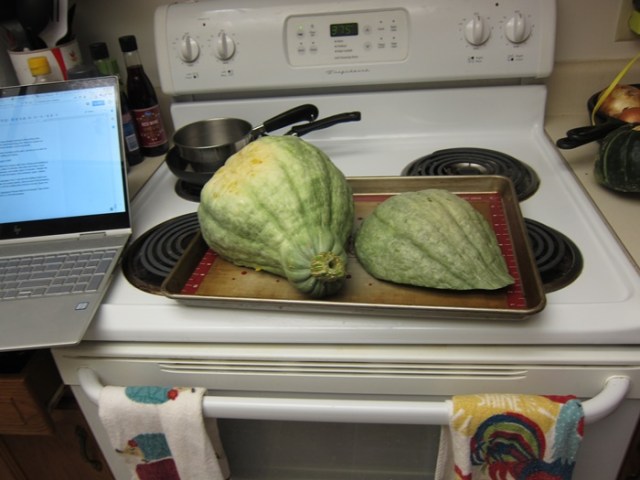
To start, preheat your oven to 375 degrees. Cut the top of the squash off, cutting off enough that it’ll be easy to scoop out the seeds/goopy bits but still leave a large bottom ‘bowl’.
 Remove the seeds then rub the inside of both pieces with olive oil. Place, cut sides down, on a baking sheet and bake 45 minutes, or until the inside is tender.
 Meanwhile, make the stuffing: Cook the sausage in a large nonstick pan over medium-high heat, breaking up well with a large wooden spoon. Once fully browned, pour off any excess grease and reduce the heat to medium-low.
 Add the onion and celery and cover, then cook, stirring occasionally, until tender, 10-15 minutes.
 Transfer the sausage mixture to a large bowl and add the salt, pepper, cornbread, apple, craisins, parsley, and sage. Stir together well.
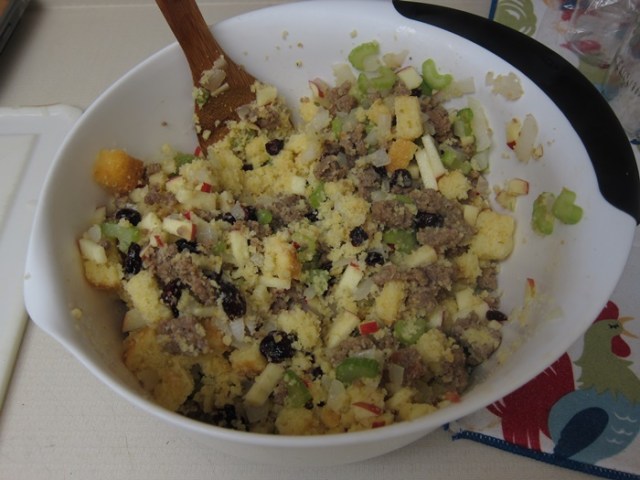 Heat the broth in a small pot until simmering. Drizzle a half a cup over the stuffing mixture and stir in. Add as much of the remaining broth as needed to make the stuffing feel moist, but not wet – that was about an additional quarter cup for me this time.
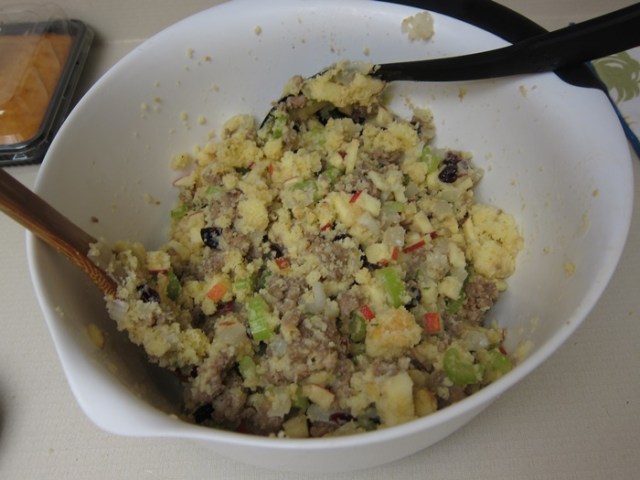 Transfer the mixture into the roasted squash, piling up the extra as needed, and then cover with the top of the squash.

The foil ‘support’ didn’t actually do anything, but can’t hurt…
 Readjust your oven rack to the bottom 1/3 and reduce the oven temp to 350 degrees. Bake for 45 minutes, then take the lid off the squash and bake another 10-15 to brown up the top of the stuffing a bit. Get a huge spoon, and serve! Don’t forget there’s good squash in the lid too!
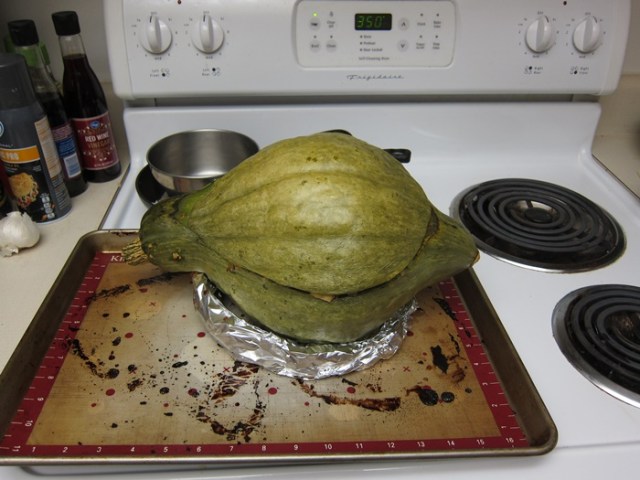


Stuffed Blue Hubbard Squash
- 10-12 pound blue hubbard squash
- olive oil
- 1 pound sweet Italian sausage, casings removed
- 1 sweet onion, chopped
- 3 stalks celery, chopped
- 1/4 teaspoon salt
- dash ground pepper
- 1 pound prepared cornbread, cut into 3/4-inch cubes
- 2 small/1 large apple(s), chopped
- 1/2 cup craisins
- 1/2 teaspoon parsley flakes
- 1/2 teaspoon ground sage
- 1/2 – 1 cup reduced-sodium chicken broth
To start, preheat your oven to 375 degrees. Cut the top of the squash off, cutting off enough that it’ll be easy to scoop out the seeds/goopy bits but still leave a large bottom ‘bowl’. Remove the seeds then rub the inside of both pieces with olive oil. Place, cut sides down, on a baking sheet and bake 45 minutes, or until the inside is tender.
Meanwhile, make the stuffing: Cook the sausage in a large nonstick pan over medium-high heat, breaking up well with a large wooden spoon. Once fully browned, pour off any excess grease and reduce the heat to medium-low. Add the onion and celery and cover, then cook, stirring occasionally, until tender, 10-15 minutes. Transfer the sausage mixture to a large bowl and add the salt, pepper, cornbread, apple, craisins, parsley, and sage. Stir together well.
Heat the broth in a small pot until simmering. Drizzle a half a cup over the stuffing mixture and stir in. Add as much of the remaining broth as needed to make the stuffing feel moist, but not wet. Transfer the mixture into the roasted squash, piling up the extra as needed, and then cover with the top of the squash.
Readjust your oven rack to the bottom 1/3 and reduce the oven temp to 350 degrees. Bake for 45 minutes, then take the lid off the squash and bake another 10-15 to brown up the top of the stuffing a bit. Get a huge spoon, and serve!
 Ingredients:
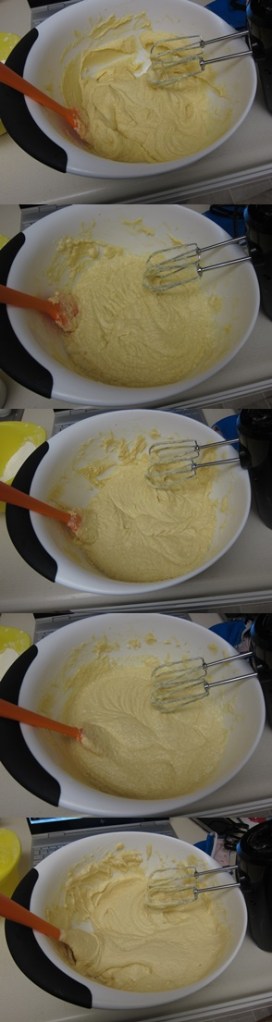
 Add the eggs one at a time, beating after each, then mix in the vanilla.
 Reduce the mixer speed to low and add the flour mixture in 3 additions, alternating with 2 additions of milk, mixing until just combined each time.
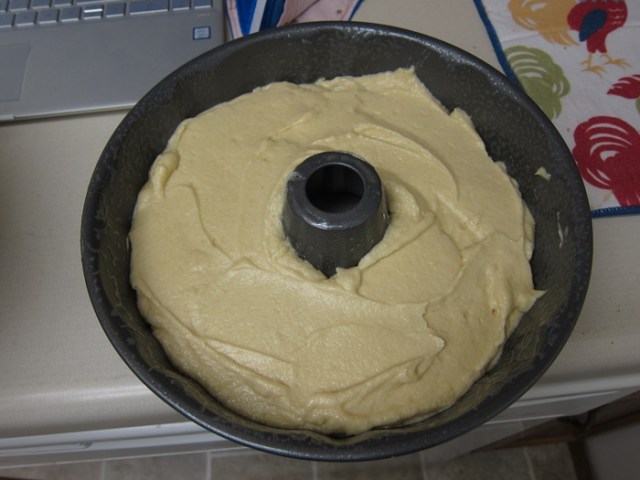
 Gently transfer to the greased pan and smooth the top until even.
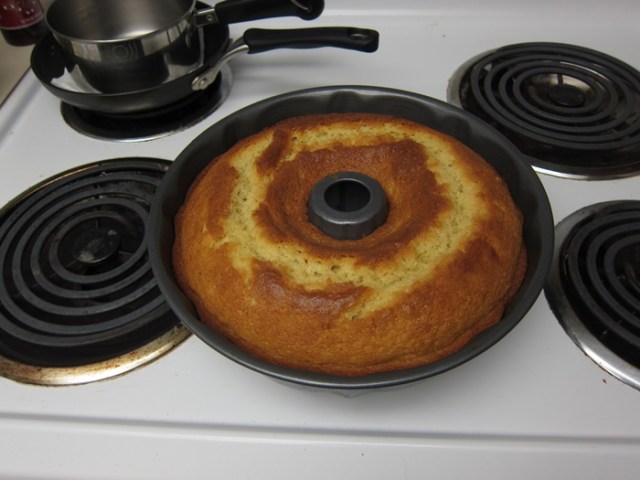
 Bake 50-60 minutes, until it passes the toothpick test.
 Cool in the pan 20 minutes, then invert onto a cooling rack to cool completely.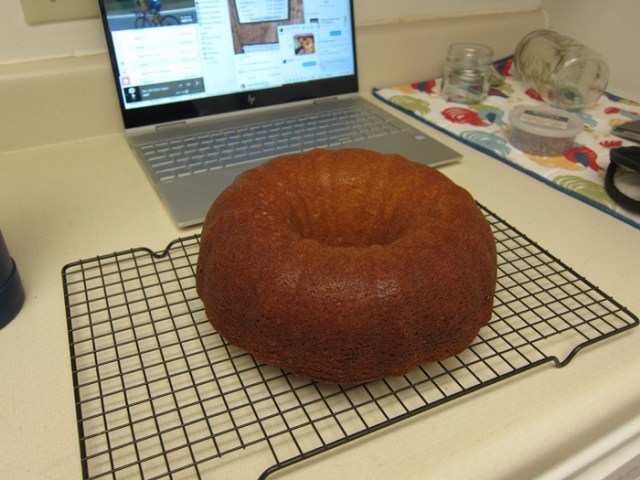
 Let stand for 5 minutes, then stir until smooth.
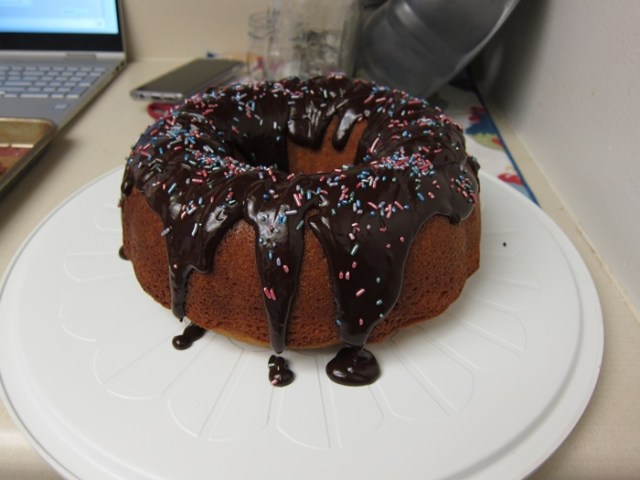
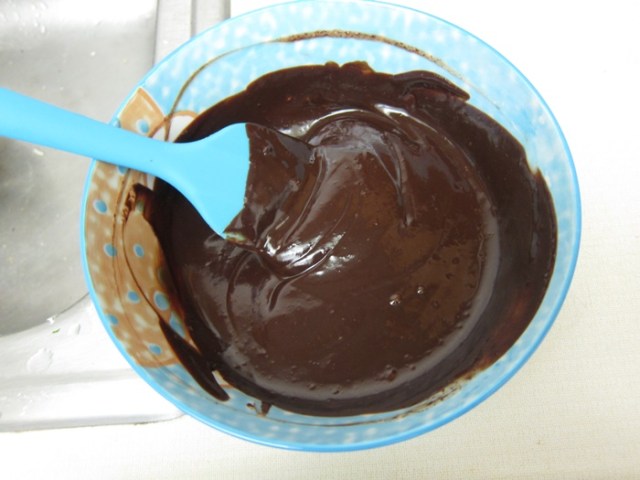 Pour the ganache over the cooled cake, then top with sprinkles as desired.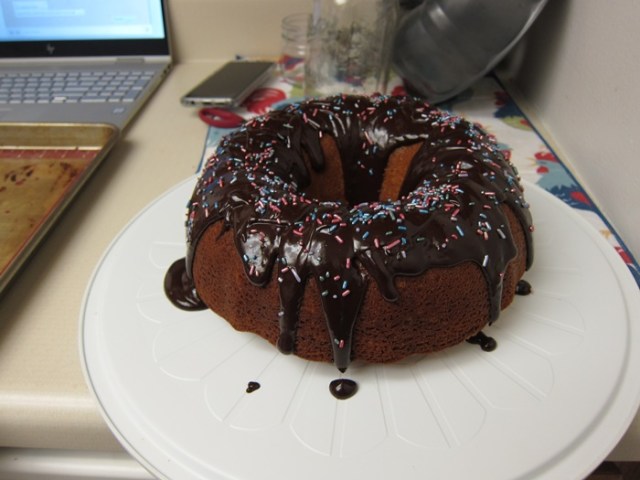
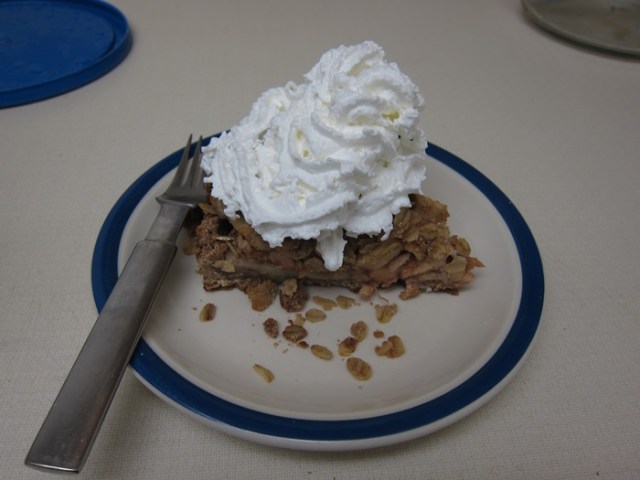
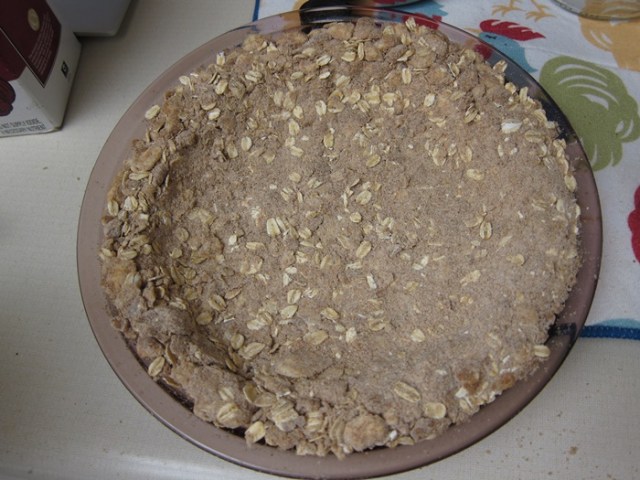 I did lots of the prep work the day before for this, baking the crust, stirring together the spices, etc., for the filling, and prepping the crumb topping. Not at all necessary, but it didn’t harm anything and meant pie with less waiting on a work day!
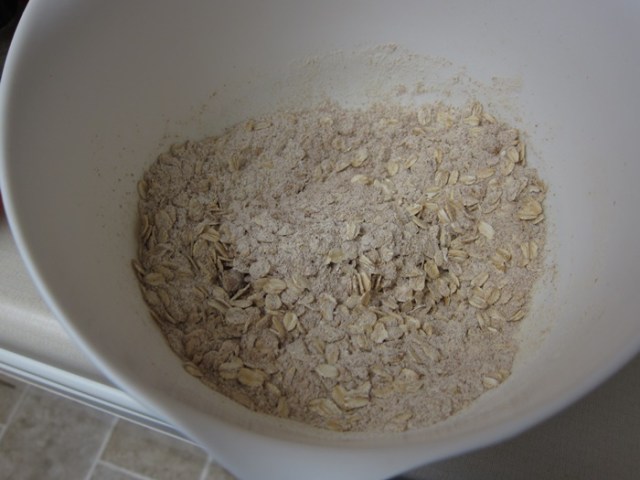 Add the butter and use your fingers to incorporate it until it’s mixed into the dry ingredients with some pea-sized chunks remaining.
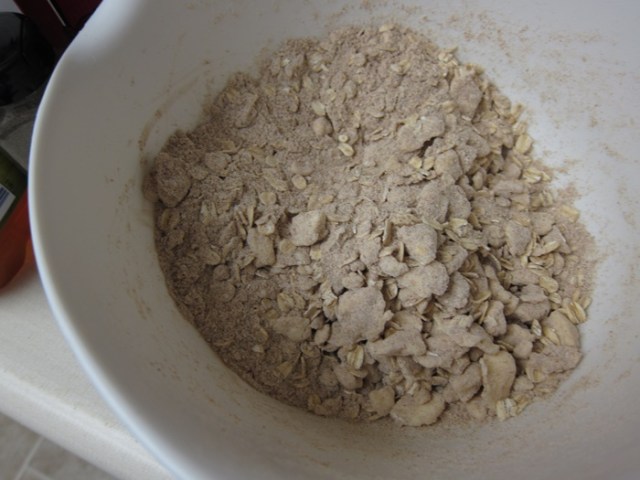 Drizzle in the apple cider and mix in. It can mostly, but not 100%, hold together if squeezed into clumps at this point.
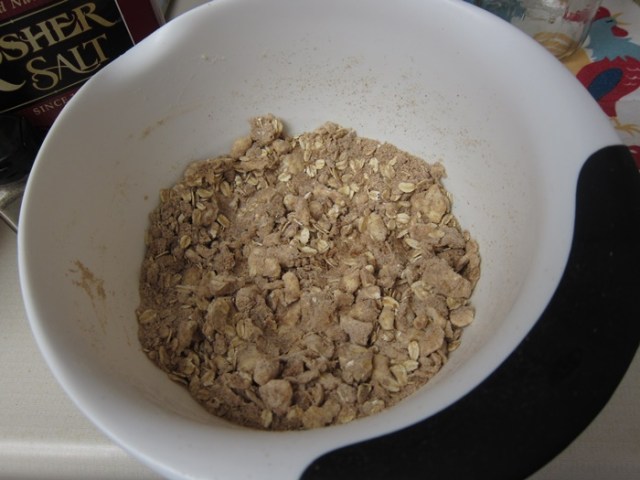 Cover and refrigerate for 15 minutes, and preheat oven to 375 degrees while you wait. Sprinkle the chilled mixture into your prepared pan. Press into a 1/4″ thick layer on the bottom, and then up the sides as far as there is crust for.
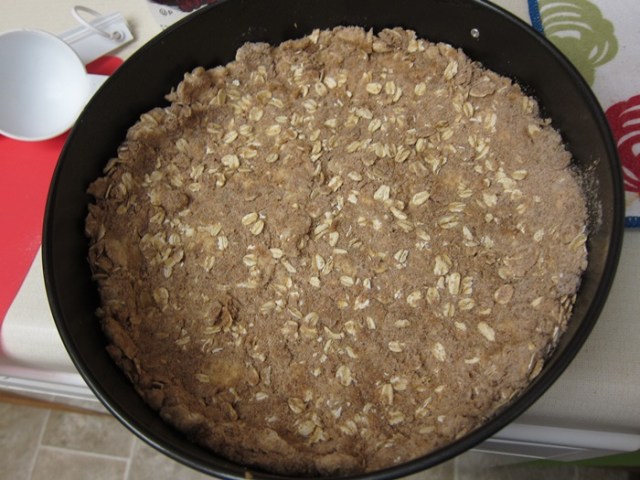 Refrigerate for 10 minutes, then place on a baking sheet and bake for 8 minutes. Using the bottom/sides of a ramekin or cup, press the crust down, flat and against the sides, then bake an additional 6-8 minutes until golden. Set aside to cool.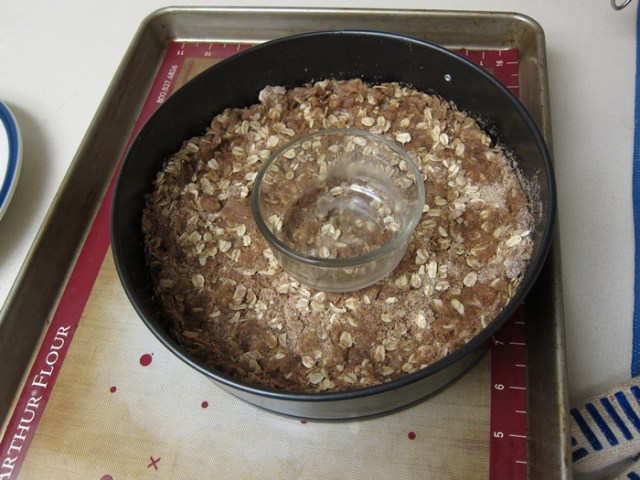
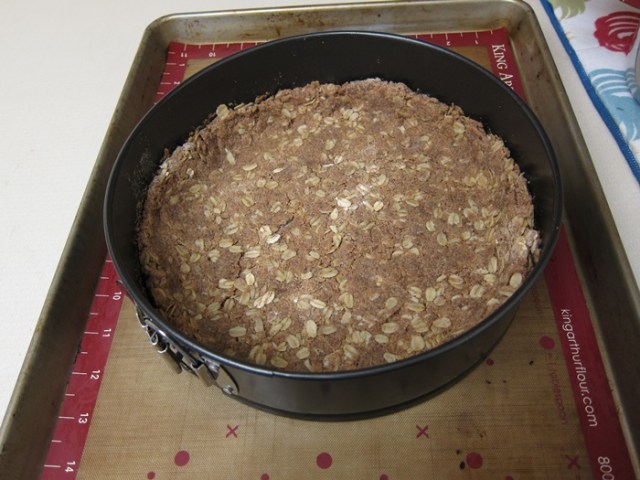
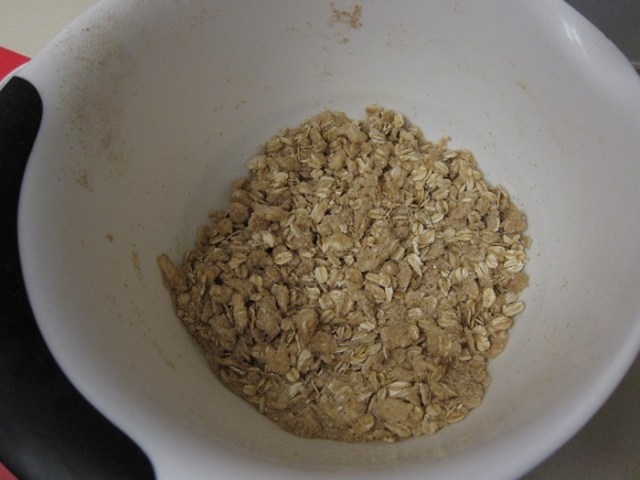 To make the filling, place the prepared fruit in a large bowl and toss with the lemon juice.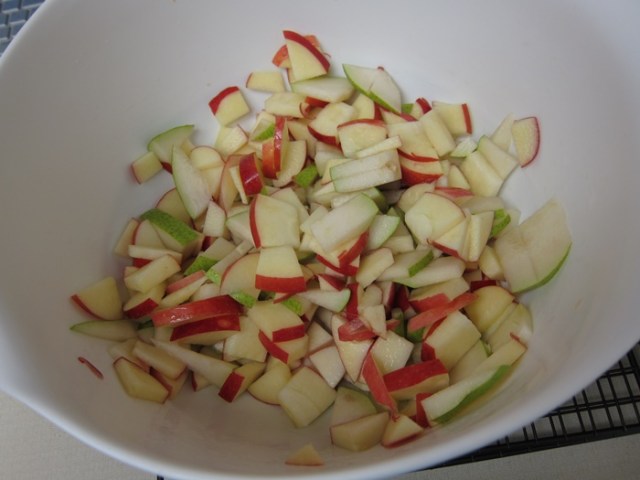
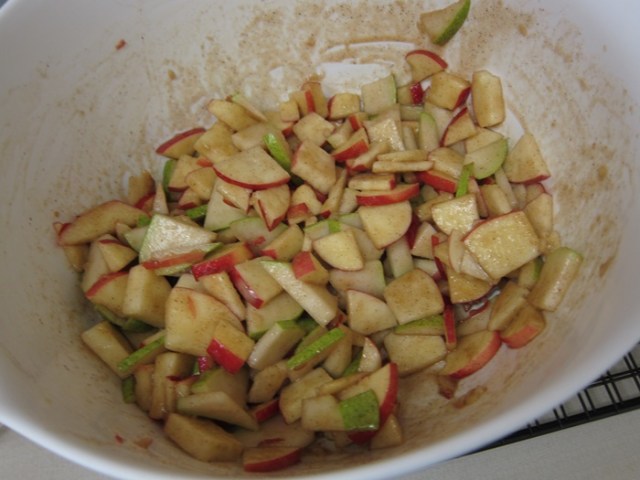 Pour the mixture into the cooled pie shell, then sprinkle the refrigerated crumb topping mixture over the top.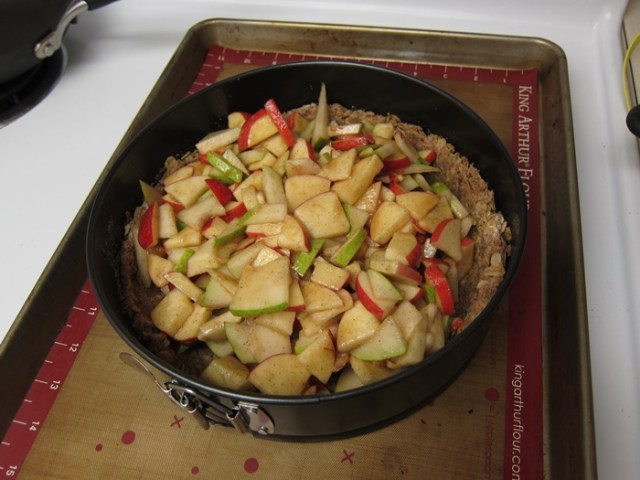
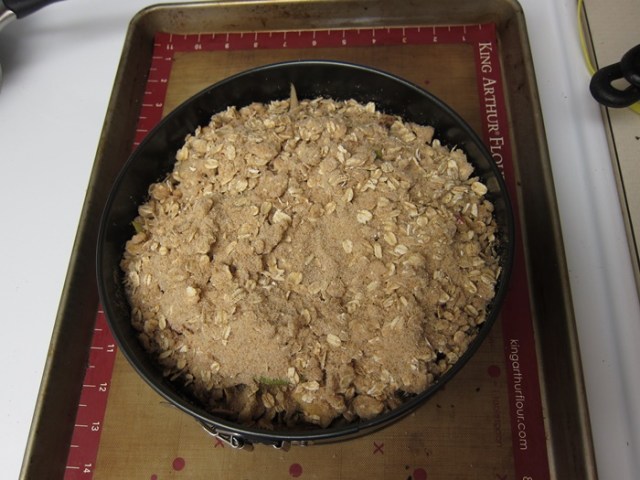
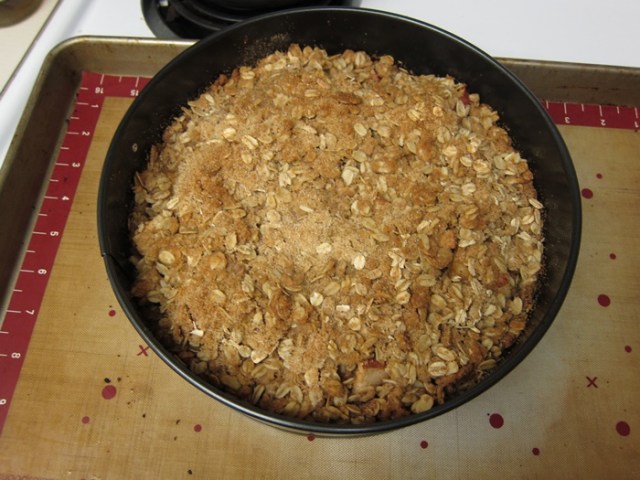 Let cool some before slicing.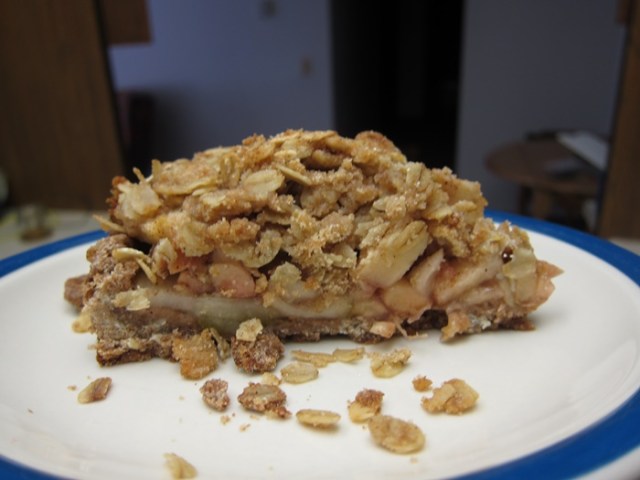
 Ingredients:
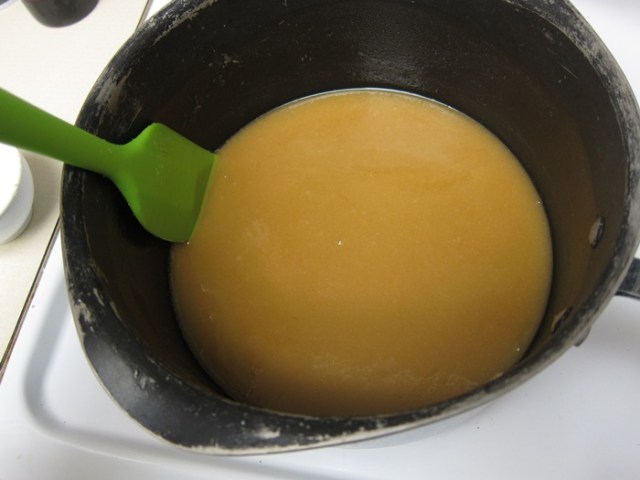 Whisk in the vanilla and salt.
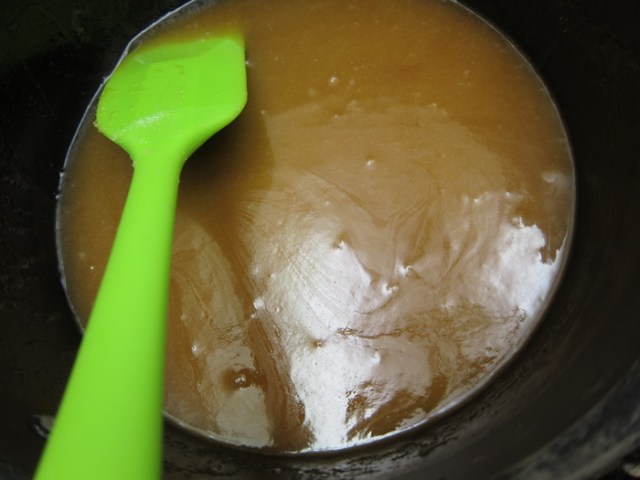 Add the flour, stirring until evenly mixed.
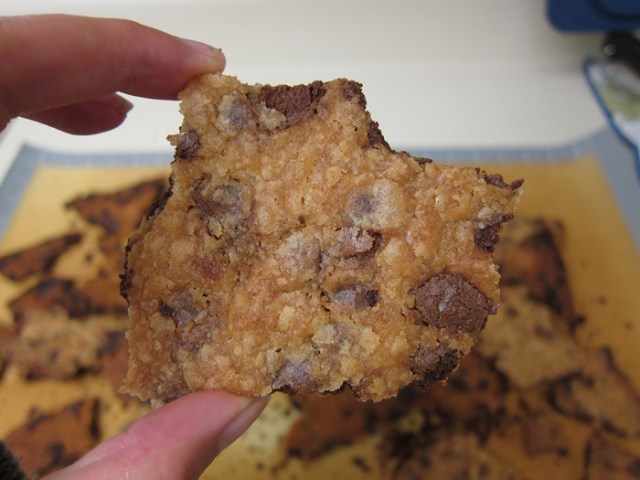
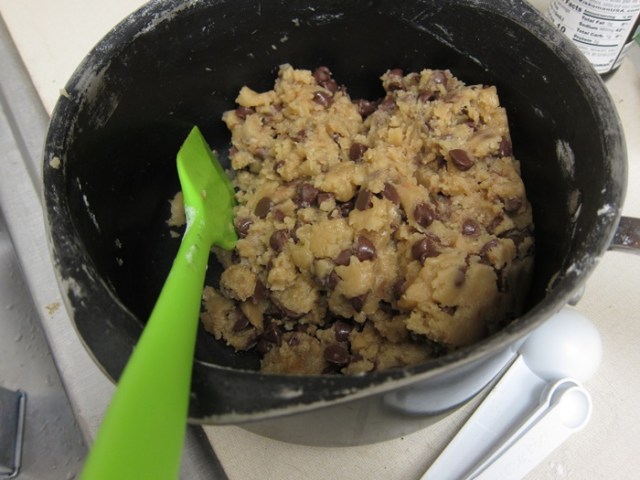
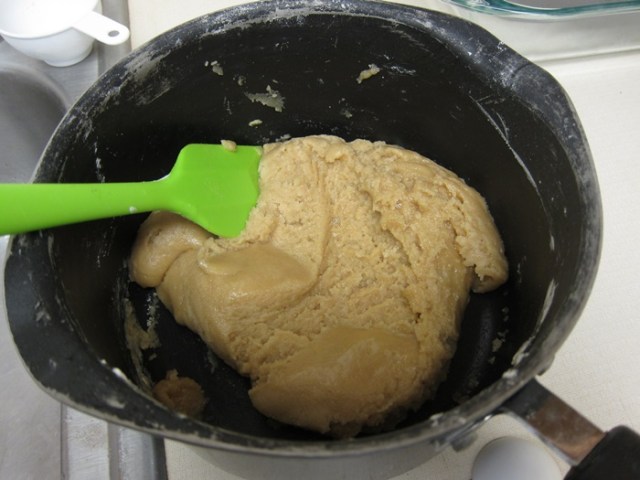 Stir in the chocolate chips, then turn out onto the lined pan.
 Spread the dough thinly, pressing all the way out to the edges of the pan, then bake for 25 minutes, rotating halfway through. (Totally forgot the rotating and mine managed to cook evenly – good work, oven!)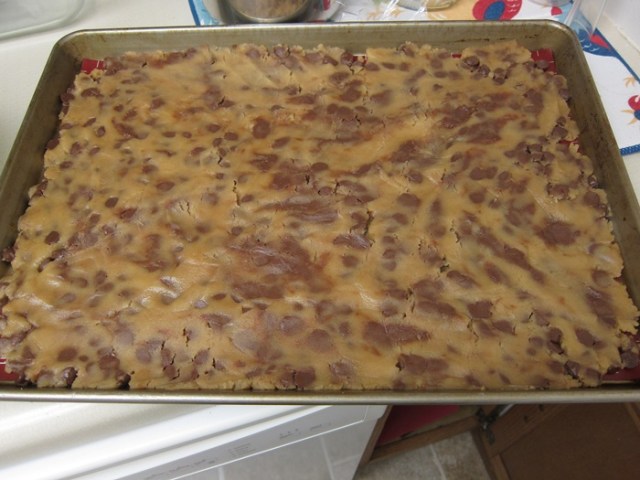
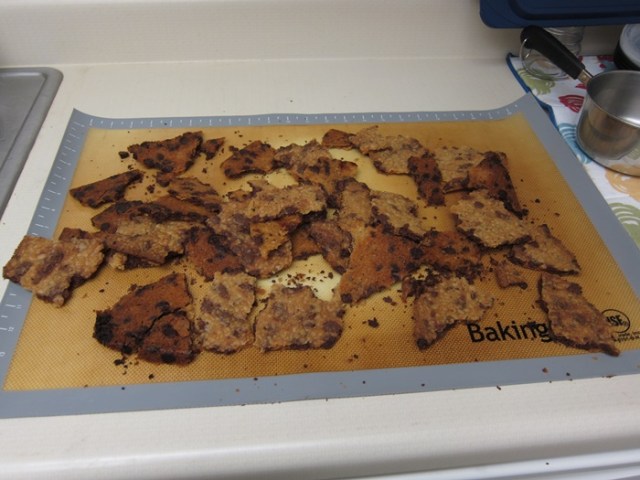
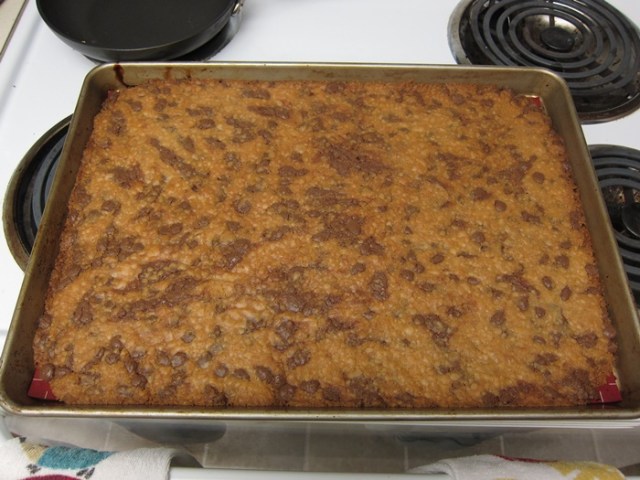 Let cool in the pan for 3 minutes, and in that time line another pan or the counter with parchment/another silpat. Turn out onto the counter/second pan, and let cool completely before breaking into pieces.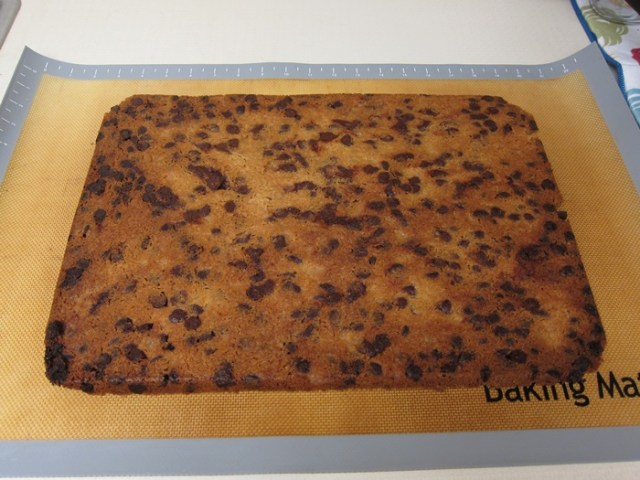
 Ingredients: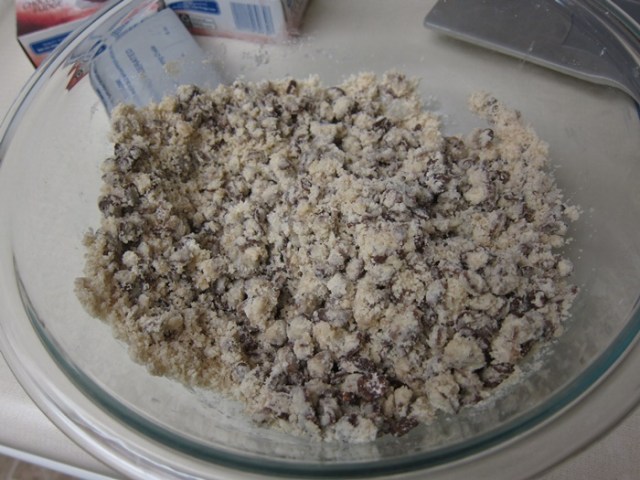
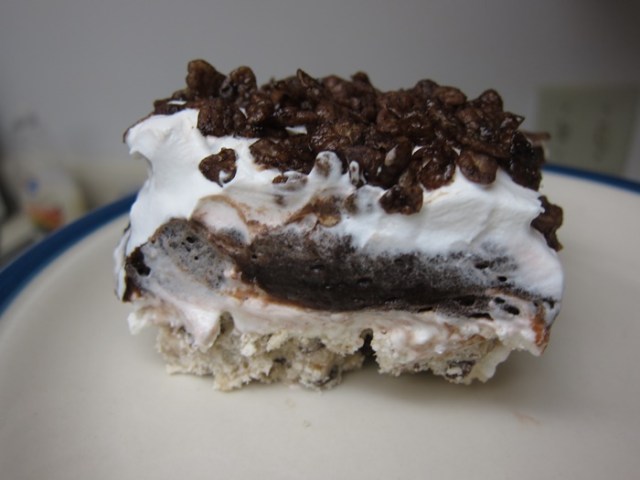
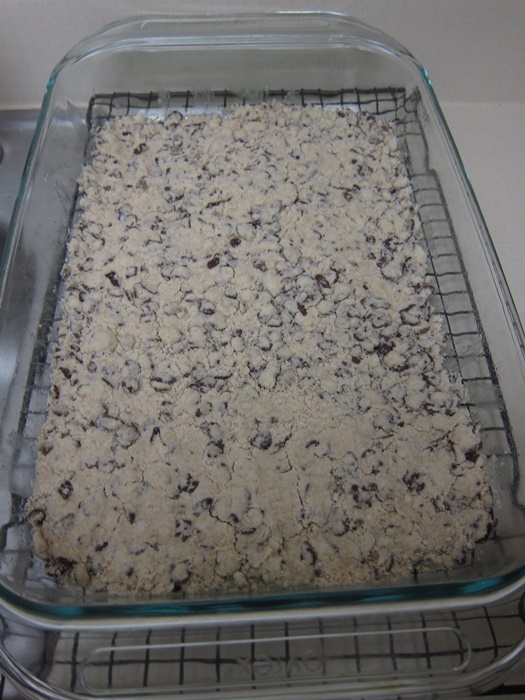 In a large bowl, use a mixer to beat together the layer 2 ingredients until smooth. (It’ll get much smoother if you actually let your cream cheese come to room temp!) Spread evenly over the crust.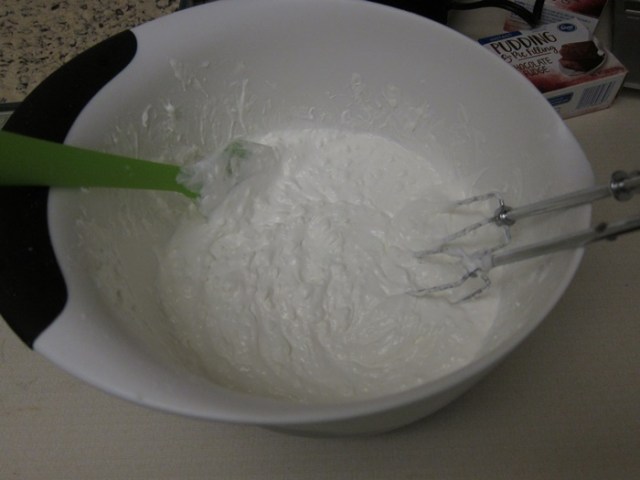
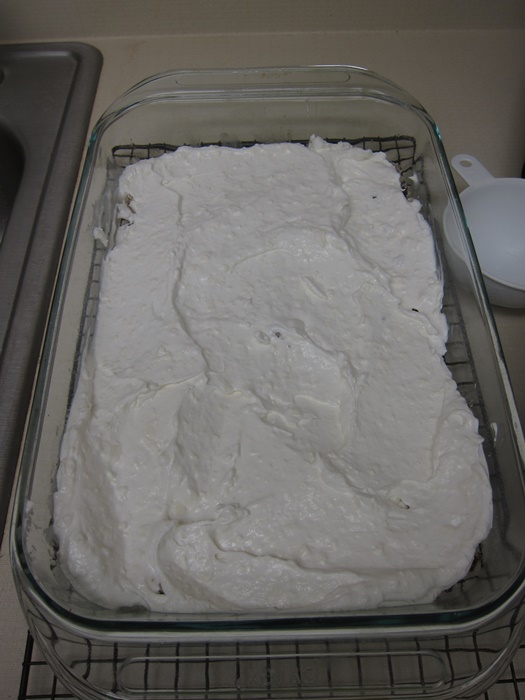 In a large bowl (I used the same as from the crust) whisk together the pudding mix and milk until it starts to thicken. Spread the chocolate pudding over the first Cool Whip layer.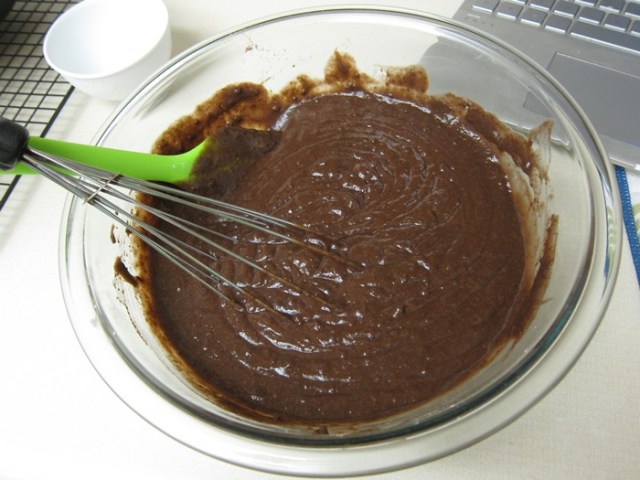
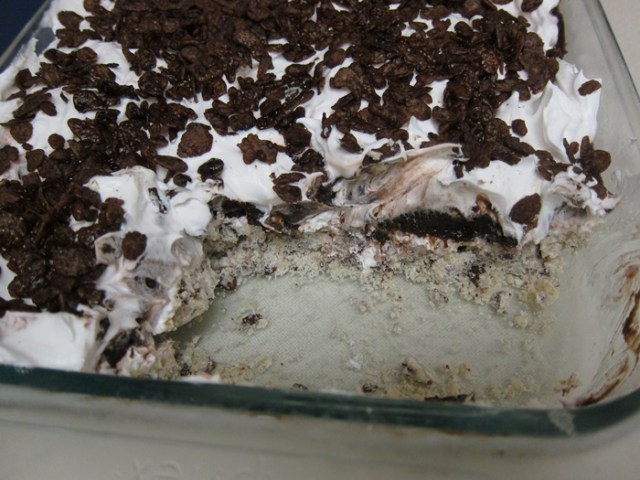
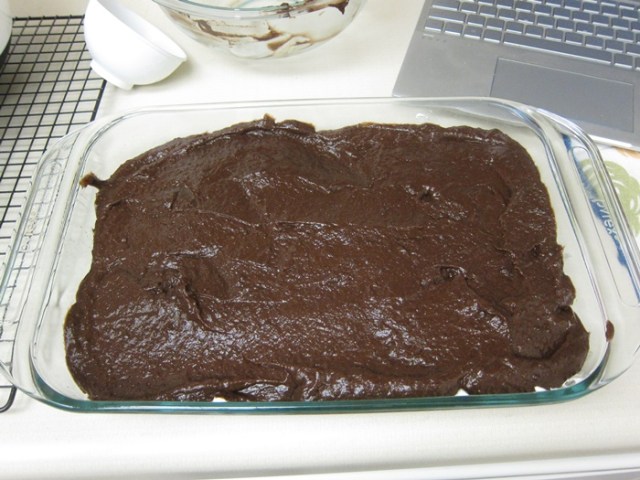 Top with the remaining Cool Whip, then sprinkle the remaining Cocoa Pebbles over the top. refrigerate for at least 1 hour to help set.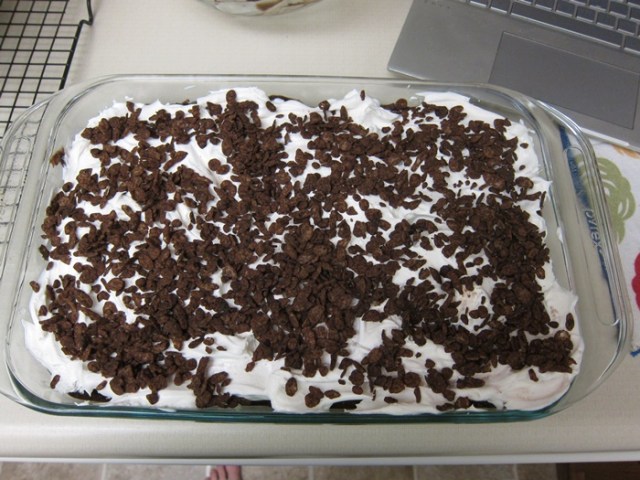
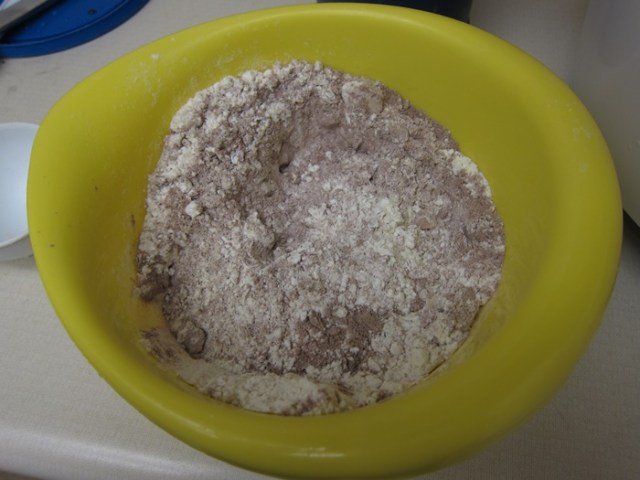 In a large bowl, cream together the butter and sugars.
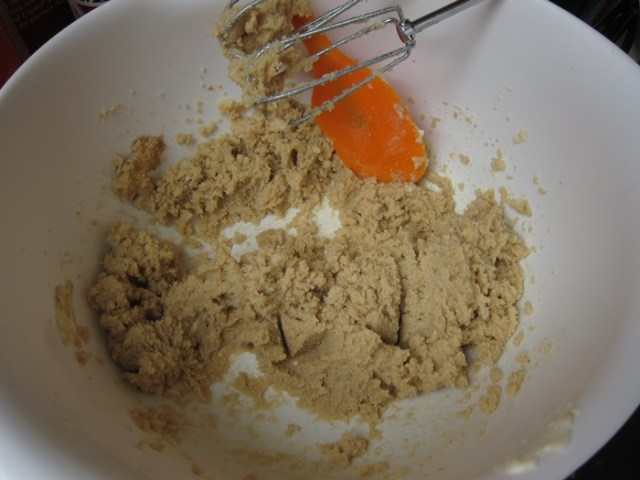 Add the eggs and vanilla and beat until combined.
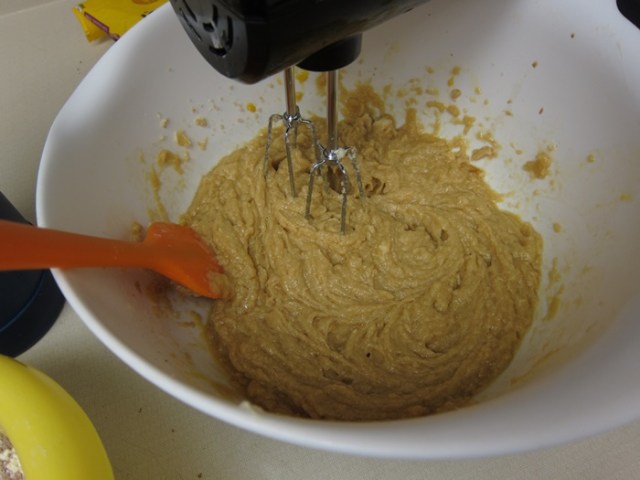 Add the dry goods mixture, starting beating on low to avoid a huge puff of flour in your face, beating until just combined.
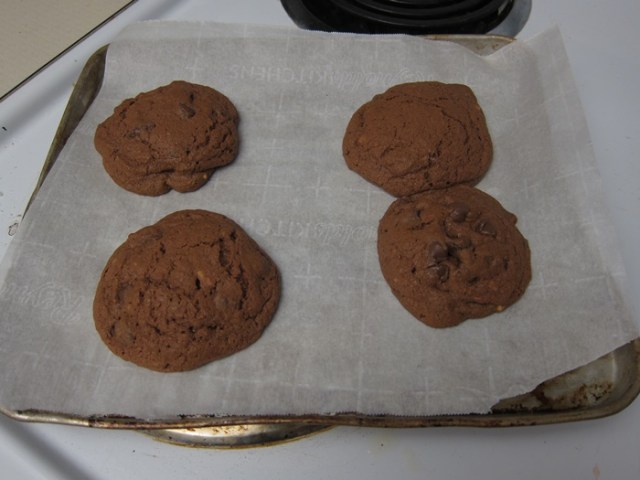
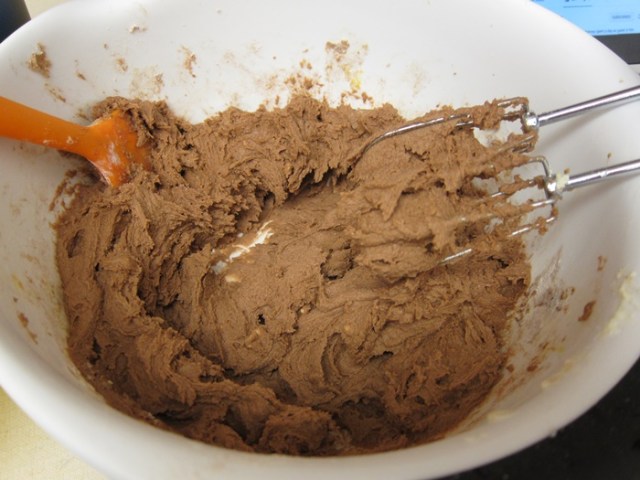 Stir in the chocolate chips, then scoop dough with a medium cookie scoop onto the lined pans.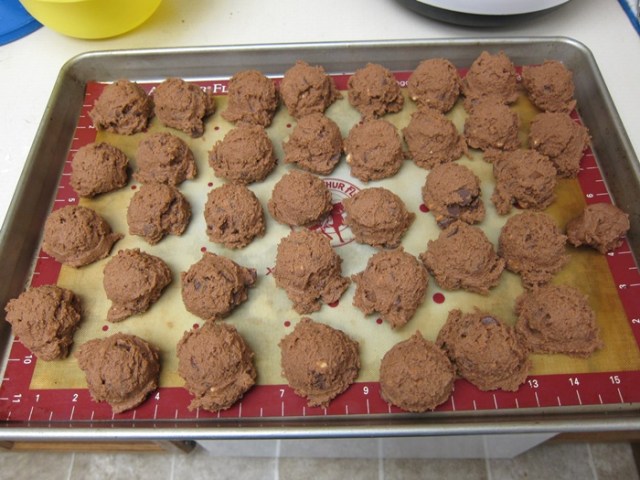
 Ingredients:
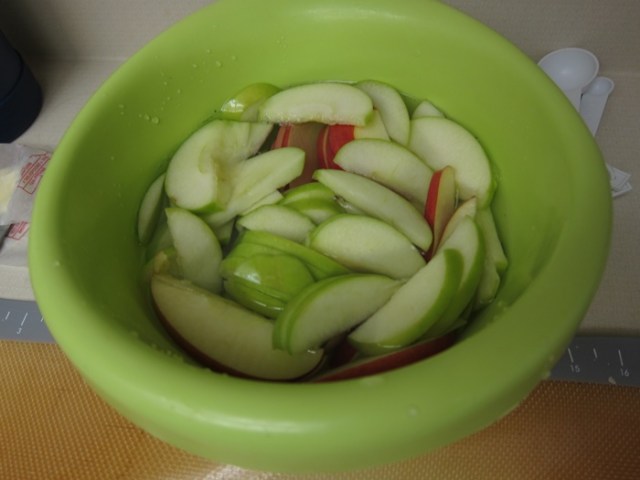
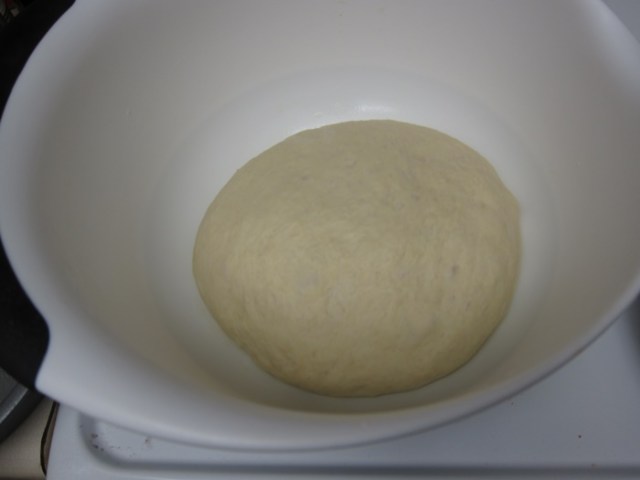 Towards the end of the rising time, prepare your apple slices, placing them in the water with a bit of lemon juice to help prevent browning. Lightly grease 2 8″ or 9″ cake pans.
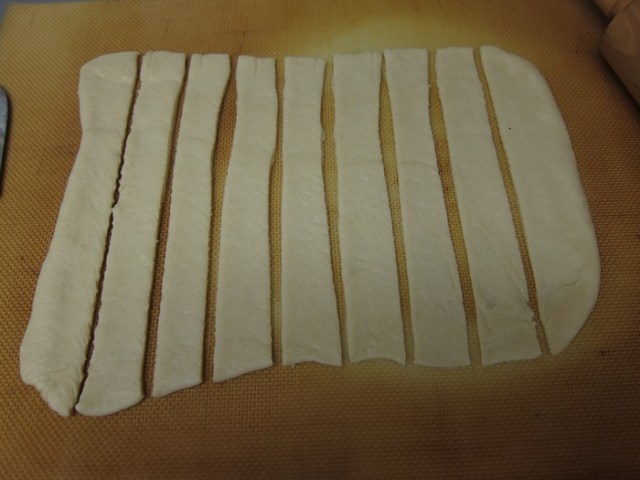
 Punch down the risen dough and divide into two pieces. Roll each ball into an 8×11″ square, then cut each into 9 strips.
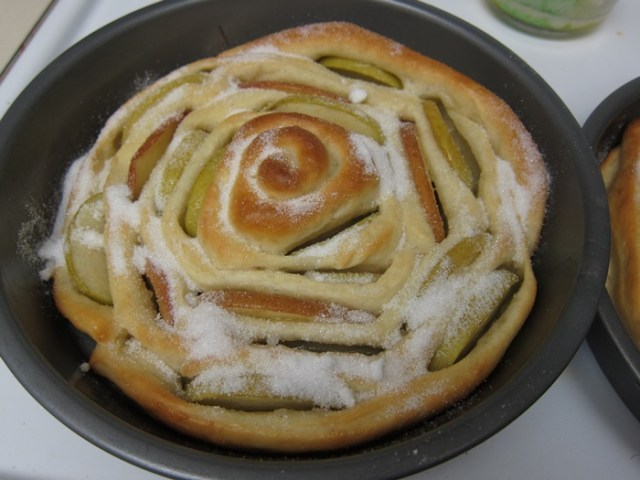
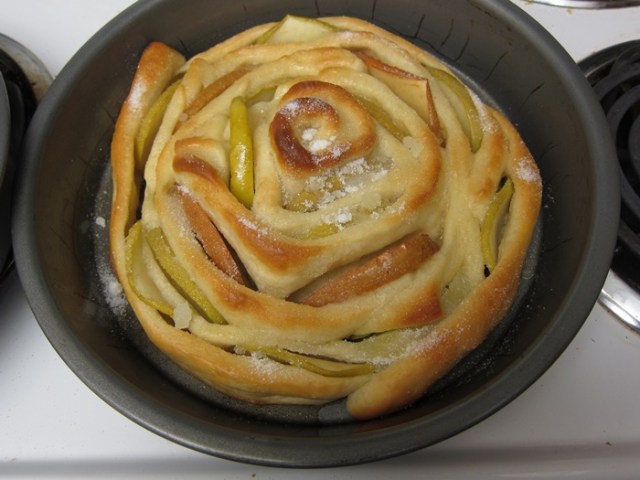
 Beginning in the center of the pan, coil the dough strips around apple slices in a spiral, working your way out, and pinching the dough firmly to hold each piece in place. Don’t worry too much about drying off your apple slices, just shaking them off over the bowl is fine. Form a spiral in each pan, using half the dough and half the apples for each. Gently cover with plastic wrap and let rise for 45 minutes. Towards the end of that time, preheat your oven to 375.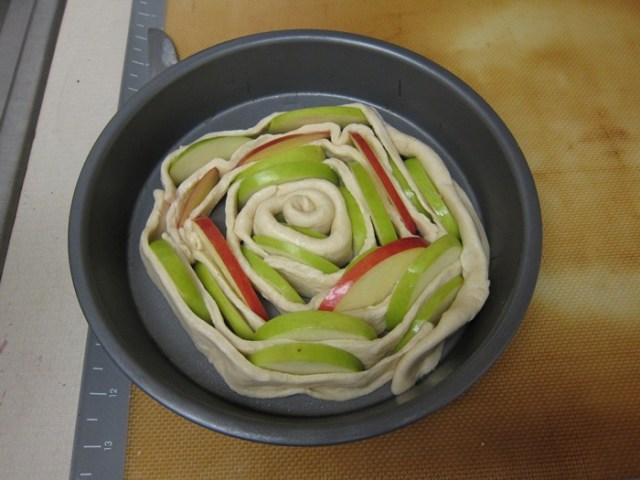
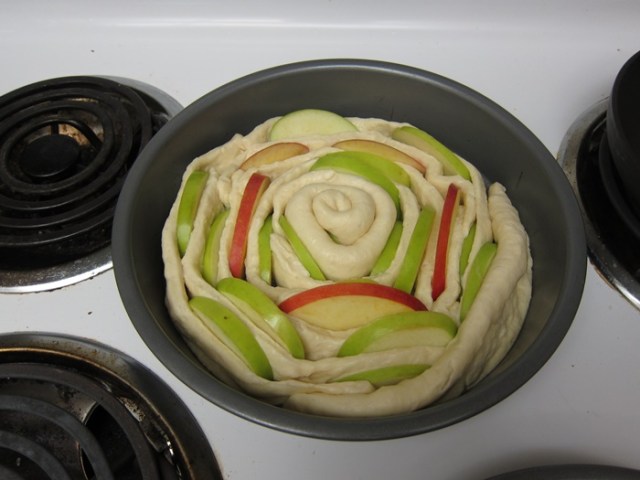 Bake 20-25 minutes, until golden brown.
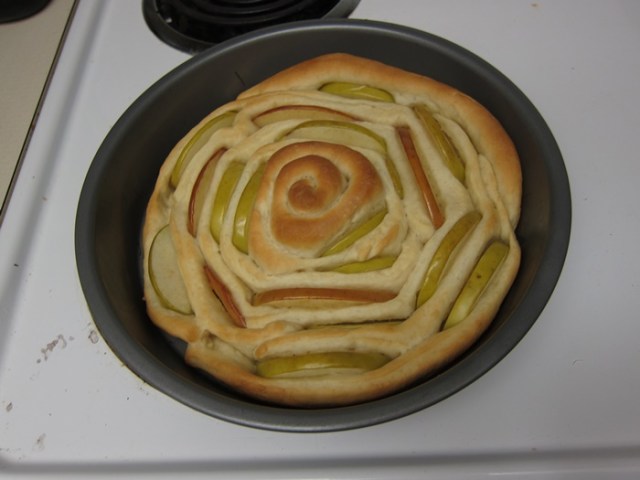 Remove from the oven and brush with the remaining melted butter, then sprinkle with the remaining sugar. Best right away, but I certainly kept eating it for a few days of leftovers!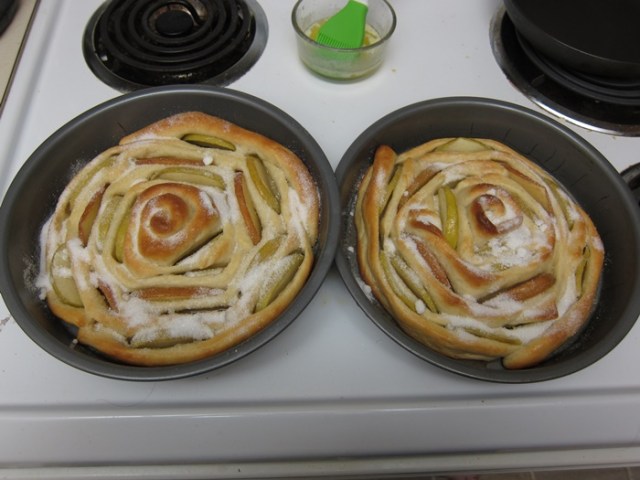
 Ingredients:
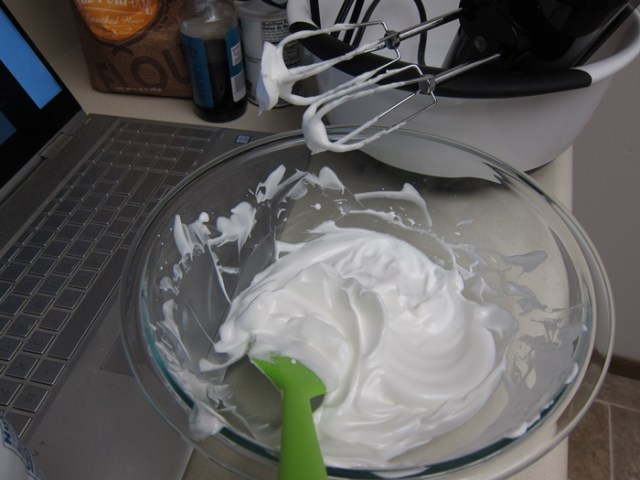
 In a medium bowl, beat the egg whites until stiff peaks form, gradually adding 1/4 cup of the sugar as you go.
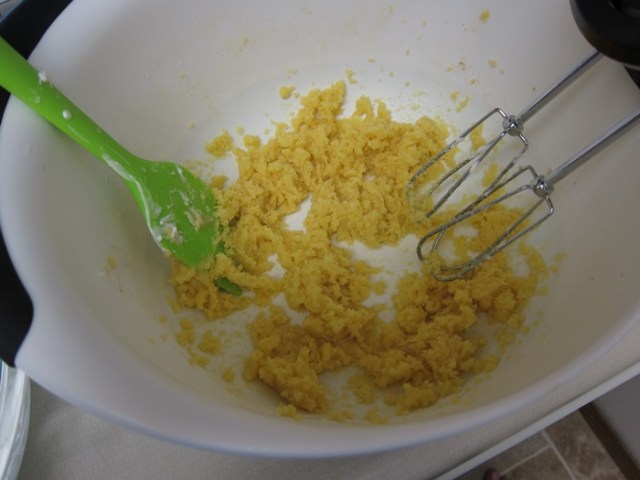
 In a large bowl, cream the shortening, salt, and vanilla. It’s little enough shortening that you’ll just sort of have a mess in the bowl.
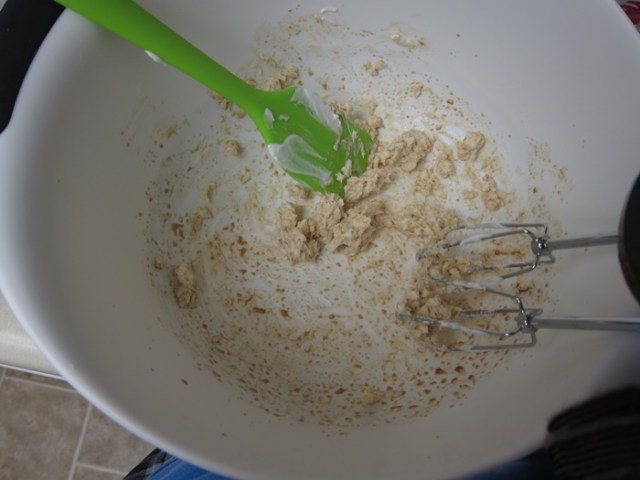 Measure out the remaining 1 cup of sugar, and scoop out 1 tablespoon, setting it aside. Add the rest of the cup to the shortening mixture, as well as the egg yolks, and beat until light and creamy.
 Add the flour mixture in 3 additions, alternating with half the milk each time, until evenly mixed.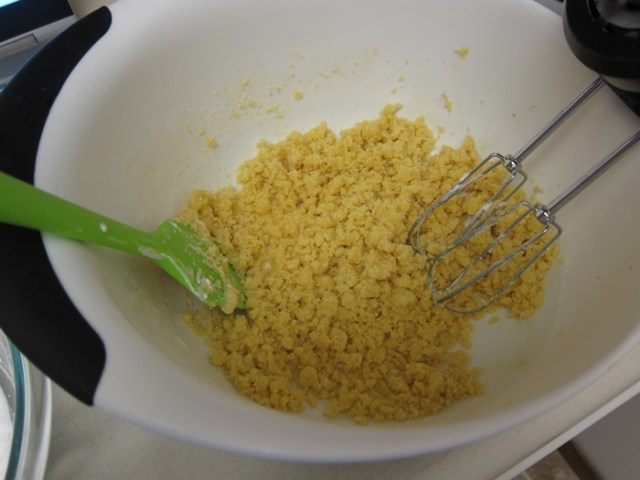
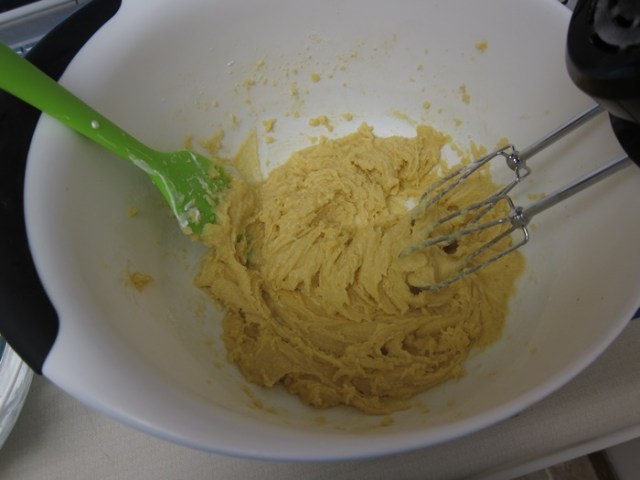
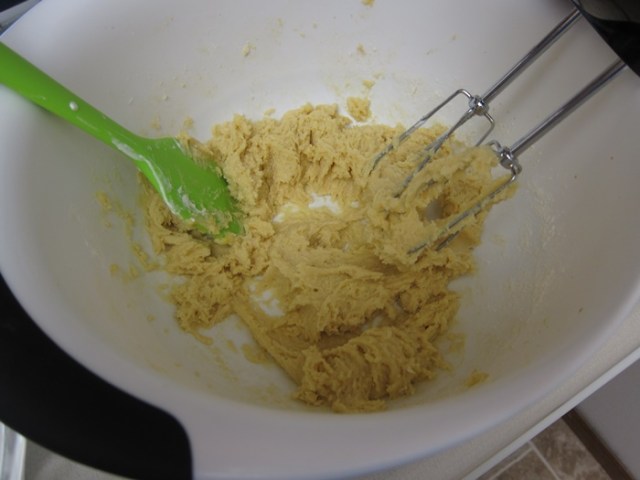
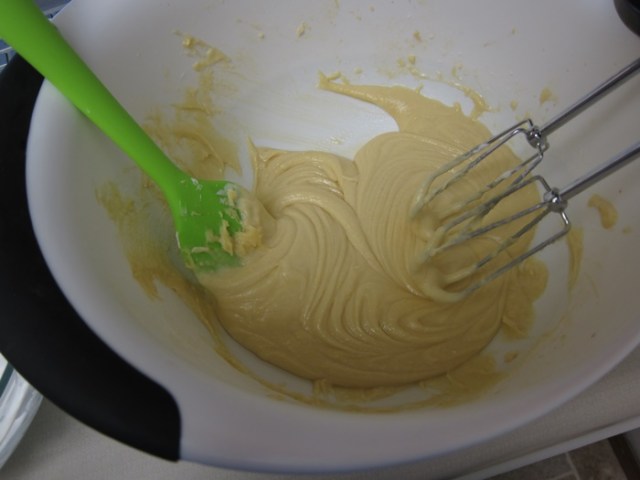
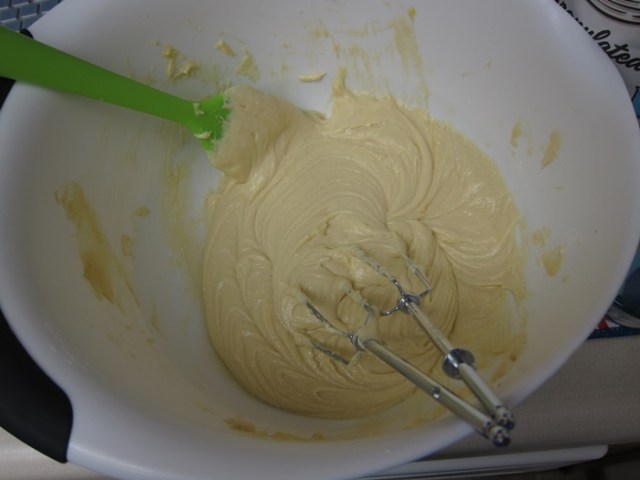
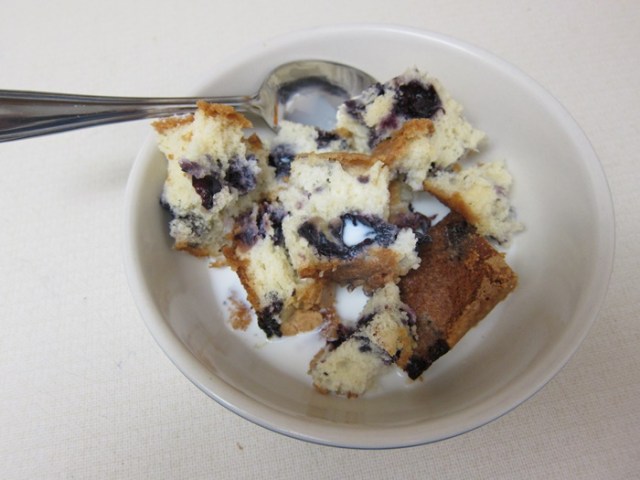
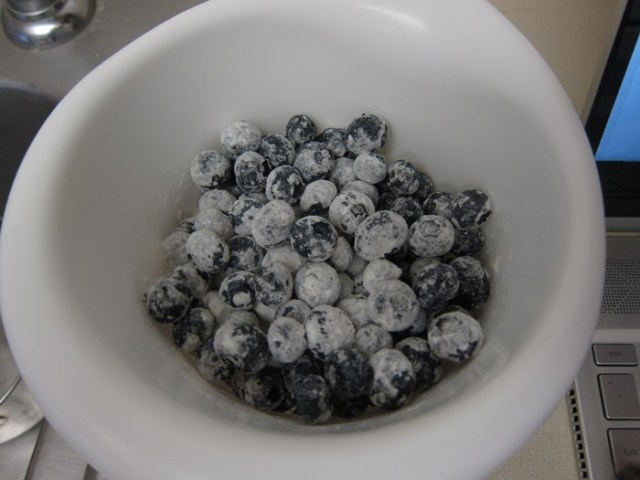
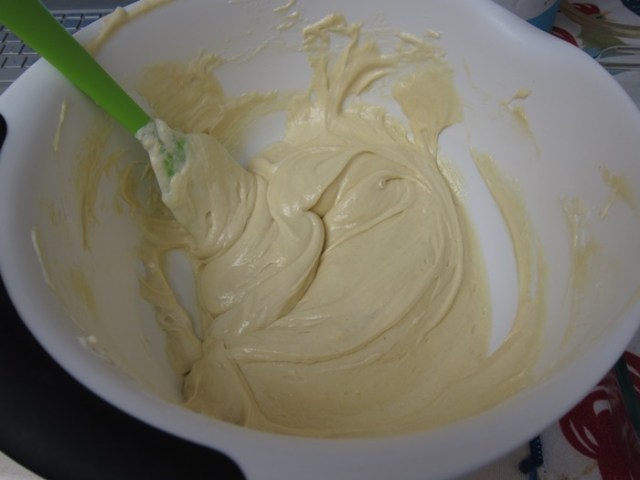 Fold in the blueberries.
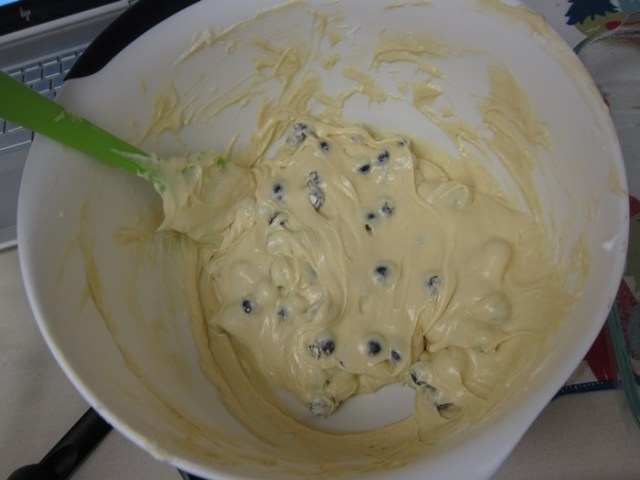 Gently turn out into the greased pan and sprinkle the remaining 1 tablespoon of sugar over the top.
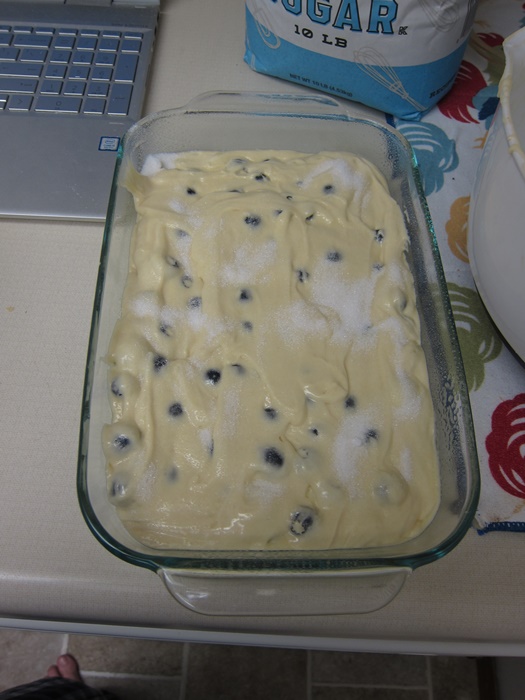 Bake 1 hour, or until the cake passes the toothpick test. Because I used a slightly larger pan, I checked mine at 55 minutes and it was done.
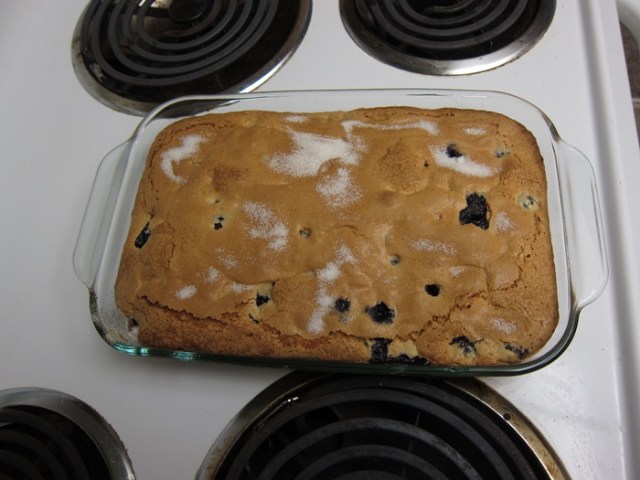 Cool in the pan, then slice and serve.
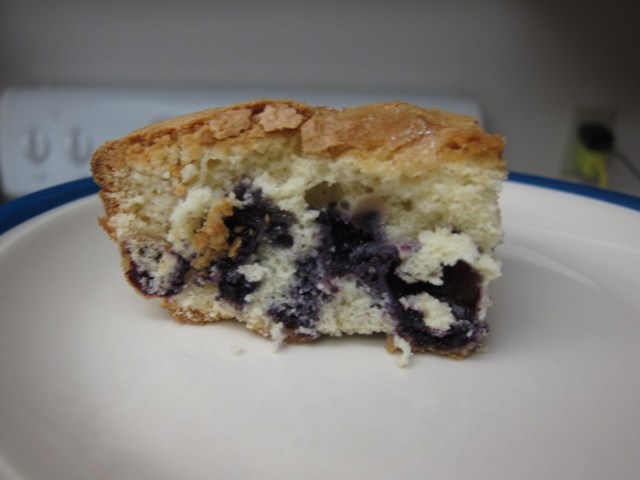 A nicely fluffy cake, with sweet crunchy spots on top thanks to the sugar!
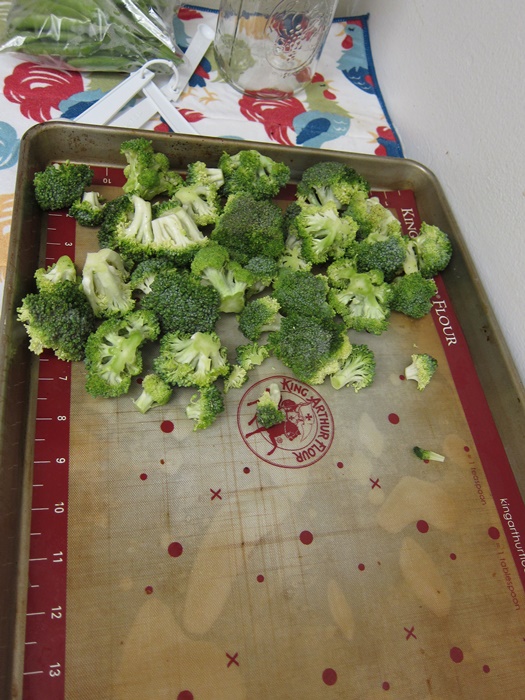 Put in the oven for 12 minutes.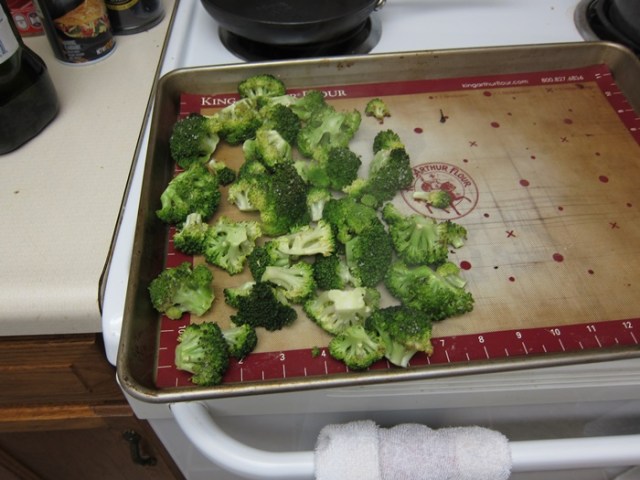
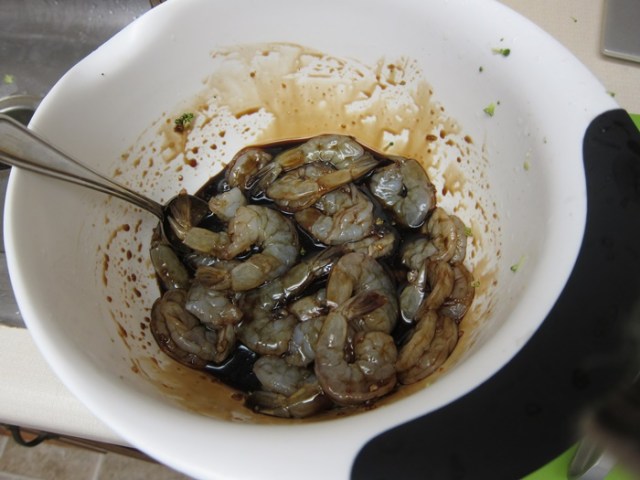 Remove the pan with broccoli from the oven and use tongs to flip it. Lightly spray the empty half of the pan with cooking spray, then spread the shrimp in an even layer on the empty side.
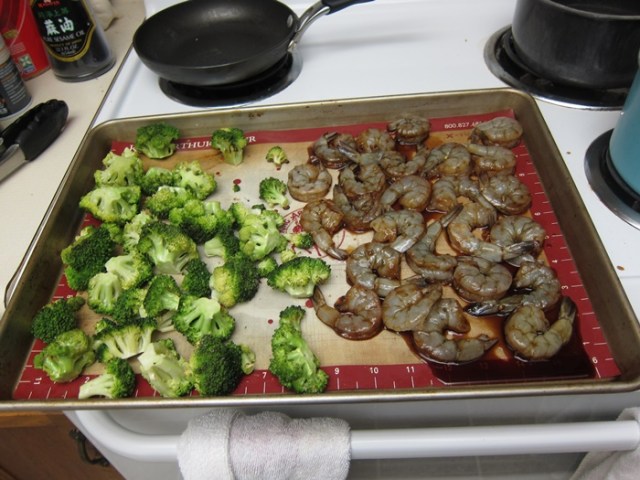 Cook an additional 8-12 minutes, until the shrimp are opaque and pink,not gray.
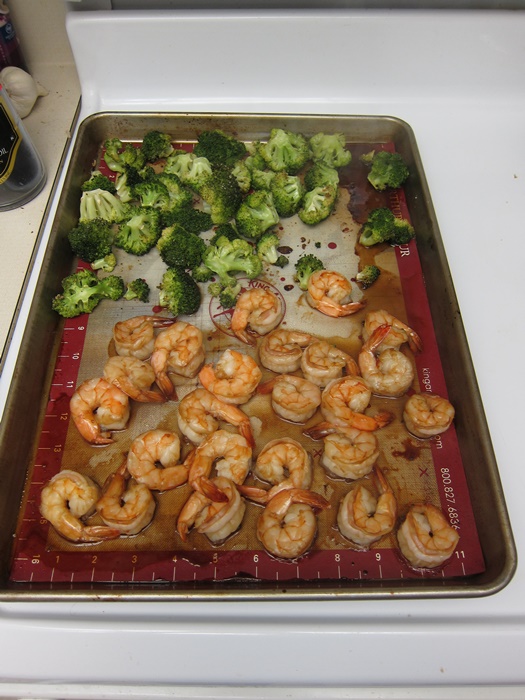 Meanwhile, pour a few tablespoons of the remaining sauce from the shrimp into a small saucepan and whisk in the cornstarch until smooth. Add the remaining sauce and cook over medium heat, whisking frequently, until it thickens, about 5 minutes, then remove from the heat.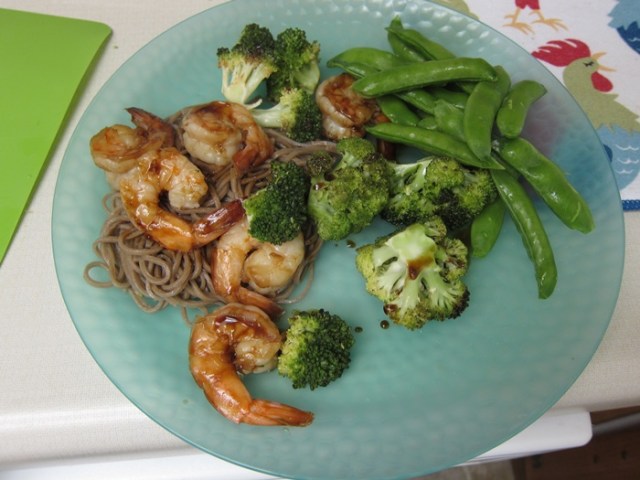
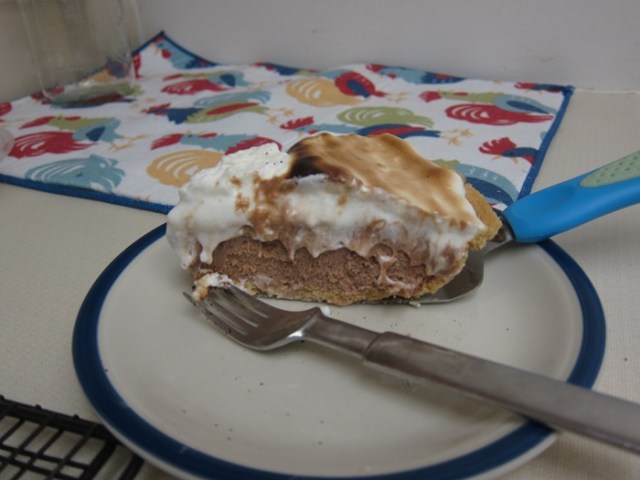 A reminder before you get started: eggs separate easier when chilled, but egg whites beat up better at room temperature, so separating them and giving them a chance to warm up helps; cream, on the other hand, beats up better when very cold, so throwing your bowl and beaters in the freezer ahead of time can’t hurt! There’s enough beating up things in this one that I sure would like the hypothetical Kitchenaid I have no room for in this kitchen!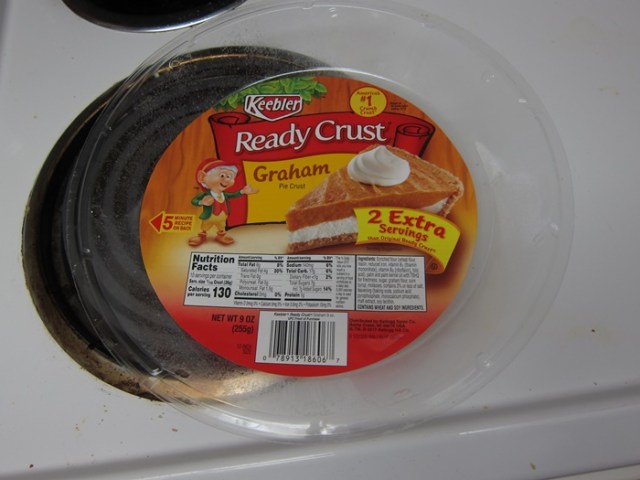
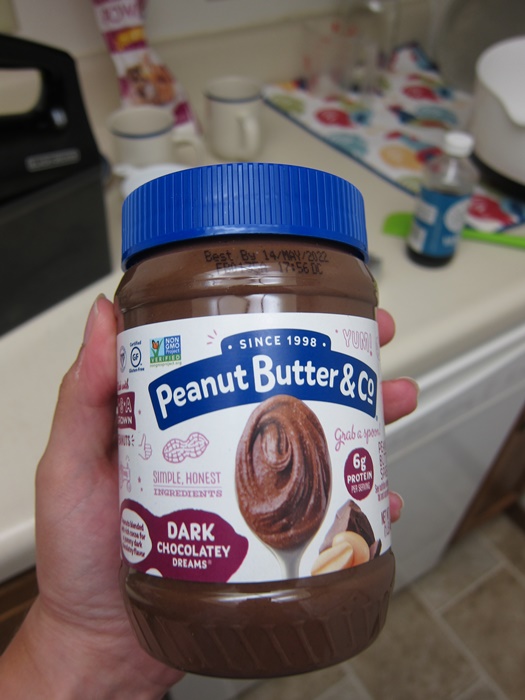 To make the chocolate filling, beat the heavy cream until thick and creamy. Add the vanilla and 2 tablespoons of the powdered sugar and continue to beat until stiff peaks form.
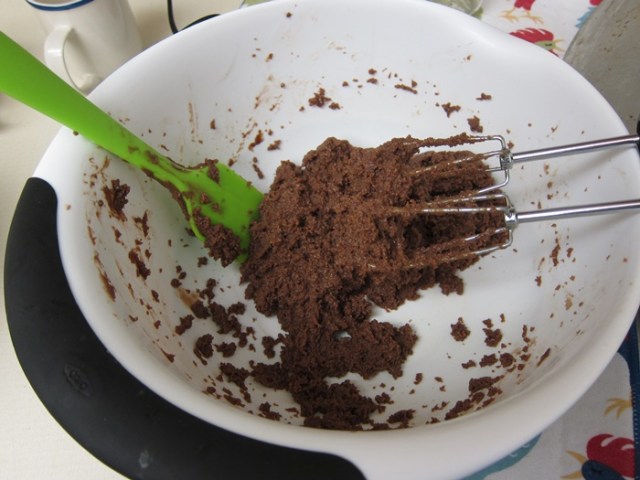
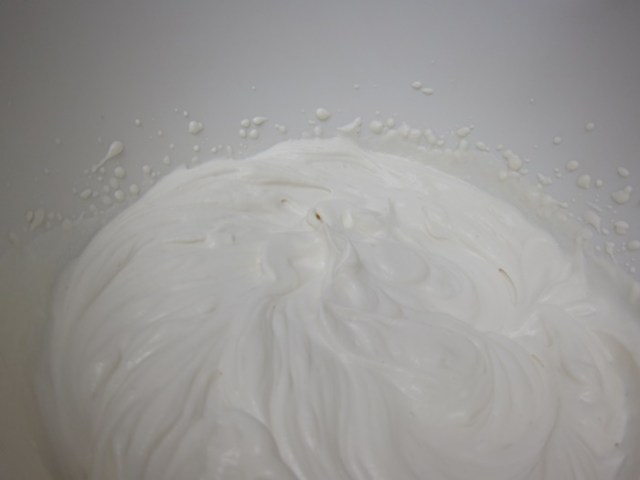 In a separate bowl, beat together the cream cheese, 3/4 cup powdered sugar, and chocolate peanut butter until smooth.
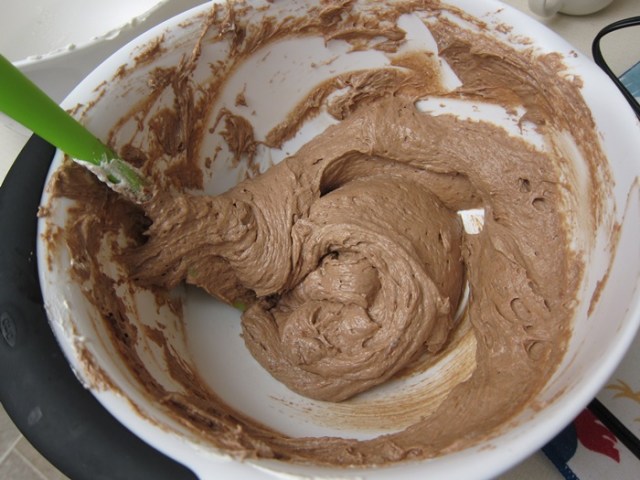
 Fold in the whipped cream by hand.
 Pour gently into the graham cracker crust, cover, and place in the freezer for 3 hours, or fridge for 6.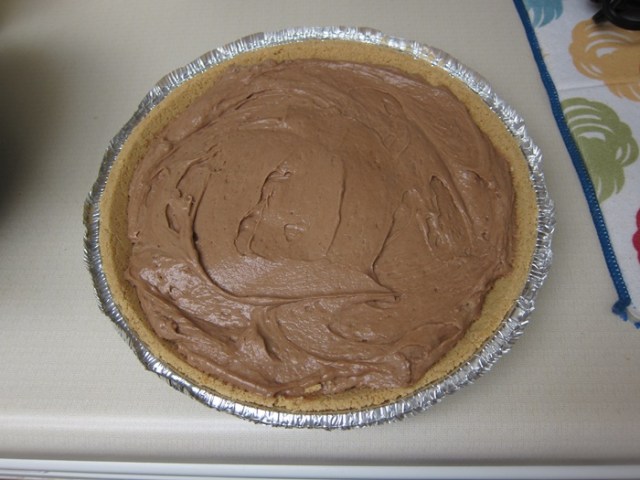
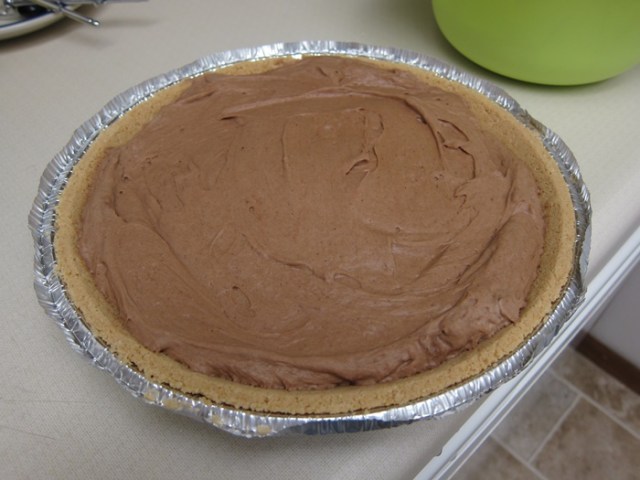 After the pie is fully chilled, beat the egg whites until thick and foamy. Add the sugar and vanilla and continue to beat until stiff peaks form.
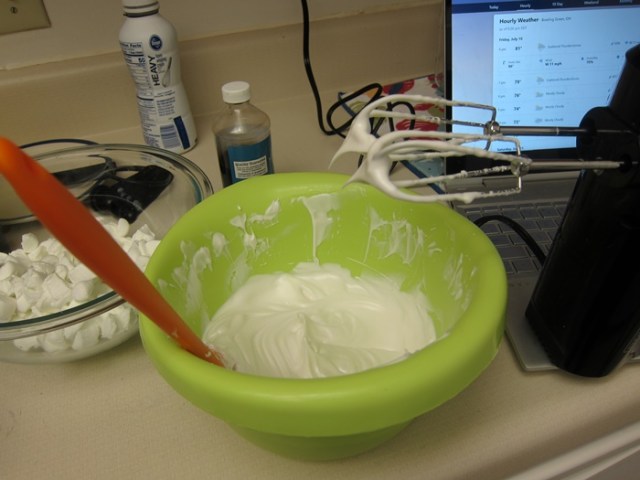 In the top of a double boiler, combine the marshmallows and milk/cream over simmering water. Cook, stirring constantly, until the marshmallows have completely melted.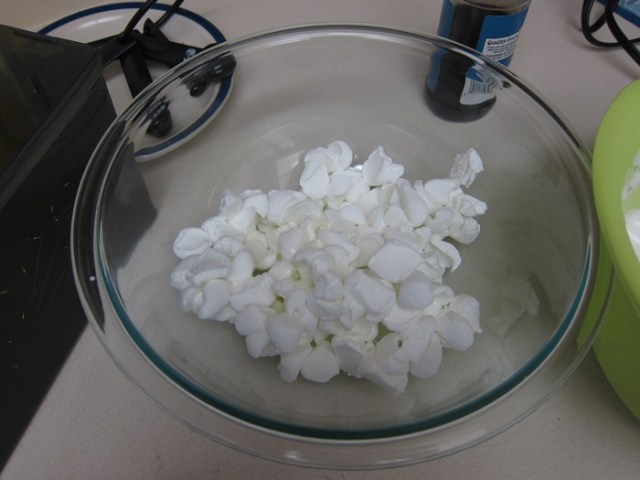
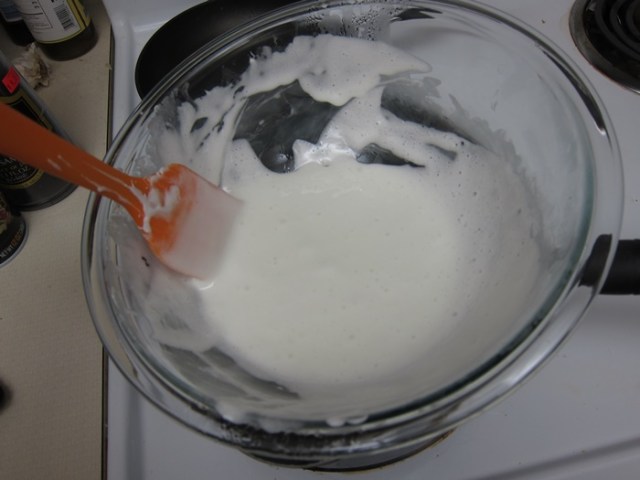 Remove from the heat, and give the melted marshmallow mixture a minute or two to cool while you remove the pie from the freezer and maybe chuck some of your dishes in the dishwasher. Gently fold the marshmallow mixture into the beaten egg whites, then turn the whole fluffy mess on to the pie, spreading evenly over the top.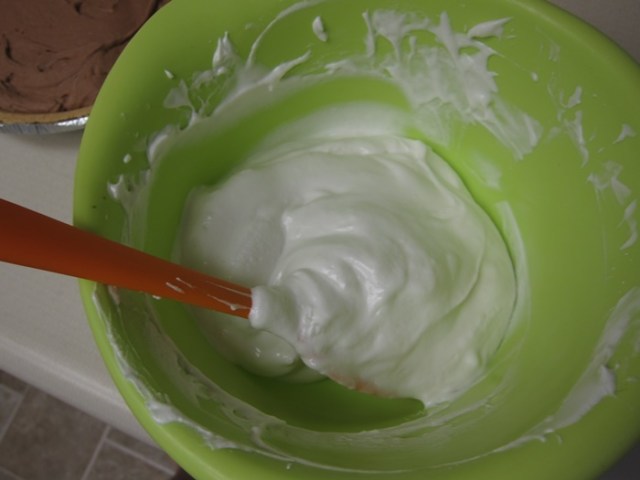
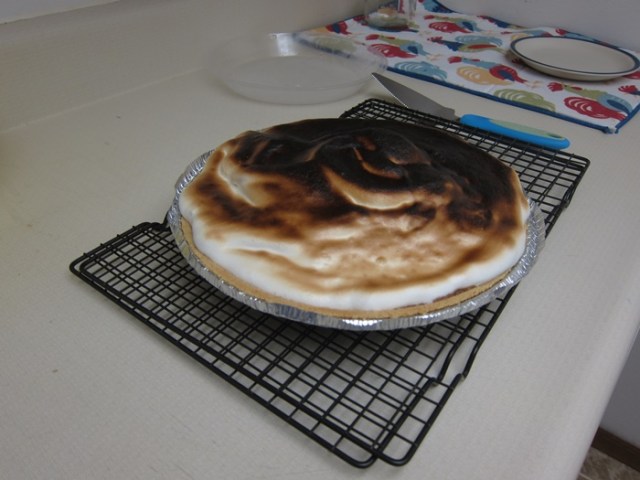
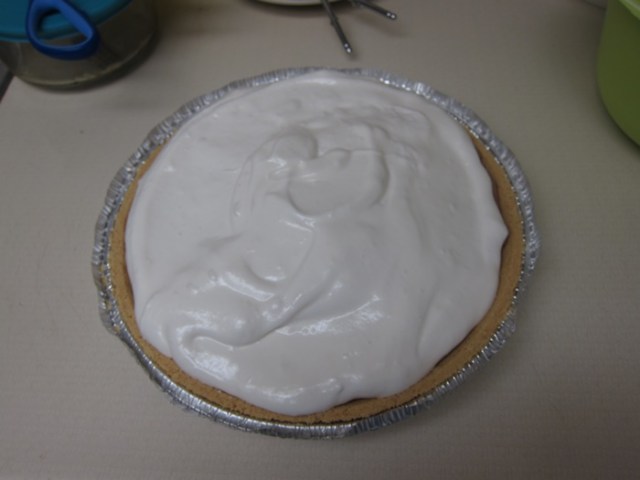 Place in the oven and turn on the broiler, cooking until the top is lightly golden. For me, at 4 minutes there was no difference, at 5 minutes the top was pretty burnt, but luckily like with campfire marshmallows, you can just peel the burnt surface off!