I know when the food blogs I follow have 100 paragraphs about what they’ve done that week, I tend to skim straight to the recipe, but I’ve moved again, and it’s going to have an impact on the blog worth mentioning. I’m now in Rawlins, Wyoming, a town nearly 7,000 feet above sea level. This matters for the blog because the lower air pressure at elevation impacts pretty much every type of cooking (3,000-3,500 feet is where the changes start, depending on which source you ask). There are a variety of resources to help one learn to adjust to cooking at higher altitudes, but there’s a decent chance I end up with a bunch of collapsed baked goods and dried out dinners in the next few months. I don’t really know how to deal with this other than to let you guys know it may be coming, and to start off with incredibly foolproof desserts like Puppy Chow and work my way back up to the more interesting foods. The plus side of the move, as far as the blog is concerned, is that I’ve got a lot of various kitchen doodads out of storage for the first time since 2012!

Helloooo pans!
If you’re interested in learning more about the move and what I’m up to in Wyoming, that’s all available over here, but what we’re really here to talk about today is this delightful mess of peanut butter and chocolate! You’ve probably had a version of this at some point, at a scout event or Halloween party, or some other event where handfuls of sugar are totally called for, possibly under the name Muddy Buddies. It’s crunchy, sweet, and kind of fun to make!
 Ingredients:
Peanut Butter White Chocolate Puppy Chow:
- 1 1/2 cups powdered sugar
- 9 cups Rice Chex cereal
- 1 cup white chocolate chips
- 1/2 cup creamy peanut butter
- 1/4 cup butter
- 1 teaspoon vanilla extract
Peanut Butter Chocolate Puppy Chow:
- 1 1/2 cups powdered sugar
- 9 cups Rice Chex cereal
- 1 cup semi-sweet chocolate chips
- 1/2 cup creamy peanut butter
- 1/4 cup butter
- 1/4 cup vanilla extract
- Reese’s Pieces or other peanut butter and chocolate candy, to taste (I used 1 4 ounce box)
If you have two large bowls, you can do a whole lot of the prep up front, and then get both flavors of Puppy Chow made in short order. If you only have one large bowl, you’ll just have to do one at a time with some washing in between.
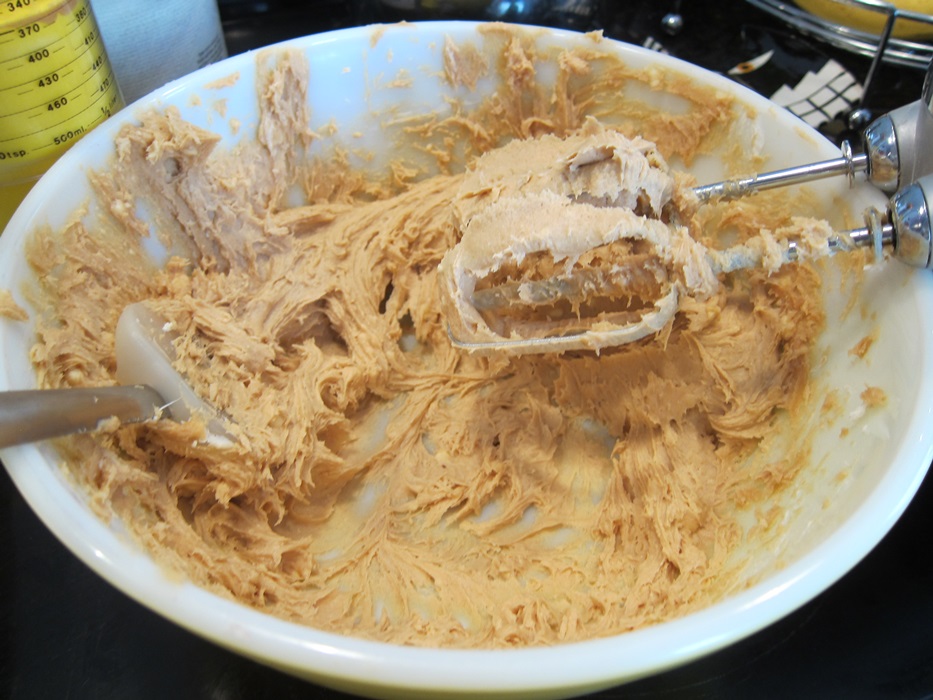
Line two jelly roll pans with parchment and set aside. Put 1 1/2 cups of powdered sugar in each of two large Ziploc bags and set aside. Pour 9 cups of Chex into each of two large bowls and set aside. Combine the white chocolate chips, 1/2 cup peanut butter, and 1/4 cup butter in a medium sized microwavable bowl, and the semi-sweet chips, 1/2 cup peanut butter, and 1/4 butter in another medium sized microwavable bowl. Put the vanilla somewhere obvious so you don’t forget to include it when the time comes.
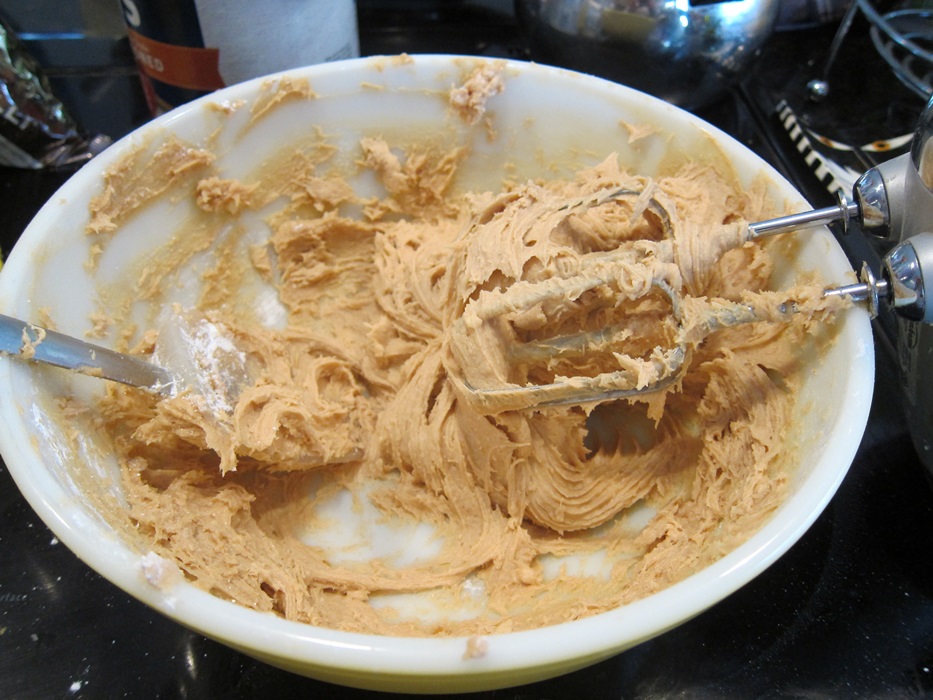
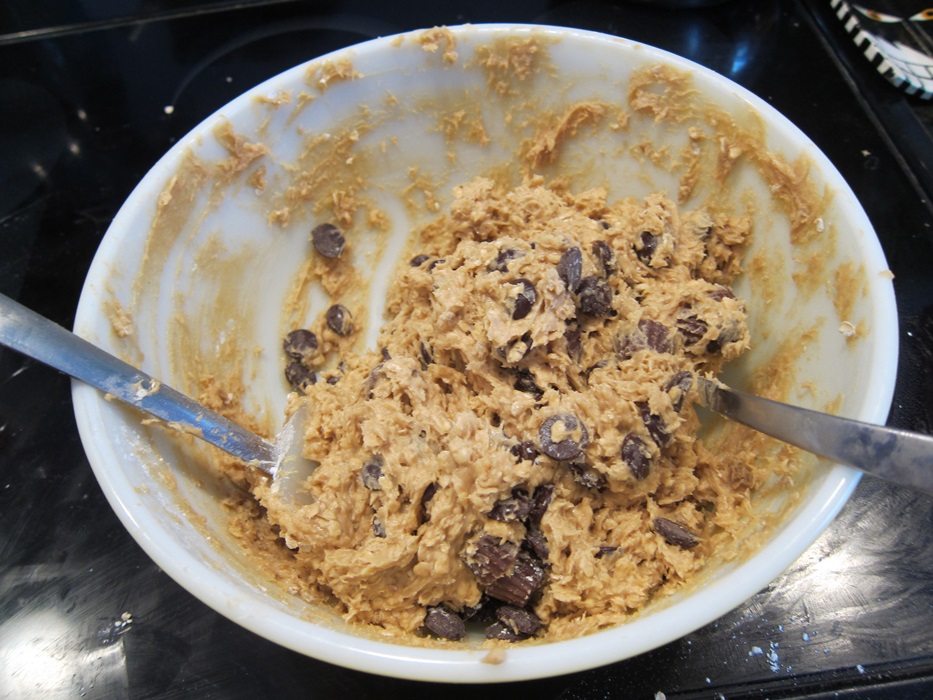
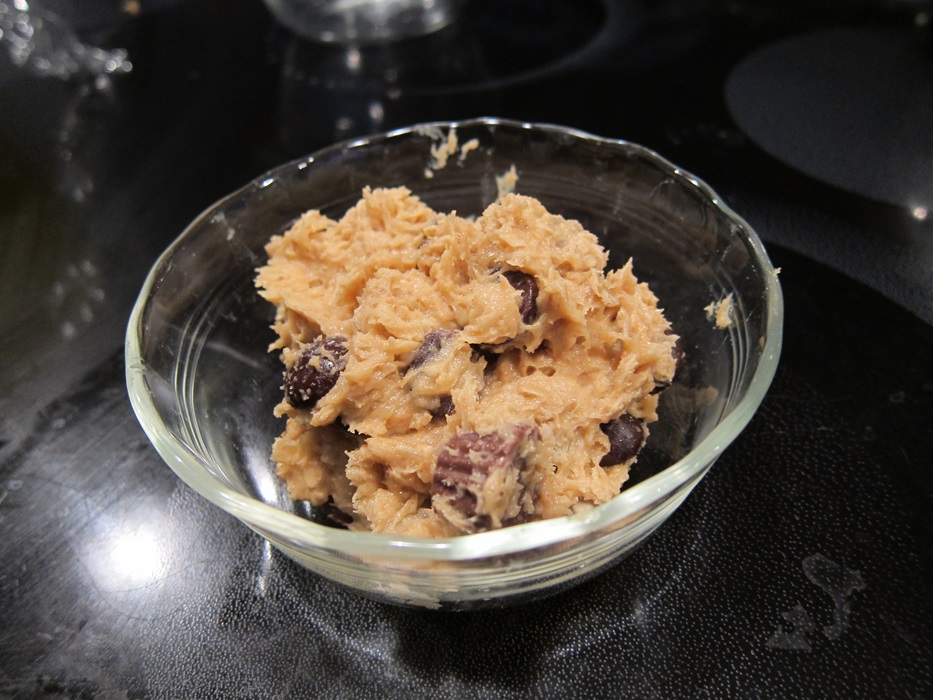
 Melt one of the chocolate mixtures in the microwave in short bursts, stirring between each until the mixture is smooth.
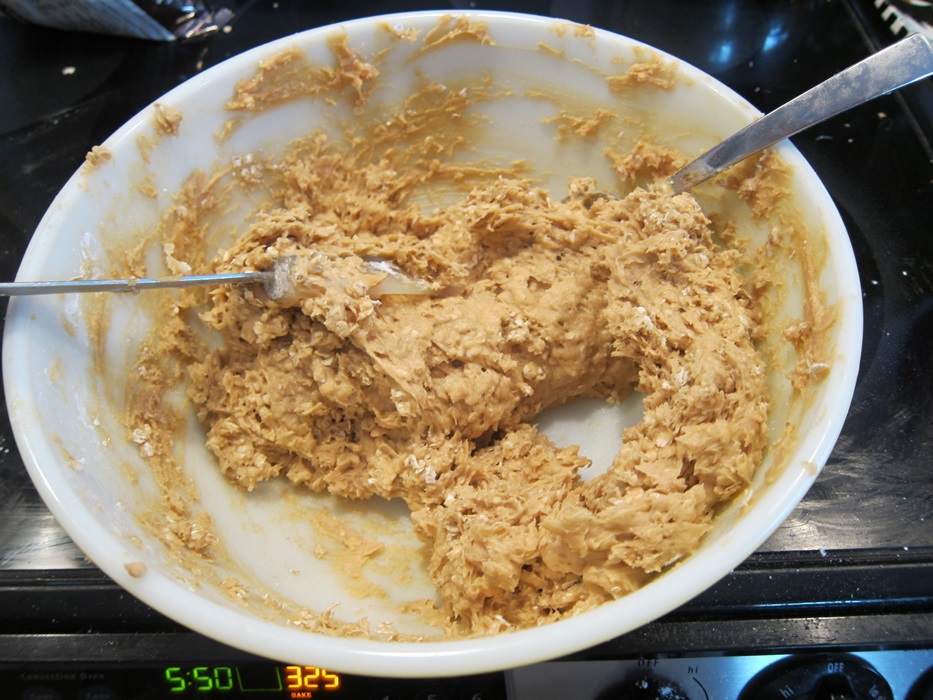
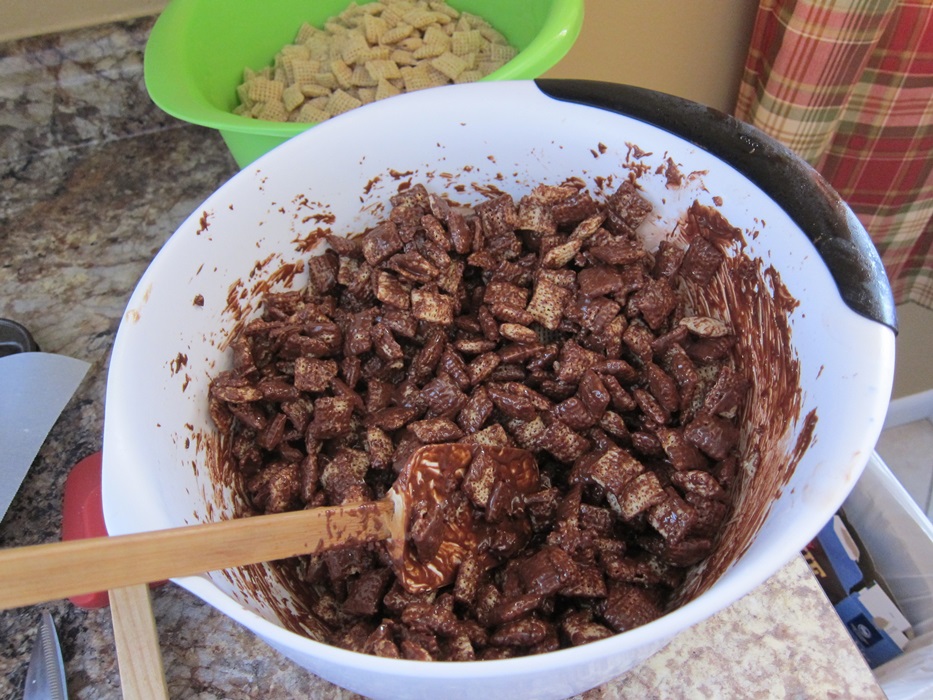
 Stir in 1 teaspoon of vanilla, then pour the mixture over one of the bowls of cereal and stir until evenly coated.
 Transfer the coated cereal into one of the Ziplocks. If you don’t have someone to hold the bag open for you, and maybe even if you do, I recommend doing this over the sink or the trash, just in case!
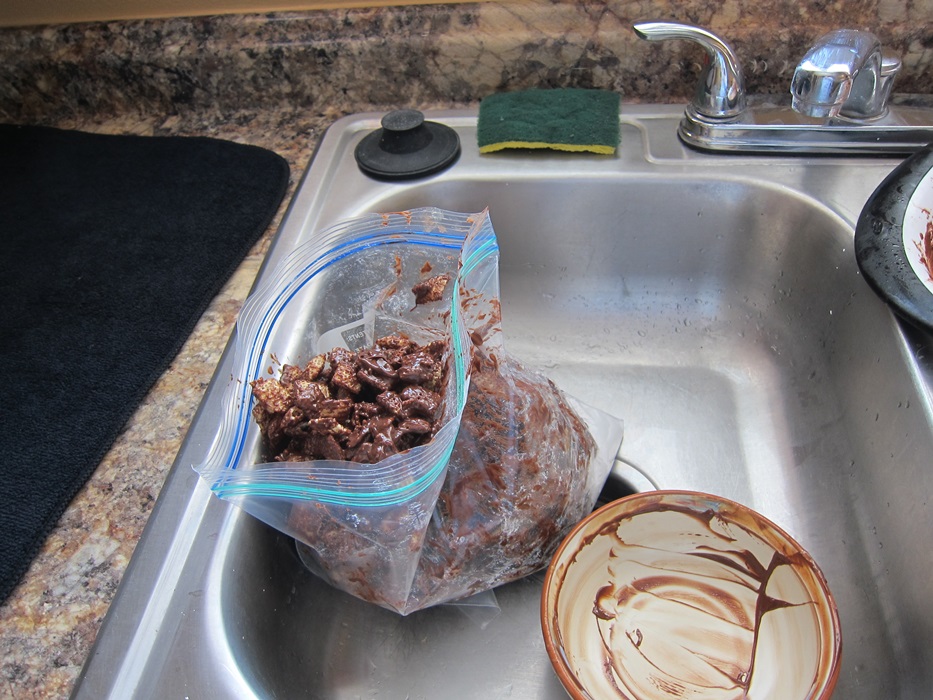 Shut the bag, and shake wake to coat the cereal with the sugar. Pour the coated cereal out onto one lined sheets and spread out. Repeat with the other chocolate mixture and the other cereal, sugar, and pan.
 Let both mixtures rest until the chocolate has cooled and solidified, then combine the two, mixing in Reese’s Pieces as desired.

The Reese’s sink to the bottom as fast as you try to stir them back up!
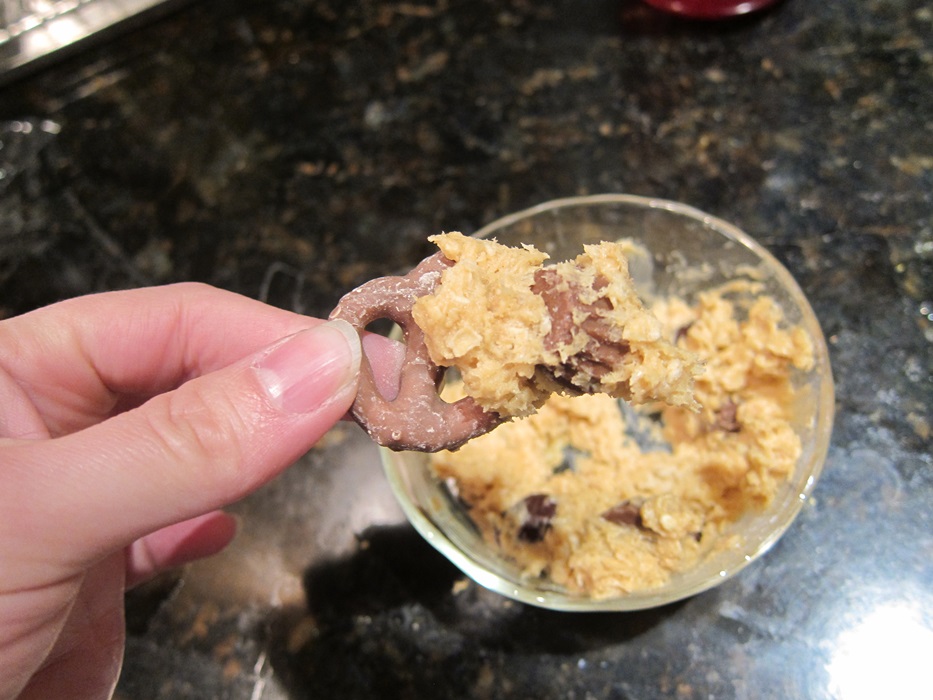
It’s about as messy to eat as Cheetos, but once you lick your fingers you’re not left with an incriminating orange stain.
Black and White Puppy Chow
From Your Cup of Cake.
Peanut Butter White Chocolate Puppy Chow:
- 1 1/2 cups powdered sugar
- 9 cups Rice Chex cereal
- 1 cup white chocolate chips
- 1/2 cup creamy peanut butter
- 1/4 cup butter
- 1 teaspoon vanilla extract
Peanut Butter Chocolate Puppy Chow:
- 1 1/2 cups powdered sugar
- 9 cups Rice Chex cereal
- 1 cup semi-sweet chocolate chips
- 1/2 cup creamy peanut butter
- 1/4 cup butter
- 1/4 cup vanilla extract
- Reese’s Pieces or other peanut butter and chocolate candy, to taste
Line two jelly roll pans with parchment and set aside. Put 1 1/2 cups of powdered sugar in each of two large Ziploc bags and set aside. Pour 9 cups of Chex into each of two large bowls and set aside. Combine the white chocolate chips, 1/2 cup peanut butter, and 1/4 cup butter in a medium sized microwavable bowl, and the semi-sweet chips, 1/2 cup peanut butter, and 1/4 cup butter in another medium sized microwavable bowl.
Melt the white chocolate chip mixture in the microwave in short bursts, stirring between each until the mixture is smooth. Stir in 1 teaspoon of vanilla, then pour the mixture over one of the bowls of cereal and stir until evenly coated. Transfer the coated cereal into one of the Ziplocks, shut the bag, and shake wake to coat the cereal with the sugar. Pour the coated cereal out onto one lined sheets and spread out. Repeat with the semi-sweet chocolate mixture and the other cereal, sugar, and pan.
Let both mixtures rest until the chocolate has cooled and solidified, then combine the two, mixing in Reese’s Pieces as desired.