Rice Cakes

I mentioned on Monday that I met Ted King (my favorite professional cyclist) last weekend. He likes cooking, and especially baking, so really, if for some reason you’re ever asked who your favorite rider is, he’s a good one to pick!

Last year Ted and his family helped start the Krempels King of the Road Challenge, a ride that raises money for a New Hampshire nonprofit that helps people with brain injuries. I’m going to be doing the ride this year, riding the 62 mile route on October 20th. It’s a charity ride, so if you have any change to spare I’d really appreciate if you’d consider donating it through my page here. If you want to learn more about the organization you’d be helping, the Krempels Center, there’s info here. Thanks for considering it!

And now, to make this bike stuff relevant to my blog, here’s what is apparently a super popular (among bikers) recipe for rice cakes. The recipe was originally created by Allen Lim, a nutritionist that’s worked with several pro cycling teams and come out with a cookbook that looks good. They come together quickly, and are easily digested – I ate one of these 20 minutes before running and didn’t want to puke, when usually eating within two or so hours before running makes me feel a bit barfy.

Ingredients:

  • 2 eggs
  • 1 cup uncooked sushi rice
  • 1 1/2 cups water
  • 4 slices bacon, Canadian bacon or pancetta
  • grated Parmesan cheese to taste
  • 1-2 tablespoons soy sauce or Bragg’s Liquid Aminos
  • 1 tablespoon brown sugar

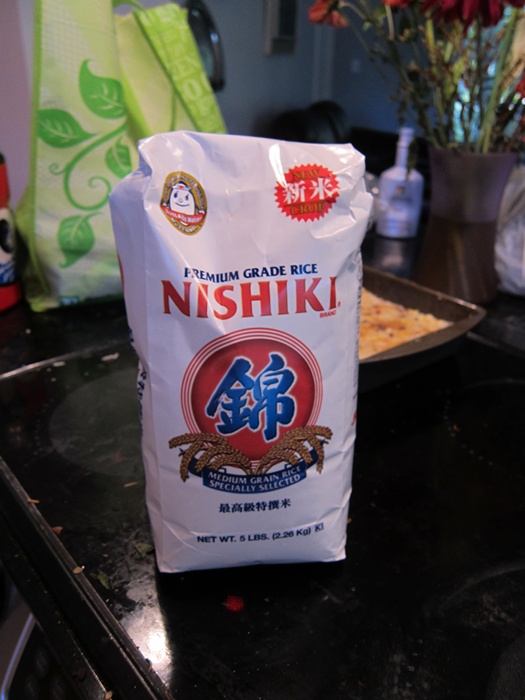
This was the only non-jasmine rice the supermarket had, but said something about sushi on the back, so…whew!

Combine the rice and water in a small pot over high heat. This is probably slightly more water than the back of the bag says, but that’ll help it be stickier to hold together. When the water reaches a boil, cover the pot and turn the heat down to low. Cook another 20 minutes.

While the rice cooks, cut the bacon into small pieces and cook in a pan over medium heat until crispy.
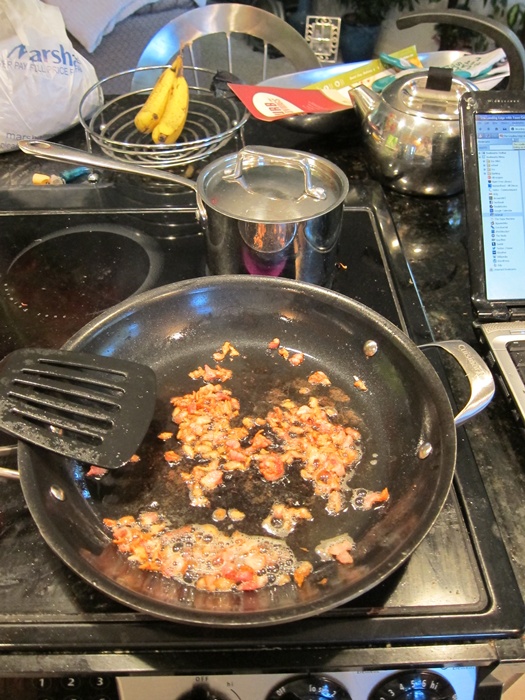
Remove the bacon from the pan, pour out the grease, and return the pan to medium heat. Whisk the eggs together, then pour them in the pan. The eggs should cook real quickly, just cook them until they’re a regular scrambled egg consistency.

Put the bacon, eggs, and a handful of Parmesan cheese in a medium bowl.
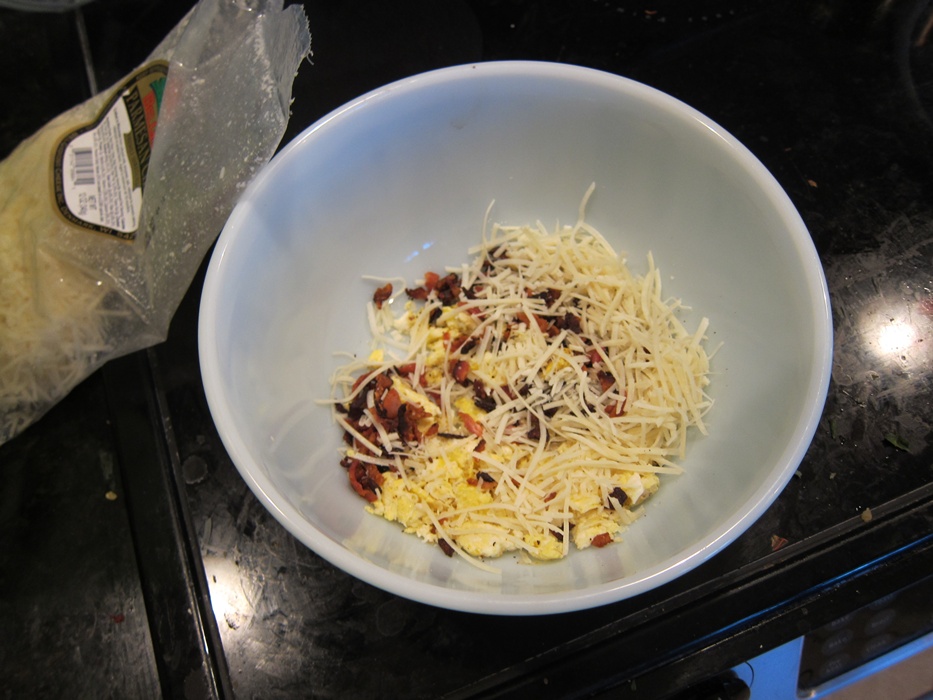
When the rice is ready, stir it into the bacon mixture. The heat from the rice should melt the cheese, providing a bit of extra stick to hold your cakes together. While you are stirring the rice into the bacon mixture, pour on the soy sauce and keep stirring. I found one tablespoon to be plenty, but taste as you go and see what you like. Press the mixture into an 8X8″ pan, pressing down very firmly to compact everything together.

Sprinkle the brown sugar over the top, then pat that down too. I felt weird about brown sugar and cheese, but it’s good. Let cool about 15 minutes, then cut into pieces with a knife or the end of your spatula.

To wrap the rice cakes so you can pocket them for a ride, get some foil, or even better (apparently) some Martha Wrap – parchment on one side, foil on the other.

Tear a sheet of foil in half, then fold the bottom bit up over the closer half of the cake.

Fold the top of the foil over the farther half of the cake, then fold back a lip.

Fold the sides in like you’re wrapping a present.

Fold the wings underneath.
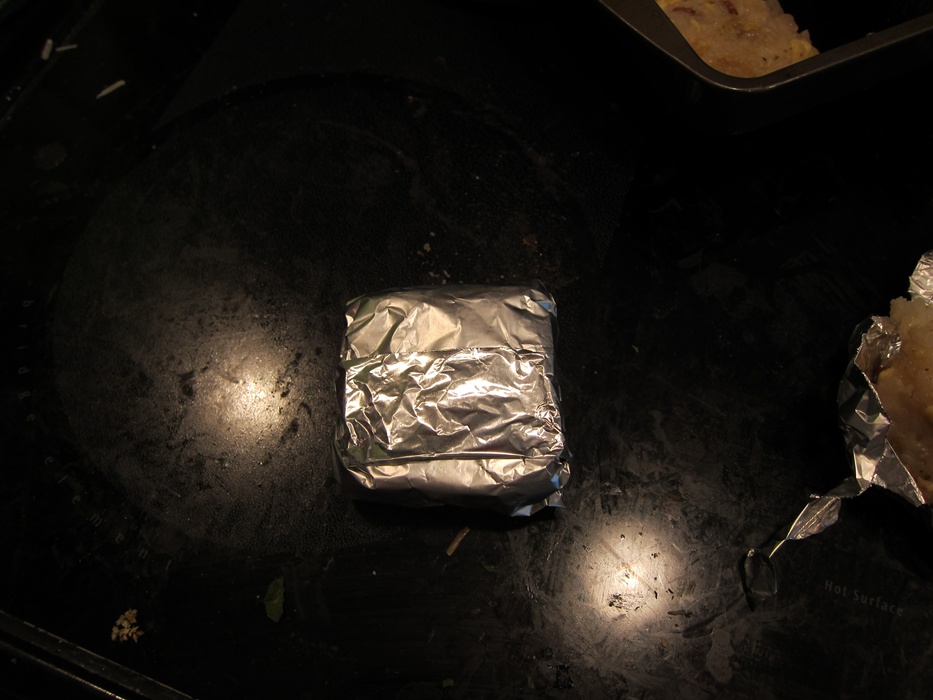
And you’re done! When you’re ready to eat, if you just pull on the foil lip, it comes open easily and is ready to snack on the go.  If you can’t picture it, here’s a video of Allen Lim wrapping them himself.

You can store these in the fridge for several days, or freeze them and then move them to the fridge the night before a ride.

To be clear, these are not supposed to be weight loss type dealies, rather they’re easily digestible calories for during a workout.

Allen Lim’s Rice Cakes

From USA Triathlon.

  • 2 eggs
  • 1 cup uncooked sushi rice
  • 1 1/2 cups water
  • 4 slices bacon, Canadian bacon or pancetta
  • grated Parmesan cheese to taste
  • 1-2 tablespoons soy sauce or Bragg’s Liquid Aminos
  • 1 tablespoon brown sugar

Combine the rice and water in a small pot over high heat. When the water reaches a boil, cover the pot and turn the heat down to low. Cook another 20 minutes.

While the rice cooks, cut the bacon into small pieces and cook in a pan over medium heat until crispy. Remove the bacon from the pan, drain the grease, and return the pan to medium heat. Whisk the eggs together, then pour them in the pan. Cook until standard scrambled egg consistency.

Put the bacon, eggs, and a handful of Parmesan cheese in a medium bowl. When the rice is ready, stir it in. While you are stirring the rice into the bacon mixture, pour on the soy sauce and continue stirring until evenly mixed. Press the mixture into an 8X8″ pan, pressing down very firmly to compact everything together.

Sprinkle the brown sugar over the top, then pat that down too. Let cool about 15 minutes, then cut into pieces with a knife or the end of your spatula. Wrap cakes, and store in the refrigerator.
Posted in Energy Food | Tagged , , , | 1 Comment

Biscoff Scones

If you didn’t try the Biscoff Nutella Bars and still haven’t tried Biscoff at all, here’s your chance! These Biscoff scones come together quickly (important in a breakfast food) and aren’t super sweet (unlike some breakfast things, I didn’t tag this both breakfast and dessert (I actually like super sweet, but I know some people can’t handle it, especially at breakfast)).

Ingredients:

Scones:

  • 2 1/2 cups all-purpose flour1/3 cup sugar
  • 3/4 teaspoon salt
  • 1/2 teaspoon cinnamon
  • 3/4 teaspoon baking powder
  • 1/2 cup cold butter, diced
  • 2 eggs
  • 1/2 cup Biscoff Spread, smooth or chunky
  • 1/3 cup heavy cream or half and half

Biscoff Glaze:

  • 2 tablespoons Biscoff spread
  • 2 tablespoons heavy cream or milk
  • 1/2 to 3/4 cup confectioners’ sugar

Preheat the oven to 425 degrees. Line a baking sheet with parchment paper.

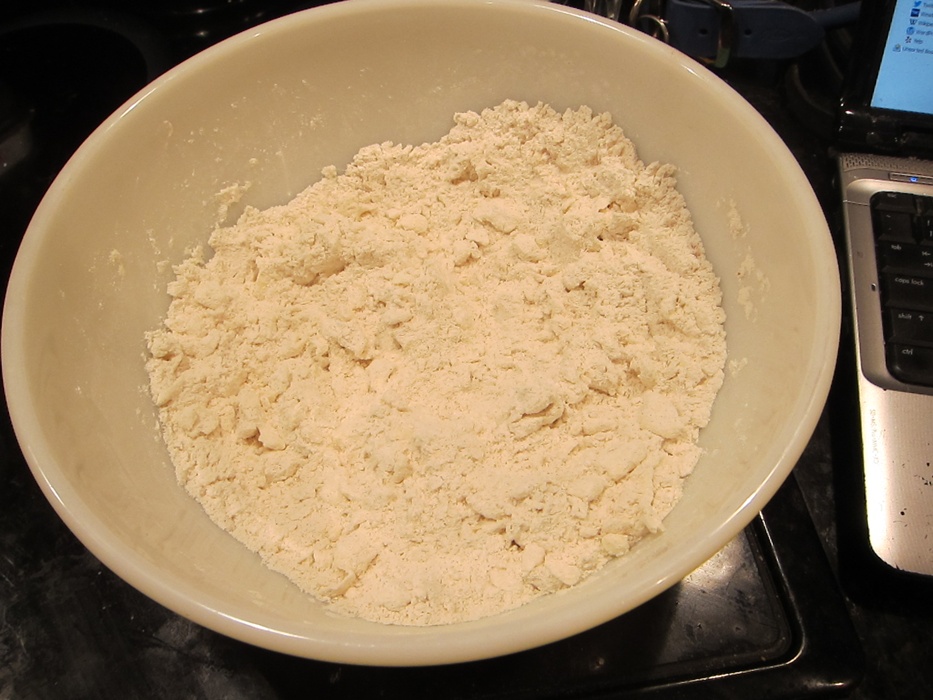
In a large bowl, whisk together the flour, sugar, salt, cinnamon, and baking powder. Work in the butter with your fingers or a pastry cutter until only small lumps remain.

In another bowl or large measuring cup, combine the eggs, Biscoff, and cream, stirring until well mixed.

Stir into the dry ingredients until evenly moistened.

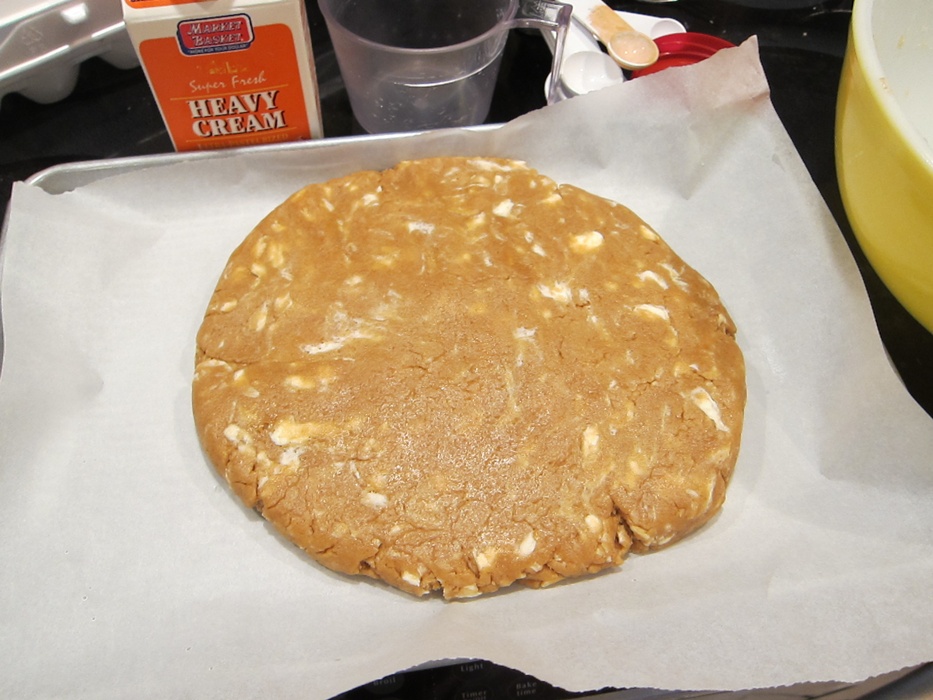
Turn out onto the parchment lined sheet and pat into an 8″ circle.

Smaller than usual pan, not an enormous hunk of dough.

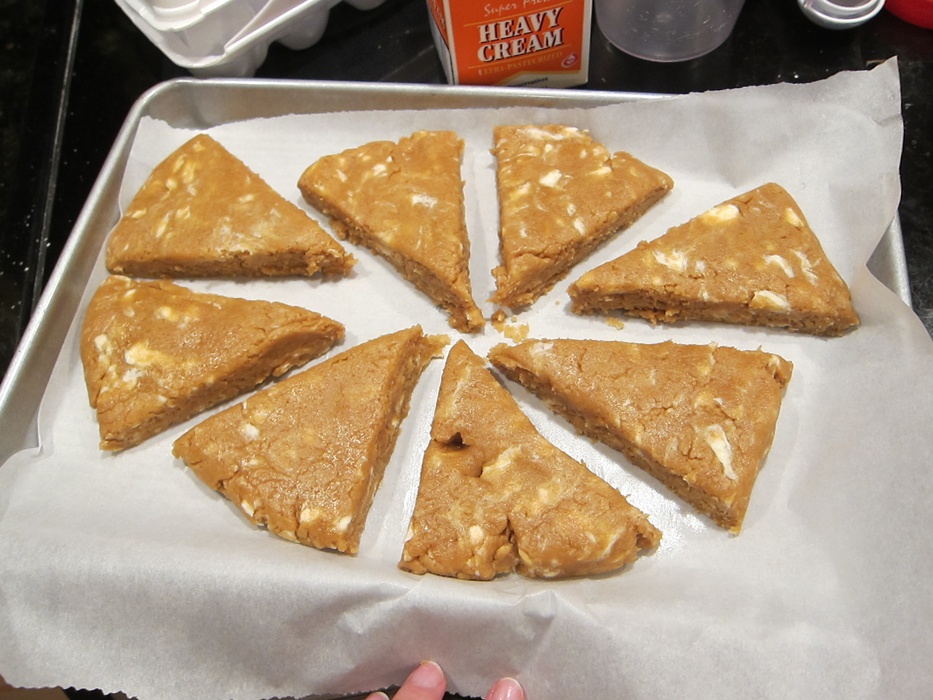
Cut into 8 equal wedges.

I pulled mine apart a bit, since it seemed cramped. They held together well.

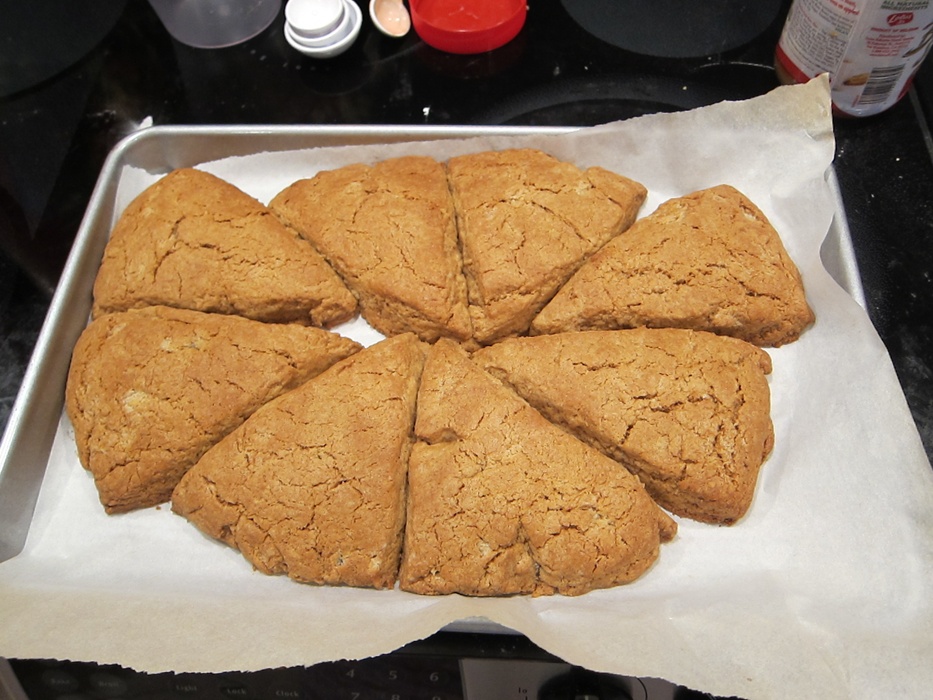
Bake 20-25 minutes, until nicely browned.

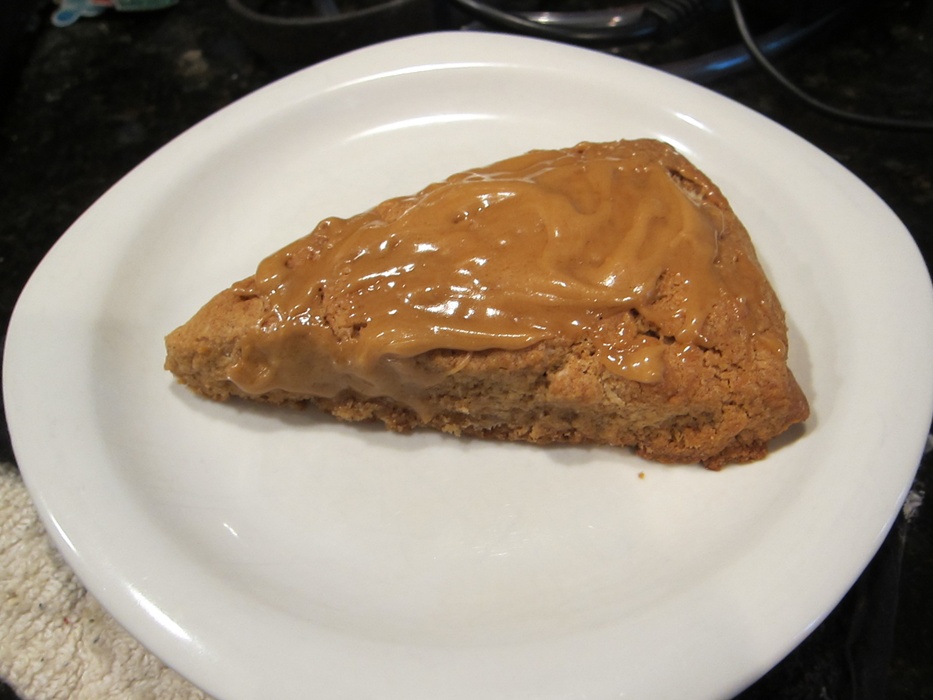
Let cool for 5 minutes while you whisk together the glaze ingredients, then drizzle it on. I used the smaller amount of cream and just let the heat of the scones melt the glaze on.

Breakfast is served! Shared one of these with a fellow volunteer at a bike race Saturday afternoon, and they thought it was great! Also great about that day – I met Ted King! (He’s from around here, is good at bikes, and likes to bake. Perfect?)

Biscoff Scones

From King Arthur Flour.

Scones:

  • 2 1/2 cups all-purpose flour1/3 cup sugar
  • 3/4 teaspoon salt
  • 1/2 teaspoon cinnamon
  • 3/4 teaspoon baking powder
  • 1/2 cup cold butter, diced
  • 2 eggs
  • 1/2 cup Biscoff Spread, smooth or chunky
  • 1/3 cup heavy cream or half and half

Biscoff Glaze:

  • 2 tablespoons Biscoff spread
  • 2 tablespoons heavy cream or milk
  • 1/2 to 3/4 cup confectioners’ sugar

Preheat the oven to 425 degrees. Line a baking sheet with parchment paper.

In a large bowl, whisk together the flour, sugar, salt, cinnamon, and baking powder. Work in the butter with your fingers or a pastry cutter until only small lumps remain.

In another bowl or large measuring cup, combine the eggs, Biscoff, and cream, stirring until well mixed. Stir into the dry ingredients until evenly moistened.

Turn dough out onto the parchment lined sheet and pat into an 8″ circle. Cut into 8 equal wedges, then bake 20-25 minutes, until nicely browned.

Let cool for 5 minutes while you whisk together the glaze ingredients, then drizzle the glaze over the scones.

Posted in Breakfast | Tagged , | 1 Comment

Chocolate Peanut Butter Bars

Another good thing to throw together in a rush before a picnic or potluck, these chocolate peanut butter bars were called “like way fancier Reese’s cups!” at a picnic last month.

Ingredients:

  • 1 cup melted butter
  • 2 cup graham cracker crumbs
  • 2 cups powdered sugar
  • 1 cup and 4 tablespoons peanut butter, divided
  • 1 1/2 cups semi-sweet chocolate chips

Mix the butter, graham cracker crumbs, powdered sugar, and 1 cup of the peanut butter together, stirring until evenly mixed.

Spread evenly into an ungreased 9X13″ pan.

Melt the chocolate chips and remaining 4 tablespoons of peanut butter in a medium bowl, stirring until smooth. Spread the chocolate over the peanut butter mixture.

Refrigerate at least an hour before cutting into bars and serving. If the chocolate separates from a piece while you’re cutting it up, you can just press it back on and it’ll stick.

It’s got a bit more texture than a Reese’s cup, and tastes a bit better. Delicious!

Chocolate Peanut Butter Bars

  • 1 cup melted butter
  • 2 cup graham cracker crumbs
  • 2 cups powdered sugar
  • 1 cup and 4 tablespoons peanut butter, divided
  • 1 1/2 cups semi-sweet chocolate chips

Mix the butter, graham cracker crumbs, powdered sugar, and 1 cup of the peanut butter together, stirring until evenly mixed. Spread evenly into an ungreased 9X13″ pan.

Melt the chocolate chips and remaining 4 tablespoons of peanut butter in a medium bowl, stirring until smooth. Spread the chocolate over the peanut butter mixture.

Refrigerate at least an hour before cutting into bars and serving.

Posted in Dessert | Tagged , , | Leave a comment

Cupcake Ice Cream

Several years ago I made this for my own birthday. The rest of the party included a unicorn pinata, a cake that said ‘Ponies!’ on it, and candy poker. It was basically the best 6th birthday you could ever want as a 26-or-so year old. I have been dreaming about this ice cream ever since. The best part is, it’s not a custard-based ice cream, so you don’t have to spend time heating then cooling before you can get to freezing.

Ingredients:

  • 1 cup whole milk
  • 3/4 cup sugar
  • 2 cups heavy cream
  • 1 teaspoon vanilla
  • 1 cup cake mix powder, divided (any flavor, strawberry cake’s nice for flavor and color)
  • 2-3 pre-made cupcakes, with frosting, chopped up and frozen
  • sprinkles

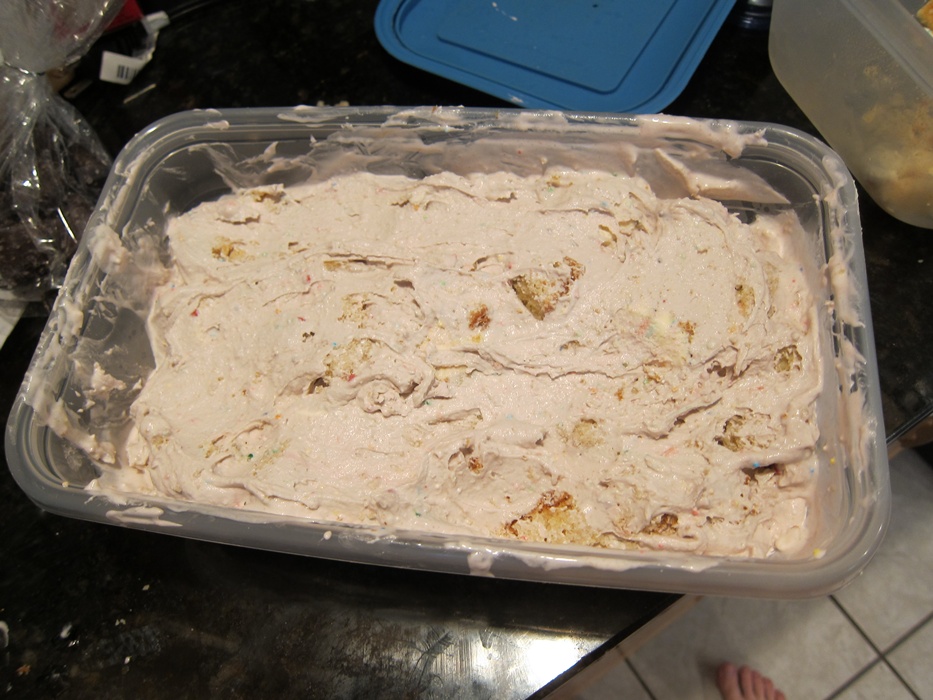
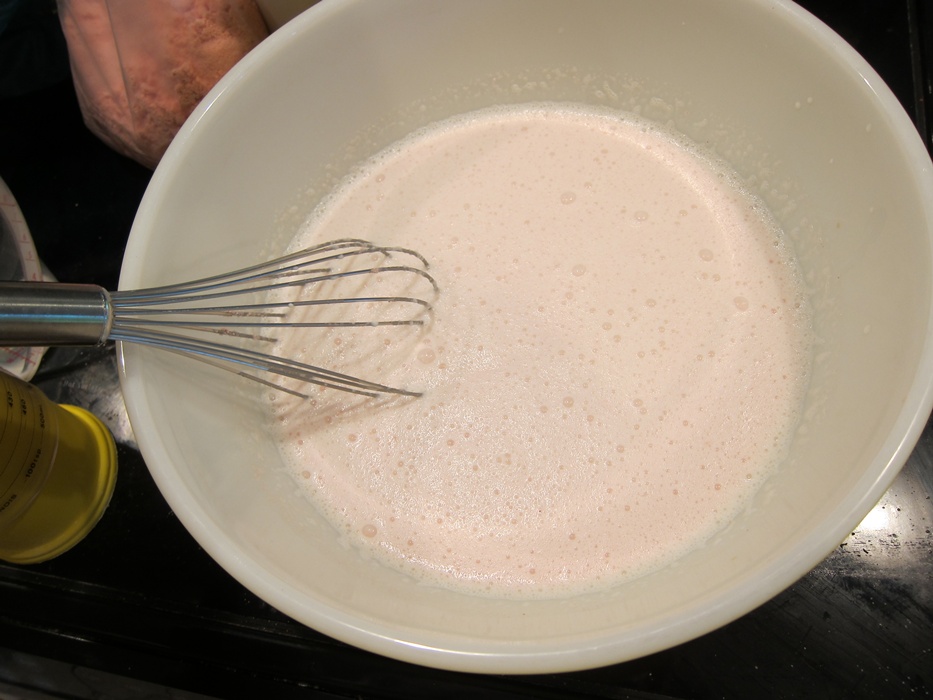
In a large bowl, whisk the milk and sugar together. Add the cream and vanilla, then 1/2 of the cake mix.

Pinker in person.

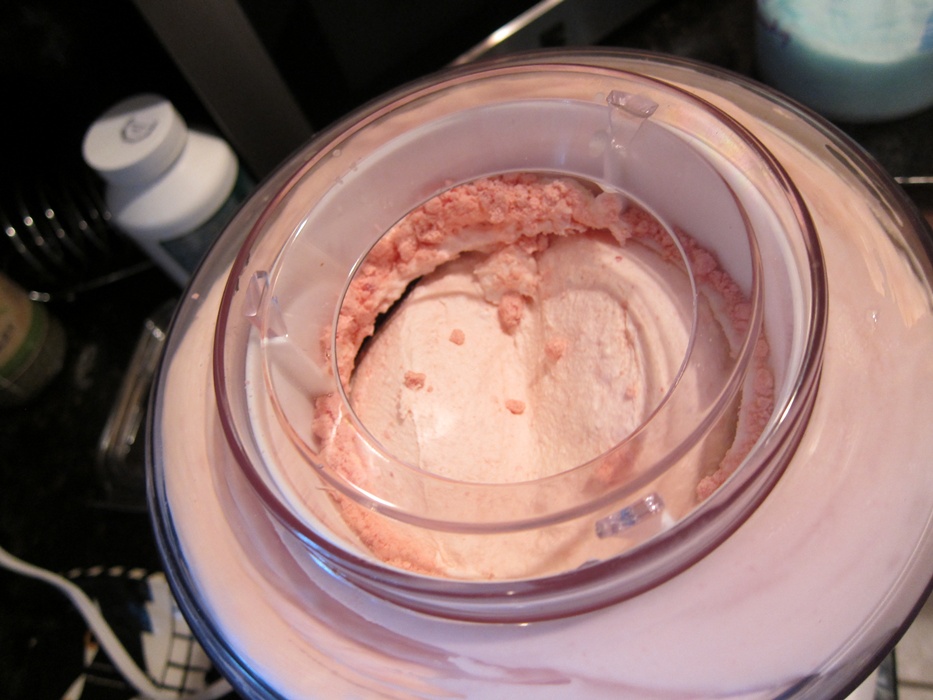
Freeze according to your ice cream machine’s instructions. Halfway through, add the remaining 1/2 of the cake mix.

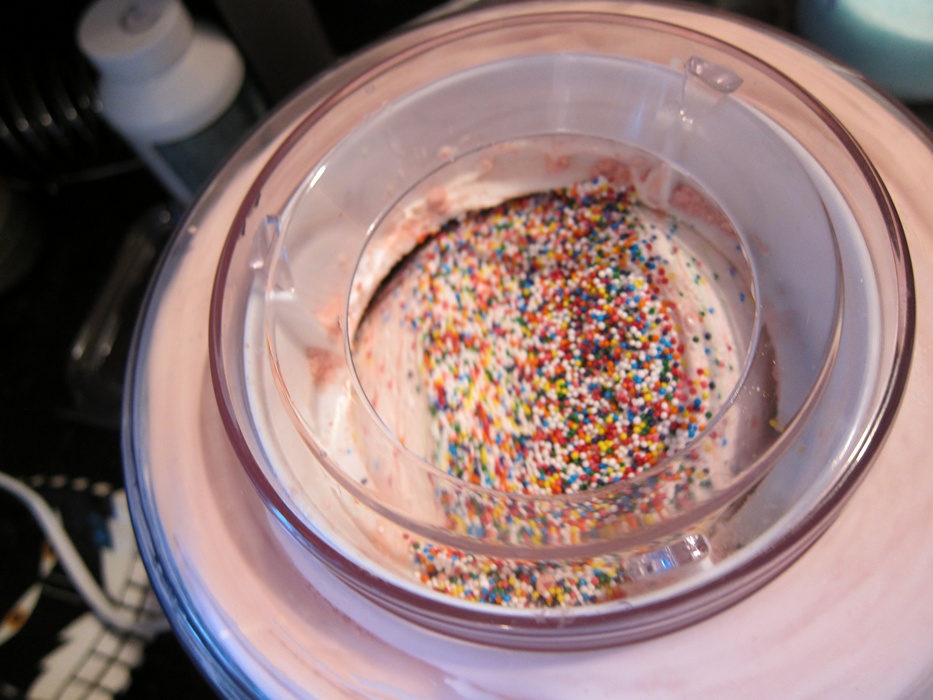
Five minutes before the ice cream’s done, add the sprinkles.

After the sprinkles, add the cupcake pieces. Transfer to the freezer to firm up, if necessary. I usually figure ice cream will take about 1/2 an hour to freeze, but when I went to check on this at 15 minutes to add the other half of the cake mix, it was already decently firm. Not so firm that I couldn’t get in all my add-ins, but enough that I didn’t wait another 10 or 15 minutes before adding the sprinkles and cupcake chunks.

Yum, yes please!

Cupcake Ice Cream

From Spice Dish.

  • 1 cup whole milk
  • 3/4 cup sugar
  • 2 cups heavy cream
  • 1 teaspoon vanilla
  • 1 cup cake mix powder, divided
  • 2-3 pre-made and frozen cupcakes, with frosting, chopped up
  • sprinkles

In a large bowl, whisk the milk and sugar together. Add the cream and vanilla, then 1/2 of the cake mix, whisking until well combined.

Freeze according to your ice cream machine’s instructions. Halfway through, add the remaining 1/2 of the cake mix. Five minutes before the ice cream’s done, add the sprinkles, then the cupcake pieces. Transfer to the freezer to firm up, if necessary.

Posted in Dessert | Tagged , , , , | 2 Comments

Browned Butter Chocolate Chip Cookies

Apparently my floor hockey team isn’t really familiar with brown butter, but love it when they taste it. These cookies were rated a close second to the (brown butter) brown sugar cookies that have been the favorite over the last 5 months. Got to make those again tomorrow for playoffs!

Ingredients:

  • 1 cup unsalted butter
  • 2 1/2 cups all-purpose flour
  • 1 teaspoon baking powder
  • 1 teaspoon coarse salt, plus more for tops of cookies if desired
  • 1 cup packed light brown sugar
  • 3/4 cup granulated sugar
  • 2 large eggs
  • 1 tablespoon vanilla extract
  • 1 1/2 cups chocolate chips

In a medium pot over medium heat, melt the butter. Continue to cook, stirring frequently, until brown specks start to form in the butter, it turns darker, and it smells nutty. Congrats, you’ve just browned butter. Transfer to your mixer’s bowl and let cool some. You don’t want it to solidify or anything, you just want it cool enough it’s not going to cook the eggs you add later.

While the butter cools, preheat the oven to 350 and line 2 or 3 baking sheets with parchment paper. Whisk together the flour, baking powder, and salt in a medium bowl and set aside.

Beat the brown and white sugars into the butter.

Add the eggs one at a time, beating after each, followed by the vanilla.

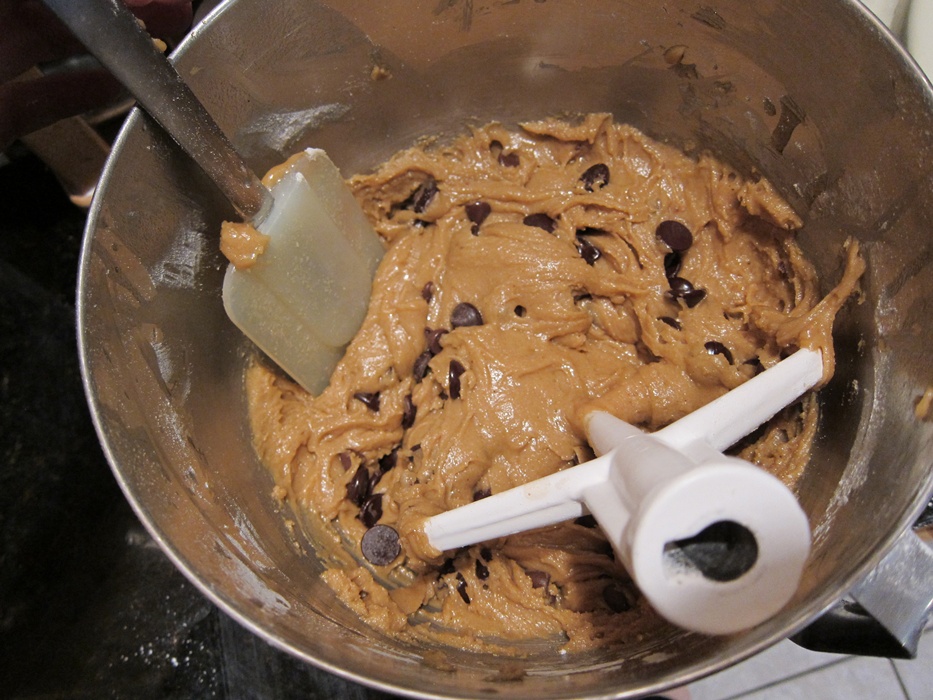
Gradually add the flour mixture, mixing until just combined, then add the chocolate.

Spoon dough onto pans in tablespoon-sized portions. If desired, sprinkle lightly with more coarse salt. I forgot to do this, but think it would have been good.

The recipe made over twice this many.

Bake 10-12 minutes, until lightly browned. Cool on the pan for several minutes, then transfer to a wire rack to cool completely.

Definitely a keeper recipe!

Browned Butter Chocolate Chip Cookies

From Bake or Break.

  • 1 cup unsalted butter
  • 2 1/2 cups all-purpose flour
  • 1 teaspoon baking powder
  • 1 teaspoon coarse salt, plus more for tops of cookies if desired
  • 1 cup packed light brown sugar
  • 3/4 cup granulated sugar
  • 2 large eggs
  • 1 tablespoon vanilla extract
  • 1 1/2 cups chocolate chips

In a medium pot over medium heat, melt the butter. Continue to cook, stirring frequently, until brown specks start to form in the butter, it turns darker, and it smells nutty. Transfer to your mixer’s bowl and let cool.

While the butter cools, preheat the oven to 350 and line 2 or 3 baking sheets with parchment paper. Whisk together the flour, baking powder, and salt in a medium bowl and set aside.

Beat the brown and white sugars into the butter. Add the eggs one at a time, beating after each addition, followed by the vanilla. Gradually add the flour mixture, mixing until just combined, then add the chocolate. Spoon dough onto pans in tablespoon-sized portions. If desired, sprinkle lightly with more coarse salt.

Bake 10-12 minutes, until lightly browned. Cool on the pan for several minutes, then transfer to a wire rack to cool completely.

Posted in Dessert | Tagged , , , | Leave a comment

Cheesecake Salad Delight

Aaaah, “salad.” Who even knows what it means. Fruit salad, pasta salad, I’ve even seen Snickers salad somewhere on the internet. Here’s another lettuce-averse one to add to the list!

I took this to a party and didn’t take any pictures there, so there are no cute “in a fancy cup to look nice” pics, sorry.

Ingredients:

  • 3 packages of small instant cheesecake pudding (3.4 ounce boxes)
  • 3 cups milk
  • 1 large Cool Whip (12 ounces)
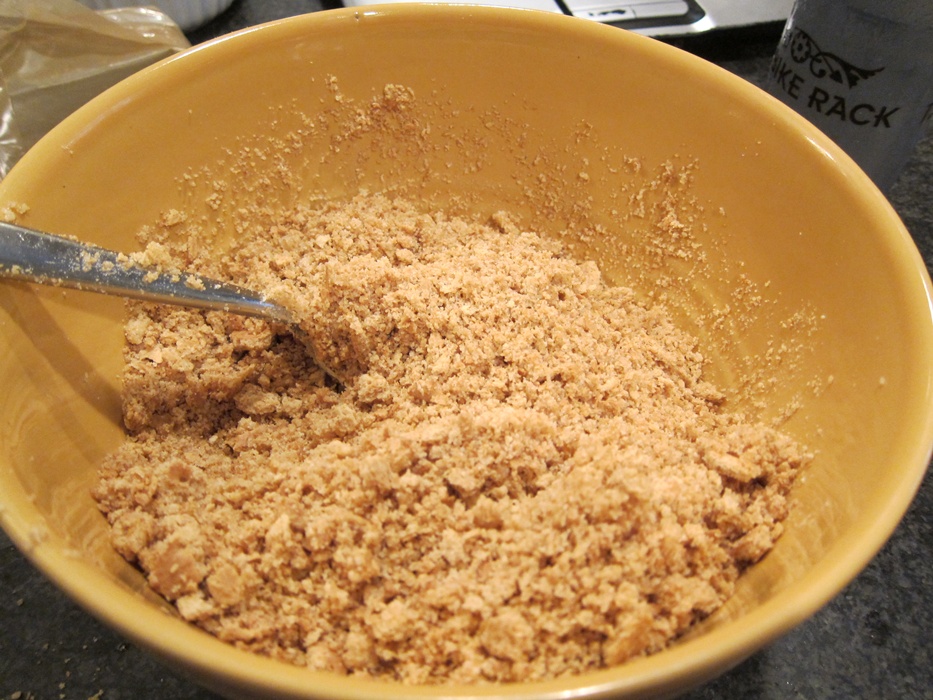
  • 2 1/2 Cups crushed graham crackers (about 18 crackers)
  • 4 tablespoons butter
  • 1/2 cup sugar
  • 2 cups of berries (fresh, if available)

If you’ve never seen the pudding… it exists, I promise!

Also, for stirrability, it’s easier if you’ve let the Cool Whip defrost a bit in the fridge for a few hours, but it’s not insurmountable if you don’t.

Stir together the milk, pudding powder, and Cool Whip in a large bowl until smooth. Set aside.

In another large bowl, melt the butter. Stir in the graham cracker crumbs and sugar until evenly mixed.

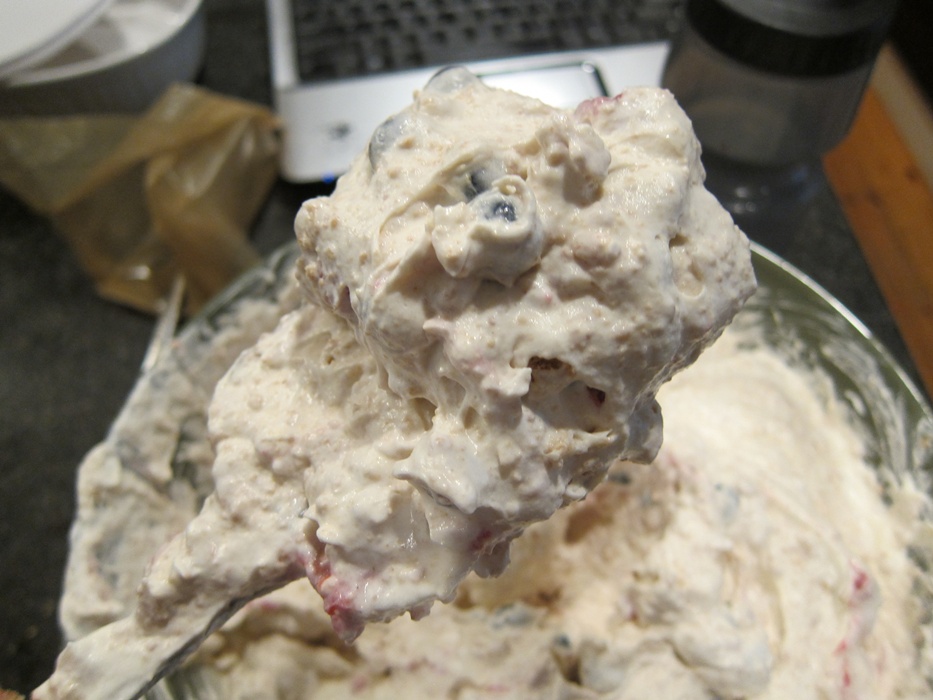
Stir the graham mixture into the pudding mixture. While you were mixing up the graham crackers, the pudding mixture probably got a bit more solid than it was before – that’s fine!

Gently stir in the berries.

Aaaand you’re done. That was fast! Store in the fridge, when you’re not eating. It smells really delightful. Thanks, chemicals!

Om nom nom!

(Woo, recipe type-up speed record so I can get out of the house!)

Cheesecake Salad Delight

From Instructables.

  • 3 packages of small instant cheesecake pudding (3.4 ounce boxes)
  • 3 cups milk
  • 12 ounces Cool Whip
  • 2 1/2 Cups crushed graham crackers (about 18 crackers)
  • 4 tablespoons butter
  • 1/2 cup sugar
  • 2 cups of berries (fresh, if available)

If possible, defrost Cool Whip in freezer 3-4 hours.

Stir together the milk, pudding powder, and Cool Whip in a large bowl until smooth. Set aside.

In another large bowl, melt the butter. Stir in the graham cracker crumbs and sugar until evenly mixed.

Stir the graham mixture into the pudding mixture, followed by the berries. Store in the refrigerator.

Posted in Dessert | Tagged , , , , | Leave a comment

Apple Sourdough

As I mentioned on Monday, this is the best bread I know. As I also mentioned… pretty time consuming, but most of that time is hands-off waiting time.

Ingredients:

First Stage:

  • 2 tablespoons honey
  • 1 cup water
  • 3/4 cup apple sour starter
  • 4 1/2 cups whole wheat bread flour

Second Stage:

  • 1/4 cup honey
  • 3/4 cup shredded apples (I think using the most tart apples you can get provides the most interesting flavor)
  • 1/2 cup water
  • 1 1/2 cup whole wheat bread flour
  • 1 tablespoon salt
  • dough from first stage

Although this recipe calls for whole wheat bread flour, I couldn’t get it and just used regular bread flour. I think this might be part of the reason why my dough is so very wet, but it works out.

Stir together all the ingredients for the first stage in a large bowl, then knead for 5-7 minutes until smooth and elastic. Shape into a ball and place in a large, lightly oiled bowl. Cover, and let rest 8-10 hours, or refrigerate up to 24 hours.

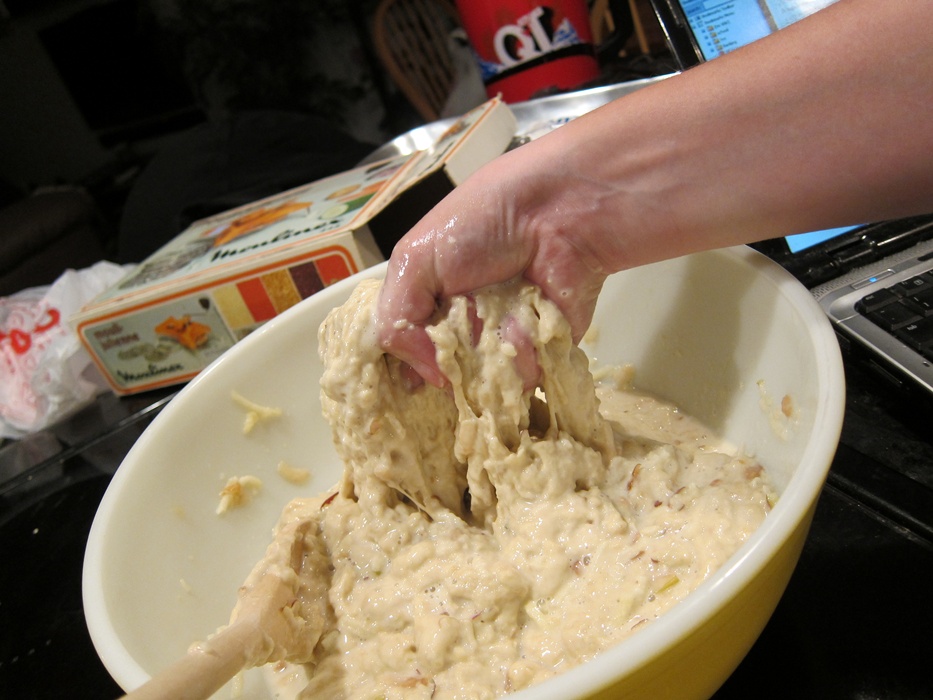
After that first rise, combine the dough with the apples, honey, and water from the second stage, mixing well.

Blaaarg!

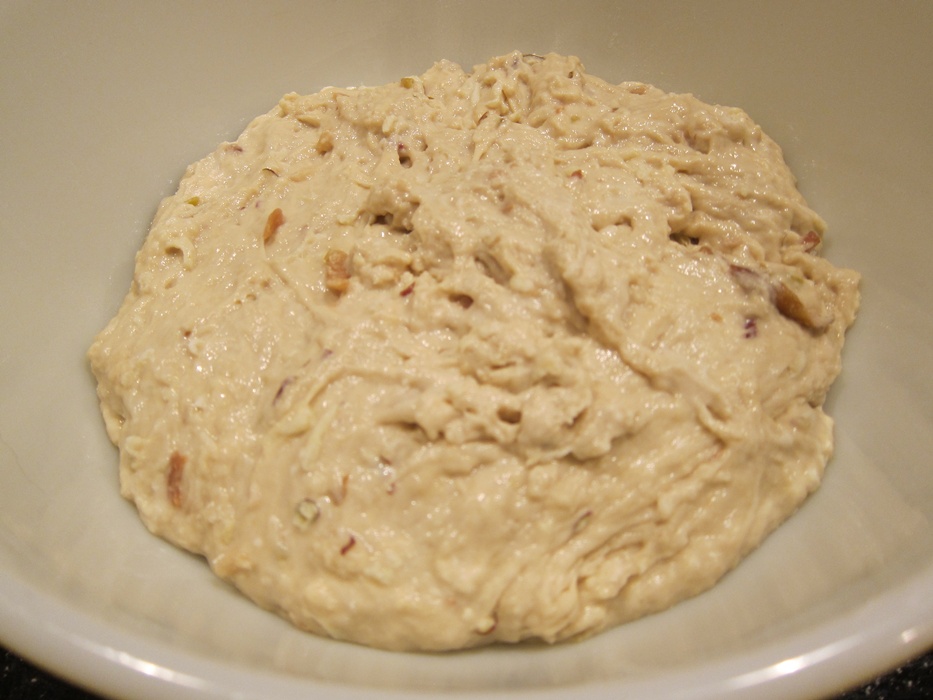
Add the salt and 1 cup of the flour. Knead 5-7 minutes, adding the remaining half cup of flour only if the dough is super wet. The few times I’ve made this bread, even after adding that extra half cup of flour the dough is still too wet to really knead normally, but I wouldn’t suggested adding tons of flour. The texture of the finished bread is great, so adding another cup or two of flour would likely give you a brick. Just knead your wet dough as best as possible, then transfer to a greased bowl.

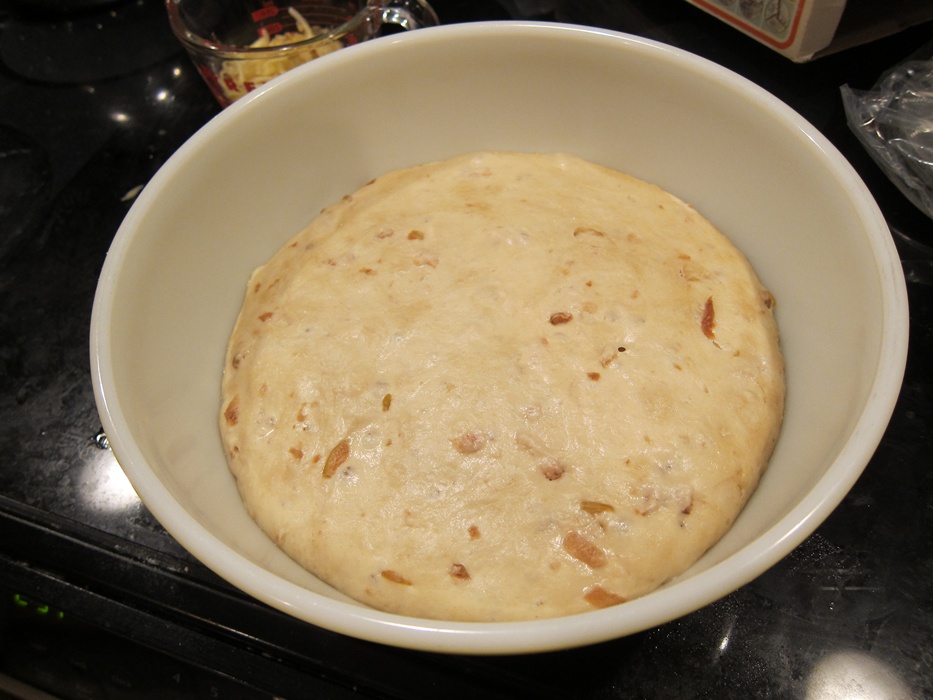
Cover, and let rise 5-8 hours, or another 18-24 in the refrigerator. (I did a combo, leaving it in the fridge for about 8 hours while I slept, then several more hours out at room temperature. You just have to figure out what works best with your schedule.)
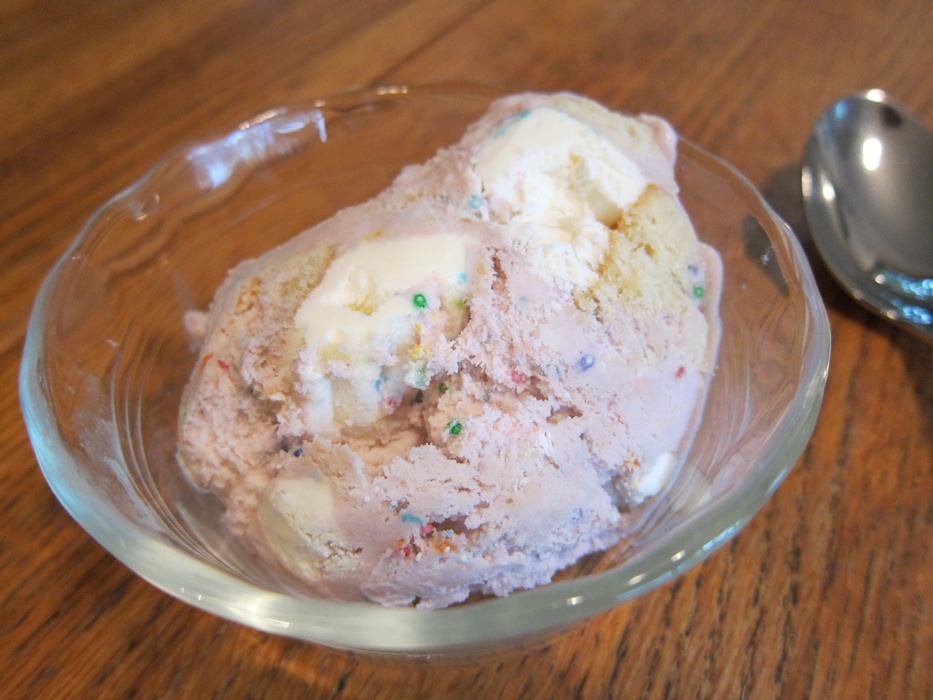
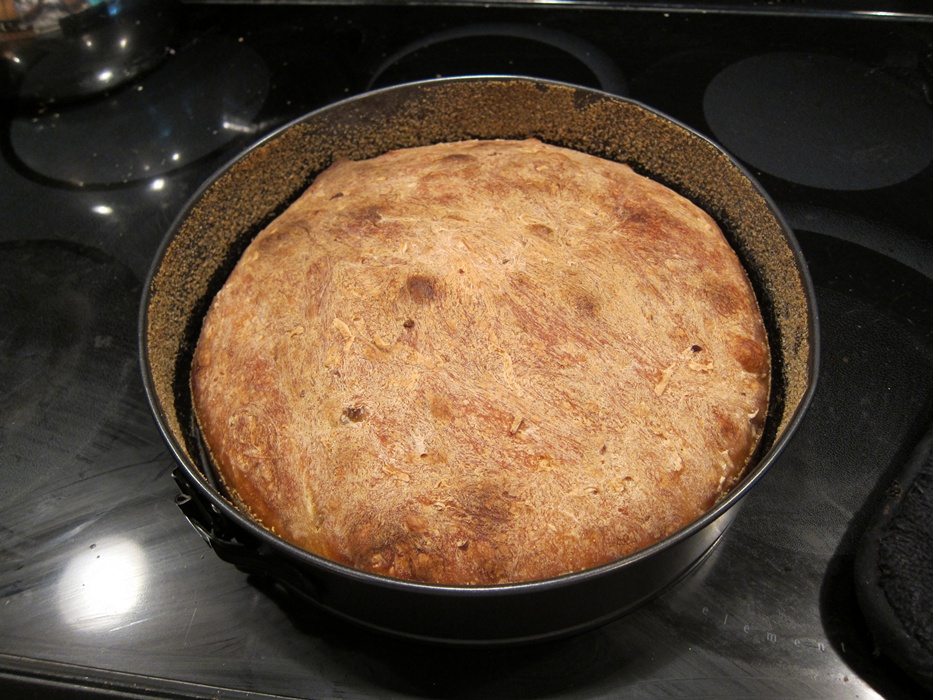
Grease and line two bread pans with cornmeal. I like how this bread looks as one giant round, so I just use one springform. Transfer the risen dough to your prepared pan. Again, I’ve always had it be too liquidy to shape into loaves, and just spread it evenly in the pan.

Mist with water, then let rise another 3-4 hours. If the dough had just come out of the fridge, you’ll need at least 4.

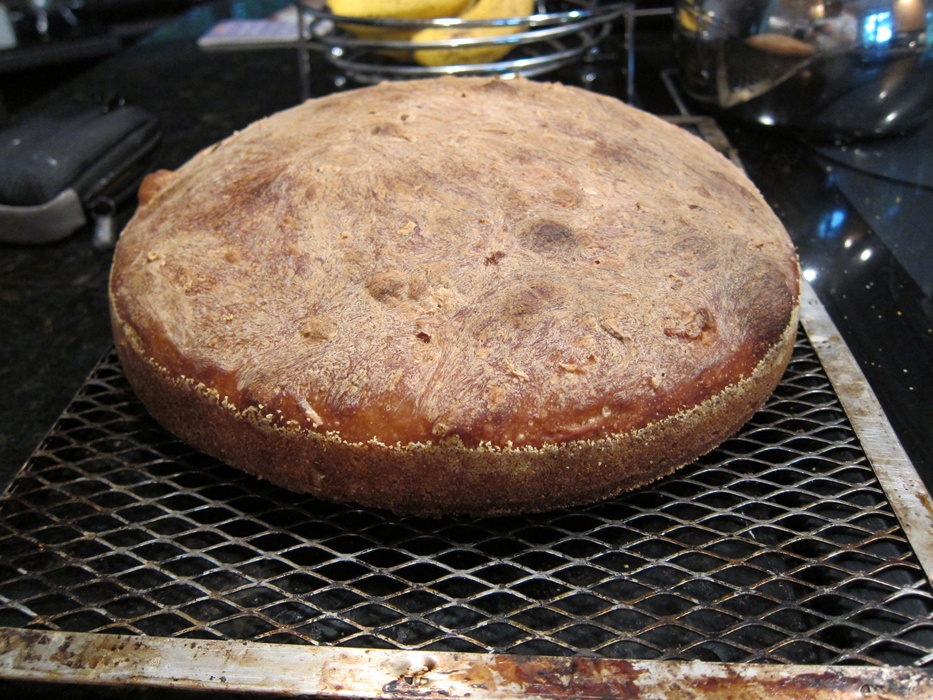
Remove the dough from the oven and preheat to 425 degrees. Bake for 20 minutes, then lower the temperature to 375 and bake a further 20 minutes until well browned and hollow sounding when tapped.

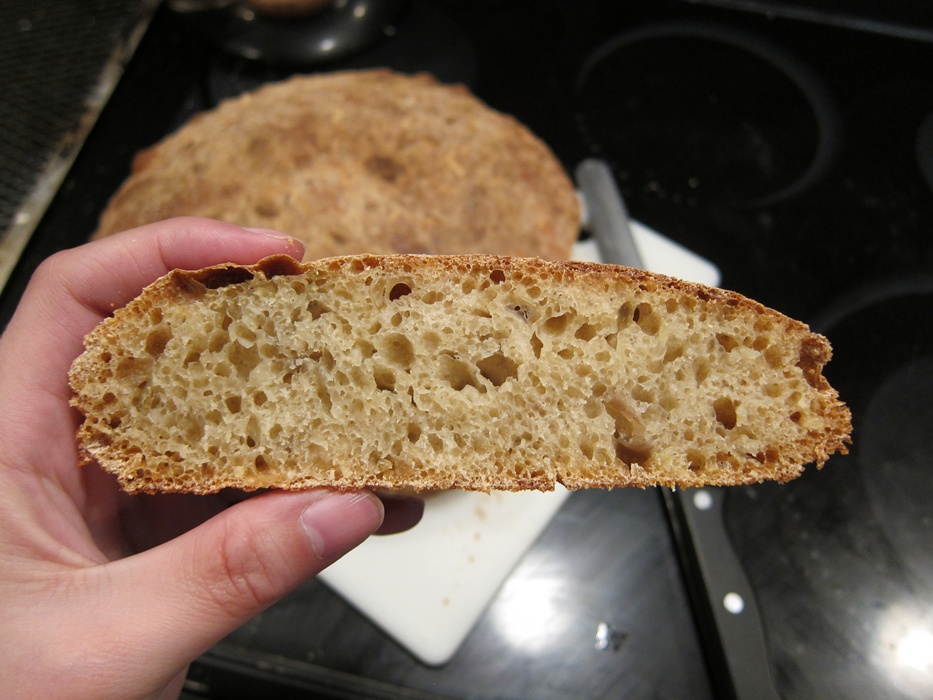
The texture is great as-is, I think it would be a very dense bread if you added enough flour to make it easily kneadable.

That pretty large loaf lasted just over 24 hours in our house before being polished off. Just added to the starter to make another. I think I’m going to try putting in some cheese powder!

As far as scheduling goes, it looks something like this:

  • 2-10 minutes to make the starter, depending on if you use apple sauce or have to grate apples
  • 7-10 day wait (the first time, 1 day all subsequent times)
  • 10-15 minutes to stir together and knead the first stage
  • 8-10 hour rise, or ~24 hours in the fridge
  • 15 or so minutes to combine and knead second stage
  • 5-8 hour rise or ~18 hours in the fridge
  • 5 minutes to prepare pans and transfer dough
  • 3-4 hour rise
  • 10-15 minute preheat
  • 40 minute bake

By using the refrigerator to slow down the rises, you can really make this fit most schedules. You just have to be patient!

Apple Sourdough

From Chef Tess Bakeress.

First Stage:

  • 2 tablespoons honey
  • 1 cup water
  • 3/4 cup apple starter
  • 4 1/2 cups whole wheat bread flour

Second Stage:

  • 1/4 cup honey
  • 3/4 cup shredded apples
  • 1/2 cup water
  • 1 1/2 cup whole wheat bread flour
  • 1 tablespoon salt
  • dough from first stage

Stir together all the ingredients for the first stage in a large bowl, then knead for 5-7 minutes until smooth and elastic. Shape into a ball and place in a large, lightly oiled bowl. Cover, and let rest 8-10 hours, or refrigerate up to 24 hours.

After the first rise, combine the dough with the apples, honey, and water from the second stage, mixing well. Add the salt and 1 cup of the flour. Knead 5-7 minutes, adding the remaining half cup of flour only if the dough is very wet, then transfer to a greased bowl. Cover, and let rise 5-8 hours, or another 18-24 in the refrigerator.

Grease and line two bread pans with cornmeal. If possible, shape dough into loaves, otherwise press evenly into the prepared pans. Mist with water, then let rise another 3-4 hours. If the dough had just come out of the fridge, you’ll need at least 4.

Remove the dough from the oven and preheat to 425 degrees. Bake for 20 minutes, then lower the temperature to 375 and bake a further 20 minutes until well browned and hollow sounding when tapped.

Posted in Bread | Tagged , | Leave a comment

Apple Sour

The best non-dessert baked good I’ve ever had is apple sourdough. Pretty high up there even if you do include desserts. It’s a delightful texture inside, just the right amount of apple flavor, and crusty outside.

On the other hand, it takes basically forever to make. There’s not a lot of hands-on time, but the first time you make it there’s a 7-10 day waiting period for the starter, and then every time you make it, it’s a 2 day sort of affair. It requires you to be good at scheduling, which…rules out several people I know who read this blog! Everyone else, this is so worth it!

Today’s recipe is just for the starter. Wednesday I’ll post the recipe for using the starter!

Ingredients:

  • 2 cups either shredded apples or applesauce
  • 1/3 cup water
  • 1/3 cup sugar

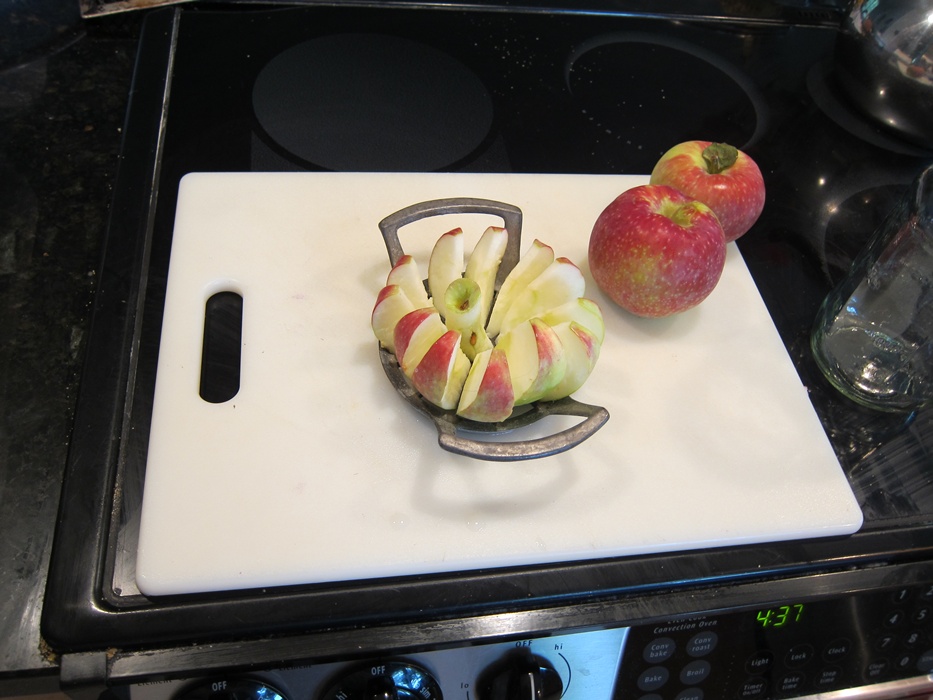
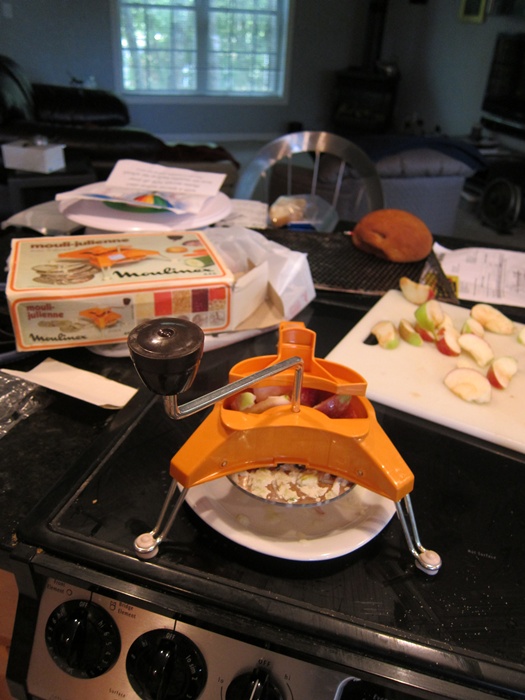
I got this kind of awesome rotating julienne cutter thing for $3 at a thrift shop recently. Nice buy!

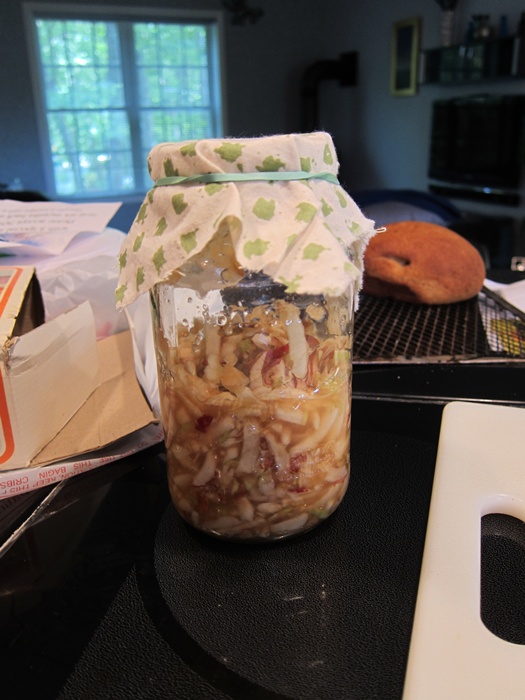
Combine all the ingredients in a glass jar or plastic bowl. Cover with a piece of clean fabric.

Those apple shreds are on the big side – smaller would make more sense.

Let sit out on the counter somewhere at room temperature without stirring for 7-10 days, until it becomes bubbly and smells fermented. It’s never going to have a crazy roiling boil going on, but you should see lots of tiny bubbles, and it should smell like alcohol. At that point, it’s ready to use!

After using the portion of the starter needed for apple sourdough bread, you can store the remains, still in their jar, in the fridge for up to 2 months. The day before you want to start again, take it out of the fridge and add 1 cup of shredded apples or applesauce, 3 tablespoons of water, and 3 tablespoons of sugar. Stir together, recover, and in 24 hours it’ll be ready to use again.

Apple Sour

From Chef Tess Bakeresse.

  • 2 cups either shredded apples or applesauce
  • 1/3 cup water
  • 1/3 cup sugar

Combine all the ingredients in a glass jar or plastic bowl. Cover with a piece of clean fabric. Let sit out on the counter somewhere at room temperature without stirring for 7-10 days, until it becomes bubbly and smells fermented.

After using the portion of the starter needed for apple sourdough bread, store the remains in the refrigerator for up to 2 months. The day before you want to start again, take it out of the fridge and add 1 cup of shredded apples or applesauce, 3 tablespoons of water, and 3 tablespoons of sugar. Stir together, recover, and in 24 hours it’ll be ready to use again.

Posted in Bread | Tagged | 4 Comments

Late Night Snack

Some of you may have had Late Night Snack, Ben and Jerry’s flavor with clusters of kettle chips coated in chocolate and swirls of salted caramel. It’s become my favorite ice cream flavor. It’s just SO GOOD. Soooo, let’s recreate it! (If you don’t have an ice cream maker/are lazy, I do recommend buying it, it’s worth trying.)
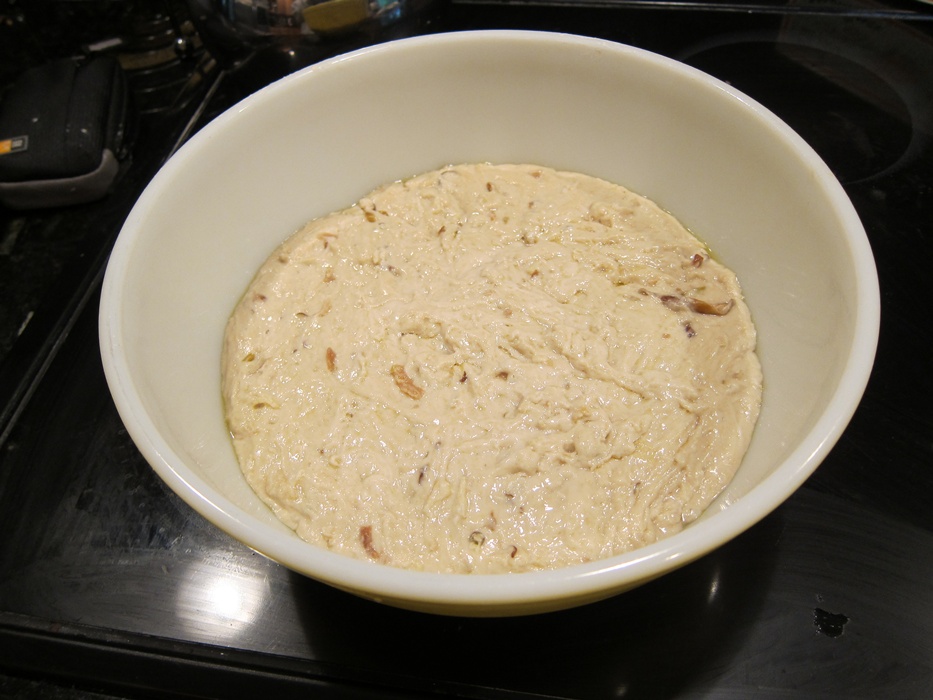
Mmm, get in my face!

Ingredients:

  • 2 eggs
  • 1 cup sugar
  • 1/4 teaspoon salt
  • 2 1/2 cups heavy whipping cream
  • 2 cups half and half
  • 2 1/2 teaspoons vanilla extract
  • 1 cup salted caramel sauce
  • 1/4 cup fudge sauce
  • approximately 2 cups chocolate coated potato chips, lightly broken into large pieces

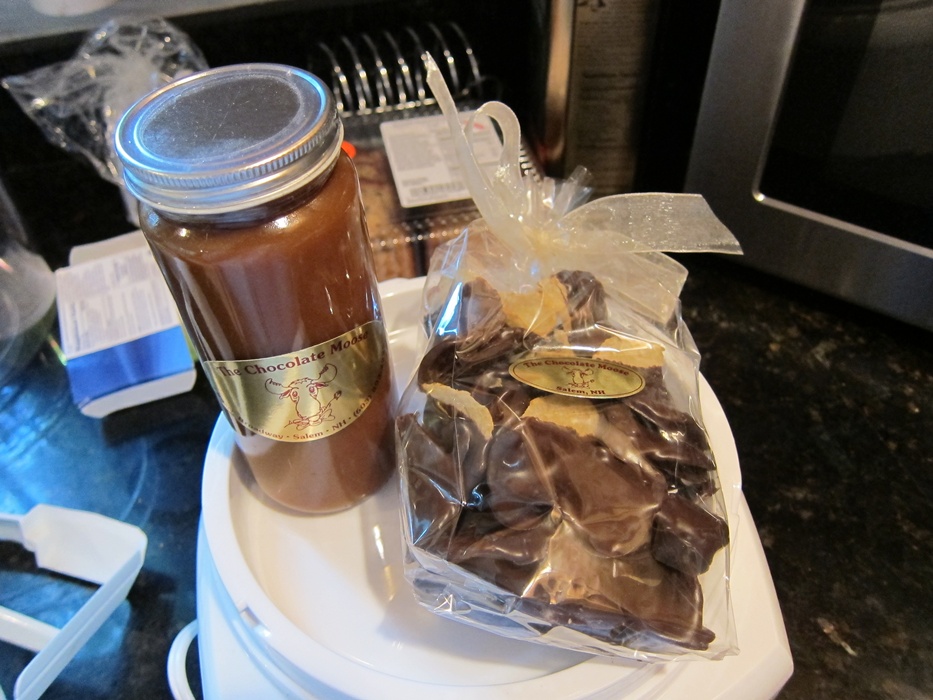
You can coat chips in chocolate yourself. I’ve done it before, though, and it’s pretty tedious, so the other option is to talk to the local fancy-pants candy store and get them to get you some.

So convenient!

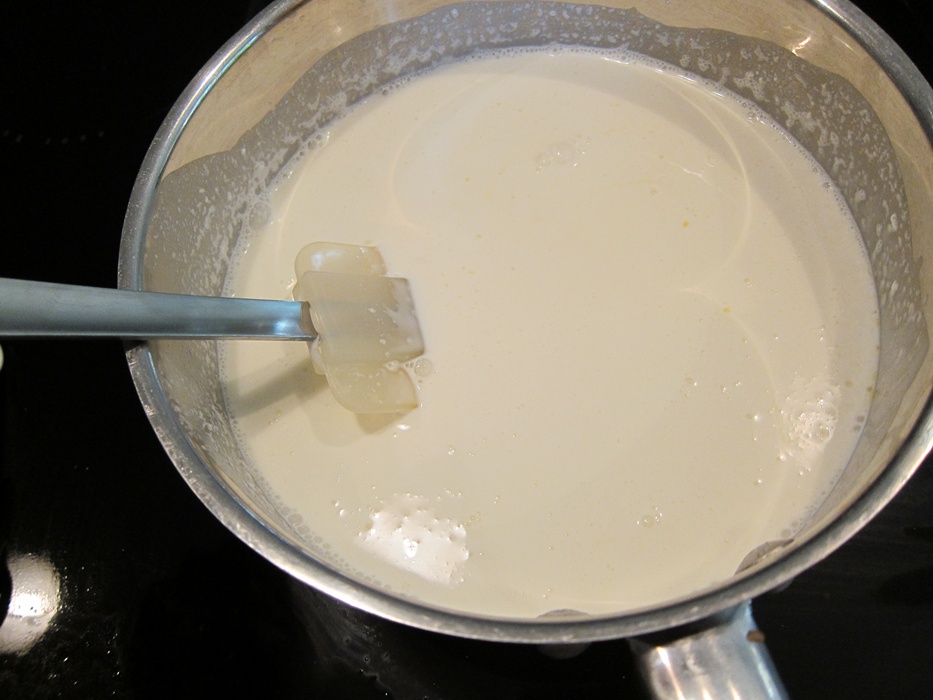
Combine the eggs, sugar, salt, cream, and half and half in a large saucepan.

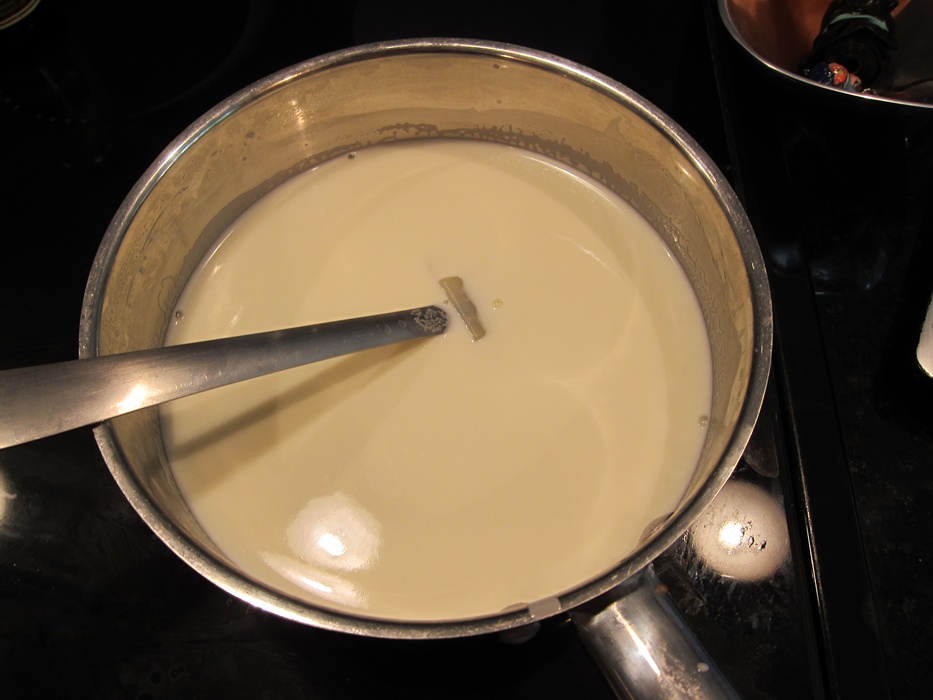
Cook over medium-low heat, stirring constantly, until thick enough to coat the back of a spoon.

This photo is entirely different!

Remove from the heat and pour into a bowl. Stir in the vanilla, then cover and refrigerate until chilled.

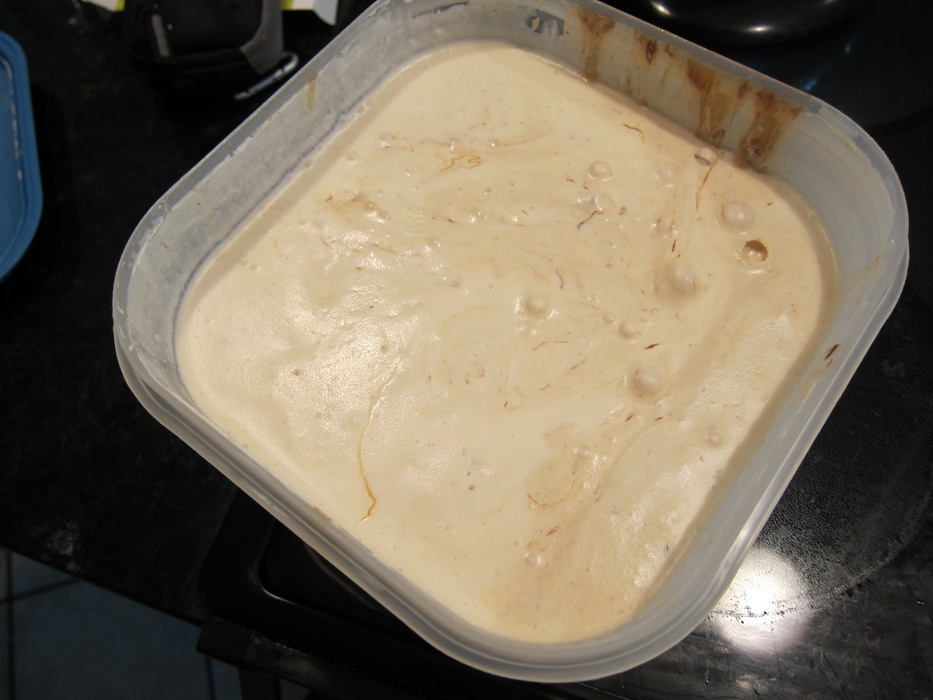
When cool, freeze according to your ice cream maker’s instructions. When nearly done, add the caramel and fudge sauces and the chips. If your ice cream’s not pretty firm at this point, the chips will sink when you transfer it to a container to put in the freezer, so you could always just wait and add them after half an hour or so of freezing the ice cream in the freezer.
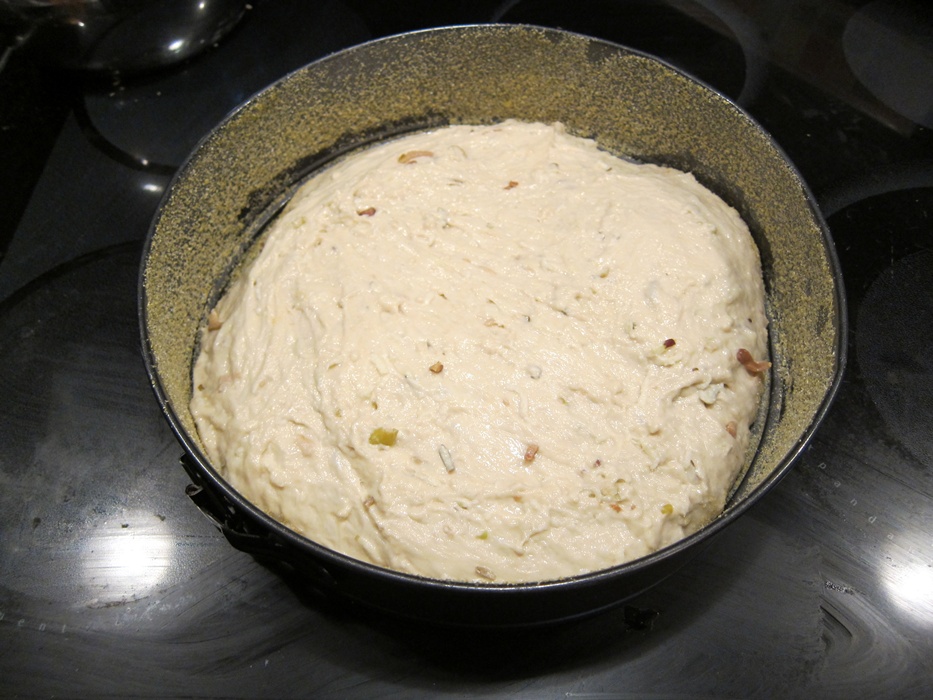
There’re all the chips!

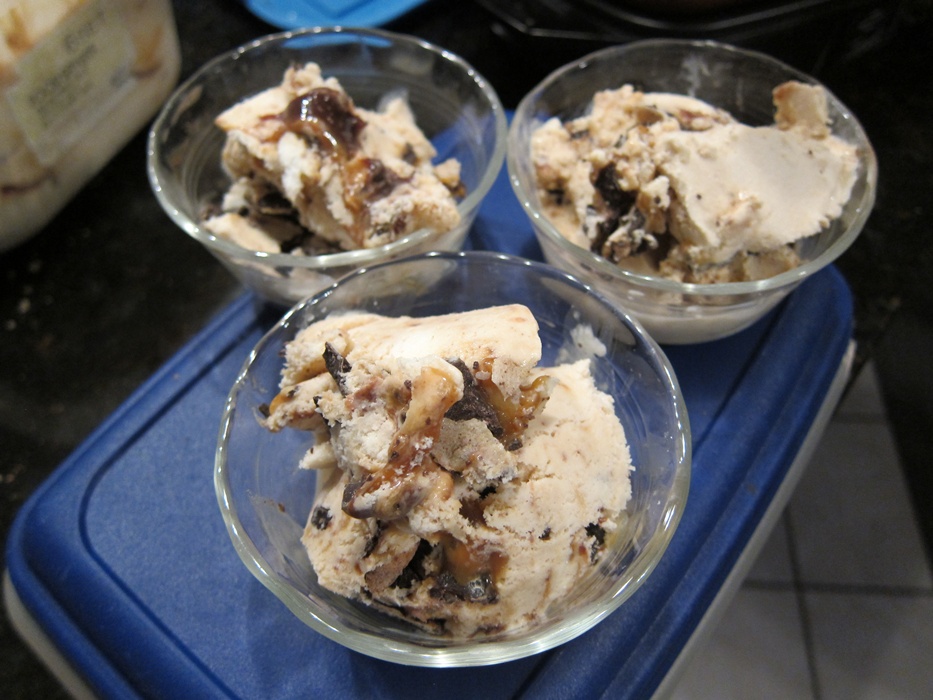
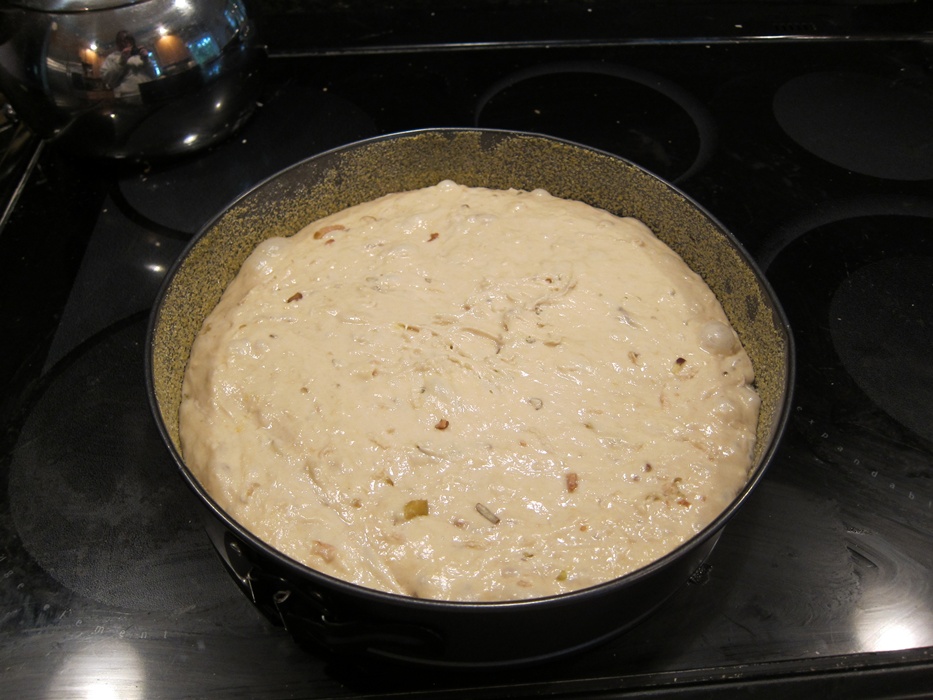
Preeeetty delicious! And as an added bonus, homemade ice creams are often easier to scoop. So…obviously it’s worth it to buy an ice cream maker. Get on it!
Late Night Snack Ice Cream

Inspired by Ben & Jerry’s.

  • 2 eggs
  • 1 cup sugar
  • 1/4 teaspoon salt
  • 2 1/2 cups heavy whipping cream
  • 2 cups half and half
  • 2 1/2 teaspoons vanilla extract
  • 1 cup salted caramel sauce
  • 1/4 cup fudge sauce
  • 2 cups chocolate coated potato chips, lightly broken into large pieces

Combine the eggs, sugar, salt, cream, and half and half in a large saucepan. over medium-low heat. Cook, stirring constantly, until thick enough to coat the back of a spoon. Remove from the heat and pour into a bowl. Stir in the vanilla, then cover and refrigerate until chilled.

When cool, freeze according to your ice cream maker’s instructions. When nearly completely frozen, add the caramel and fudge sauces and the chips.

Posted in Dessert | Tagged , , | 3 Comments

Graham Crack

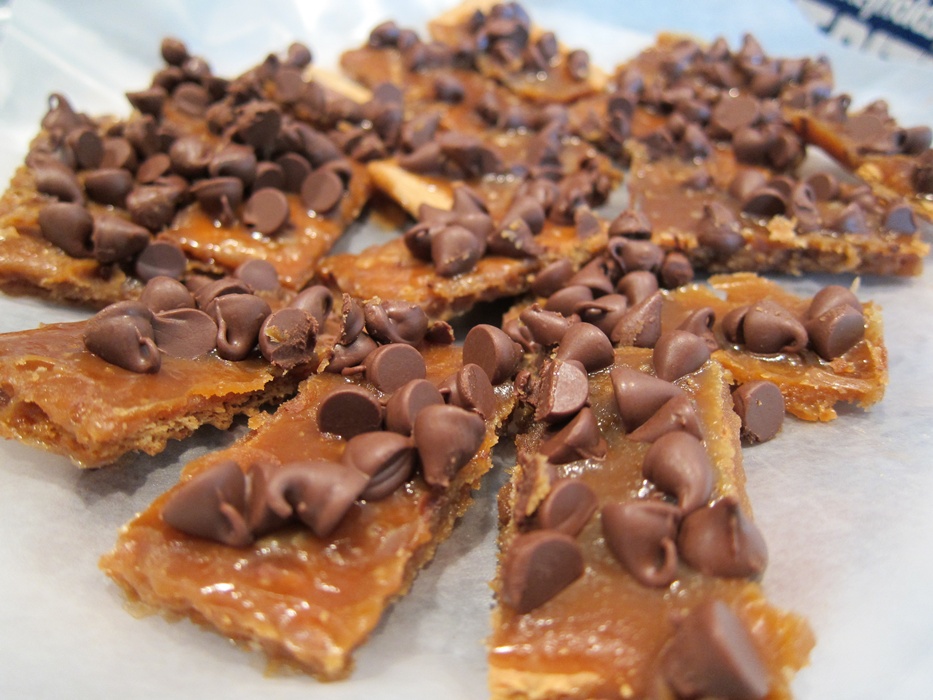
This is a pretty simple dessert, but it’s one of my favorite things. I brought it to a picnic last weekend and it earned high fives, which I am pretty sure is the highest form of approval?

I know that some people make this with Saltines or matzoh… I hear it’s good? I’ll stick to graham crackers, though. They just work so well!

Ingredients:

  • 1 cup unsalted butter
  • 1 cup dark brown sugar
  • graham crackers (about half a box)
  • 12 ounces milk chocolate chips

Preheat the oven to 400 degrees. Line a jelly-roll pan with tinfoil. Break the graham crackers along the dotted lines as well as possible, then fill the pan with a single layer of them and set aside.

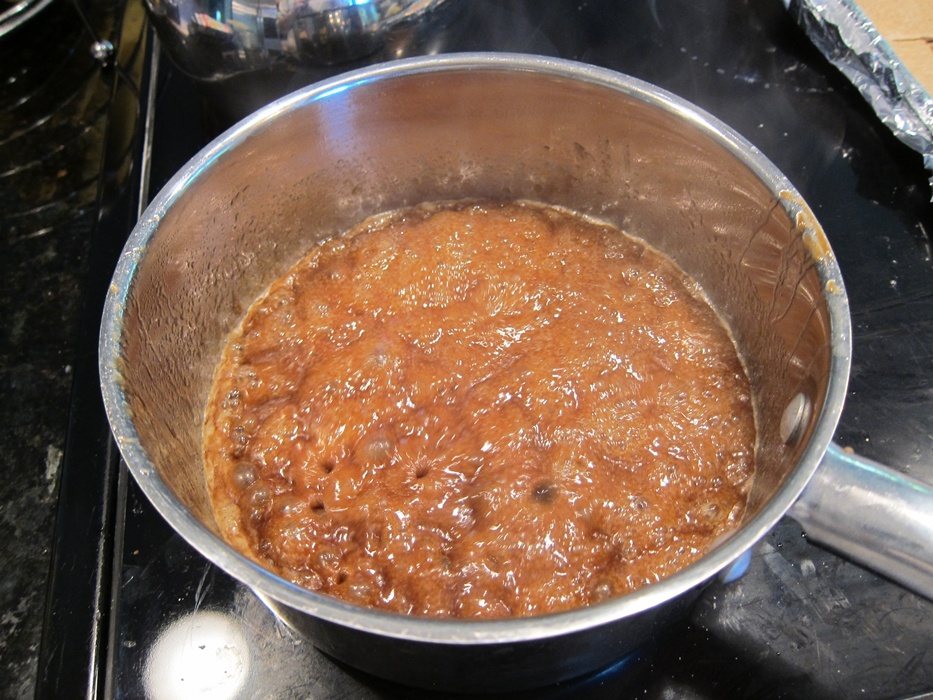
Combine the brown sugar and butter in a pot over medium high heat until the mixture reaches a simmer. Simmer for three minutes. During this time, I like to turn the sink on to as hot as it goes, so that by the time I’m done with the pot, I can get it in steaming hot water immediately, and not have to chip cooled sugar off the pot for a week.

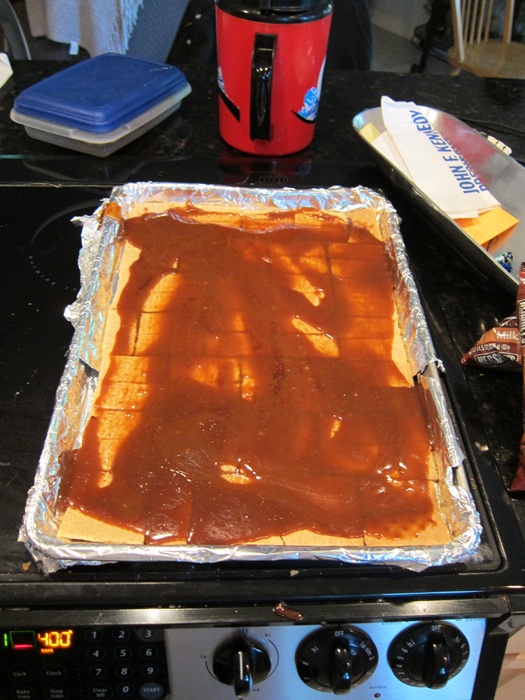
Quickly pour the sugar mixture over the graham crackers as evenly as possible. You can spread it out a bit, but don’t worry too much about it because it will bubble up in the oven and spread out. You don’t want to spend too long fussing with it, or the graham crackers get soggy.

Bake for five minutes.

See? Much more spread out.

Quickly sprinkle the chocolate chips over the top. They should melt in just enough to stick.

Let cool for several hours until the chocolate chips are firm again. Break apart, separating the graham cracker pieces along their edges as much as possible. It doesn’t really matter if you end up making jagged pieces, it still tastes delicious!

This recipe’s going to be in The Proof newspaper in a few weeks. You should all subscribe and/or contribute! The guy that runs it is the guy that drew me a pony almost a year ago. Good times!

Graham Crack

  • 1 cup unsalted butter
  • 1 cup dark brown sugar
  • graham crackers (about half a box)
  • 12 ounces milk chocolate chips

Preheat the oven to 400 degrees. Line a jelly-roll pan with tinfoil. Break the graham crackers along the dotted lines as well as possible, then fill the pan with a single layer of them and set aside.

Combine the brown sugar and butter in a pot over medium high heat until the mixture reaches a simmer. Simmer for three minutes. Quickly pour the sugar mixture over the graham crackers as evenly as possible, then put in the oven for five minutes.

Remove from the oven and sprinkle the chocolate chips evenly over the top. Let cool for several hours until the chocolate chips are firm again, then break into pieces.

Posted in Dessert | Tagged , , | 6 Comments