
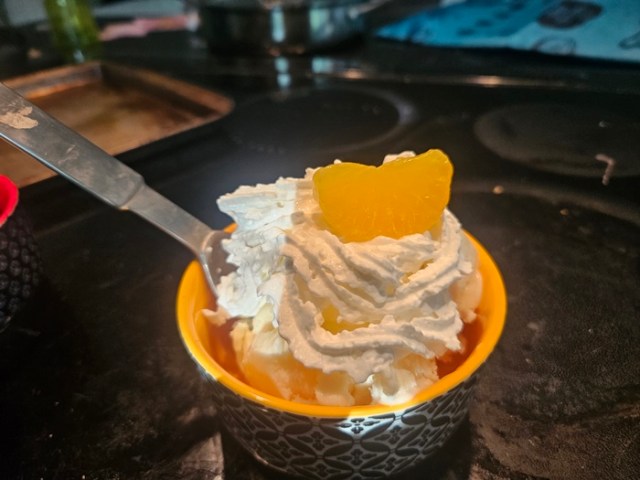
There’s still time to get this made while it’s a billion degrees out, so let’s get going, and you can get enjoying! Serve with whipped cream for a popsicle stick-free creamsicle!
 Ingredients:
- 32 ounces plain whole-milk yogurt (one of the big containers)
- 1/2 cup orange juice
- 1 teaspoon unflavored gelatin
- 1/2 teaspoon grated orange zest
- 3/4 cup granulated sugar
- 3 tablespoons Lyle’s Golden Syrup or light corn syrup
- 1/8 teaspoon salt
Place a colander or strainer in a large bowl – ideally the colander doesn’t fit all the way to the bottom, so that there is space for liquid to pool underneath. Line the colander with three layers of cheesecloth, then scoop all the yogurt into it.
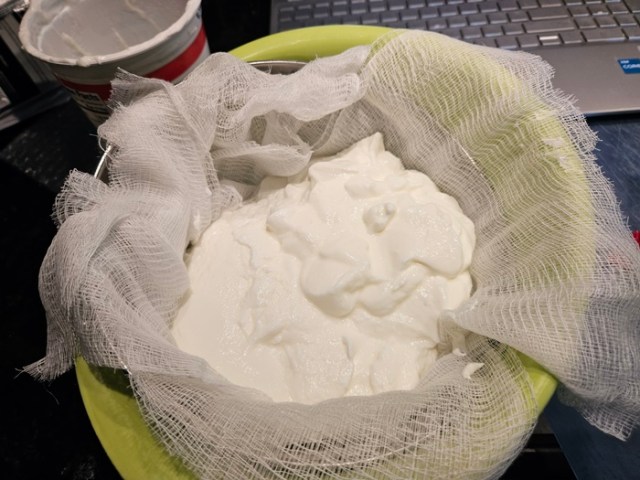 Cover loosely with plastic wrap and refrigerate at least 8 hours, until 1 1/4 cups of whey have drained out. If more whey than needed is drained out, you can stir it back in.
 In a small dish/measuring cup, sprinkle the gelatin over the orange juice and let sit for 5 minutes. Microwave until the mixture is bubbling around the edges to dissolve the gelatin, about 30 seconds. Stir in the zest, and set aside to cool for 5 minutes.
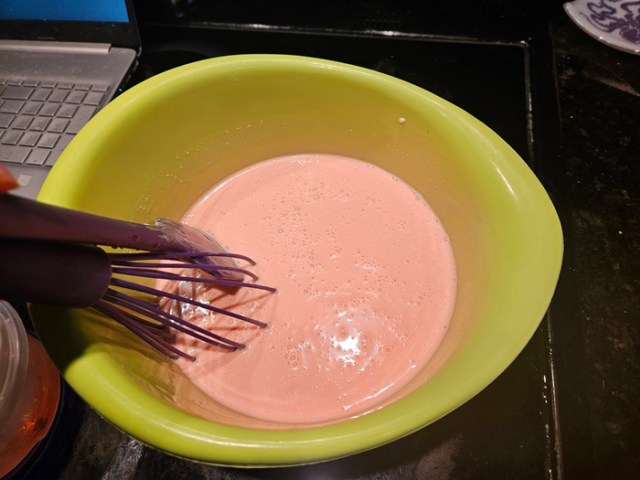
 In a large bowl, combine the strained yogurt, sugar, syrup, and salt. Whisk in the orange juice, stirring until the sugar is fully dissolved, then cover and refrigerate until at or below 40 degrees (this took 4+ hours for my batch).
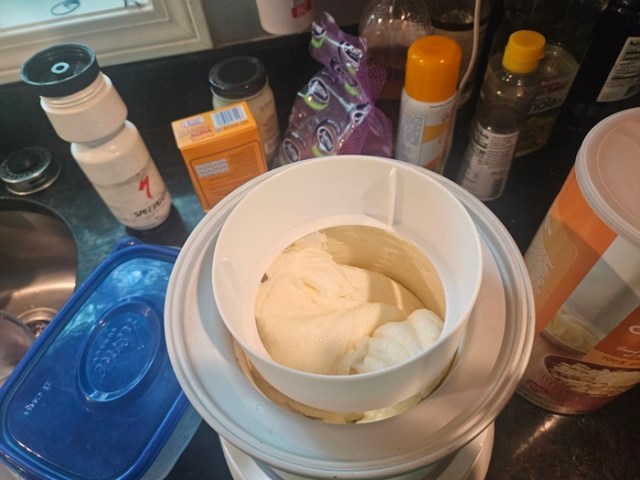
 Churn according to your ice cream maker’s directions, 25-35 minutes.
 Transfer to a container, and freeze at least 2 hours to firm up before serving.


Orange Frozen Yogurt
From Brown Eyed Baker.
- 32 ounces plain whole-milk yogurt
- 1/2 cup orange juice
- 1 teaspoon unflavored gelatin
- 1/2 teaspoon grated orange zest
- 3/4 cup granulated sugar
- 3 tablespoons Lyle’s Golden Syrup or light corn syrup
- 1/8 teaspoon salt
Place a colander or strainer in a large bowl – ideally the colander doesn’t fit all the way to the bottom, so that there is space for liquid to pool underneath. Line the colander with three layers of cheesecloth, then scoop all the yogurt into it. Cover loosely with plastic wrap and refrigerate at least 8 hours, until 1 1/4 cups of whey have drained out. If more whey than needed is drained out, you can stir it back in.
In a small dish/measuring cup, sprinkle the gelatin over the orange juice and let sit for 5 minutes. Microwave until the mixture is bubbling around the edges to dissolve the gelatin, about 30 seconds. Stir in the zest, and set aside to cool for 5 minutes.
In a large bowl, combine the strained yogurt, sugar, syrup, and salt. Whisk in the orange juice, stirring until the sugar is fully dissolved, then cover and refrigerate until at or below 40 degrees.
Churn according to your ice cream maker’s directions, 25-35 minutes, transfer to a container, and freeze at least 2 hours to firm up before serving.
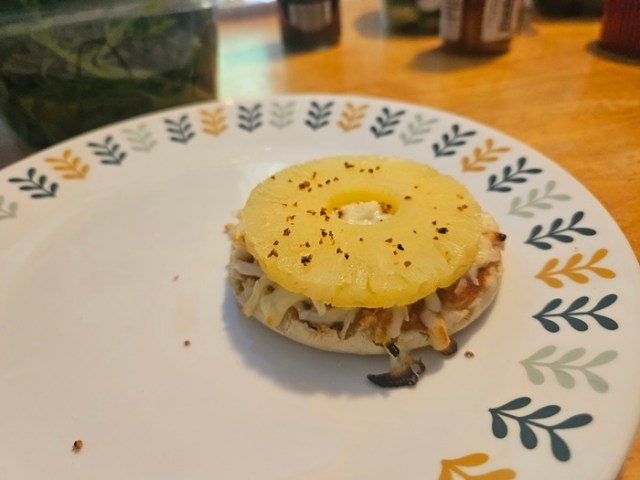
 Honestly you shouldn’t need much guidance on this one, but here we go:
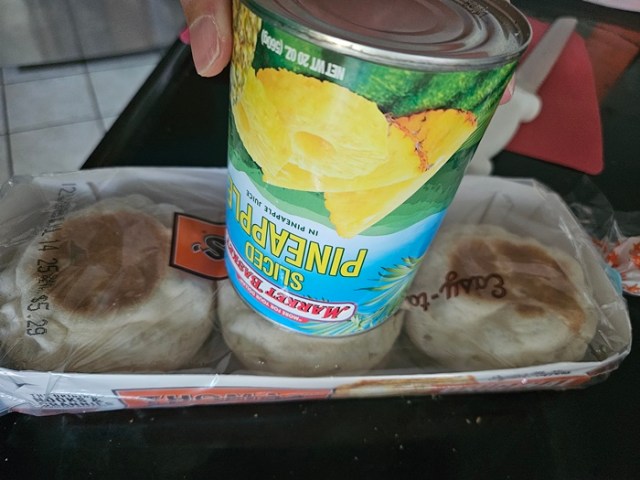
 Add a handful of cheese and a pineapple ring.
 Bake, ideally in a toaster oven, for 10 minutes at 350. (In a toaster oven, you don’t need to worry about preheating for this.)
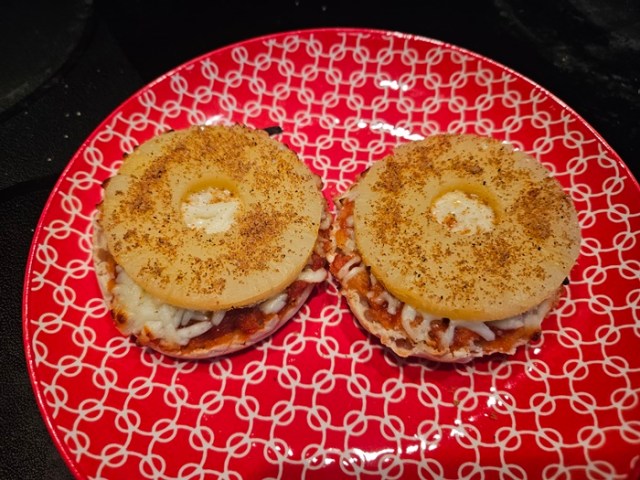
 Ingredients:
 While it’s going, place half of the cake crumbs in a large tupperware/bowl that you’re going to store the ice cream in. Transfer the chilled ice cream to the container, top with the remaining cake crumbs, and then fold to mix the cake into the ice cream.
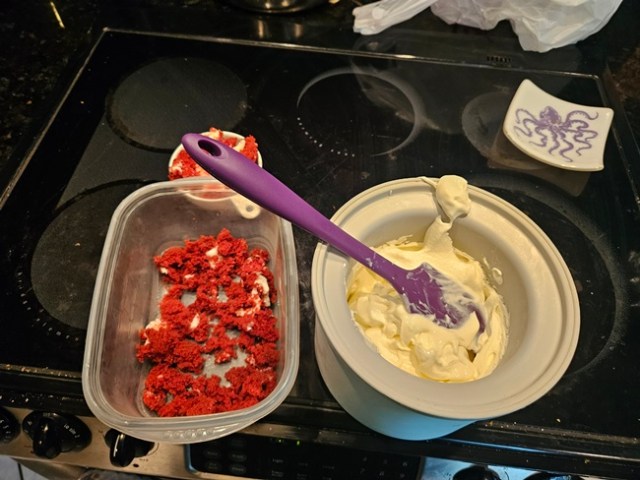
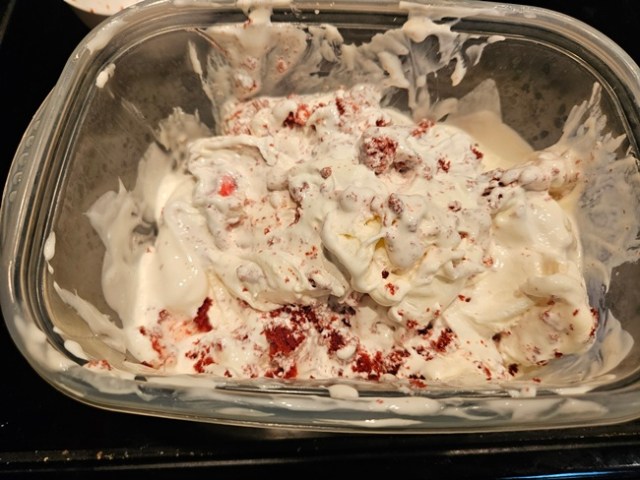 Cover and freeze for several hours to firm up before serving.
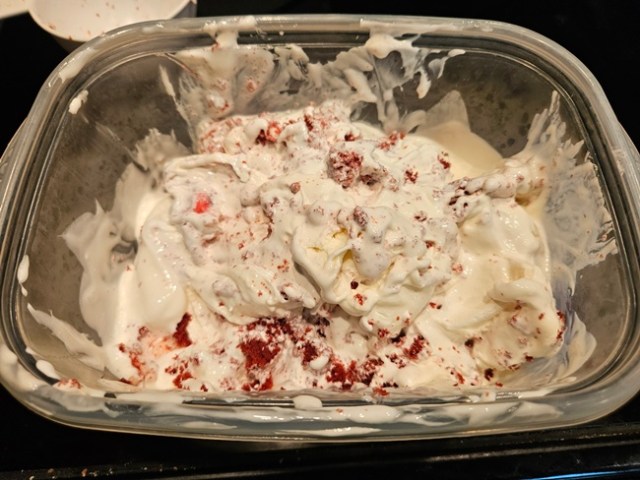

 Ingredients:
 Meanwhile, in a medium bowl, whisk together the flour, baking soda, baking powder, and salt. Set aside.
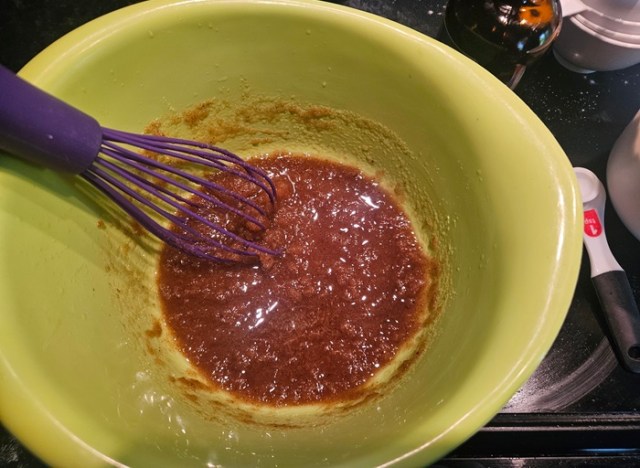 Add the vanilla and egg and whisk again until evenly combined.
 Add the flour mixture and stir in with a silicone spatula.
 Fold in the chocolate chunks and chips.
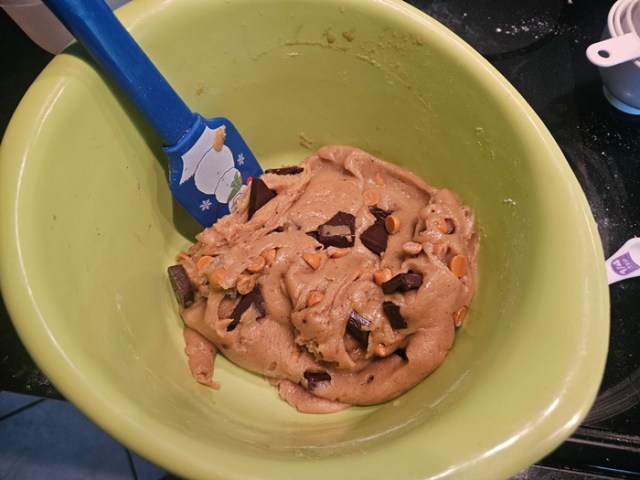 Press the dough evenly into the greased skillet.
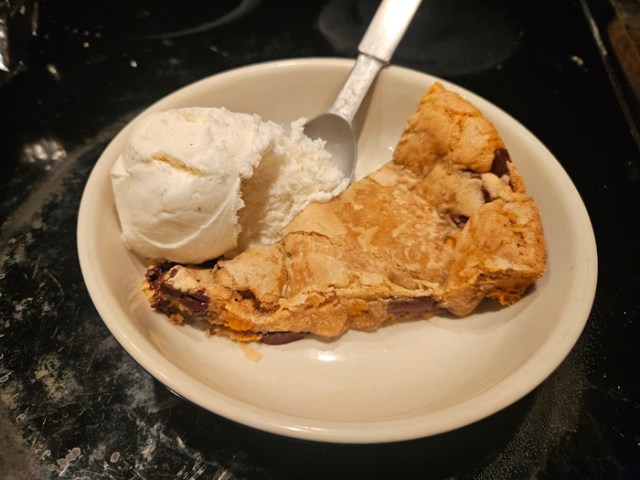
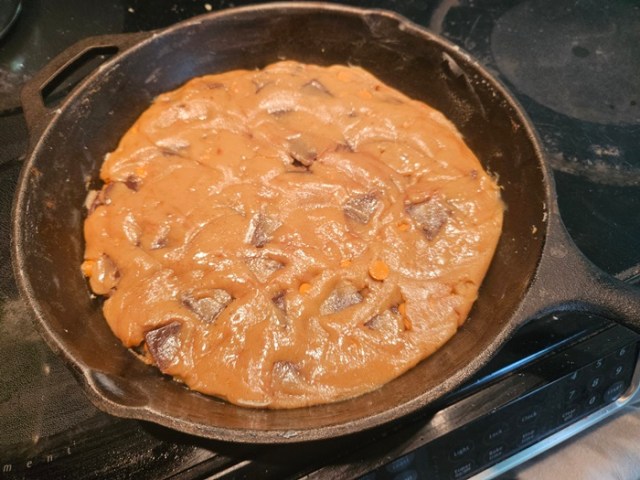 Bake 18-20 minutes, until the edges are golden but the middle is still soft.
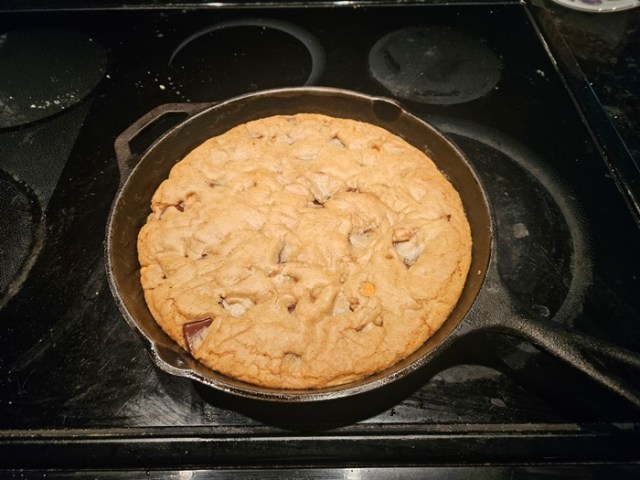 Serve, either sliced in individual servings or eaten straight from the skilled, with vanilla ice cream. Leftovers (ideally not doused in melted ice cream) can be reheated in the oven the next few days, for ~10 minutes at 350.
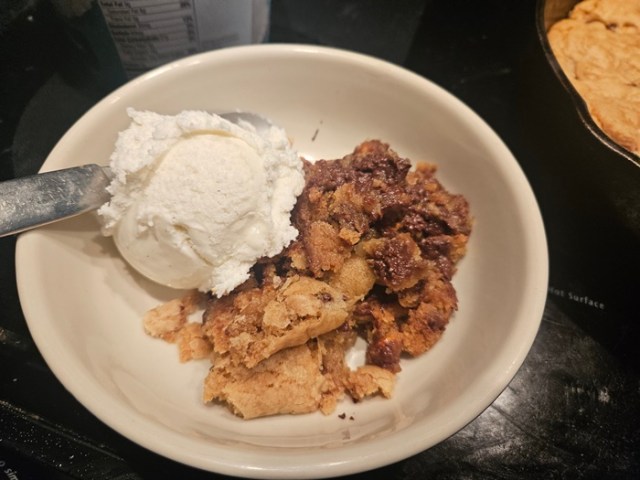

 Ingredients:
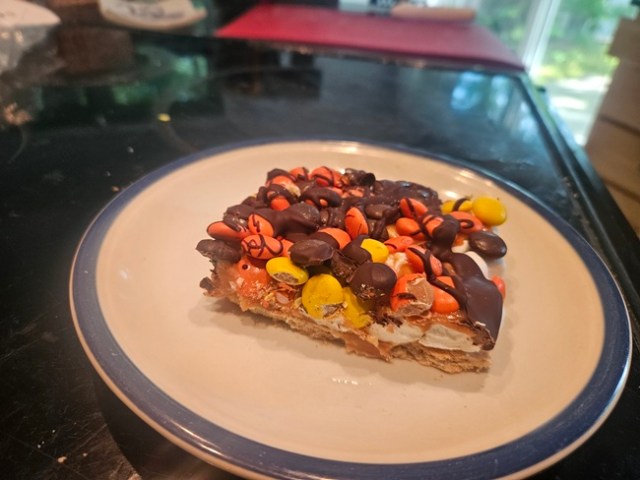
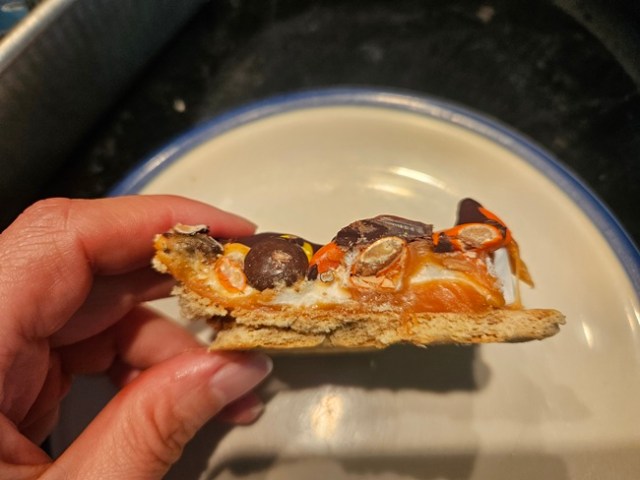
 Toss the marshmallows evenly over the graham crackers, then set aside.
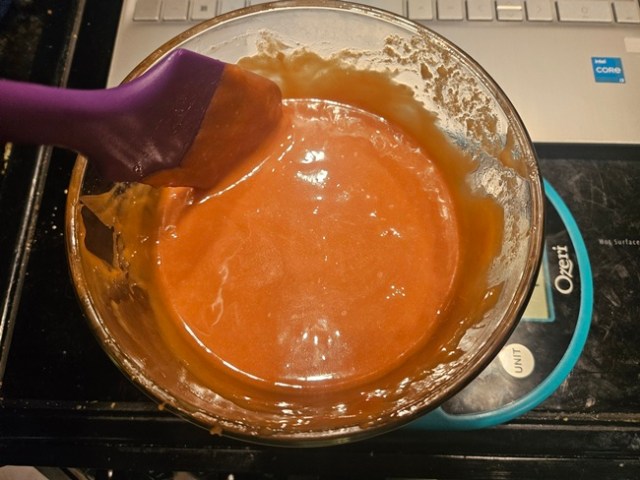 Pour the caramel over the marshmallows, using your silicone spatula as needed to help it get down between all the marshmallows to attach them to the graham crackers. Sprinkle the Reese’s evenly over the top and gently press into the caramel/marshmallow mixture.
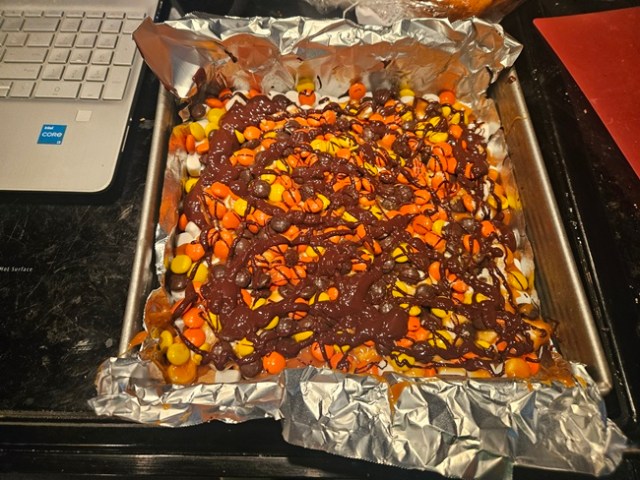 Refrigerate at least 1 hour, until set, then slice and enjoy.
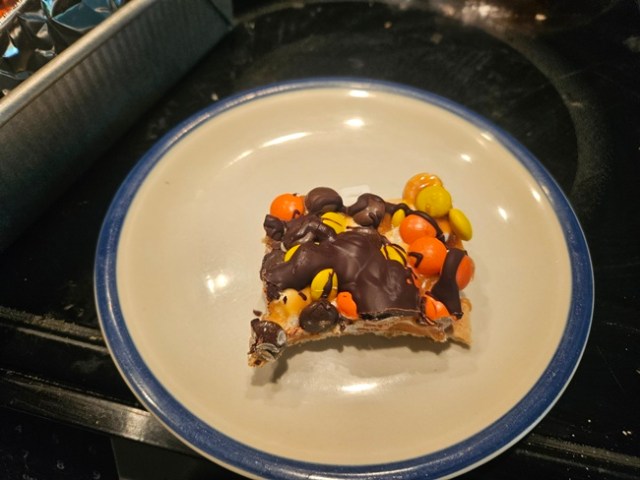
 Ingredients:
 Cook the noodles according to package directions, then drain and rinse the noodles under cold water.
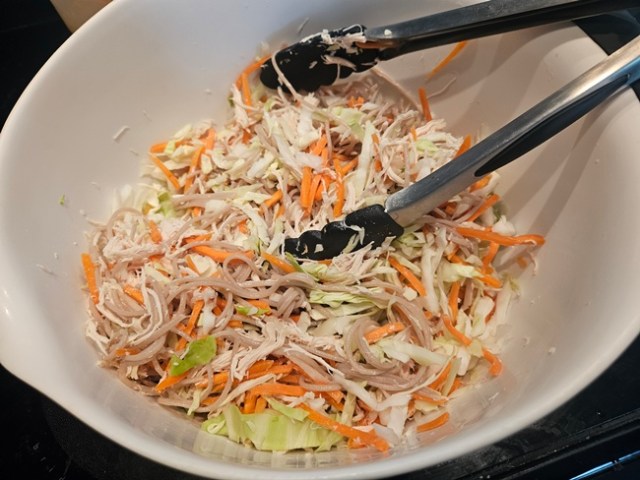 Pour on some of the peanut sauce and toss once more, using enough sauce to coat well but not drench. Taste, and add any extra salt chili flakes as needed, and serve garnished with roasted peanuts if desired.
 Ingredients:
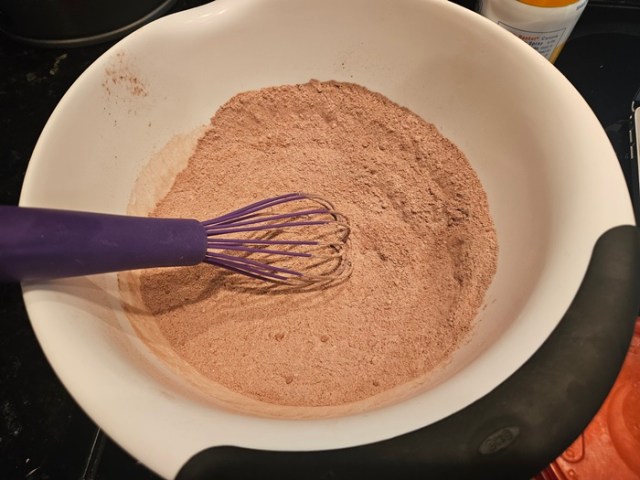 In a medium bowl, mix together the oil, eggs, and vanilla. Pour the liquids into the dry goods and stir until well incorporated.
 Heat the milk until just below a boil, then whisk into the batter until just combined.
 Pour into the cake pan and bake until it passes the toothpick test, 50-60 minutes.
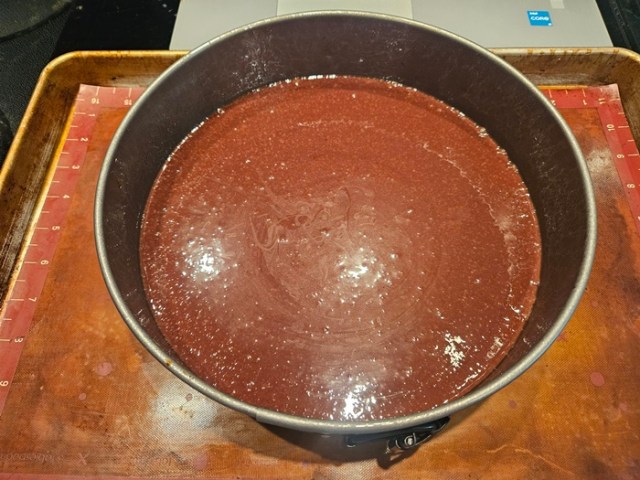
 Let cool for 5 minutes then remove the sides of the pan and flip out onto a cooling rack. Remove the parchment and let cool to room temperature.
 Flip the cake back right-side-up onto a cutting board and cut into two layers. If you want to be very precise, you can measure halfway up with a ruler and stick in, say, 8 toothpicks spaced around the cake at half height, and use them to guide your bread knife. I don’t currently have toothpicks, so just winged it.
 Put the sides back on your cake pan and put the bottom half back in the pan. If you have another circle of parchment, throw it on top of the bottom slice of cake, and throw the top circle on top of the parchment, and freeze for an hour or so to firm up. During the second half of the hour would be a great time to make your ice cream.
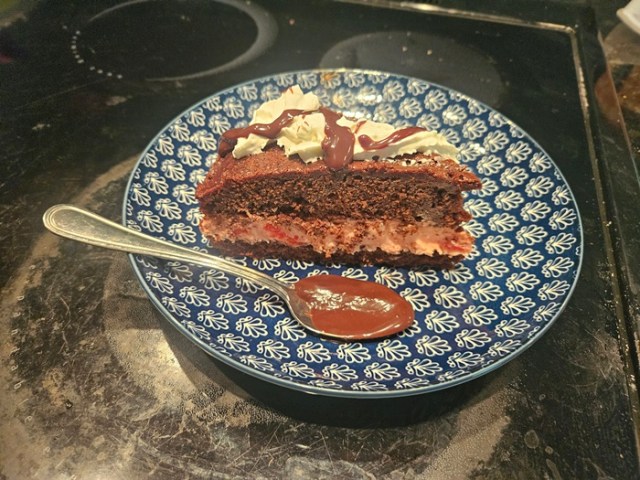
 Top with the top slice of cake. Freeze until solid. Serve in slices topped with whipped cream and hot fudge sauce.
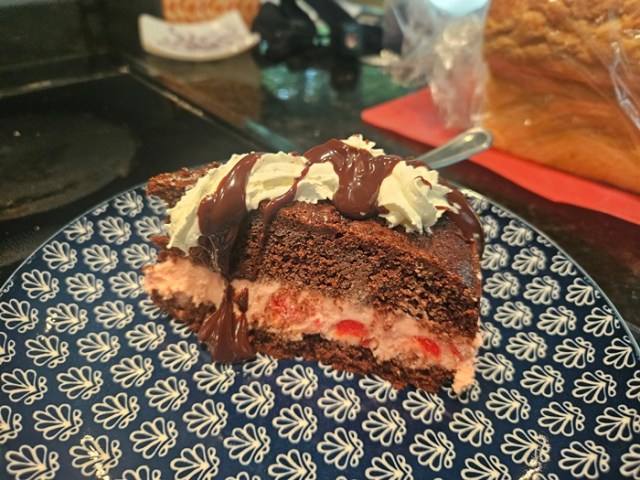


 Meanwhile, chop the cherries, roughly into quarters, then put in the fridge also.
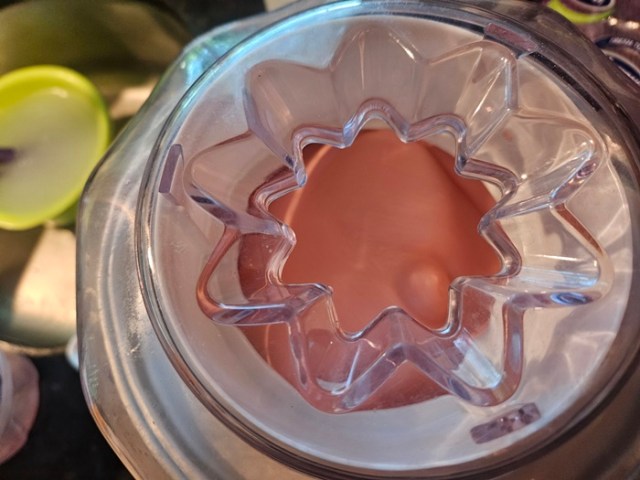 In the last few minutes, add in the chopped cherries, then transfer to a container and freeze at least 4 hours.
 Ingredients:
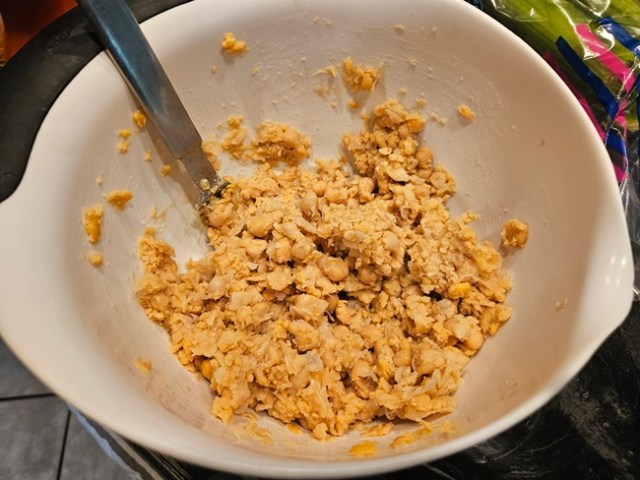 Stir in the celery, green onion, shallot, buffalo sauce, tahini, lemon juice, powdered garlic, paprika, salt, and pepper until evenly mixed.
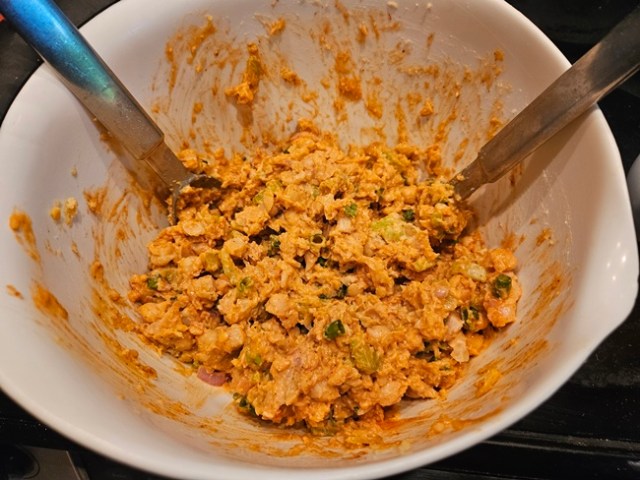 To serve, briefly microwave a wrap to soften, add a few handfuls of greens and some blue cheese dressing.
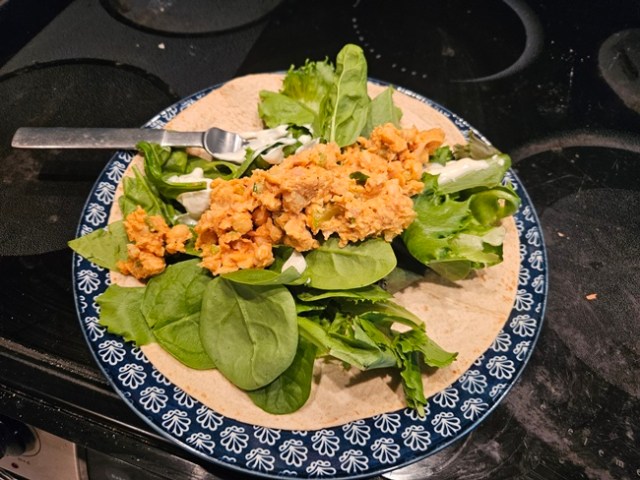 Wrap up and enjoy!
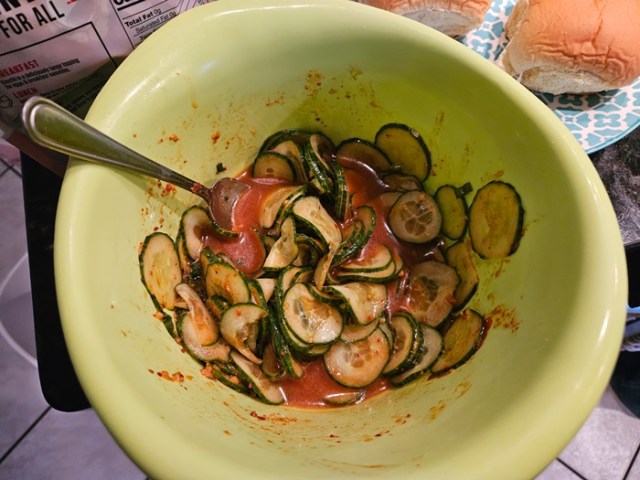
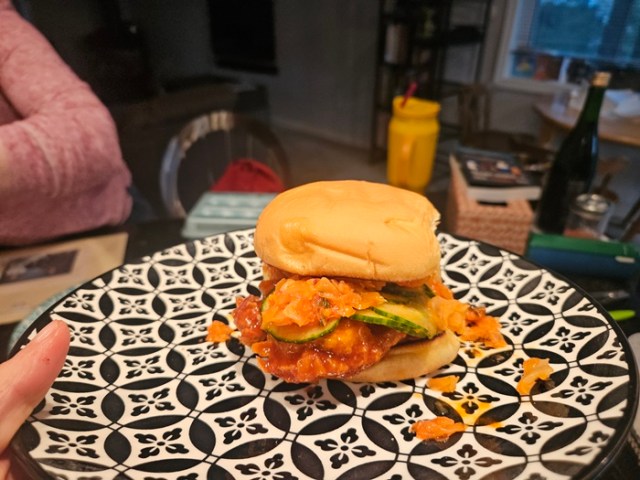 Despite having no sugar, the pickles taste a bit sweet, at least when directly contrasted with the kimchi. The sauce for the chicken itself is really good and I bet I make it again soon to put on many other things!
 To prepare the chicken, set up a dredging station. Set out plates/pie plates/bowls, with: 1) flour, garlic powder, and black pepper stirred together, 2) the two eggs, beaten, and bowl 3) the crushed chips.
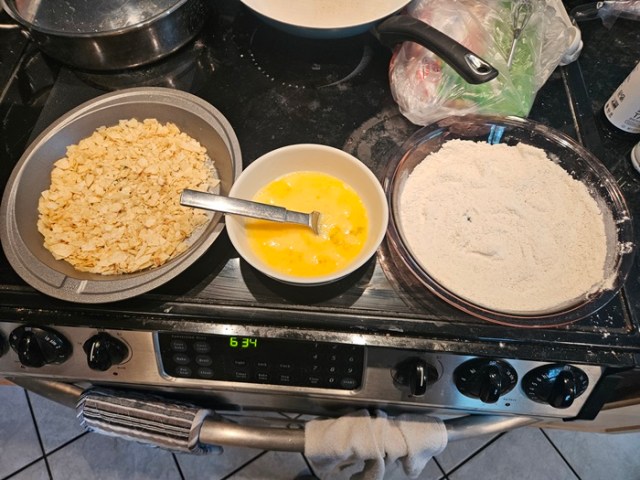 Past the dish with chips, you’ll want the basket/pan for your air fryer, probably lined with parchment so you won’t have to clean it later. Preheat the air fryer to 380 degrees. Dredge the chicken in the flour, then eggs, then chips, placing the coated chicken in the air fryer basket.
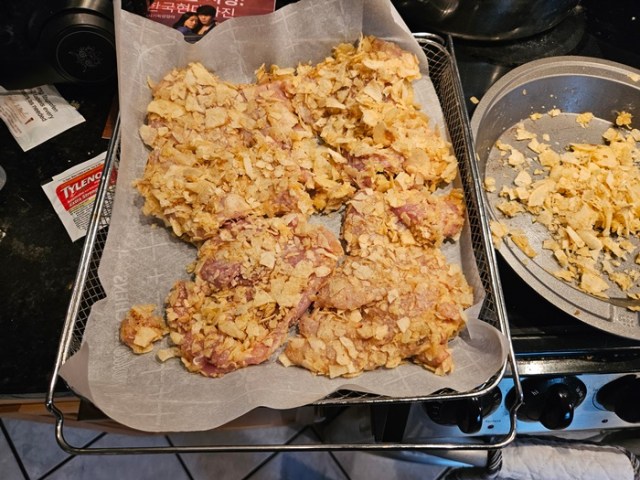 Cook in the air fryer for 15-18 minutes total, flipping in the middle. At the end check with a thermometer that the thickest piece of chicken has reached 165 degrees.
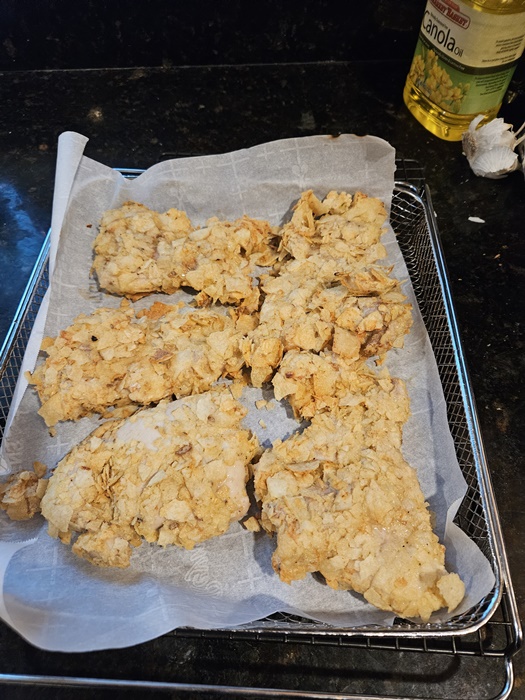 While the chicken cooks, whisk together all the sauce ingredients in a small bowl. Pour into a large skillet and cook over medium high heat until slightly thickened, 5-8 minutes.
 When the chicken is done, coat each piece well with the sauce.*
 Melt a tablespoon of the butter in a skillet and toast an open bun, cut-side-down, until golden brown, adding more butter as needed to toast all four buns. Spread a bit of butter on the inside of each bun, then place a piece of chicken on the bottom bun, some pickles, and some kimchi. Put on the top piece of the bun and enjoy!
 *I had more chicken than people, meaning leftovers. To avoid gross sogginess, I stored the cooked pieces, unsauced, and would then throw each one back in the air fryer for 5 minutes and douse in sauce when ready to eat.