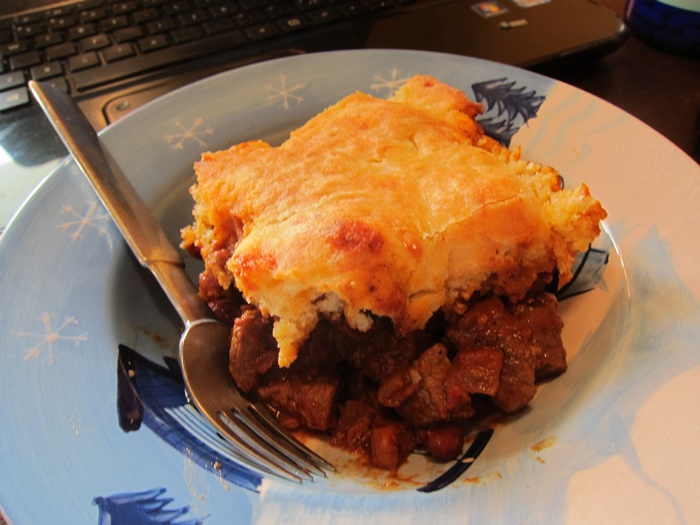
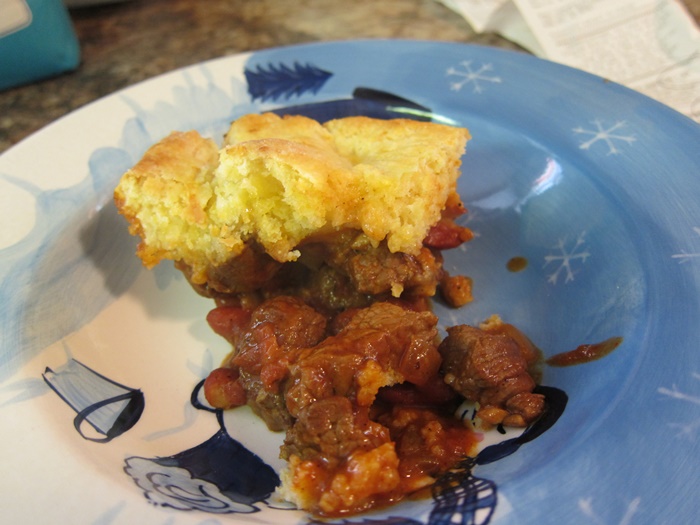
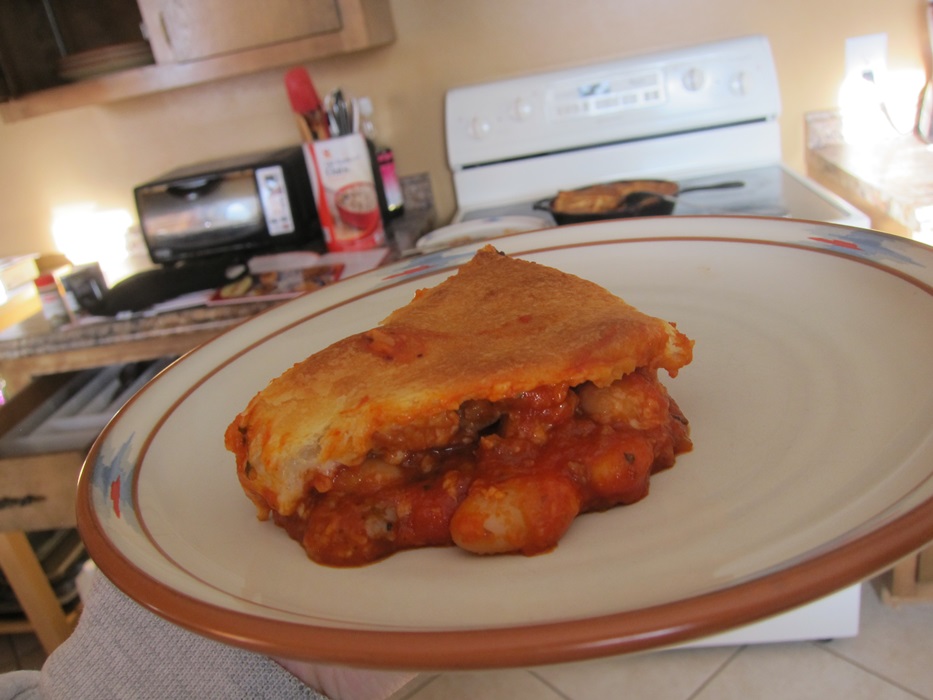
This may be a bit late in the season for warm comfort food type dishes, but…they’re never entirely out of style, right? I’m going with that! This dish has the perfect proportions between crust and chili mixture, and has just a hint of spiciness to warm you up.
 Ingredients:
Filling:
- 2 tablespoons olive oil, divided
- 1 pound boneless beef chuck, cut into 1/2″ pieces
- 1 medium onion, chopped
- 2 garlic cloves, minced
- 1 tablespoon chili powder
- 1 teaspoon ground coriander
- 1/2 teaspoon salt
- 1/2 teaspoon ground cumin
- 1 16 ounce can whole tomatoes in juice
- 1 4 ounce can chopped mild green chilies
- 1 tablespoon dark brown sugar
- 1 tablespoon tomato paste
- 1/4 cup water
- 1 15 ounce can pink beans
Crust:
- 1 cup all-purpose flour
- 1/3 cup shredded sharp cheddar cheese
- 1/4 cup yellow cornmeal
- 2 teaspoons baking powder
- 1/2 teaspoon salt
- 3 tablespoons cold butter
- 1/2 cup + 2 teaspoons milk, divided
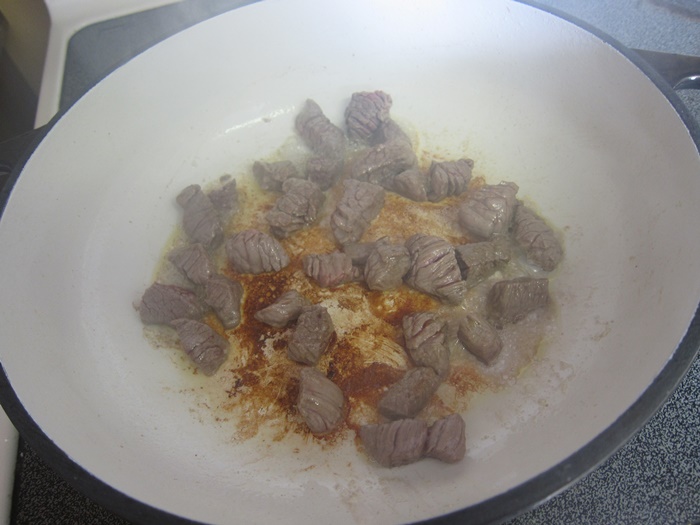
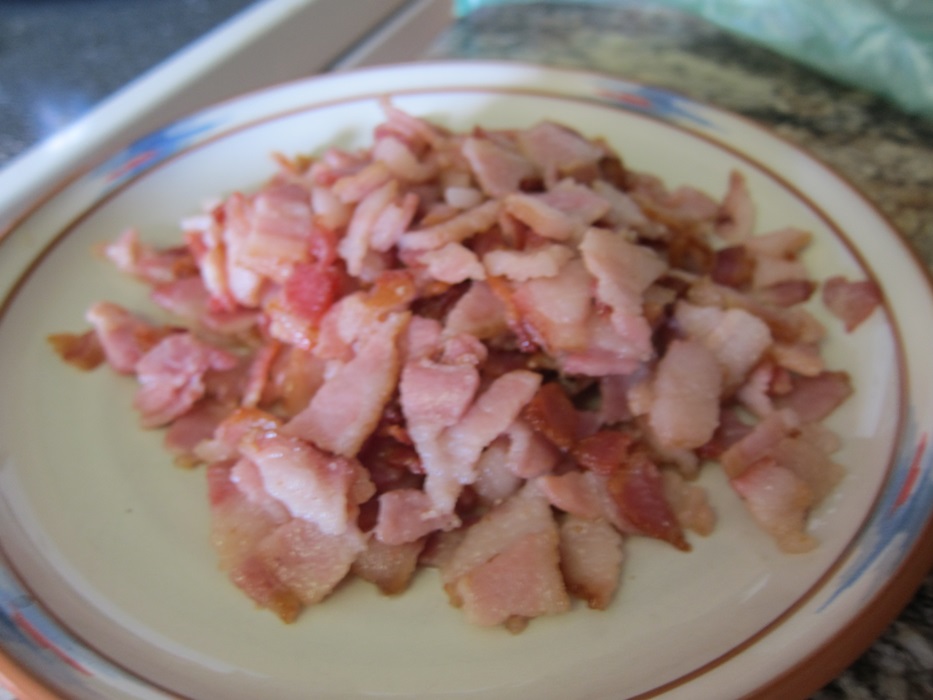
Heat one tablespoon of the olive oil n a large dutch oven or sauce-pot over medium-high heat. Add half the beef and cook until it’s browned all over, then remove to a small bowl. Add 2 teaspoons of the remaining oil and cook the remaining half of the beef, then remove to the same bowl.
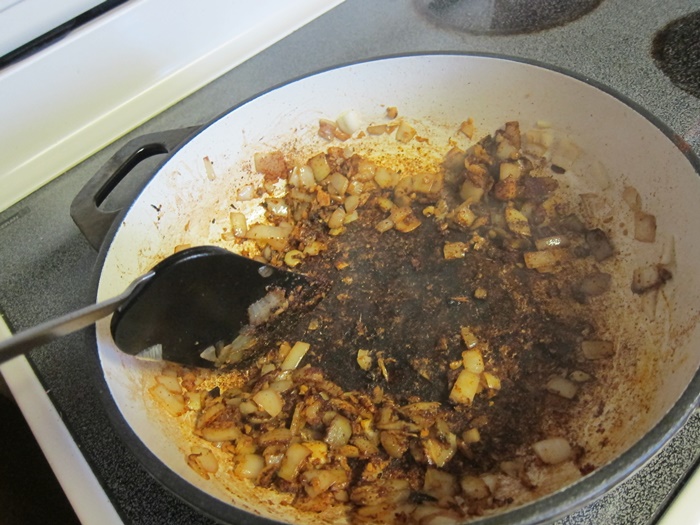
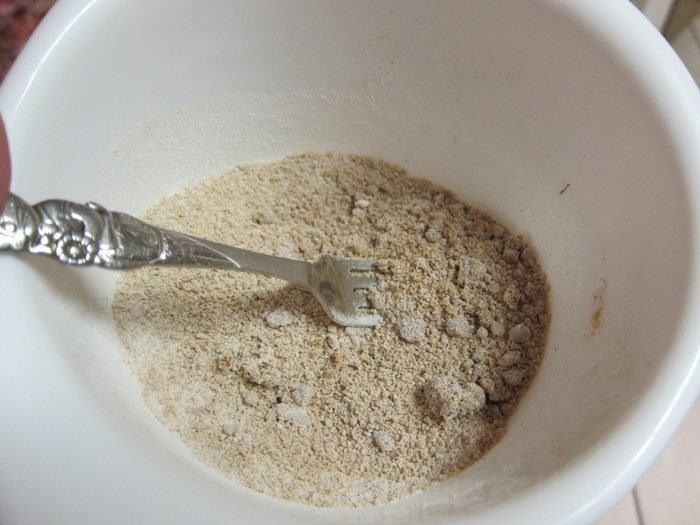
 Heat the remaining teaspoon of olive oil over medium heat, then add the onion and cook about 10 minutes, until softened and golden brown. Add the garlic and cook an additional 2 minutes, stirring constantly, then add the chili powder, coriander, salt, and cumin, and cook and additional minute, continuing to stir.

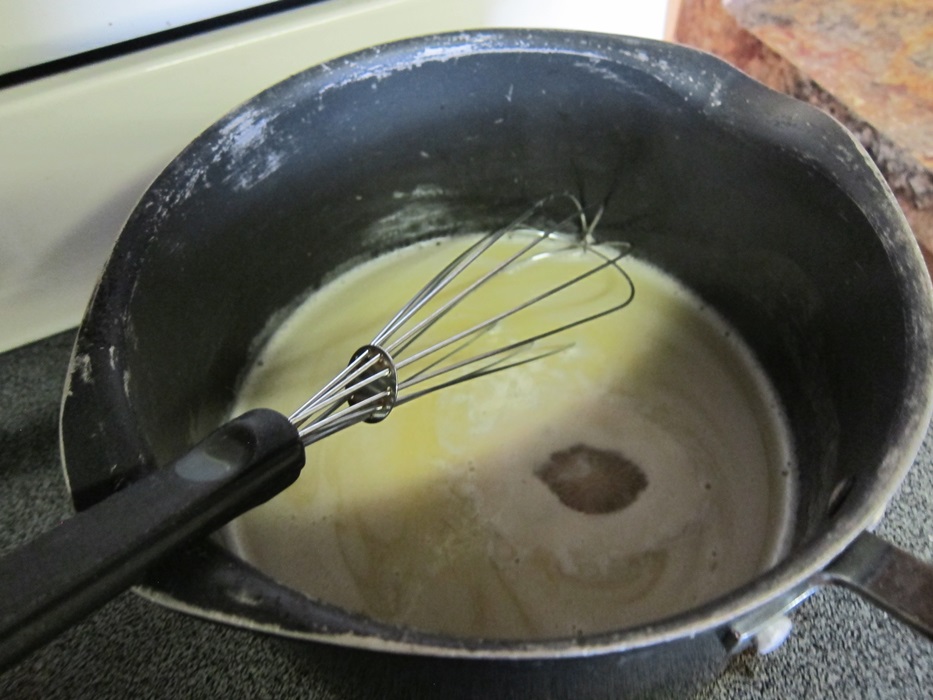
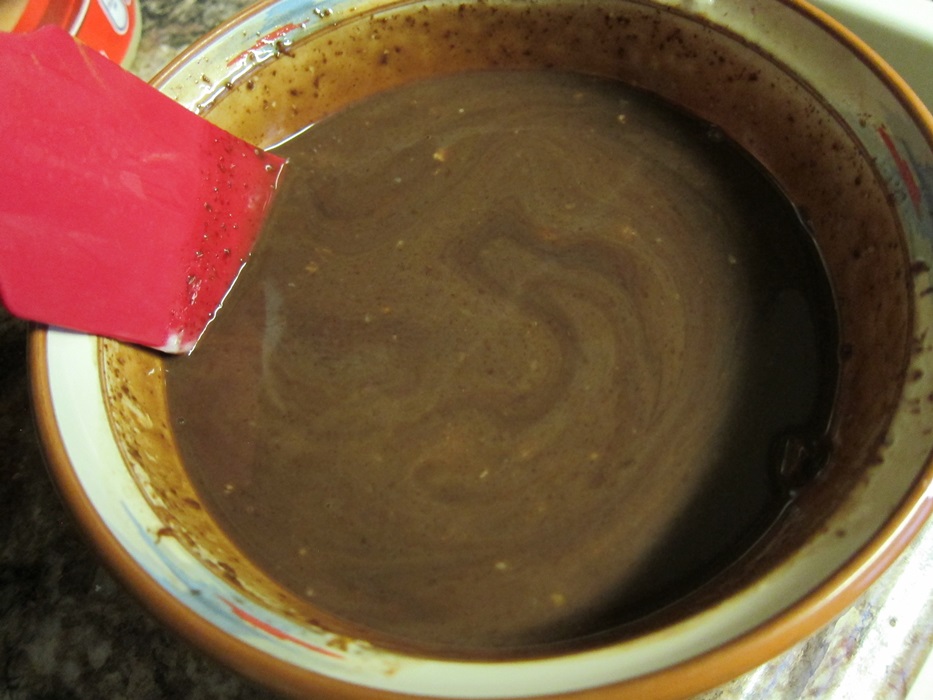
That’s dark colored spices, not burn.
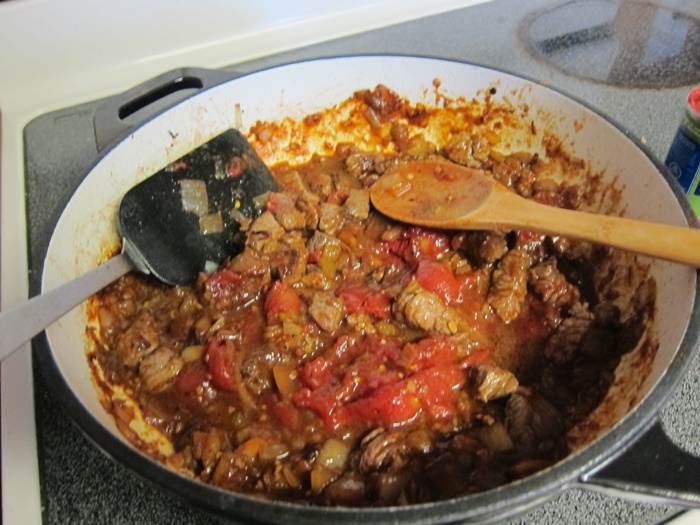
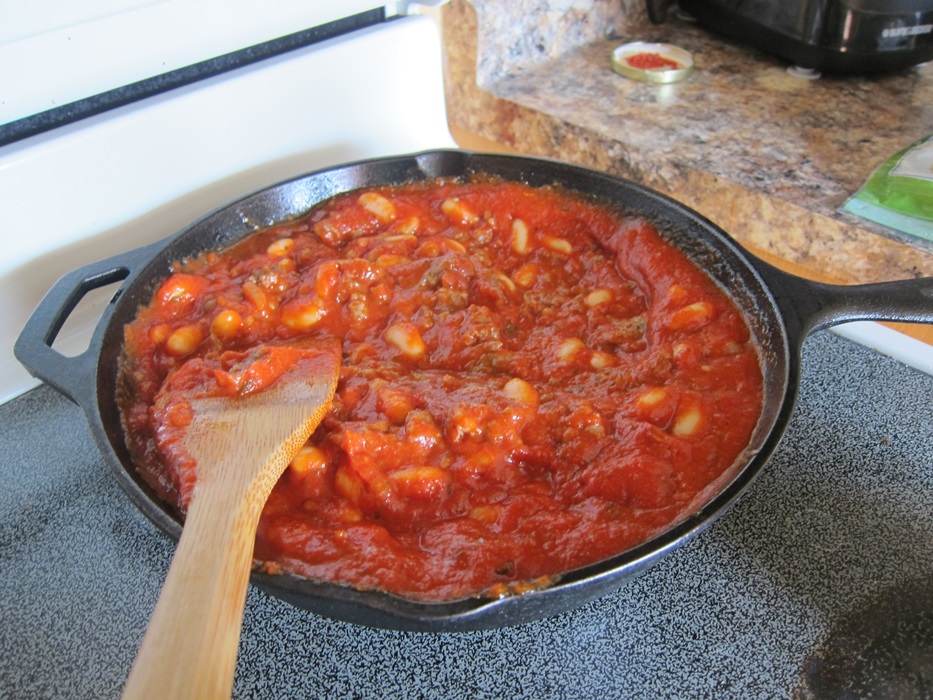
Add the tomatoes, including the juice, and break up the whole tomatoes with the side of a spoon, then add the can of chiles, including the juice, the brown sugar, the tomato paste, the meat, including any liquid that’s pooled in the bowl, and the water. Raise the temperature to high and cook until boiling, then reduce the heat to low and cover. Simmer 30 minutes, stirring occasionally.
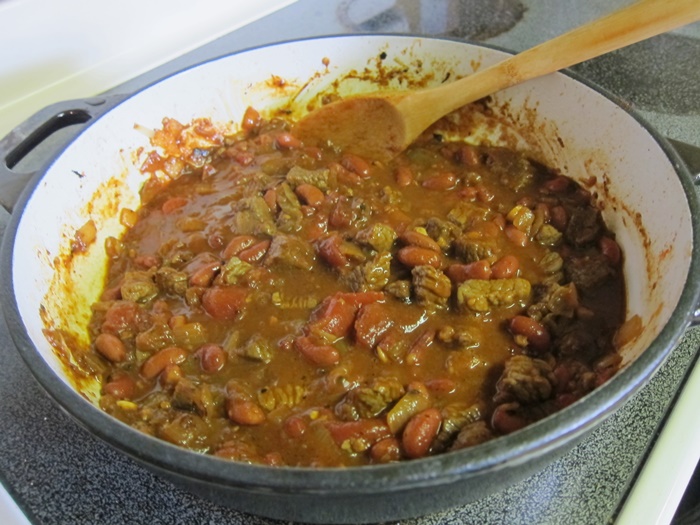
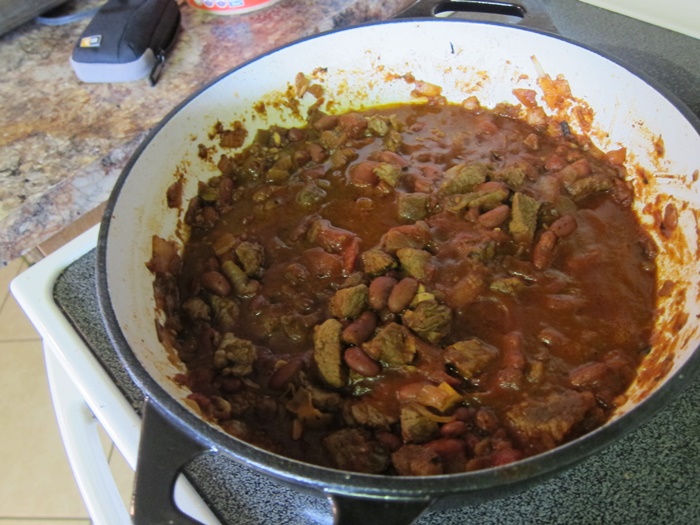
 Rinse and drain the pink beans, then add them. Return the temperature to high and bring back to a boil, then return to low, cover, and simmer another 30-45 minutes, until the beef is very tender.

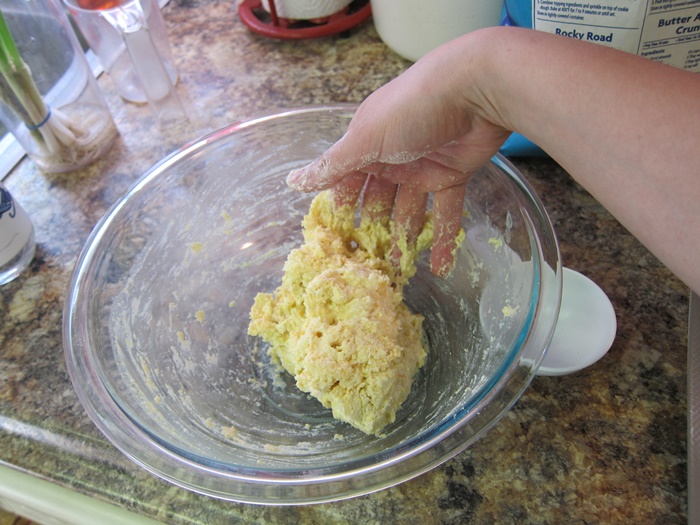
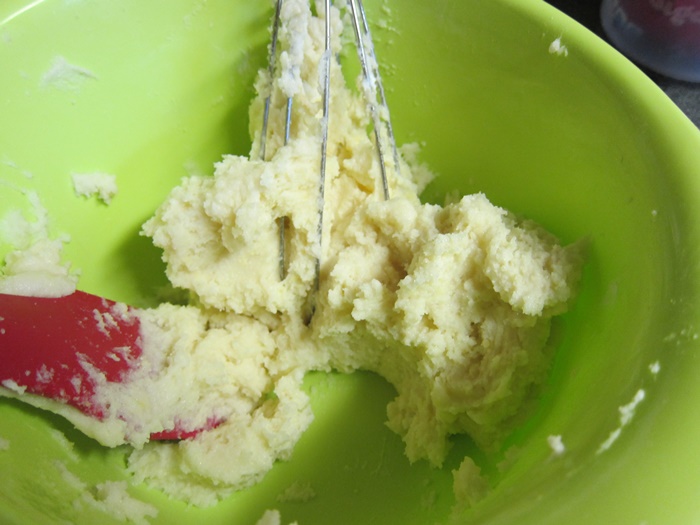
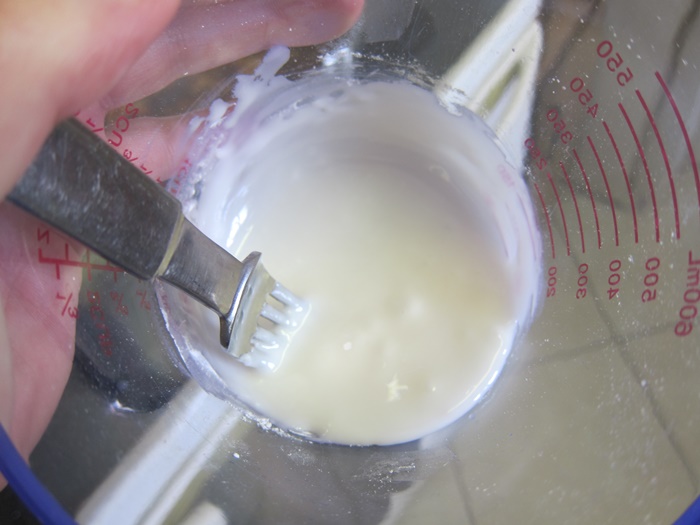
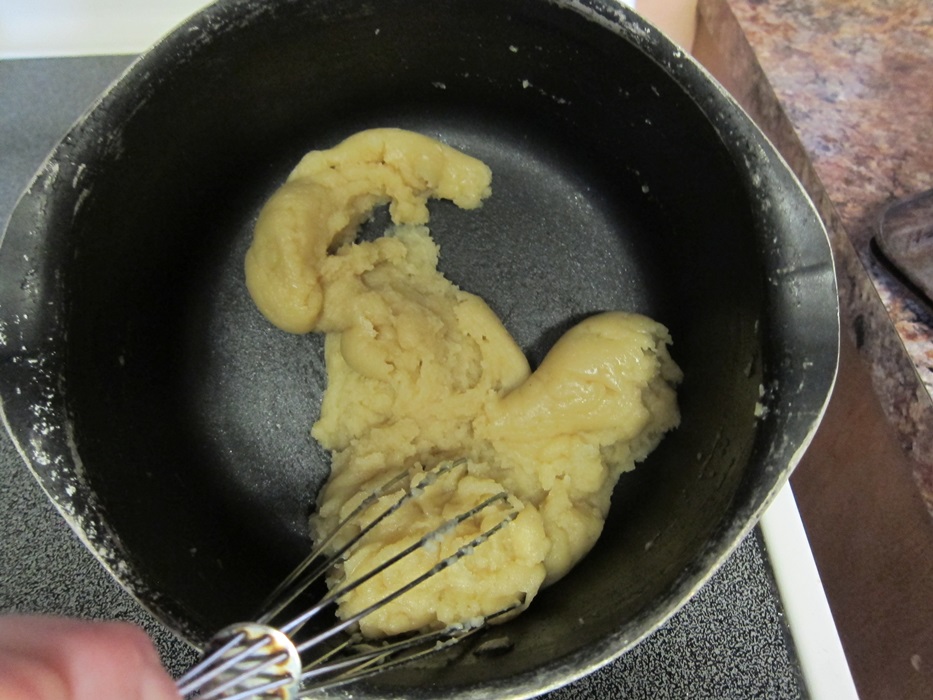
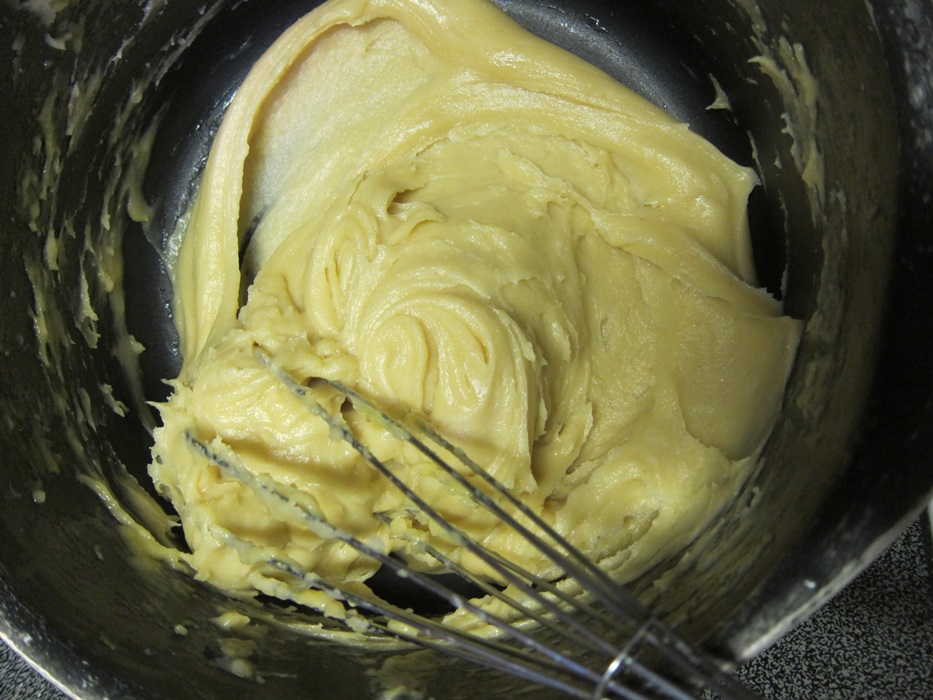
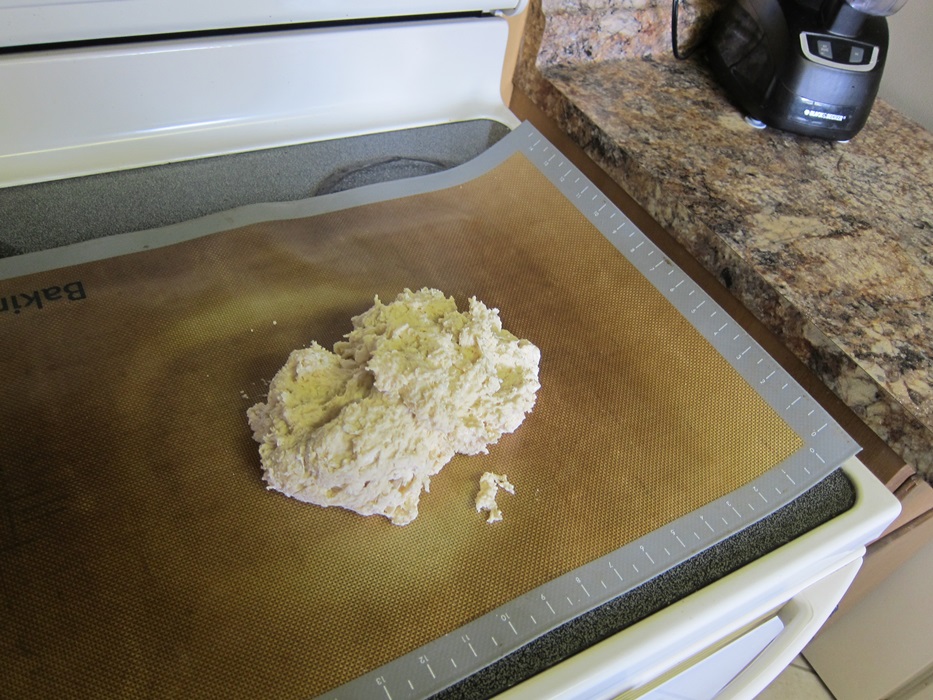
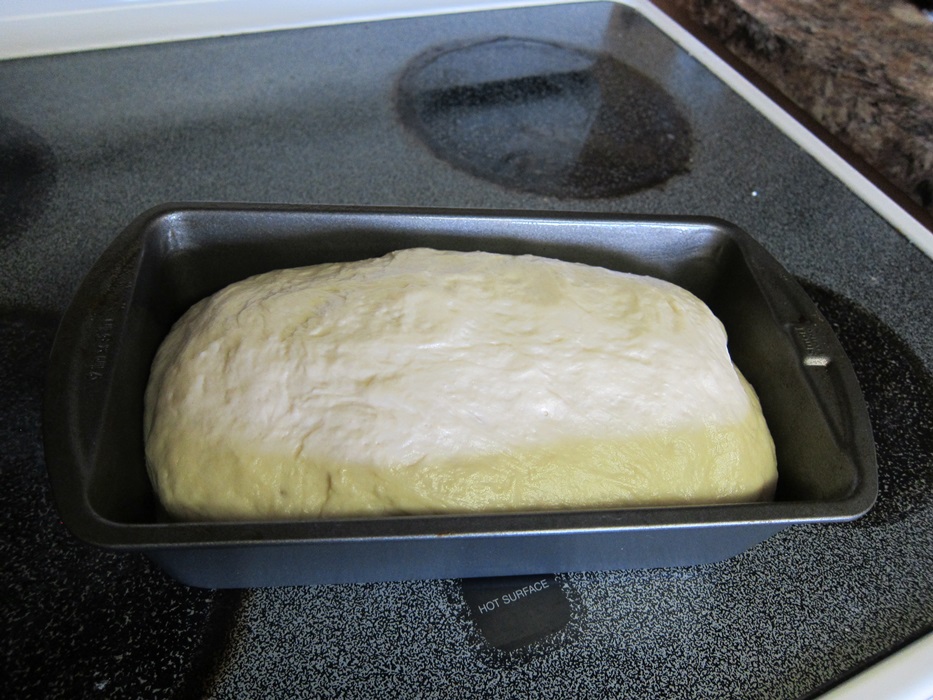
 In that 30-45 minutes, preheat the oven to 425 degrees, line a baking sheet with foil, find a 2 quart casserole dish, and make the crust. First combine the flour, cheddar, cornmeal, baking powder, and salt in a medium bowl. Cut in the butter with knives or a pastry blender until the mixture resembles coarse crumbs. Stir in 1/2 cup of the milk, and mix just briefly until the mixture mostly holds together.
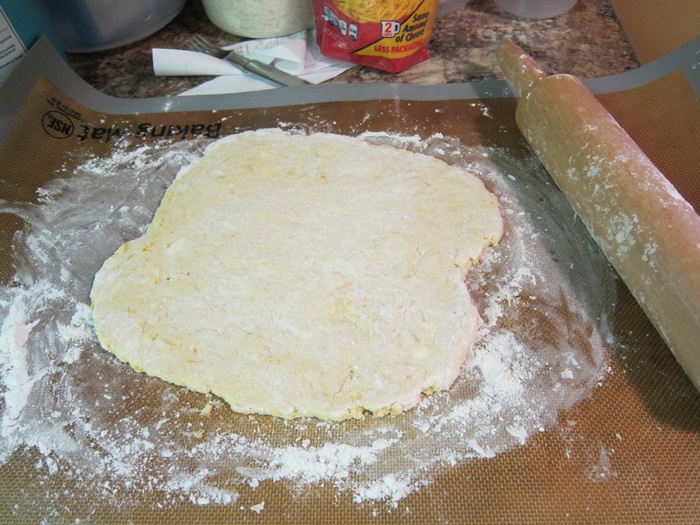
 Turn out onto a lightly floured surface and knead about 5 times, then, using a floured rolling pin, roll the dough until it’s an inch bigger than the top of your casserole dish.
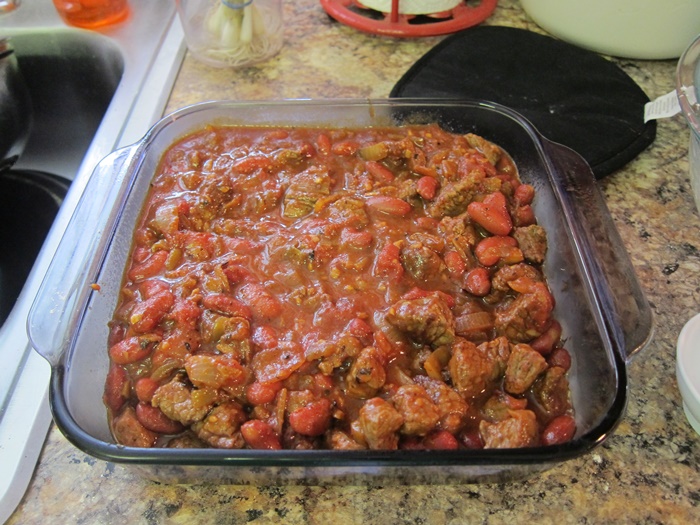
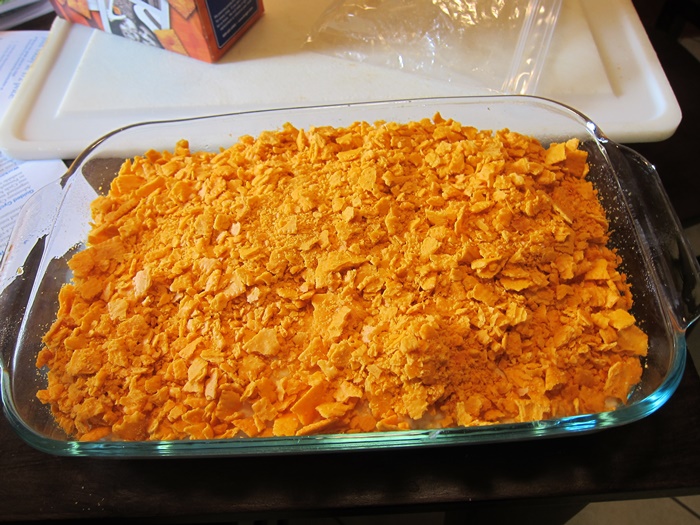
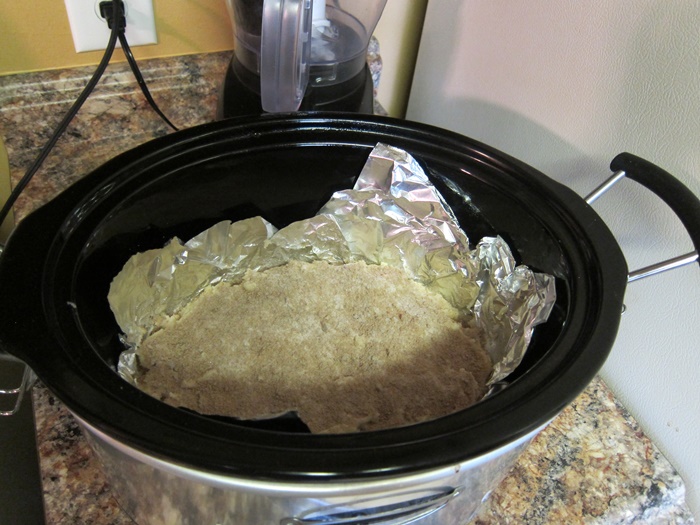
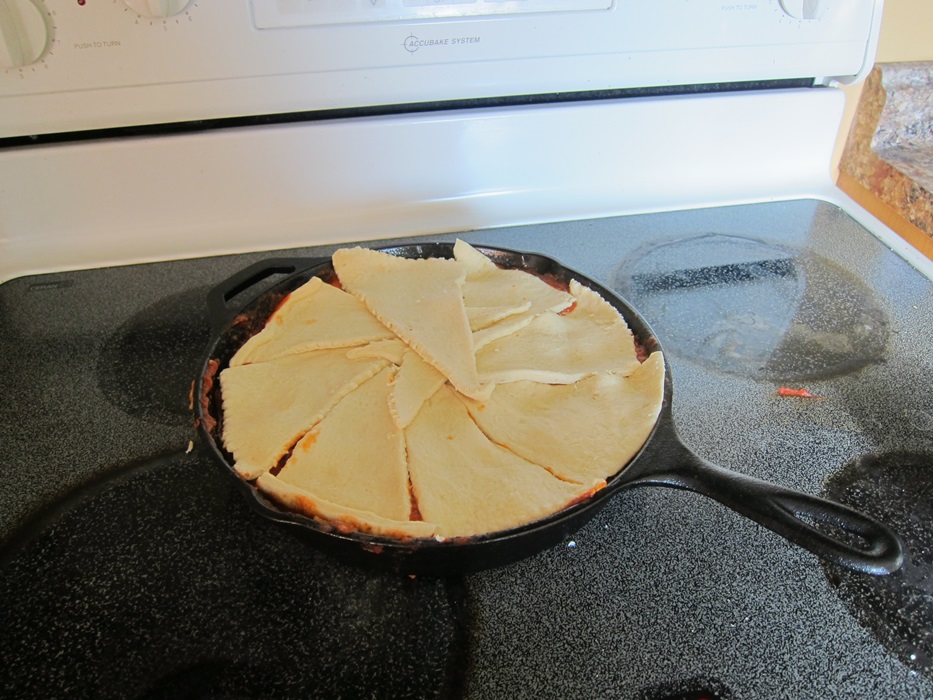
 Spoon the cooked beef mixture into the casserole, then gently lay the crust on top, tucking the edge in to fit.
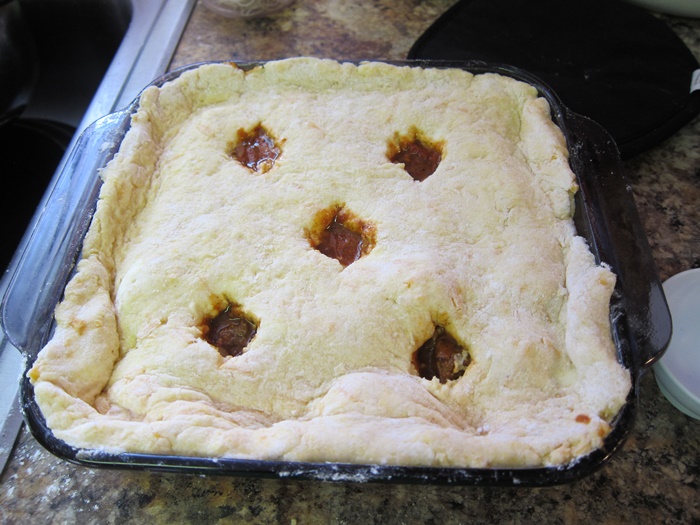
 Cut 5 oval openings in the crust – not just slits, as those will close up during baking.
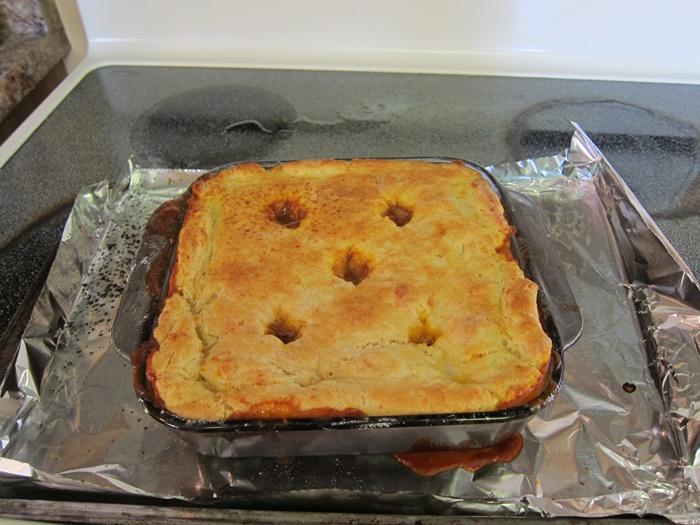
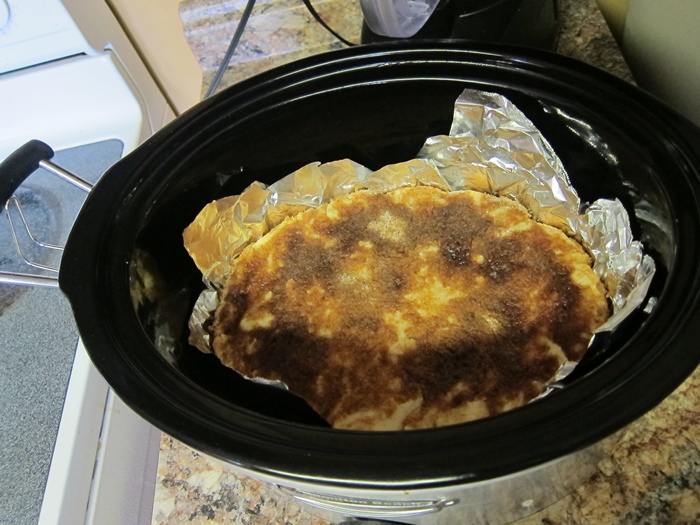
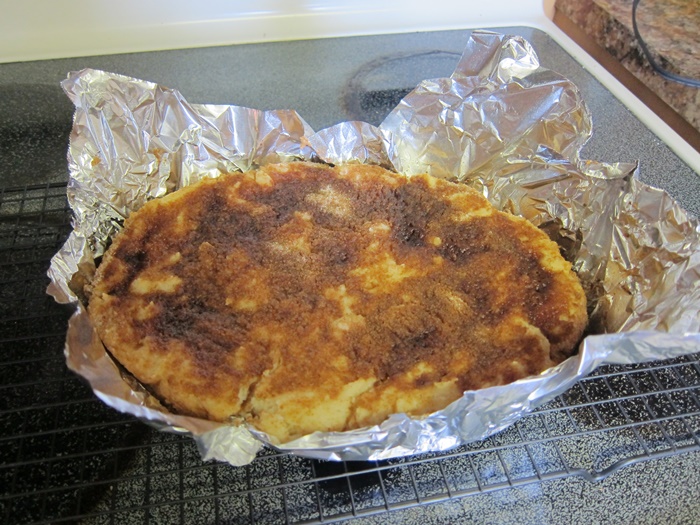
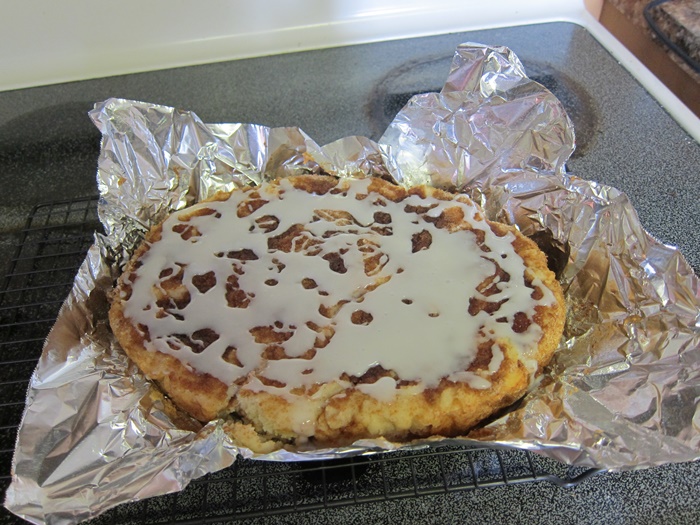
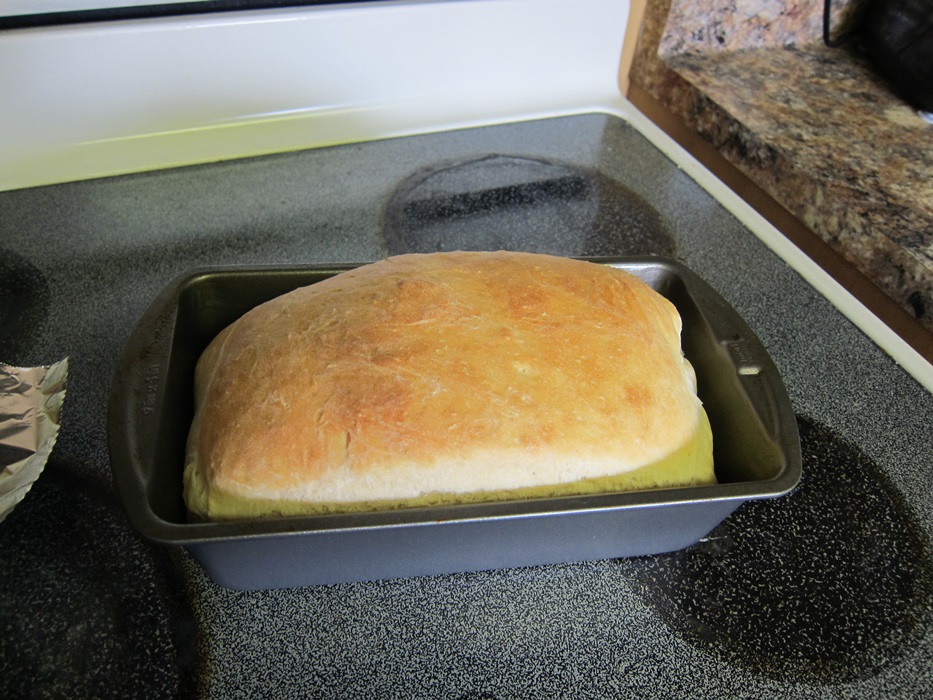
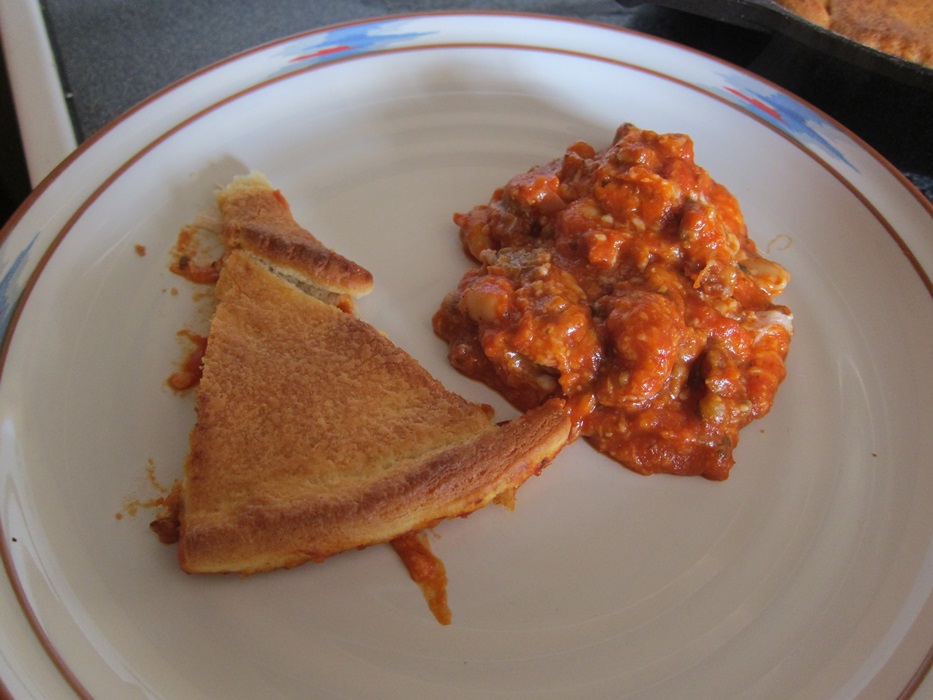
 Brush the crust with the remaining 2 teaspoons of milk. Place the casserole on the foil-lined baking sheet, and bake 20 minutes, or until the crust is browned.

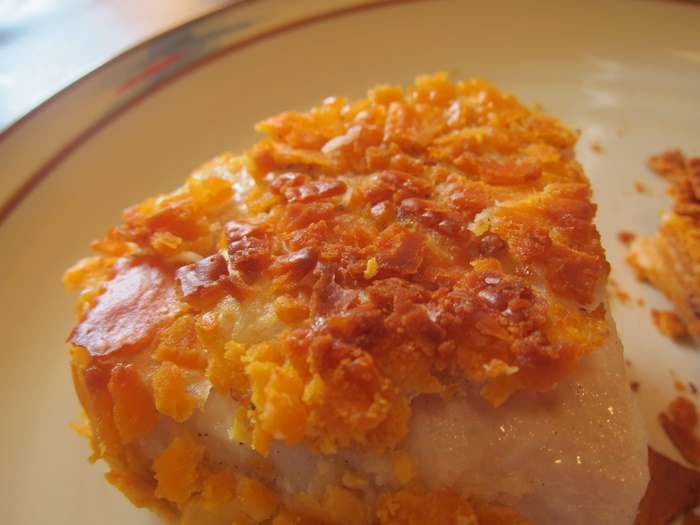
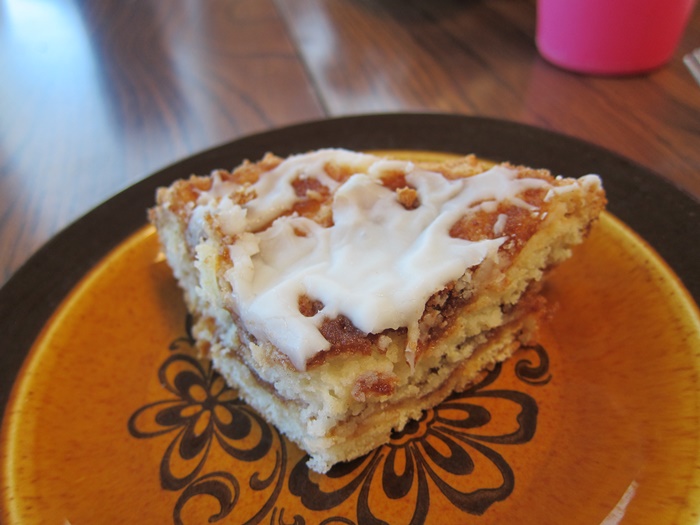
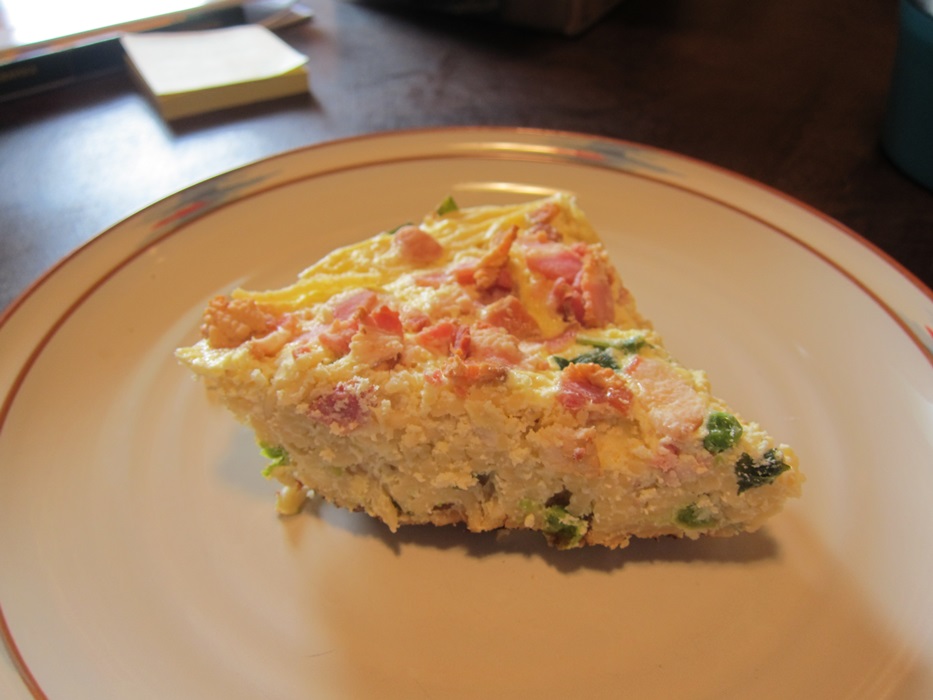
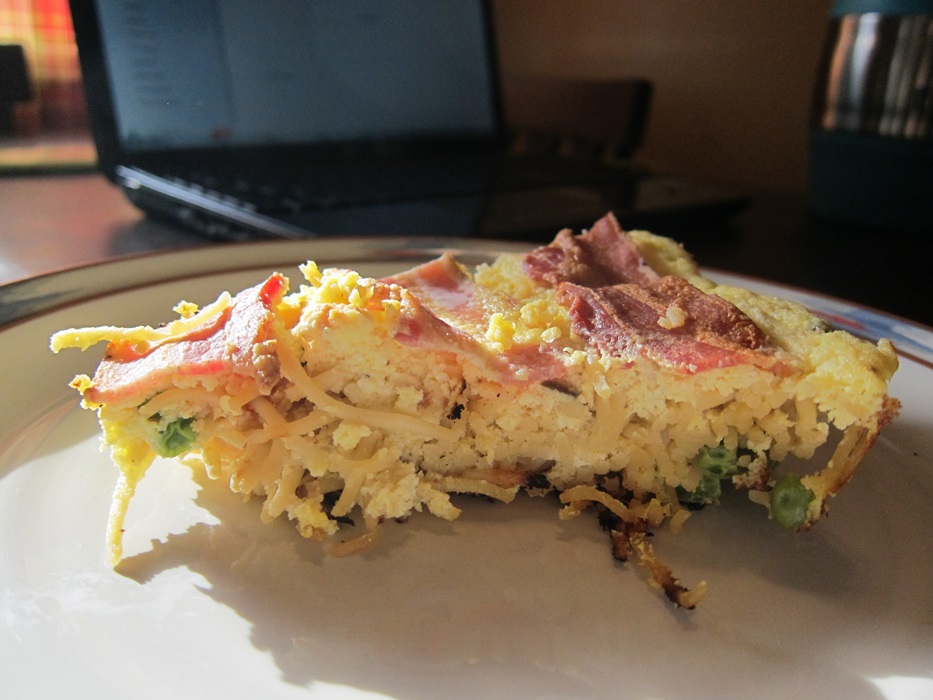
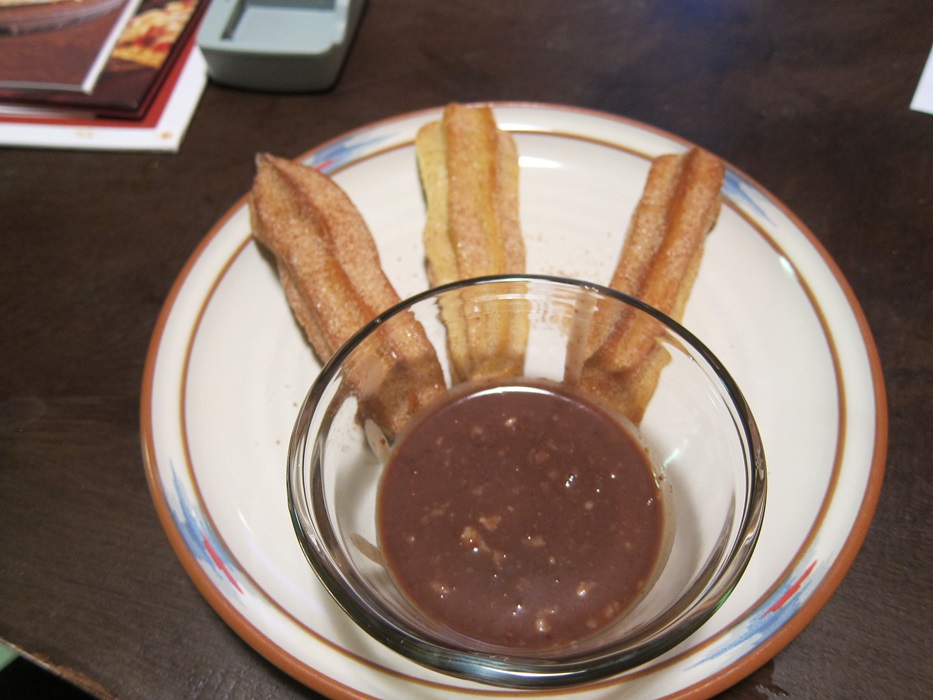
Lovely!

Chili Pot Pie with Cheddar-Biscuit Crust
Lightly adapted from Good Housekeeping’s One-Dish Meals.
Filling:
- 2 tablespoons olive oil, divided
- 1 pound boneless beef chuck, cut into 1/2″ pieces
- 1 medium onion, chopped
- 2 garlic cloves, minced
- 1 tablespoon chili powder
- 1 teaspoon ground coriander
- 1/2 teaspoon salt
- 1/2 teaspoon ground cumin
- 1 16 ounce can whole tomatoes in juice
- 1 4 ounce can chopped mild green chilies
- 1 tablespoon dark brown sugar
- 1 tablespoon tomato paste
- 1/4 cup water
- 1 15 ounce can pink beans
Crust:
- 1 cup all-purpose flour
- 1/3 cup shredded sharp cheddar cheese
- 1/4 cup yellow cornmeal
- 2 teaspoons baking powder
- 1/2 teaspoon salt
- 3 tablespoons cold butter
- 1/2 cup + 2 teaspoons milk, divided
Heat one tablespoon of the olive oil n a large dutch oven or sauce-pot over medium-high heat. Add half the beef and cook until it’s browned all over, then remove to a small bowl. Add 2 teaspoons of the remaining oil and cook the remaining half of the beef, then remove to the same bowl.
Heat the remaining teaspoon of olive oil over medium heat, then add the onion and cook about 10 minutes, until softened and golden brown. Add the garlic and cook an additional 2 minutes, stirring constantly, then add the chili powder, coriander, salt, and cumin, and cook and additional minute, continuing to stir.
Add the tomatoes, including the juice, and break up the whole tomatoes with the side of a spoon, then add the can of chiles, including the juice, the brown sugar, the tomato paste, the meat, including any liquid that’s pooled in the bowl, and the water. Raise the temperature to high and cook until boiling, then reduce the heat to low and cover. Simmer 30 minutes, stirring occasionally.
Rinse and drain the pink beans, then add them. Return the temperature to high and bring back to a boil, then return to low, cover, and simmer another 30-45 minutes, until the beef is very tender.
In that 30-45 minutes, preheat the oven to 425 degrees, line a baking sheet with foil, find a 2 quart casserole dish, and make the crust. First combine the flour, cheddar, cornmeal, baking powder, and salt in a medium bowl. Cut in the butter with knives or a pastry blender until the mixture resembles coarse crumbs. Stir in 1/2 cup of the milk, and mix just briefly until the mixture mostly holds together, then turn out onto a lightly floured surface and knead about 5 times. Using a floured rolling pin, roll the dough until it’s an inch bigger than the top of your casserole dish.
Spoon the cooked beef mixture into the casserole, then gently lay the crust on top, tucking the edge in to fit. Cut 5 oval openings in the crust – not just slits, as those will close up during baking. Brush the crust with the remaining 2 teaspoons of milk. Place the casserole on the foil-lined baking sheet, and bake 20 minutes, or until the crust is browned.

 Ingredients:
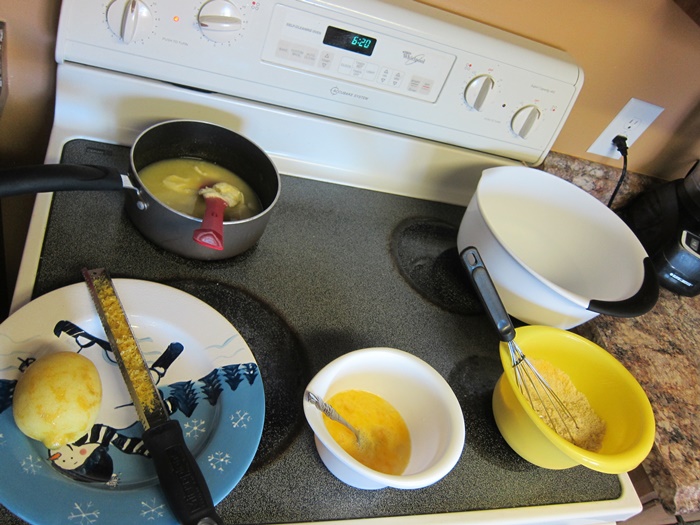
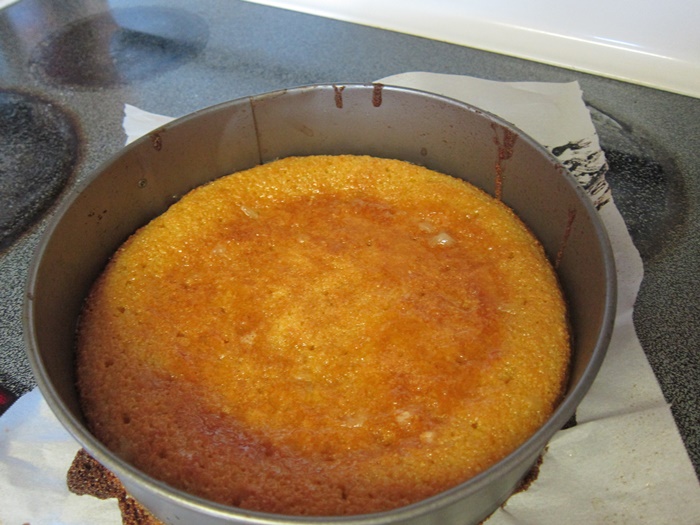
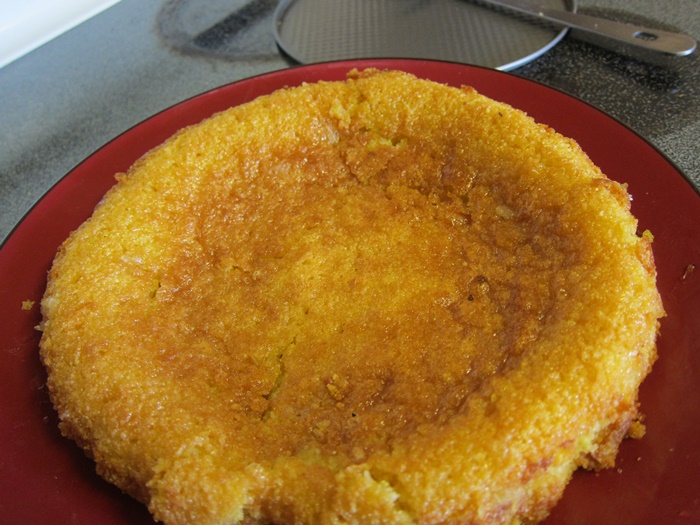
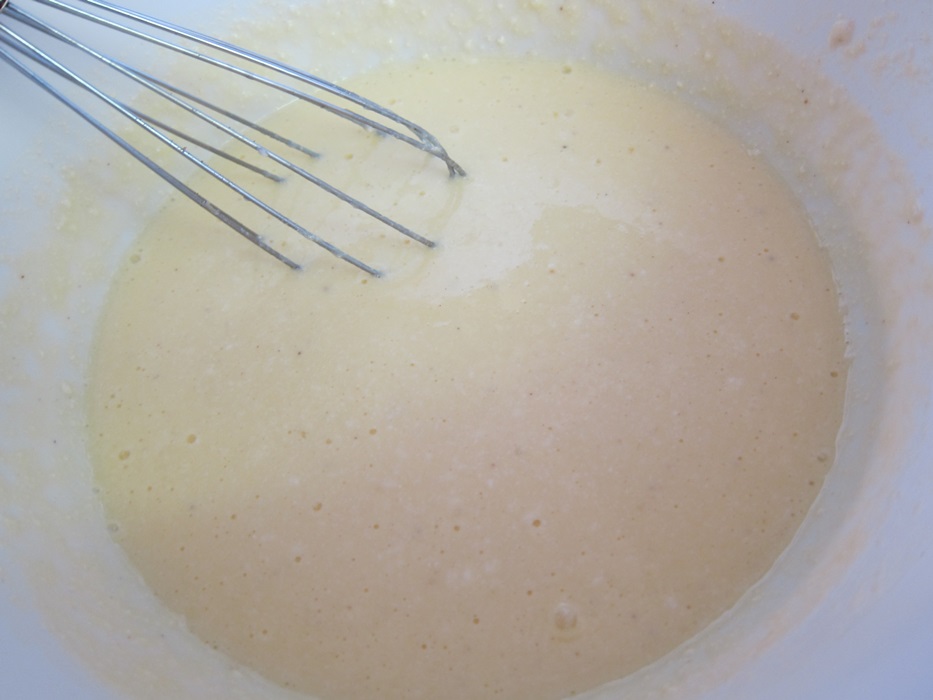
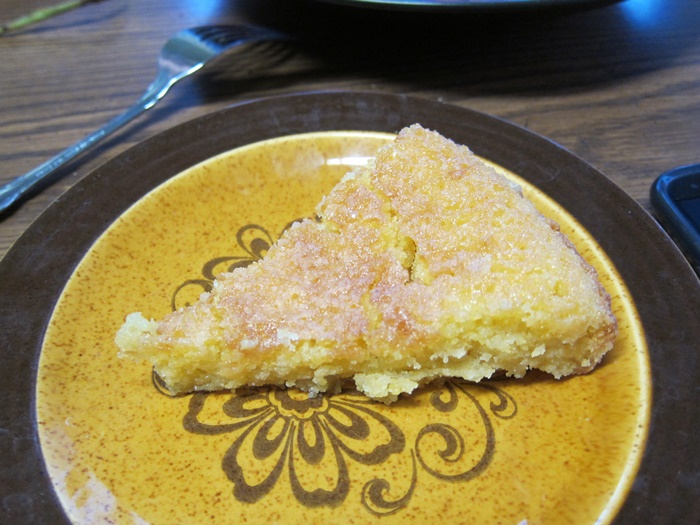
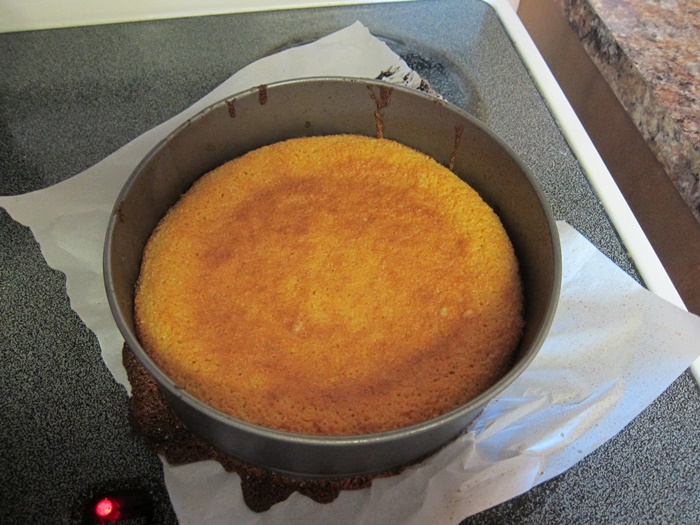
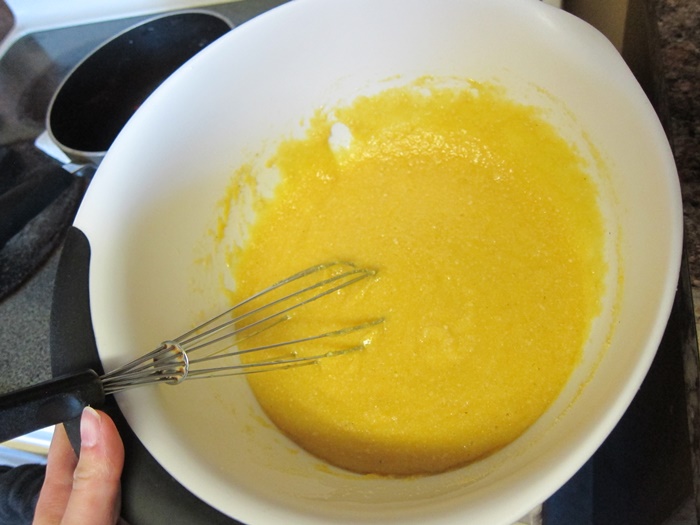 Fold in the lemon zest, then gently pour the batter into the greased pan. Bake for 35-40 minutes, until golden brown.
 Before the cake finishes baking, combine the lemon juice and remaining sugar in a small saucepan over medium heat, stirring until the sugar is dissolved.