
It’s been a while since I tried anything from the Wheat Belly Cookbook, mainly because so many of the recipes call for cauliflower, but finally it was time to stop avoiding it and give a cauliflower-heavy recipe a try. I already kinda knew cauliflower doesn’t have much taste, on its own, and it turns out when you pair that with cheese…it’s gonna work out alright.
 Ingredients:
- 5 tablespoons butter, divided
- 1 small onion, minced
- 1 clove garlic, minced
- 2 tablespoons coconut flour
- 1 13.6 ounce can coconut milk
- 1/2 teaspoon dry mustard
- 1/4 teaspoon sea salt
- 2 cups shredded extra-sharp cheddar cheese
- 1 large head cauliflower, in bite-sized pieces
- 1/4 cup grated parmesan cheese
- 2 tablespoons ground golden flaxseeds
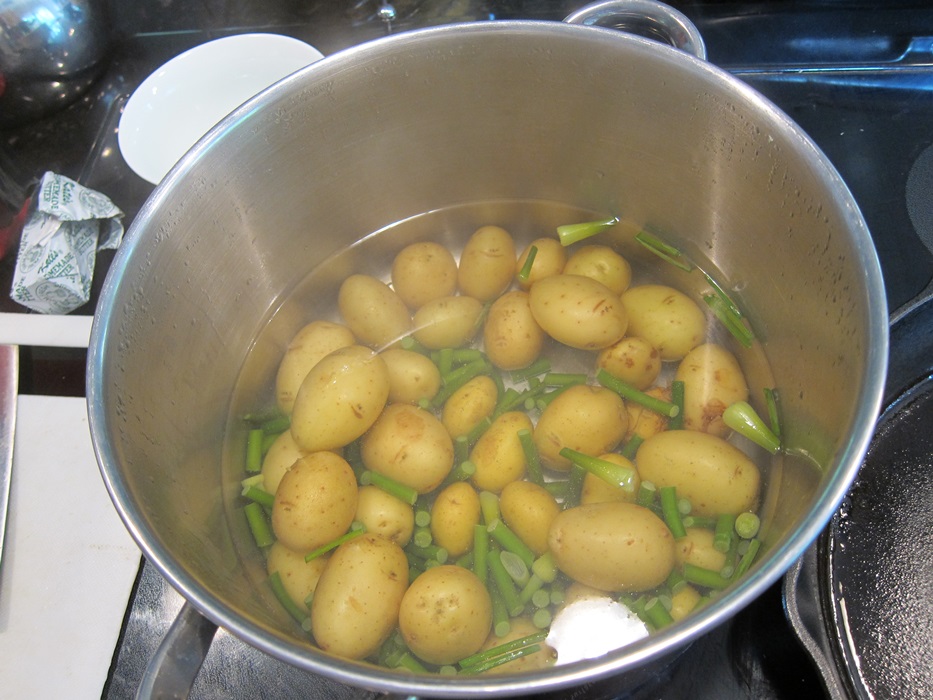
Preheat oven to 350 degrees. Grease a 9X13″ dish. (The cookbook said 2 quart, but there’s no way this would have all fit!) Put the cauliflower in a large bowl.
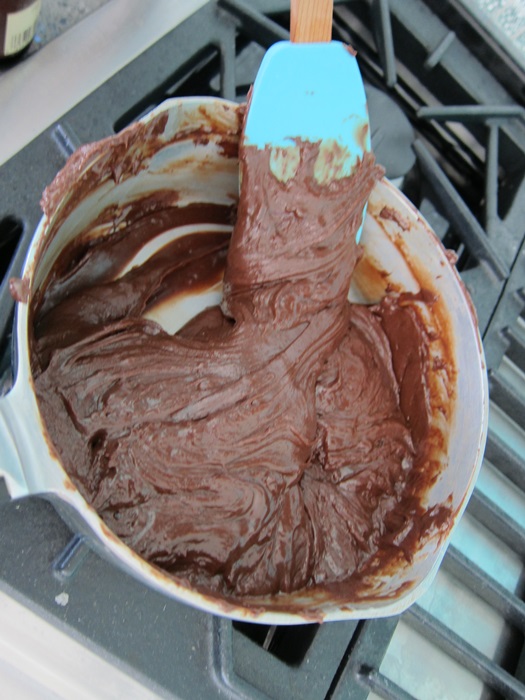
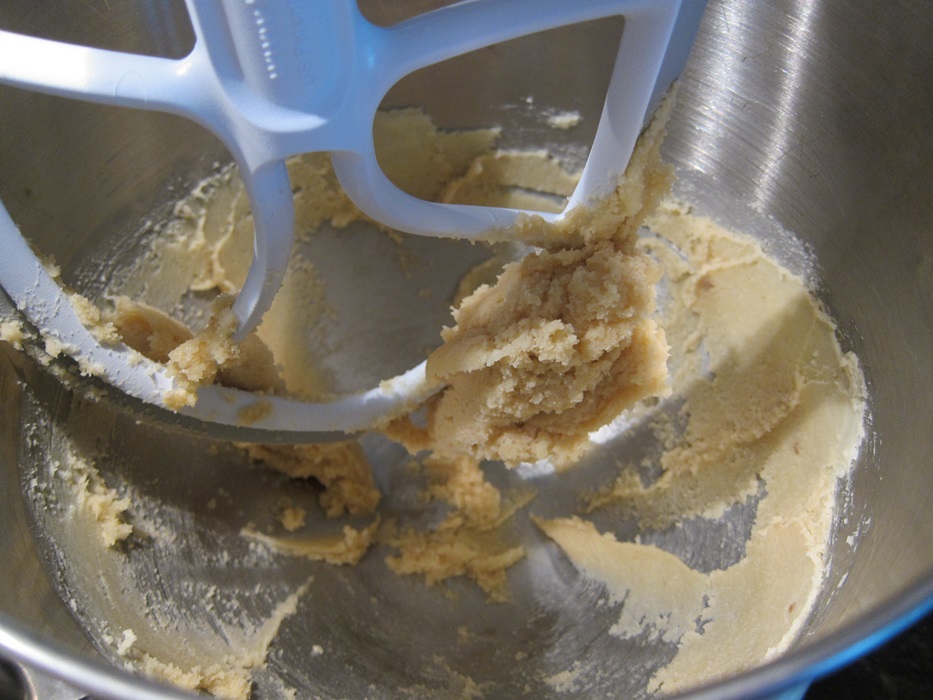
In a medium saucepan over medium-high heat, melt 3 tablespoons of the butter. Add the onion and cook, stirring occasionally, until lightly browned.
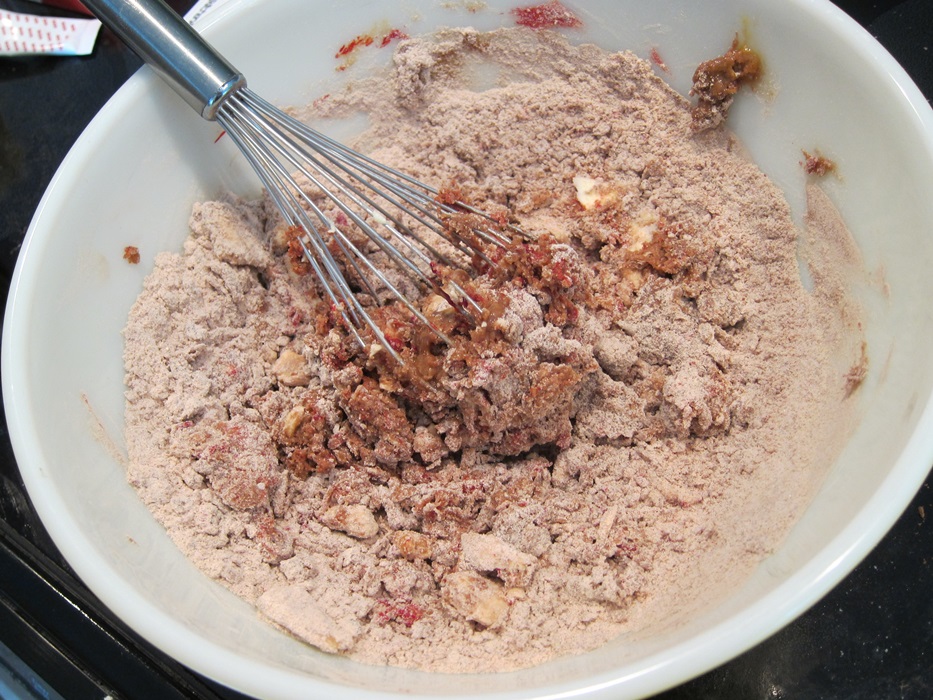
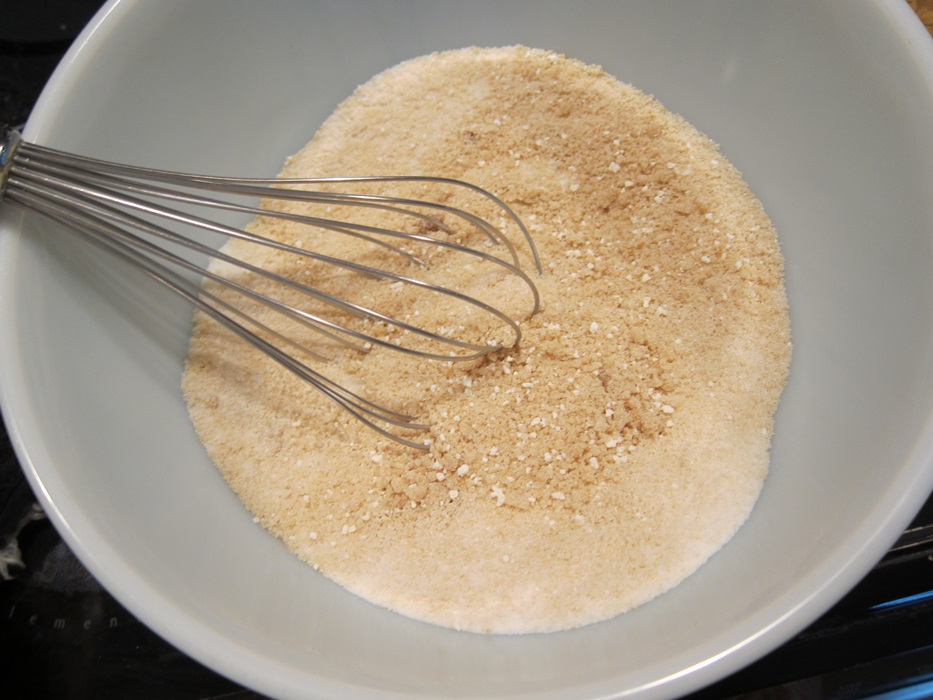
 Add the garlic and cook 1 minute, then add the coconut flour and cook, stirring constantly, until lightly browned.
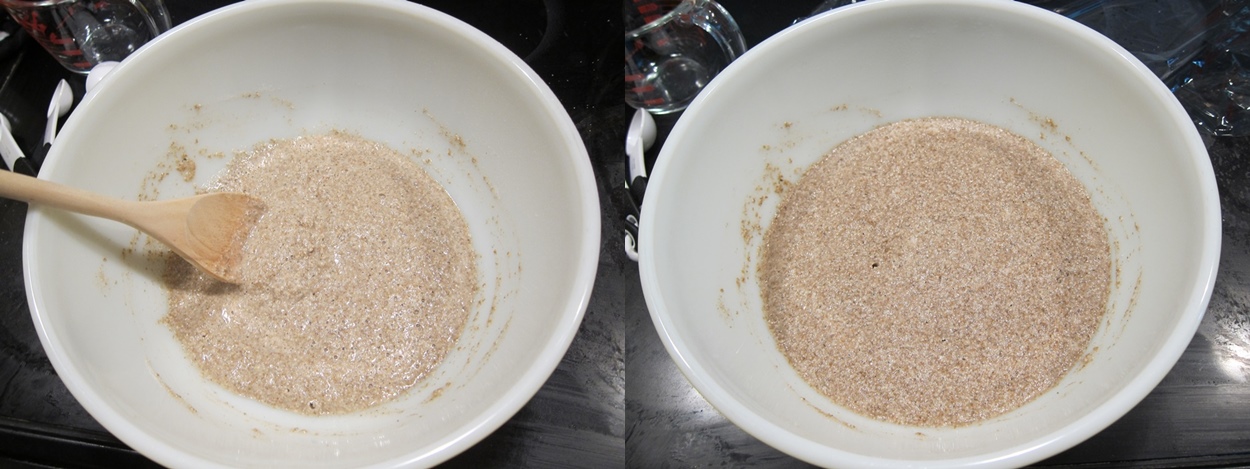
 Add the coconut milk, mustard, and salt, and bring to a boil, stirring constantly.
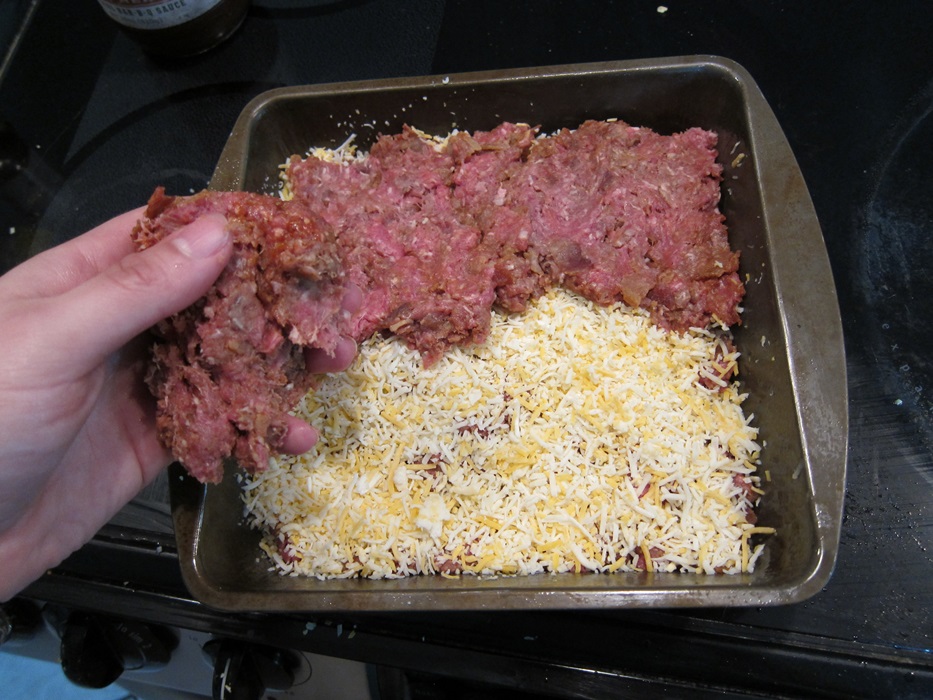
 Remove from the heat and stir in the cheddar, then pour over the cauliflower and stir together well. Transfer to the greased dish. Cut the remaining 2 tablespoons of butter into small chunks and scatter with the parmesan and flaxseeds over the top of the dish.
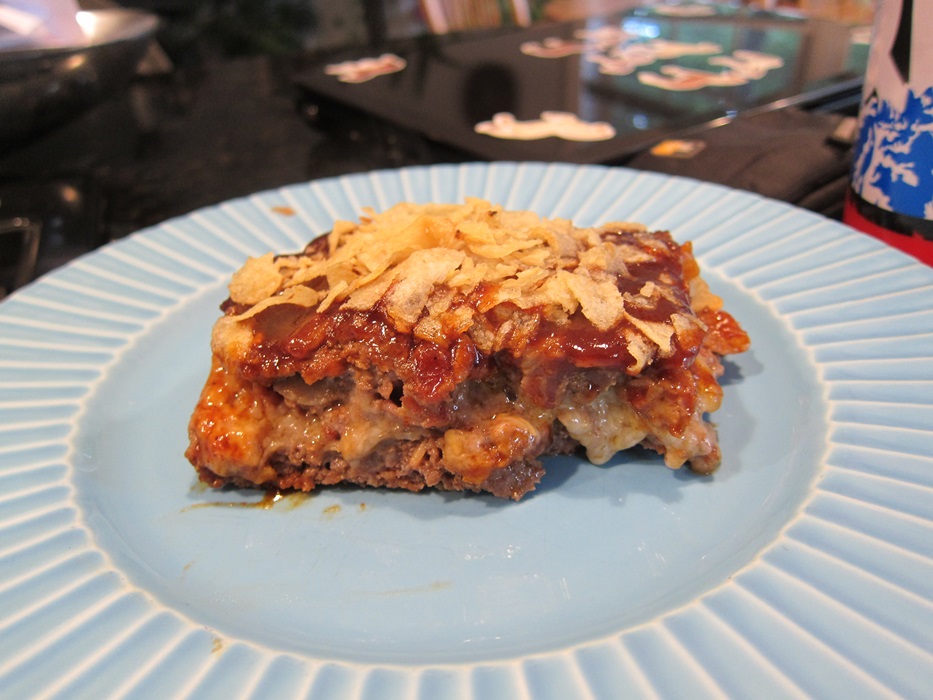
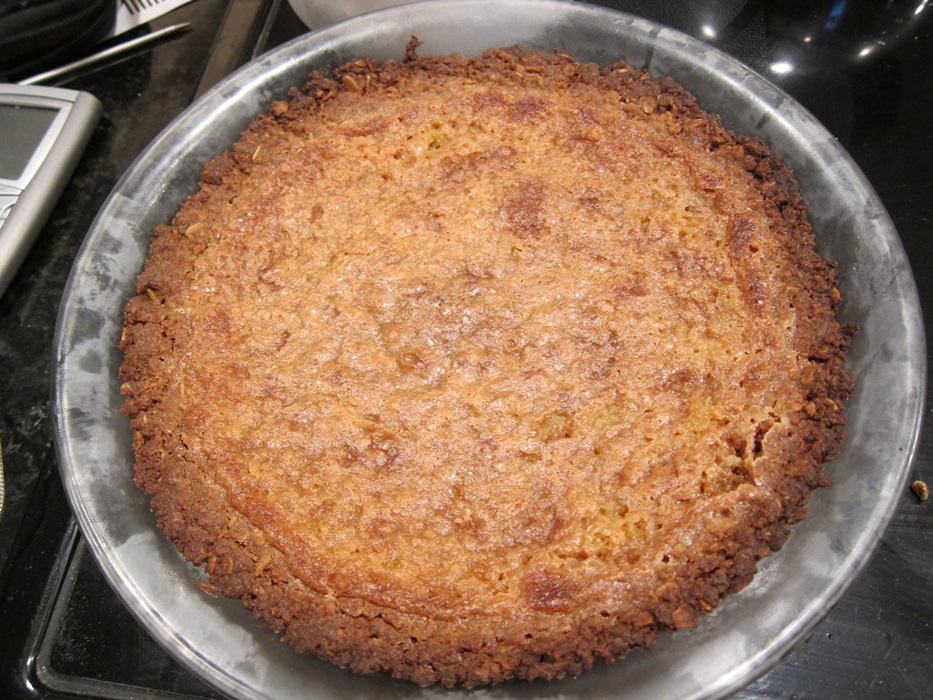
 Bake 30 minutes, or until bubbling and lightly browned.
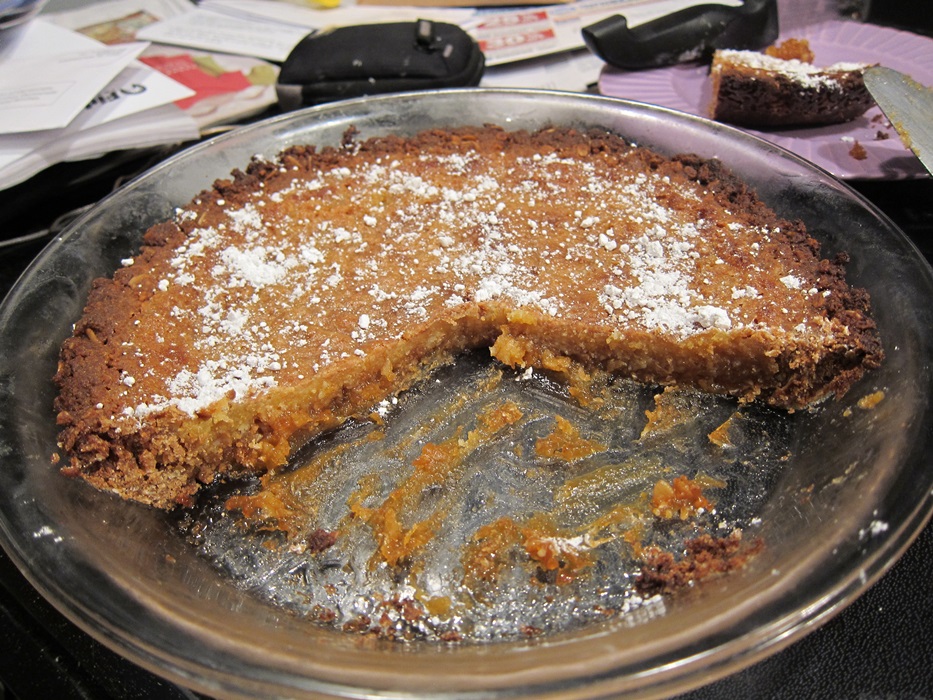
 My mother had apparently made it her entire life without ever eating cauliflower, so kind of picked and poked at it at first, even though she said it tasted good, but she ended up going back and adding some chicken and a few more veggies to the leftovers and voluntarily eating it the next day! Who would have ever believed.
Not Mac & Cheese
From the Wheat Belly Cookbook.
- 5 tablespoons butter, divided
- 1 small onion, minced
- 1 clove garlic, minced
- 2 tablespoons coconut flour
- 1 13.6 ounce can coconut milk
- 1/2 teaspoon dry mustard
- 1/4 teaspoon sea salt
- 2 cups shredded extra-sharp cheddar cheese
- 1 large head cauliflower, in bite-sized pieces
- 1/4 cup grated parmesan cheese
- 2 tablespoons ground golden flaxseeds
Preheat oven to 350 degrees. Grease a 9X13″ dish. Put the cauliflower in a large bowl.
In a medium saucepan over medium-high heat, melt 3 tablespoons of the butter. Add the onion and cook, stirring occasionally, until lightly browned. Add the garlic and cook 1 minute, then add the coconut flour and cook, stirring constantly, until lightly browned. Add the coconut milk, mustard, and salt, and bring to a boil, stirring constantly. Remove from the heat and stir in the cheddar, then pour over the cauliflower and stir together well.
Transfer to the greased dish. Cut the remaining 2 tablespoons of butter into small chunks and scatter with the parmesan and flaxseeds over the top of the dish. Bake 30 minutes, or until bubbling and lightly browned.


