Chocolate Chip Cookie Dough Peanut Butter Cups

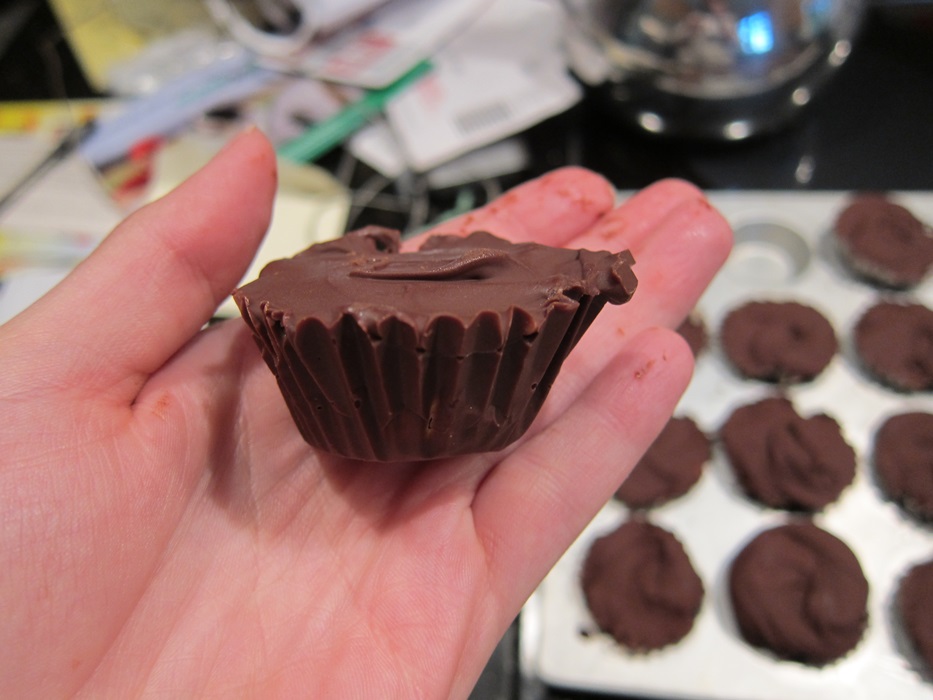
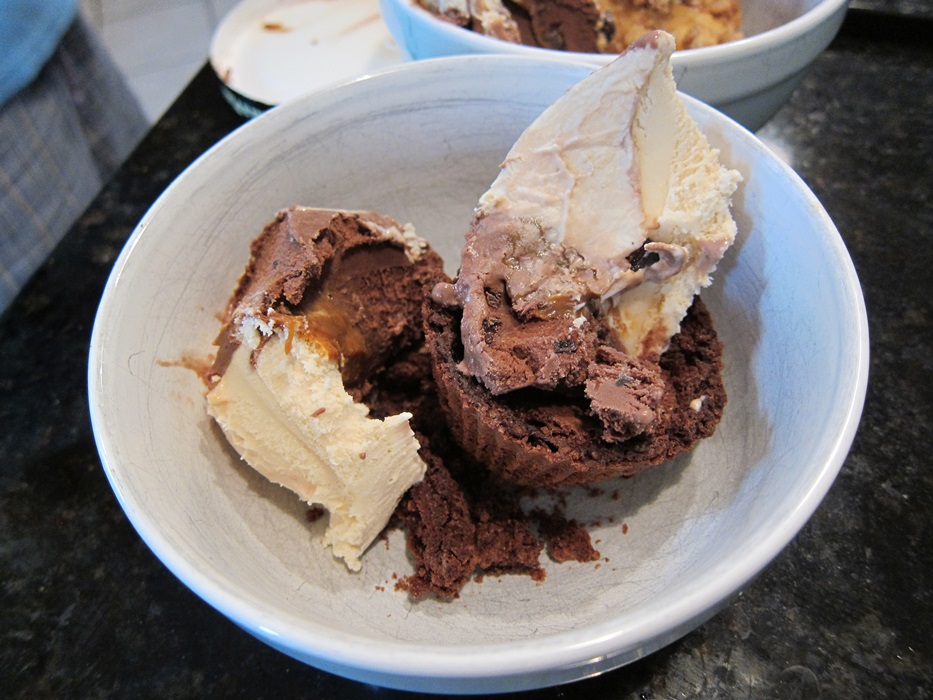
The last cookie dough related thing for my hockey team! I made these Sunday after a bike race, and staying standing up and awake was preeeetty terrible. Worth it, though, some people ate three!
IMG_6488Ingredients:

  • 2 1/2 cups milk chocolate chips
  • 1/2 cup unsalted butter
  • 1/3 cup packed brown sugar
  • 1 teaspoon vanilla extract
  • 1/4 cup creamy peanut butter
  • 3/4 cup powdered sugar
  • 2 tablespoons all-purpose flour
  • 1/4 teaspoon salt
  • 1/2 cup mini chocolate chips

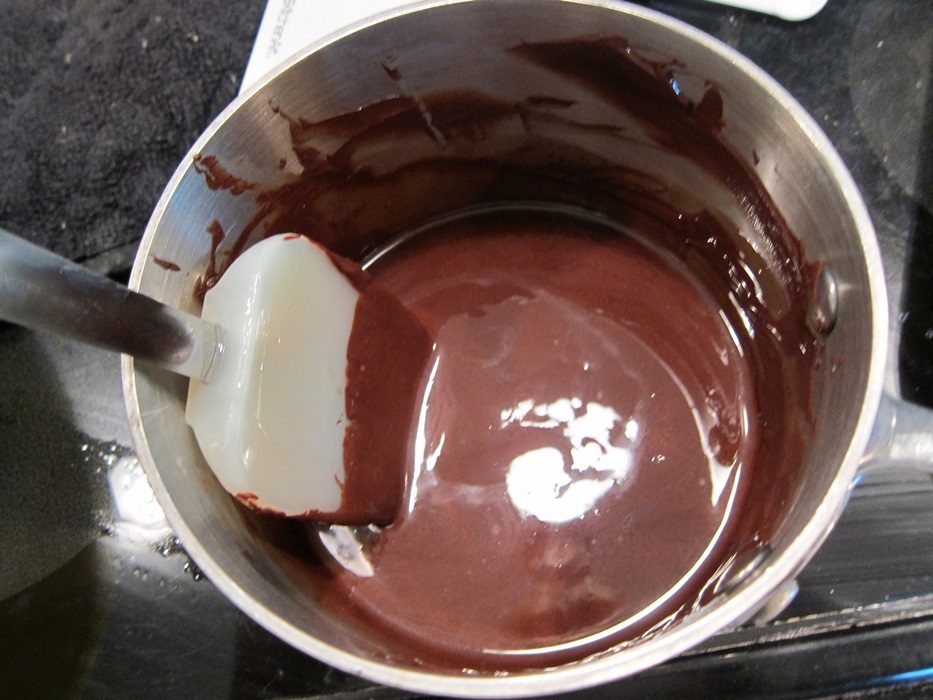
Heat the butter in a saucepan until melted, then stir in the brown sugar. Cook until the sugar is dissolved, then let the mixture bubble a minute or two. Some good things start this way!
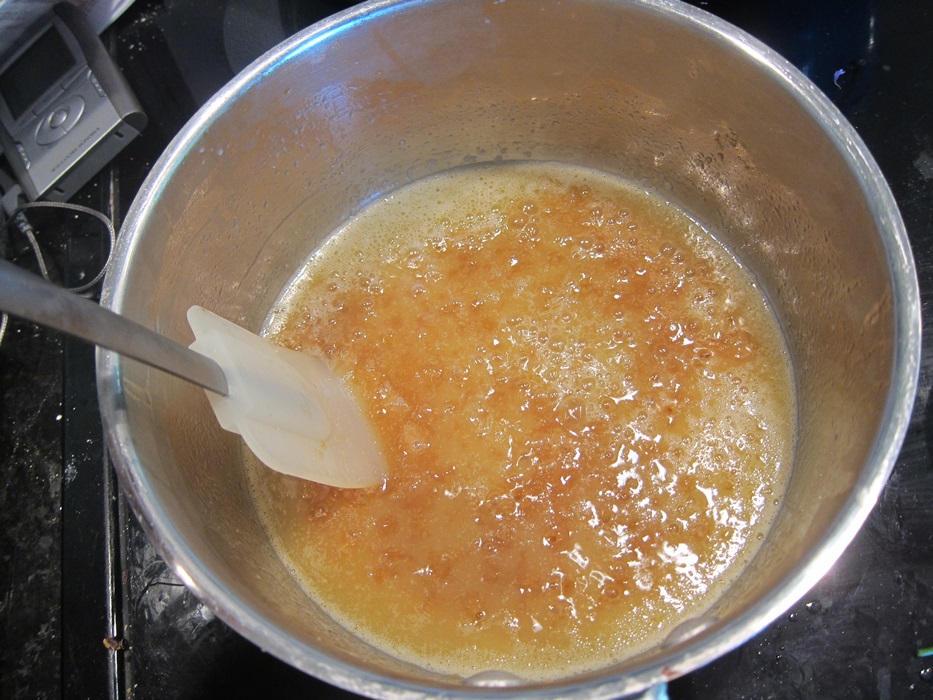
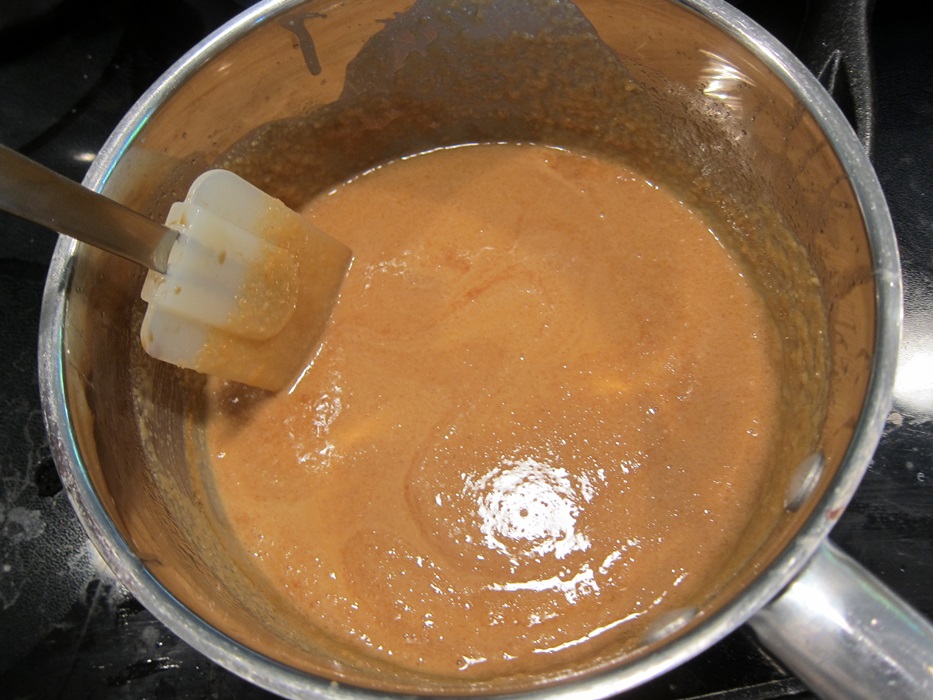
IMG_6477Remove from the heat and whisk in the peanut butter, then the vanilla. Let cool completely, about 20 minutes.
IMG_6478While you wait, melt half the chocolate and line 2 mini cupcake tins with papers. Spoon 1/2 – 1 teaspoon of the chocolate into each paper and spread it around. I ended up picking up each paper and smearing the chocolate around to cover the inside, but you might come up with a smoother method. Seems like a delicate balance between too much chocolate to fit the filling, and not enough chocolate to make solid walls, in such tiny tins.

Bit of a mess!

Bit of a mess!

Freeze the tins for 20 minutes (or refrigerate longer, if there’s no room in your freezer!).

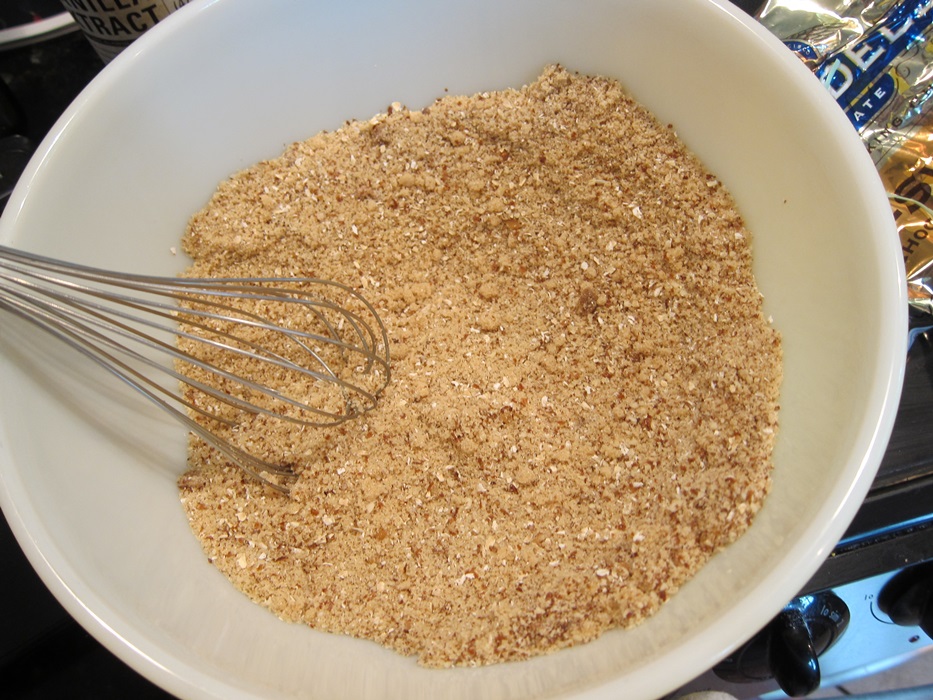
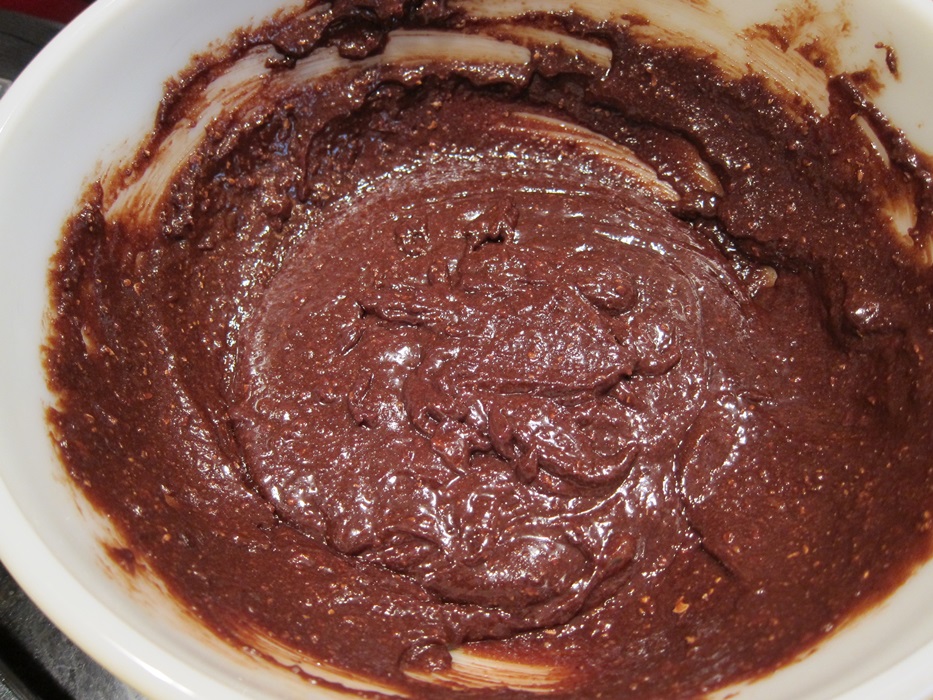
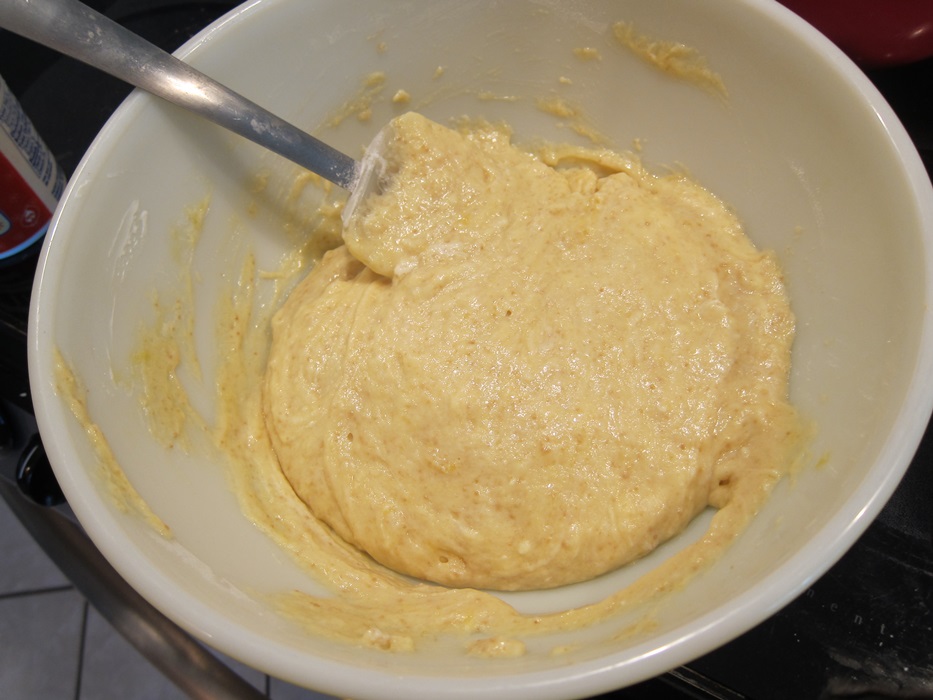
When the butter mixture has cooled, stir in the powdered sugar, salt, and flour until smooth.
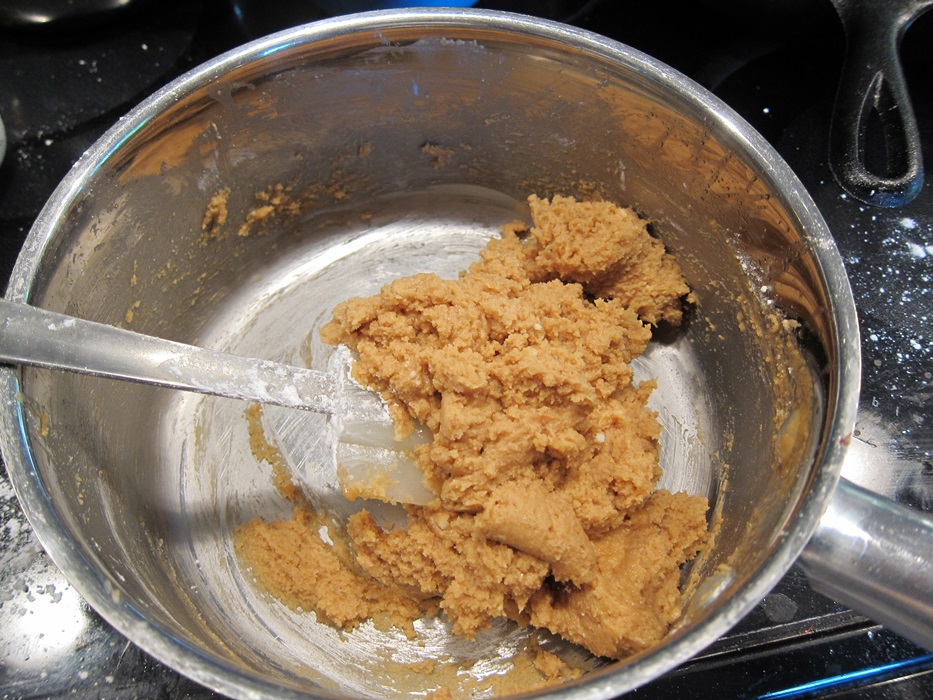
IMG_6479Add the chocolate chips, then refrigerate 15 minutes.

IMG_6480Remove everything from the fridge/freezer. Place teaspoon sized blobs/balls of the dough in each cup, then press gently to flatten/fill the cup. At this point I was kind of concerned that the walls were too thin and would fall apart when I removed the papers, but I was pleasantly surprised at the end.

IMG_6482Freeze another 10-15 minutes. Meanwhile, melt the remaining chocolate.

Cover each cookie dough ball with chocolate and smooth with the back of a spoon.

Smooth, swirl, close enough!

Smooth, swirl, close enough!

Freeze a final 15-20 minutes.
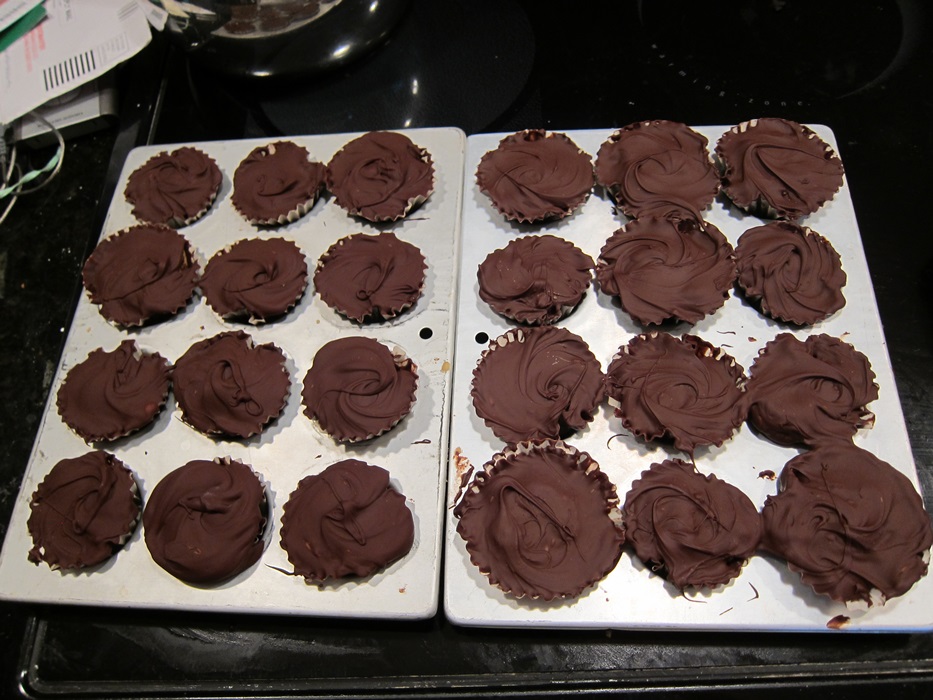
IMG_6484These are best stored in the fridge.

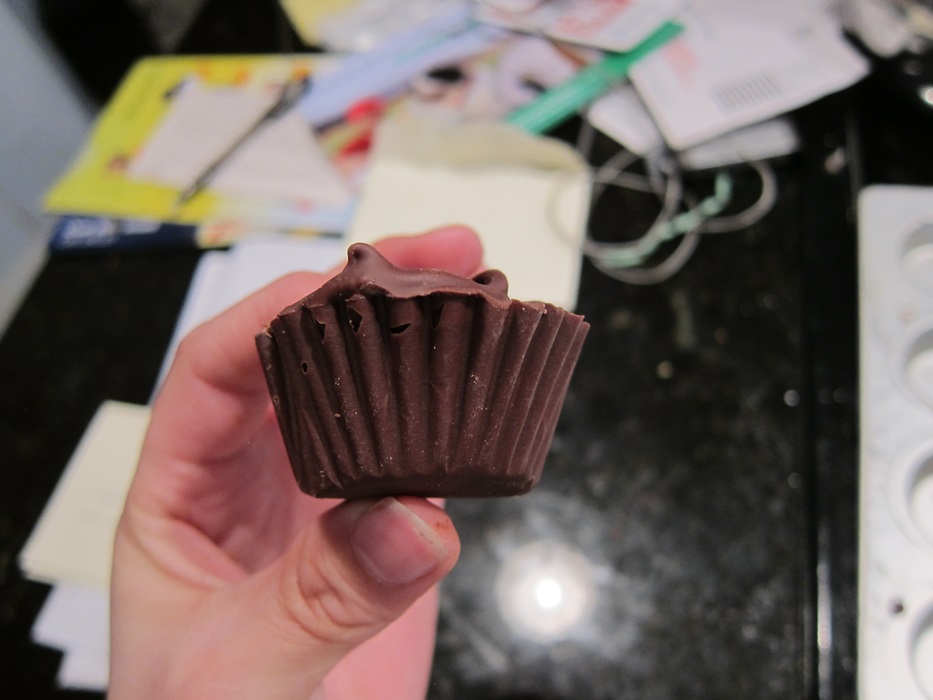
IMG_6485 IMG_6486 IMG_6487I think topping (filling in) with chocolate helps the walls be sturdy enough to hold together perfectly when you pull off the cupcake papers. The only thing to watch out for is if you have any really deep crevasses, where the paper was super folded, you may have to pry a bit extra, but it’s still fairly easy.

Chocolate Chip Cookie Dough Peanut Butter Cups

From How Sweet It Is.

  • 2 1/2 cups milk chocolate chips
  • 1/2 cup unsalted butter
  • 1/3 cup packed brown sugar
  • 1 teaspoon vanilla extract
  • 1/4 cup creamy peanut butter
  • 3/4 cup powdered sugar
  • 2 tablespoons all-purpose flour
  • 1/4 teaspoon salt
  • 1/2 cup mini chocolate chips

Heat the butter in a saucepan until melted, then stir in the brown sugar. Cook until the sugar is dissolved, then let the mixture bubble a minute or two. Remove from the heat and whisk in the peanut butter, then the vanilla. Let cool completely, about 20 minutes.

While you wait, melt half the chocolate and line 2 mini cupcake tins with papers. Spoon 1/2 – 1 teaspoon of the chocolate into each paper and spread it around with a spoon or pastry brush. Freeze the tins for 20 minutes.

When the butter mixture has cooled, stir in the powdered sugar, salt, and flour until smooth. Add the chocolate chips, then refrigerate 15 minutes.

Remove everything from the fridge/freezer. Place teaspoon sized blobs/balls of the dough in each cup, then press gently to flatten/fill the cup.. Freeze another 10-15 minutes. Meanwhile, melt the remaining chocolate.

Cover each cookie dough ball with chocolate and smooth with the back of a spoon. Freeze a final 15-20 minutes.

Best stored in the fridge.

Posted in Dessert | Tagged , , , , | Leave a comment

Ground Beef Casserole

A pretty solid ‘use up stuff in the pantry’ recipe right here, and it’s tasty to boot!

IMG_6444Ingredients:

  • 1 1/2 pounds ground beef
  • salt and pepper to taste
  • 1/2 cup chopped yellow onion
  • 1/4 cup chopped green bell pepper (skipped it)
  • 1/4 cup chopped carrot
  • 1 15 ounce can diced tomatoes
  • 1 8 ounce can tomato sauce
  • 1 8 ounce can sliced mushrooms, drained (I used fresh)
  • 1 tablespoon brown sugar
  • 2 tablespoons Worcestershire sauce
  • 1 8 ounce package bow tie pasta (used elbows)
  • 1 10.75 ounce can cream of mushroom soup
  • 1/4 pound shredded cheddar cheese (no idea how much I used, but…more)

Cook the beef in a large skillet over medium high heat until browned and crumbly. Season with salt and pepper to taste. Drain excess grease, then add the onion, pepper, carrot, and garlic and cook, stirring occasionally, until the onion is lightly browned, about 15 minutes.

Added the mushrooms a bit early, because fresh ones take a bit more cooking than canned.

Added the mushrooms a bit early, because fresh ones take a bit more cooking than canned.

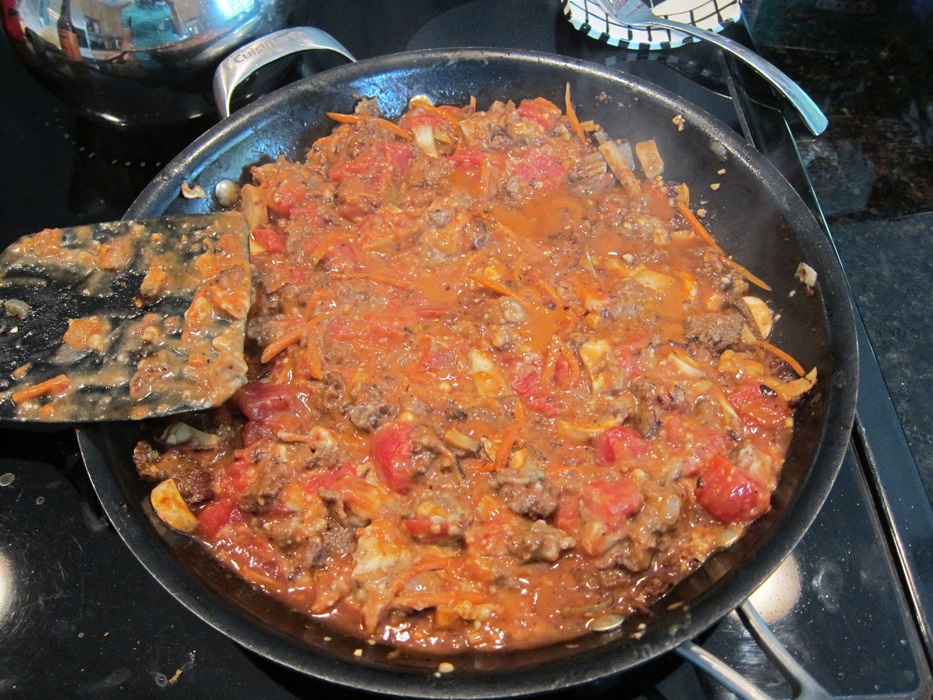
Add the tomatoes, tomato sauce, mushrooms, brown sugar, Worcestershire sauce, and cream of mushroom soup, and stir in evenly.

IMG_6439Cook over low heat until thickened, about 45 minutes.

Thick enough that the sauce doesn't fill back in.

Thick enough that the sauce doesn’t fill back in.

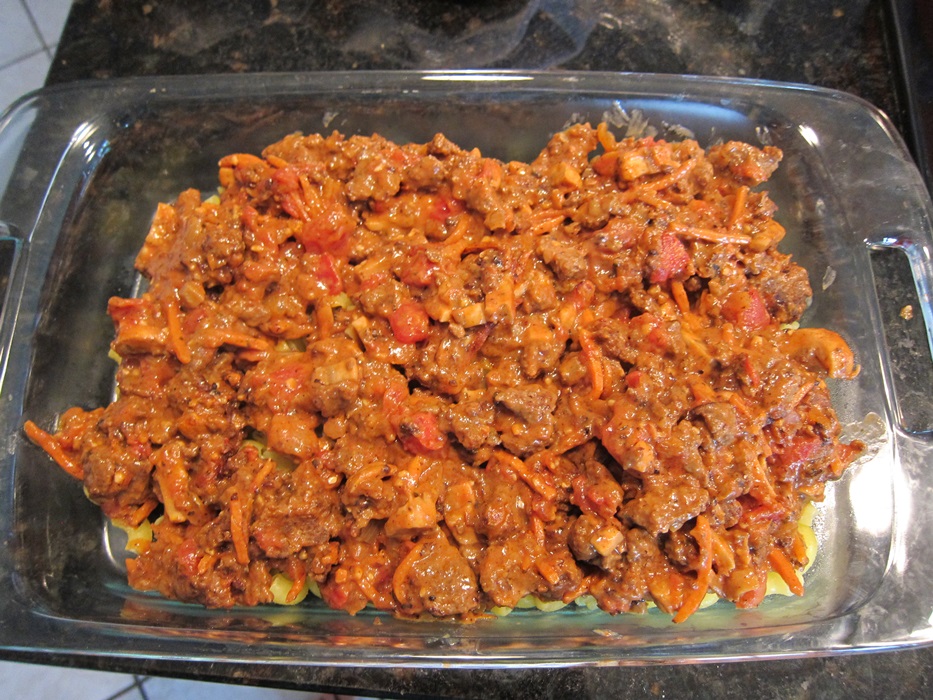
While the mixture thickens, boil the pasta according to package instructions and preheat the oven to 350 degrees. Grease the bottom of a 9X13″ baking dish. That wasn’t in the original recipe, but…would have been a good idea. Spread the pasta in the dish. (Whoops apparently you were supposed to have a cream of mushroom soup layer between the pasta and the beef mixture. Oh well, I liked it mixed into the sauce, so I’m leaving it there!) Spread the beef mixture over the pasta.

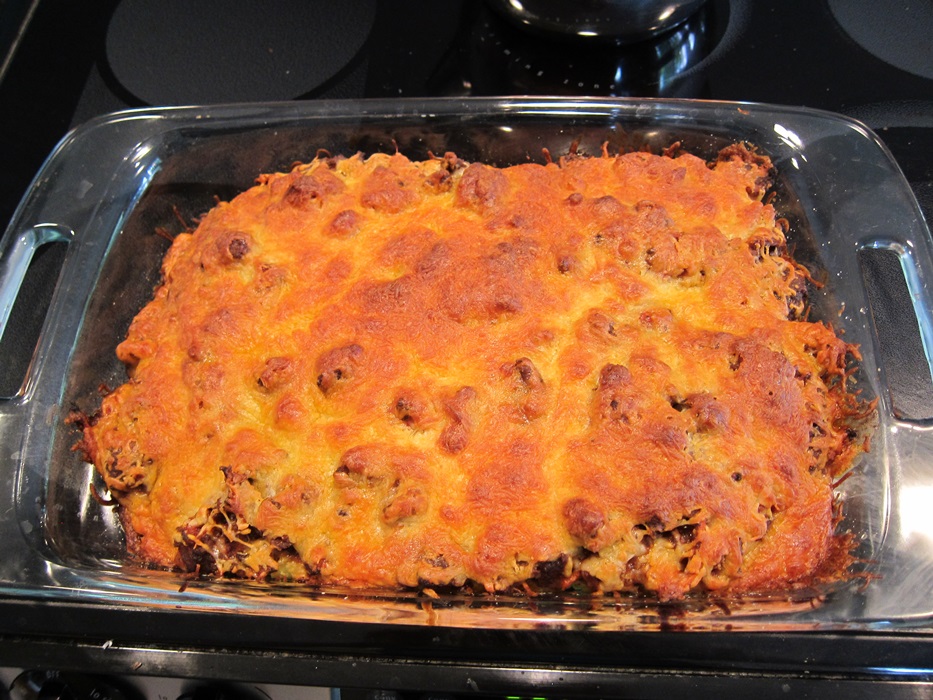
IMG_6442 IMG_6441Top with cheese, then bake until bubbly, about 45 minutes.

IMG_6443Toasty and filling, and I quite liked the flavor. Also, I  have a hard time saying no to anything topped in cheese!

Ground Beef Casserole

Just barely adapted from AllRecipes.

  • 1 1/2 pounds ground beef
  • salt and pepper to taste
  • 1/2 cup chopped yellow onion
  • 1/4 cup chopped green bell pepper
  • 1/4 cup chopped carrot
  • 1 15 ounce can diced tomatoes
  • 1 8 ounce can tomato sauce
  • 1 8 ounce can sliced mushrooms, drained
  • 1 tablespoon brown sugar
  • 2 tablespoons Worcestershire sauce
  • 1 8 ounce package bow tie pasta
  • 1 10.75 ounce can cream of mushroom soup
  • at least 1/4 pound shredded cheddar cheese

Cook the beef in a large skillet over medium high heat until browned and crumbly. Season with salt and pepper to taste. Drain excess grease, then add the onion, pepper, carrot, and garlic and cook, stirring occasionally, until the onion is lightly browned, about 15 minutes.

Add the tomatoes, tomato sauce, mushrooms, brown sugar, Worcestershire sauce, and cream of mushroom soup, and stir in evenly. Cook over low heat until thickened, about 45 minutes.

While the mixture thickens, boil the pasta according to package instructions and preheat the oven to 350 degrees. Spread the pasta along the bottom of a greased 9X13″ casserole dish. Spread the beef mixture over the pasta. Top with cheese, then bake until bubbly, about 45 minutes.

Posted in Dinner | Tagged , , , , | 2 Comments

Rice and Banana Muffins

The Feed Zone Cookbook is recipes designed originally for pro cyclists. It has lots of recipes meals for at home, but also “handhelds,” little things easy to wrap up and pack along on a ride. This is one of those!

IMG_6326The book has lots of recipes that use things like rice and chicken, and then other recipes that call for already cooked rice or chicken, with the intent that you make a bunch of extra in the first recipe, and can use it in the second.

Ingredients:

  • 2 cups cooked white rice
  • 2 eggs
  • 1 ripe banana
  • 2 tablespoons brown sugar
  • 1 tablespoon rice flour
  • 1/4-1/2 cup milk
  • pinch of salt
  • 1 teaspoon vanilla (optional)
  • 1 teaspoon cinnamon (optional)
  • half a banana for garnishing (optional)

Heat the oven to 325 degrees. Lightly grease a muffin tin.

Combine the rice, eggs, banana, brown sugar, flour, and salt in a blender or food processor. Add the vanilla and cinnamon, if desired. Process until smooth.

IMG_6319Slowly add 1/4 cup of milk, then as much of the remaining milk as necessary to get a thick batter. If you are using fresh (just cooked) rice, it should be moist enough that just the first 1/4 cup of milk should suffice. If the rice has been in the fridge several days and dried out, you will probably need to add more milk.

Scoop the batter into the greased muffin tin, filling each about half way. I forgot to put the cinnamon in earlier, so sprinkled a bit on top of each.

IMG_6320Slice the remaining half a banana and put a slice in the middle of each muffin, if desired.

IMG_6321Bake until firm in the center. The book said 15-20, mine took more like 23.

IMG_6322Let cool completely in the pan, then gently run a knife around the edge of each muffin to pry out. I had greased heavily enough that they all just came out without any prying at all. Store in the fridge.

IMG_6324I brought these on a ride on Tuesday, and thought the texture was a bit squishy after refrigeration, but I never got tired or ran out of energy on the ride. (I mean, I may have gone massively slow and been out of air the whole time, but that’s a separate problem…)

Rice and Banana Muffins

From The Feed Zone Cookbook.

  • 2 cups cooked white rice
  • 2 eggs
  • 1 ripe banana
  • 2 tablespoons brown sugar
  • 1 tablespoon rice flour
  • 1/4-1/2 cup milk
  • pinch of salt
  • 1 teaspoon vanilla (optional)
  • 1 teaspoon cinnamon (optional)
  • half a banana for garnishing (optional)

Heat the oven to 325 degrees. Lightly grease a muffin tin.

Combine the rice, eggs, banana, brown sugar, flour, and salt in a blender or food processor. Add the vanilla and cinnamon, if desired. Process until smooth. Slowly add 1/4 cup of milk, then as much of the remaining milk as necessary to get a thick batter.

Scoop the batter into the greased muffin tin, filling each about half way. Slice the remaining half a banana and put a slice in the middle of each muffin, if desired.

Bake until firm in the center. The book said 18-23.

Let cool completely in the pan, then gently run a knife around the edge of each muffin to pry out. Store in the fridge.

Posted in Energy Food, Snack | Tagged , , , | 3 Comments

Chocolate Chip Cookie Dough Fudge

Because the cookie dough frosting last week wasn’t enough? This week it’s cookie dough fudge. Who doesn’t want that?

IMG_6329Ingredients:

  • 1 3/4 cup sugar
  • 3/4 cup dark brown sugar
  • 1/2 cup cream
  • 1/4 cup milk
  • 1 tablespoon corn syrup
  • 3/4 teaspoon kosher salt
  • 2 tablespoons unsalted butter
  • 1 teaspoon vanilla
  • 1/2 cup flour (I used all-purpose gluten-free flour)
  • 1/3 cup semi-sweet chocolate chips

Combine the sugars, cream, milk, corn syrup, and salt in a 3 quart saucepan over medium heat.

IMG_6312Bring to a boil, stirring occasionally at first, frequently once hot, until 242 degrees.

IMG_6313Remove from the heat and add the butter, vanilla, and flour, stirring until well mixed.

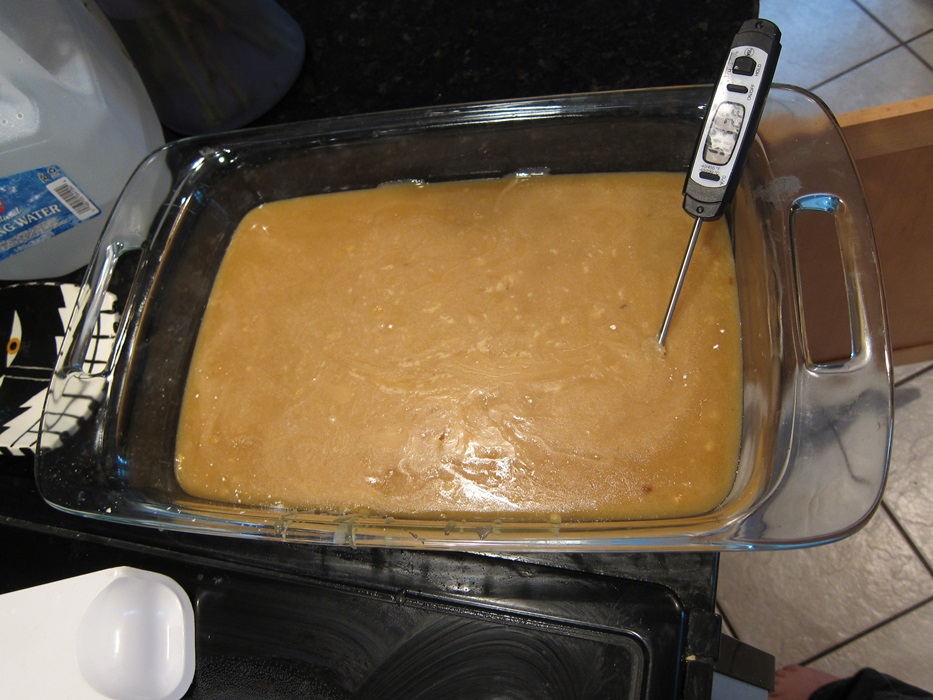
IMG_6314Pour into a 9X13″ dish, and let cool at room temperature about 20 minutes, until cooled to 110 degrees. While you wait, grease an 8X8″ pan.

IMG_6315Scrape the cooled mixture out of the pan, and into a mixing bowl.

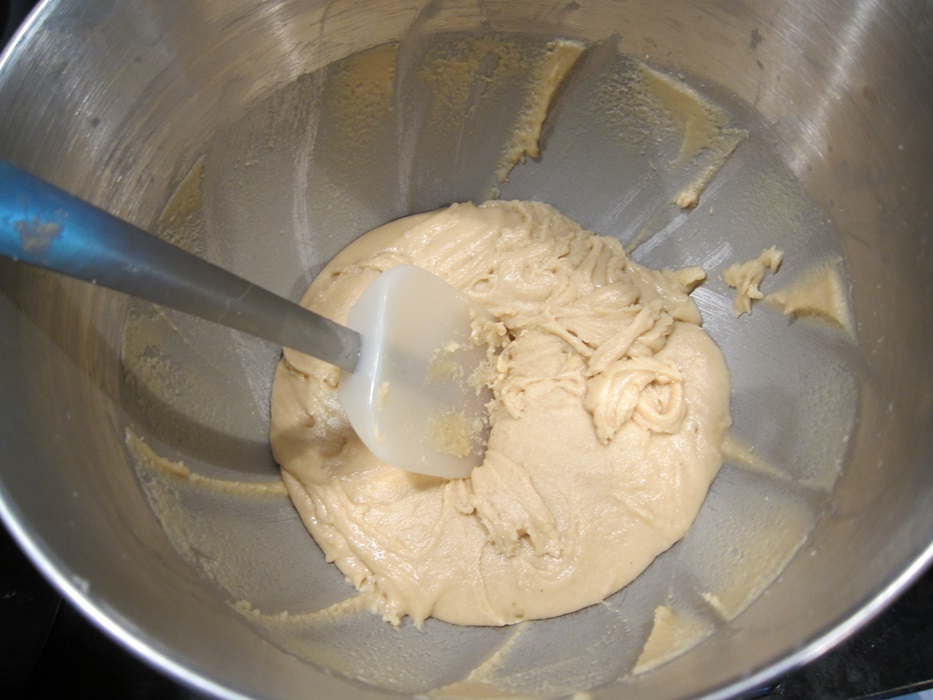
IMG_6316Beat on medium speed until somewhat thickened and lighter in color , about 5 minutes. I found that mine still looked gloopy then, but when I scraped the sides of the bowl it was actually firmer than it appeared.

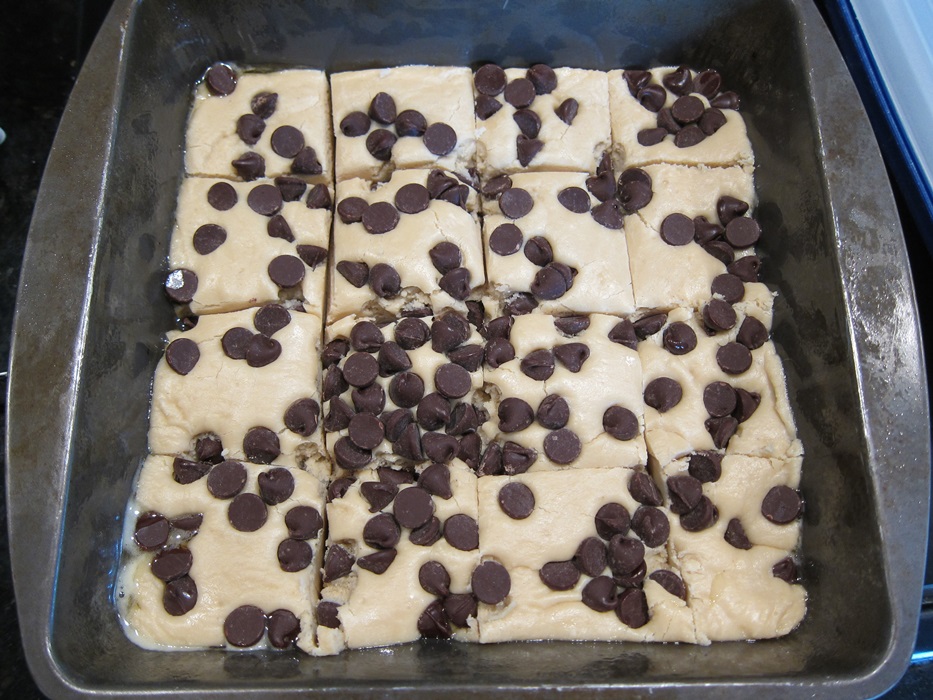
IMG_6317Transfer the mixture to the greased 8X8″ dish, spread evenly, and lightly press the chocolate chips into the top.

IMG_6318Chill at least 2 hours, then cut into pieces. I think this one should probably kept in the fridge to keep it firm.

IMG_6328For at my hockey team, this was the 2nd favorite of the ~50 things I’ve brought to a game, right behind the brown sugar cookies.

Chocolate Chip Cookie Dough Fudge

From Bake at 350.

  • 1 3/4 cup sugar
  • 3/4 cup dark brown sugar
  • 1/2 cup cream
  • 1/4 cup milk
  • 1 tablespoon corn syrup
  • 3/4 teaspoon kosher salt
  • 2 tablespoons unsalted butter
  • 1 teaspoon vanilla
  • 1/2 cup flour
  • 1/3 cup semi-sweet chocolate chips

Combine the sugars, cream, milk, corn syrup, and salt in a 3 quart saucepan over medium heat. Bring to a boil, stirring occasionally at first, frequently once hot, until the mixture reaches 242 degrees.

Remove from the heat and add the butter, vanilla, and flour, stirring until well mixed. Pour into a 9X13″ dish, and let cool at room temperature about 20 minutes, until cooled to 110 degrees. While you wait, grease an 8X8″ pan.

Scrape the cooled mixture out of the pan, and into a mixing bowl. Beat on medium speed until somewhat thickened and lighter in color, about 5 minutes. Transfer to the greased 8X8″ dish, spread evenly, and lightly press the chocolate chips into the top.

Chill at least 2 hours, then cut into pieces. Store uneaten fudge in the fridge.
Posted in Dessert | Tagged , , | Leave a comment

Chocolate Ricotta Mousse

More frequently than you’d expect, we end up with half of a 64 ounce tub of ricotta slowly aging in the fridge. Solved that problem today, by making this!
IMG_6308Ingredients:

  • 2 cups room temperature ricotta cheese
  • 2-3 tablespoons powdered sugar
  • 4 ounces semi-sweet chocolate

Combine the ricotta and 2 tablespoons powdered sugar in a food processor. Process continuously while you melt the chocolate in 30 second bursts in the microwave. Add the melted chocolate.

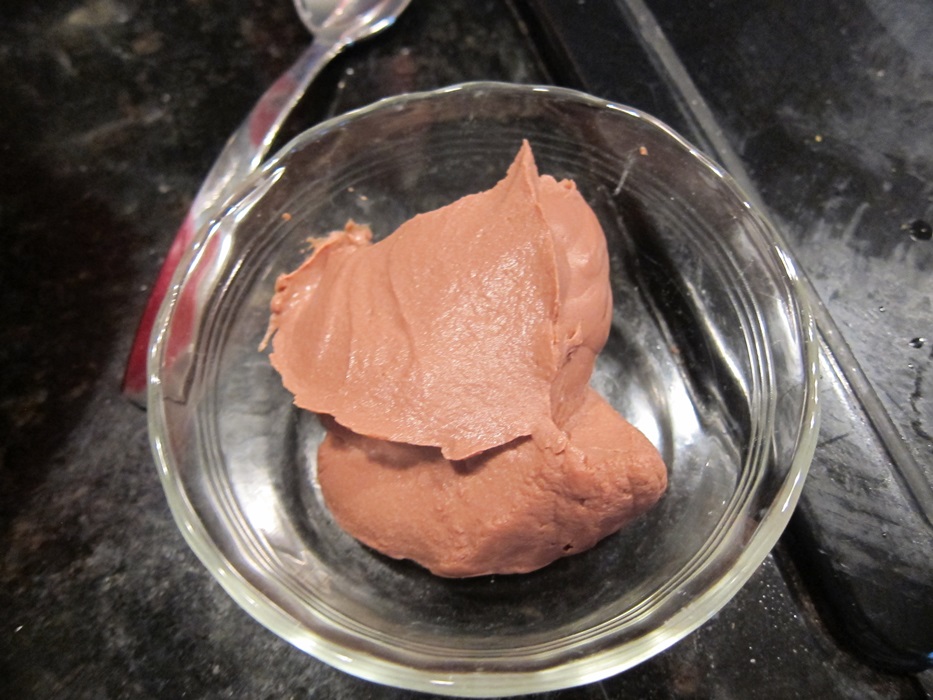
IMG_6306Process until well mixed, then taste. Add additional powdered sugar, if desired, and blend in.

IMG_6307Transfer to a bowl and refrigerate until chilled.

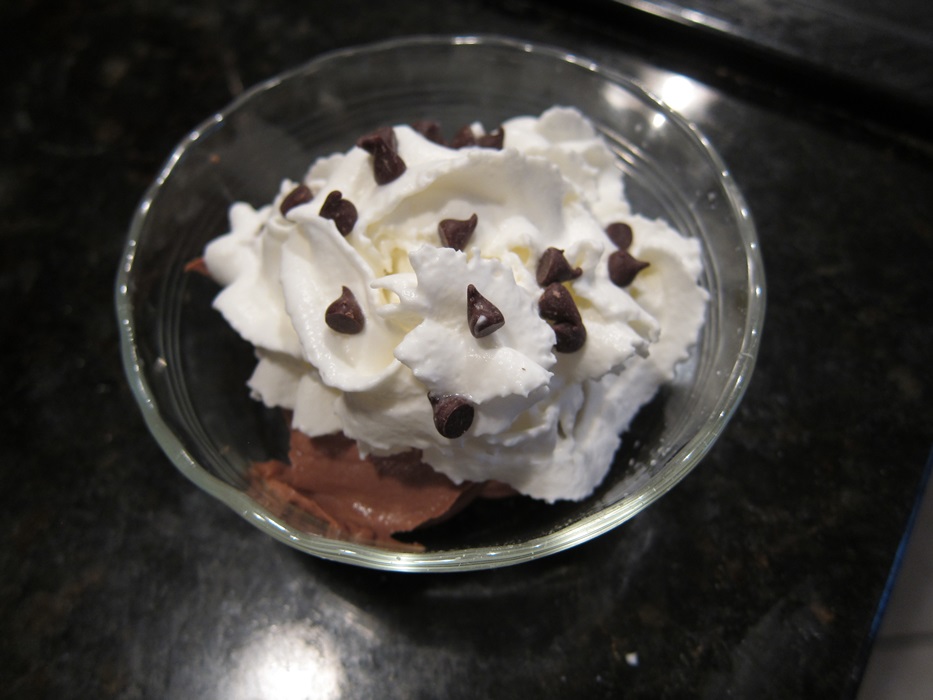
IMG_6311Serve garnished with whipped cream, additional chocolate, or anything else as desired.

IMG_6310This is a bit thicker than I generally think of mousse, but it’s nice, filling, and chocolatey. Make sure at the start that your ricotta is actually room temperature, or close to it, as cold ricotta will make the chocolate seize up and the mixture won’t blend as smoothly.

Chocolate Ricotta Mousse

Adapted from Real Simple Recipes.

  • 2 cups room temperature ricotta cheese
  • 2-3 tablespoons powdered sugar
  • 4 ounces semi-sweet chocolate

Combine the ricotta and 2 tablespoons powdered sugar in a food processor. Process continuously while you melt the chocolate in 30 second bursts in the microwave. Add the melted chocolate. Process until well mixed, adding the remaining powdered sugar if desired.

Transfer to a bowl and refrigerate until chilled. Serve garnished with whipped cream, additional chocolate, or anything else as desired.

Posted in Dessert | Tagged , , | Leave a comment

Chocolate Chip Cookie Bars with Cookie Dough Frosting

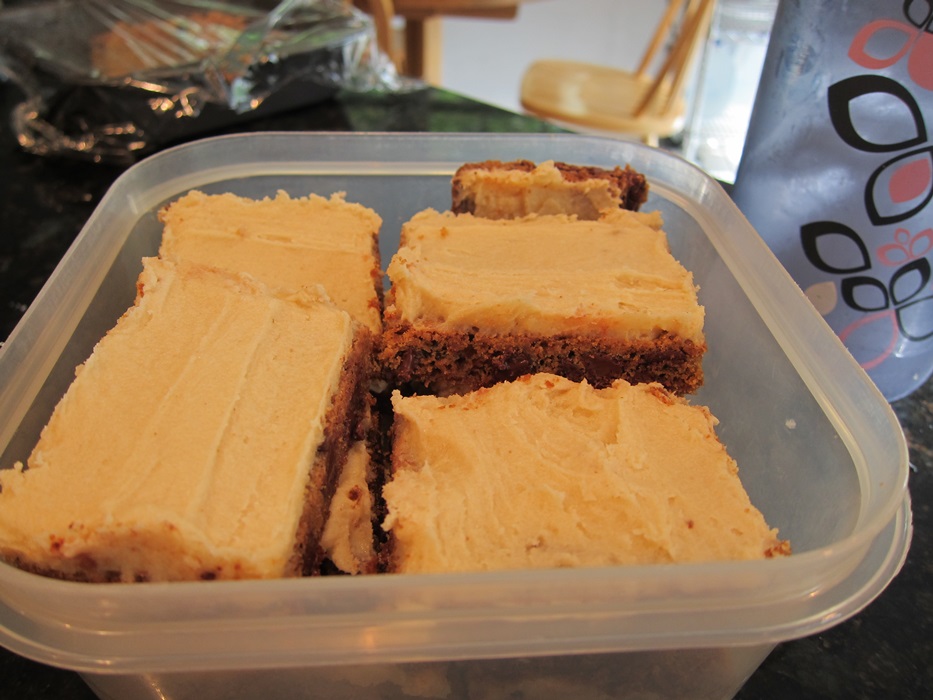
I know I’m generally pretty positive about the things I post, not surprisingly, but this is by far the best thing I’ve made/eaten in months. The frosting is SO GOOD! I have eaten a pretty alarming amount of this in the past few days. Not feeling bad about it.

Packed for hockey, where they were popular.

Packed for hockey, where they were popular.

Ingredients:

Chocolate Chip Cookie Bars:

  • 2 1/4 cups all-purpose flour
  • 1 teaspoon baking soda
  • 1 teaspoon salt
  • 2 sticks unsalted butter, at room temperature
  • 3/4 cup granulated sugar
  • 3/4 cup packed brown sugar
  • 1 teaspoon vanilla extract
  • 2 large eggs
  • 2 cups semi-sweet chocolate chips

Cookie Dough Frosting:

  • 2 sticks unsalted butter, at room temperature
  • 1/2 cup light brown sugar, packed
  • 2 1/3 cups powdered sugar
  • 2/3 cup all-purpose flour
  • 1/2 teaspoon salt
  • 2 tablespoons milk or cream
  • 2 teaspoons vanilla extract

To make the bars, preheat the oven to 375 degrees. Grease a 15X10″ jelly roll pan.

Whisk together the flour, baking soda, and salt in a medium bowl and set aside.

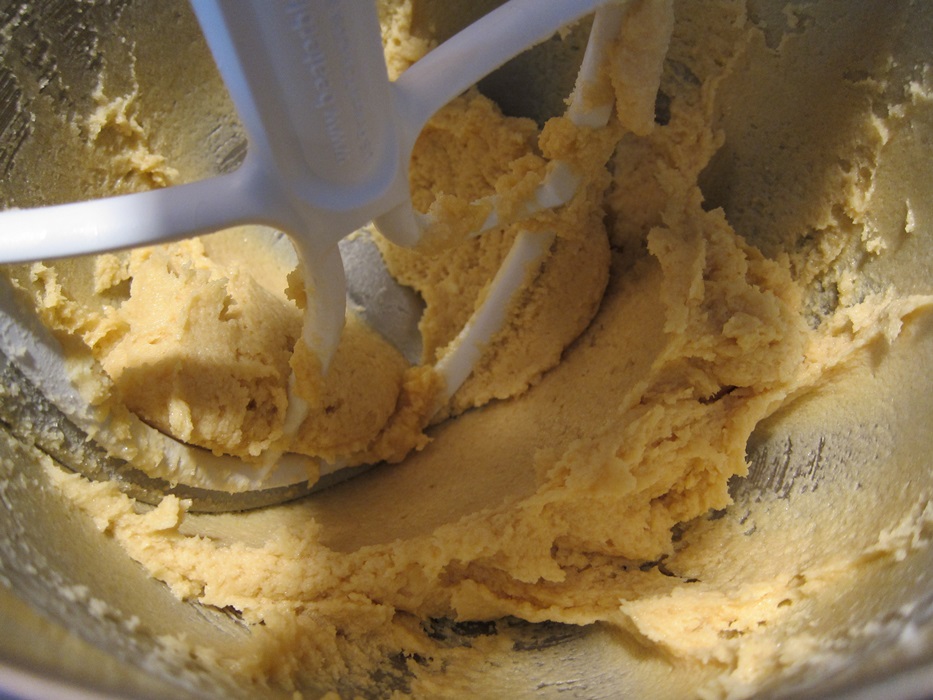
Cream together the butter, sugars, and vanilla.

IMG_6146Add the eggs one at a time, beating after each.

IMG_6147Gradually beat in the flour mixture on low speed.

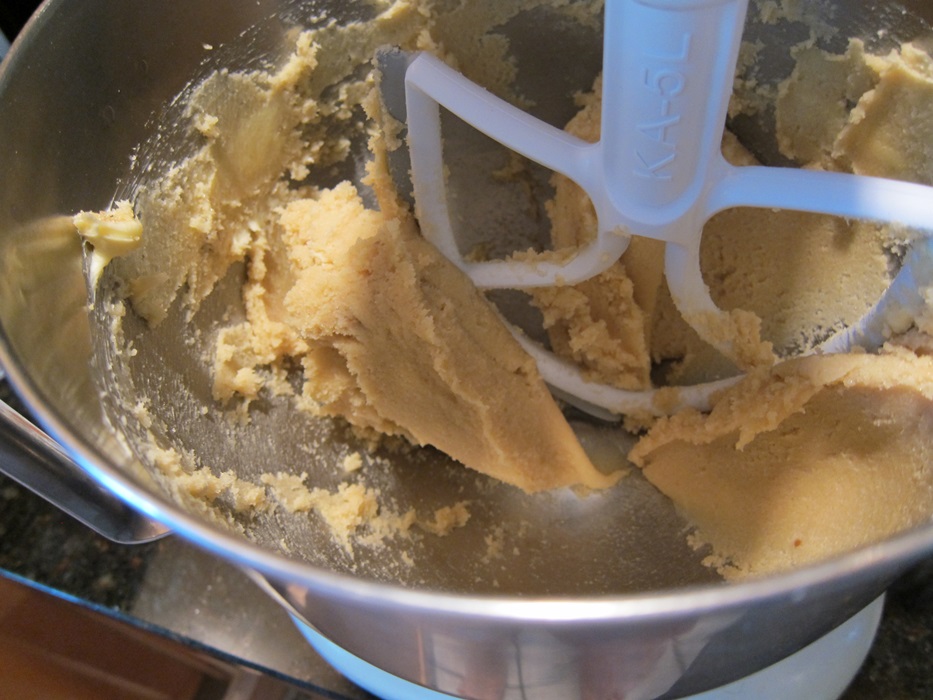
IMG_6148Beat in the chocolate chips, then spread into the greased pan. I found it helpful to grease a spatula (several times) and then use that to spread the dough.

IMG_6149Don’t worry if you can’t make it reach quite to all the corners, it grows to fit while it bakes.

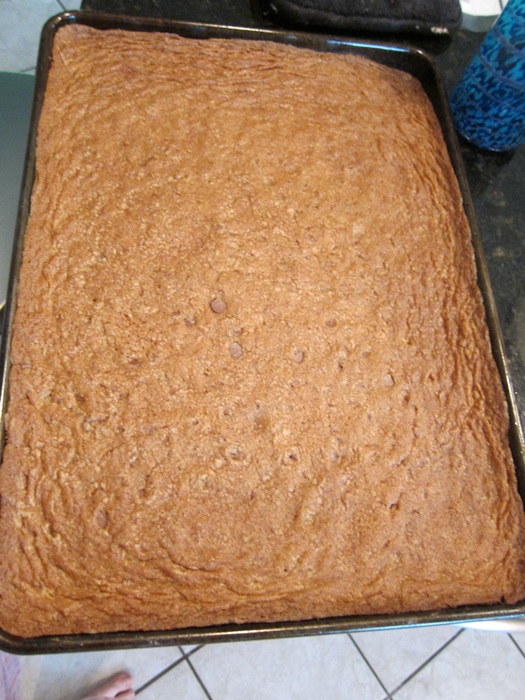
Bake 20-25 minutes, until golden brown.

IMG_6151Cool in the pan, then remove from the pan, ideally onto a large cutting board. If you just slightly twist the pan, like you would an ice cube tray, the cookie should pop out easily enough.

Got some powdered sugar on it already. Whoops!

Got some powdered sugar on it already. Whoops!

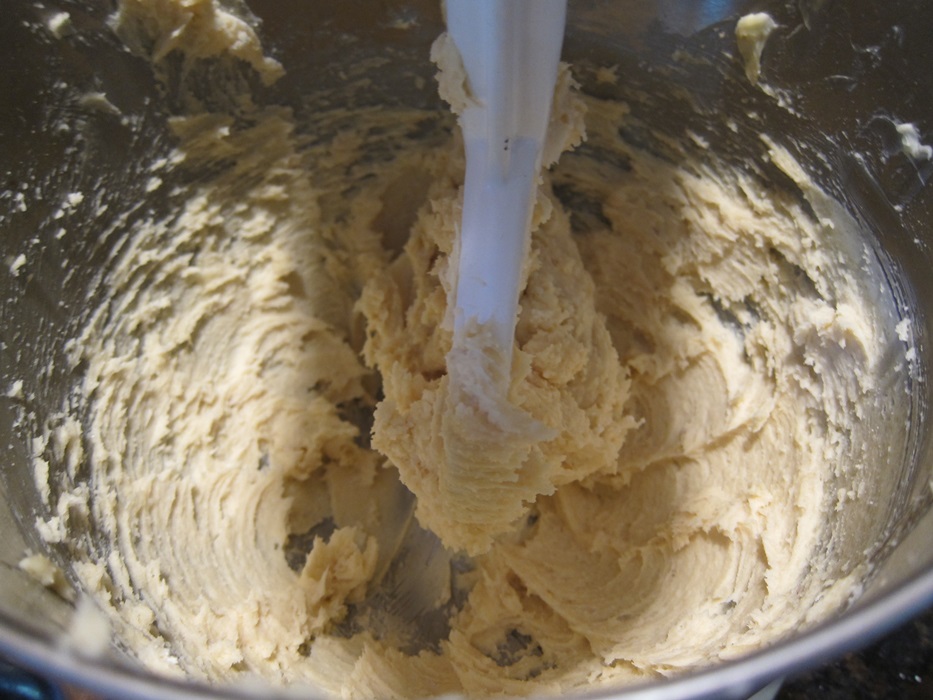
To make the frosting, beat together the butter and brown sugar until creamy. Beat in the powdered sugar, then the flour and salt. Finally, beat in the milk and vanilla until smooth.

IMG_6153Spread on the cooled bar. The frosting was slightly thick for super smooth spreading, so I again greased a spatula and spread it without much trouble.

IMG_6154

Shoulda added sprinkles, just for looks. Oh well.

Cut into bars, and then just try to stop yourself from eating the entire thing immediately!

This really is a fabulous frosting, and a delicious cookie bar underneath. I massively highly recommend trying them immediately!

Chocolate Chip Cookie Bars with Cookie Dough Frosting

From one curly fry in a box of the regular.

Chocolate Chip Cookie Bars:

  • 2 1/4 cups all-purpose flour
  • 1 teaspoon baking soda
  • 1 teaspoon salt
  • 2 sticks unsalted butter, at room temperature
  • 3/4 cup granulated sugar
  • 3/4 cup packed brown sugar
  • 1 teaspoon vanilla extract
  • 2 large eggs
  • 2 cups semi-sweet chocolate chips

Cookie Dough Frosting:

  • 2 sticks unsalted butter, at room temperature
  • 1/2 cup light brown sugar, packed
  • 2 1/3 cups powdered sugar
  • 2/3 cup all-purpose flour
  • 1/2 teaspoon salt
  • 2 tablespoons milk or cream
  • 2 teaspoons vanilla extract

To make the bars, preheat the oven to 375 degrees. Grease a 15X10″ jelly roll pan. Whisk together the flour, baking soda, and salt in a medium bowl and set aside.

Cream together the butter, sugars, and vanilla. Add the eggs one at a time, beating after each. Gradually beat in the flour mixture on low speed. Beat in the chocolate chips, then spread into the greased pan.

Bake 20-25 minutes, until golden brown. Cool in the pan, then remove onto a large cutting board.

To make the frosting, beat together the butter and brown sugar until creamy. Beat in the powdered sugar, then the flour and salt. Finally, beat in the milk and vanilla until smooth. Spread on the cooled bar, then cut into pieces.

Posted in Dessert | Tagged , , , , | 1 Comment

Gluten-Free Cinnamon-Streusel Sour Cream Coffee Cake

This one uses boxed (gluten-free) cake mix, so you know it can’t be too complex. It makes two light coffee cakes that freeze well if you think you won’t get through both quickly enough. We talked about freezing one, but within 5 hours of coming out of the oven, the first one was nearly gone, so didn’t bother.

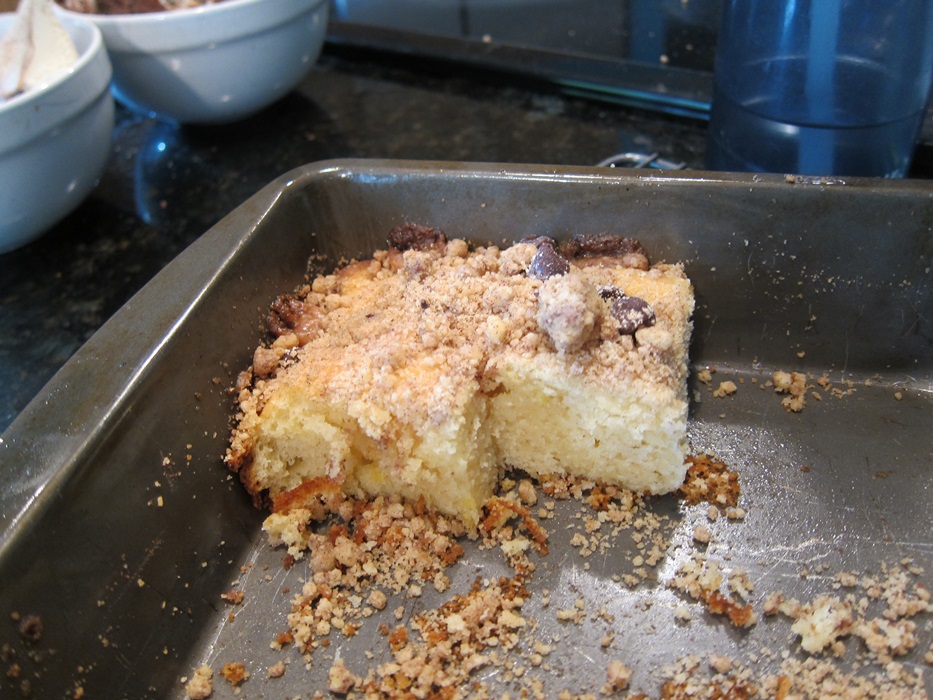
All that remained of the first cake after an afternoon.

All that remained of the first cake after an afternoon.

Ingredients:

Streusel Topping:

  • 1/4 cup King Arthur Gluten-Free Yellow Cake Mix
  • 1/4 cup cornstarch
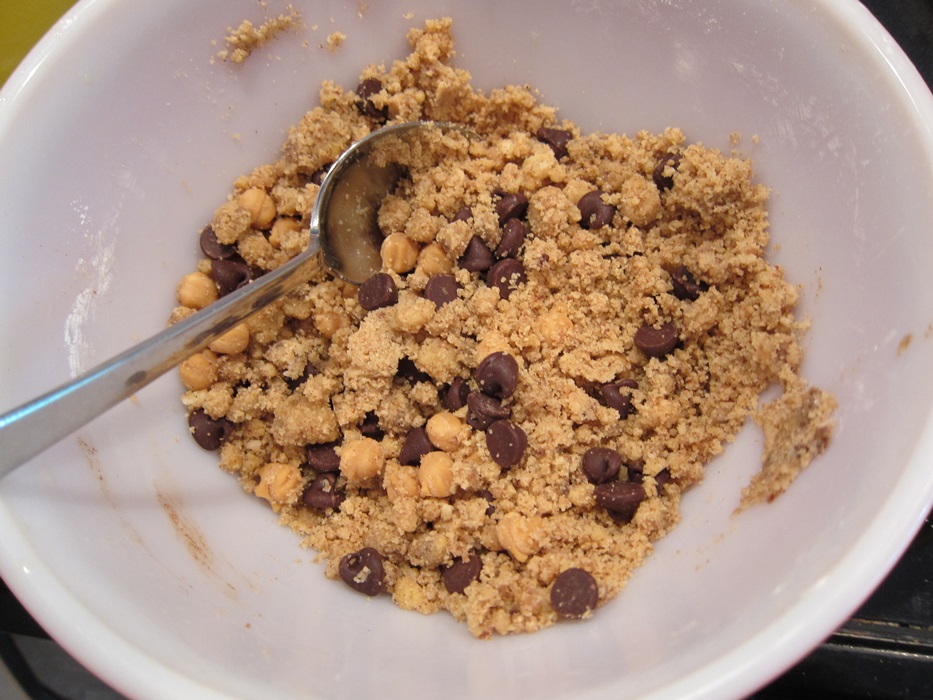
  • 3/4 cup chopped nuts (I used chocolate chips and caramel bits, and rounded up a bit)
  • 1/4 cup brown sugar
  • 1 teaspoon ground cinnamon
  • 1/8 teaspoon salt
  • 2 to 3 tablespoons melted butter

Cake:

  • 1 cup sour cream
  • 5 tablespoons vegetable oil
  • 4 large eggs
  • 1 box King Arthur Gluten-Free Yellow Cake Mix (less the 1/4 cup used in the streusel)

If you try another brand’s cake mix, keep in mind that King Arthur’s is 22 ounces, and many others seem to have less, so you’ll need more than one package of someone else’s.

Preheat the oven to 350 degrees and grease two 8X8″ pans.

In a medium bowl, stir together the streusel ingredients.

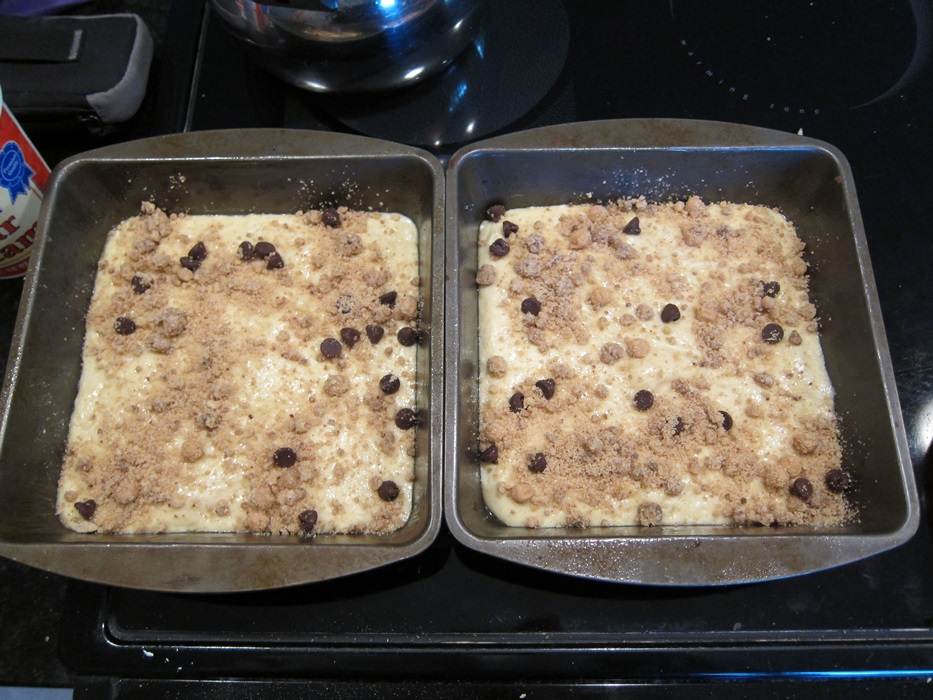
IMG_6134In a large bowl, stir together the sour cream, oil, and eggs. Add the cake mix, stirring until smooth.

IMG_6135Divide the batter between the two pans and spread to smooth. Top each with 1/4 of the streusel mixture.

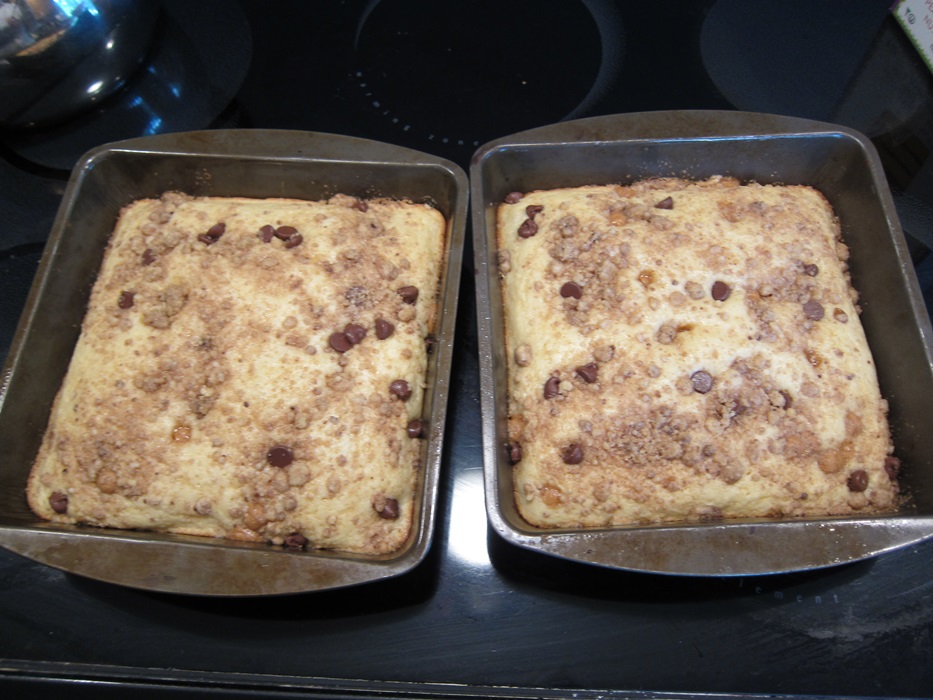
IMG_6136Bake 20 minutes.

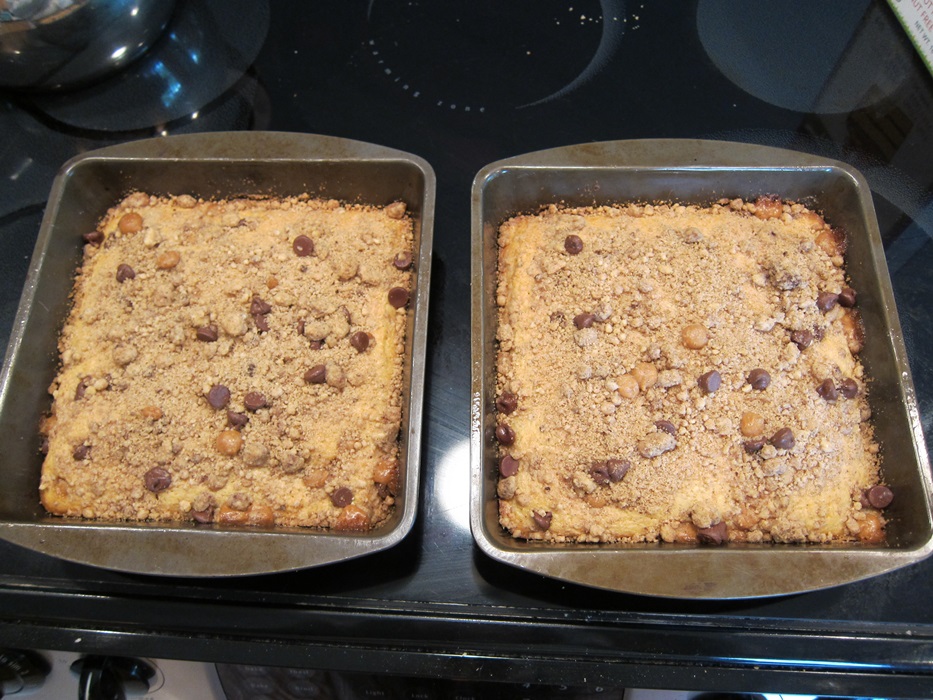
IMG_6137Sprinkle with the remaining streusel, then bake another 10-15 minutes, until brown and firm to the touch. If you have a food thermometer, the middles should be 210-212 degrees.

IMG_6138Let cool in the pans at least 10 minutes before eating.

Although we didn’t freeze either, if you do, to thaw a frozen cake cover it with foil and bake at 350 for 25 minutes.

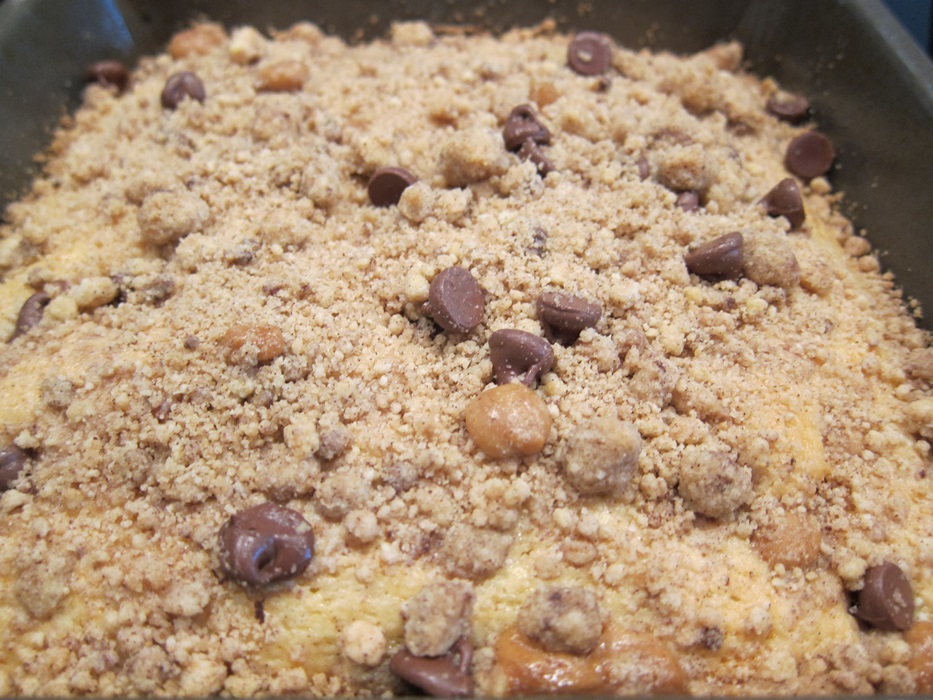
IMG_6139The only thing I can think of to make it even better would be to double the amount of streusel, and make a layer in the middle of each cake. Something to think about, anyway!

Gluten-Free Cinnamon-Streusel Sour Sour Cream Coffee Cake

From King Arthur Flour.

Streusel Topping:

  • 1/4 cup King Arthur Gluten-Free Yellow Cake Mix
  • 1/4 cup cornstarch
  • 3/4 cup chopped nuts or chocolate bits
  • 1/4 cup brown sugar
  • 1 teaspoon ground cinnamon
  • 1/8 teaspoon salt
  • 2 to 3 tablespoons melted butter

Cake:

  • 1 cup sour cream
  • 5 tablespoons vegetable oil
  • 4 large eggs
  • 1 box King Arthur Gluten-Free Yellow Cake Mix (less the 1/4 cup used in the streusel)

Preheat the oven to 350 degrees and grease two 8X8″ pans.

In a medium bowl, stir together the streusel ingredients.

In a large bowl, stir together the sour cream, oil, and eggs. Add the cake mix, stirring until smooth. Divide the batter between the two pans and spread to smooth. Top each with 1/4 of the streusel mixture.

Bake 20 minutes, then sprinkle with the remaining streusel and bake another 10-15 minutes, until brown and firm to the touch and 210-212 degrees in the center.

Let cool in the pans at least 10 minutes before eating.

To thaw a frozen cake, cover it with foil and bake at 350 for 25 minutes.

Posted in Breakfast, Brunch | Tagged , , , | Leave a comment

Gluten-Free Fudgy Brownie Cupcakes

This was my second attempt at gf brownie cupcake things, and this one was much better! (No, you didn’t miss the first one, it didn’t even get posted. Blech.) It’s plenty chocolatey, and doesn’t have any gritty/grainy-ness some gf baked goods have. Delightful. These are a grand base for brownie sundaes!

IMG_6141Ingredients:

  • 3 ounces semi-sweet Baker’s chocolate
  • 2 ounces unsweetened Baker’s chocolate
  • 1/2 cup canola oil
  • 1 cup light brown sugar
  • 1/2 cup hazelnut or almond flour
  • 1/4 cup sorghum flour (I made and subbed oat flour, which the internet tells me has a similar texture)
  • 1/2 teaspoon fine sea salt
  • 1/2 teaspoon baking powder
  • 2 eggs, beaten
  • 1 tablespoon vanilla extract
  • 1/2 cup dark chocolate chips

Preheat your oven to 350 degrees. Line a cupcake pan with papers, and grease the top. (In the post I was following, the brownies stayed in their cups, but mine grew out and stuck slightly to the top of the pan, so why not avoid that?!)

Carefully melt the semi-sweet and unsweetened chocolate over low heat or in the microwave. Once melted, stir in the oil.

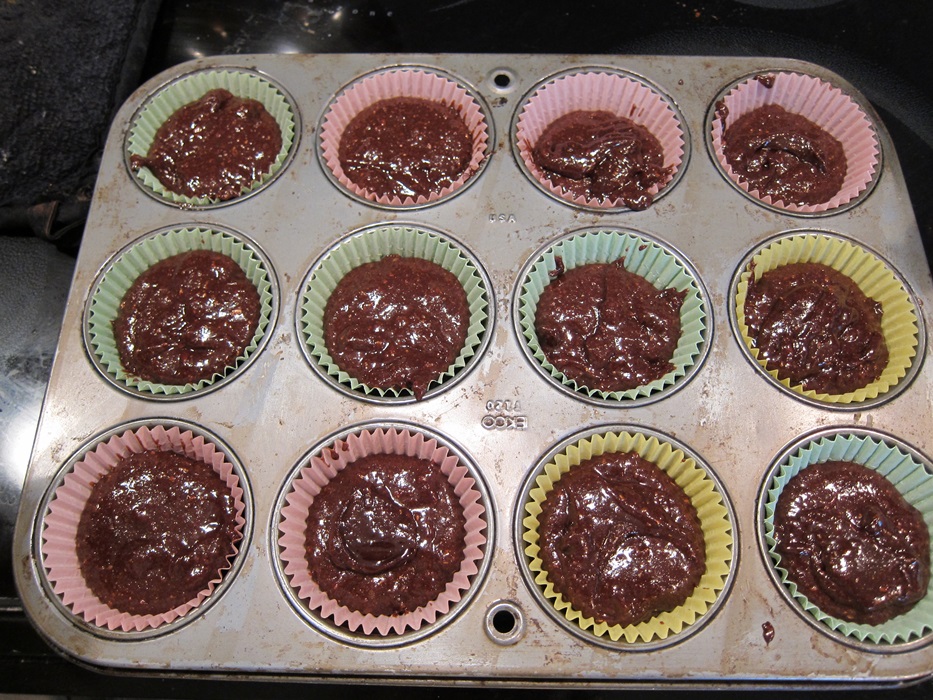
IMG_6098While the chocolate melts, whisk together the sugar, flours, salt, and baking soda.

IMG_6096Whisk in the chocolate mixture, eggs, and vanilla, and continue stirring for about 2 minutes, until the batter is thick, smooth, and glossy.

IMG_6099Stir in the chocolate chips, then spoon into the lined cupcake pan.

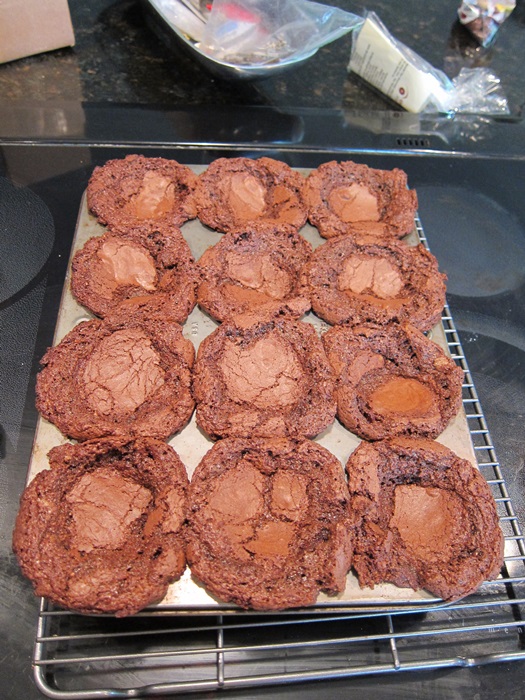
IMG_6101Bake 22 minutes, or until cracked and somewhat fallen in the centers.

IMG_6102If, like mine, yours have expanded well beyond their little cups, cool in the pan (or put directly under ice cream!), but if they can be removed easily, cool on a wire rack. These are actually pretty nice still warm, with the chocolate chips still gooey amid all the other chocolate. Yum.

Gluten-Free Fudgy Brownie Cupcakes

From Gluten Free Goddess.

  • 3 ounces semi-sweet Baker’s chocolate
  • 2 ounces unsweetened Baker’s chocolate
  • 1/2 cup canola oil
  • 1 cup light brown sugar
  • 1/2 cup hazelnut or almond flour
  • 1/4 cup sorghum flour
  • 1/2 teaspoon fine sea salt
  • 1/2 teaspoon baking powder
  • 2 eggs, beaten
  • 1 tablespoon vanilla extract
  • 1/2 cup dark chocolate chips

Preheat your oven to 350 degrees. Line a cupcake pan with papers, and grease the top.

Carefully melt the semi-sweet and unsweetened chocolate over low heat or in the microwave. Once melted, stir in the oil.

While the chocolate melts, whisk together the sugar, flours, salt, and baking soda. Whisk in the melted chocolate, eggs, and vanilla, and continue stirring for about 2 minutes, until the batter is thick, smooth, and glossy. Stir in the chocolate chips, then spoon into the lined cupcake pan.

Bake 22 minutes, or until cracked and somewhat fallen in the centers. Cool on a wire rack,  or in the pan if they are not easily moveable.

Posted in Dessert | Tagged , , , , | 2 Comments

Orange Bars

I bookmarked this one some incomprehensible number of years ago after a search for picnic-able desserts, but never got around to it until this week. Sadly, I did not take this on a picnic, but if it’s less rainy where you are, you sure could!

Ingredients:

Crust:

  • 1 cup all-purpose flour
  • 1/2 cup powdered sugar
  • 1 stick unsalted butter

Filling:

  • 2 eggs, lightly beaten
  • 1 cup sugar
  • 1 tablespoon all-purpose flour
  • 1/4 cup orange juice
  • zest from 1 orange
  • extra powdered sugar, optional

Preheat your oven to 375 degrees and grease an 8X8″ pan.

Stir together the flour and powdered sugar of the crust, then cut in the butter until only small pieces remain. Press firmly and evenly into the pan.

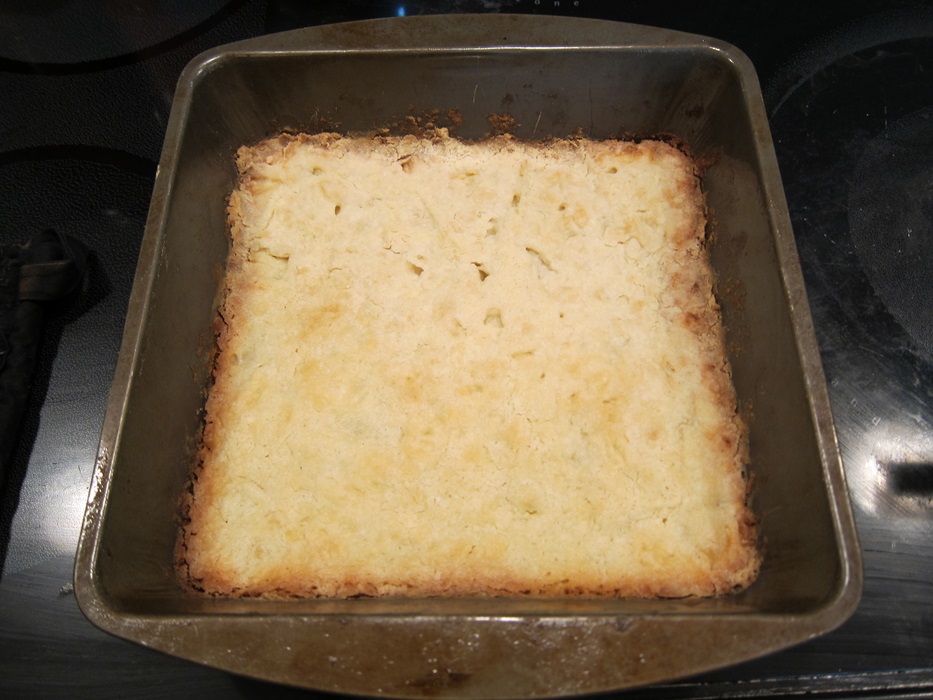
IMG_6092Bake 20 minutes.

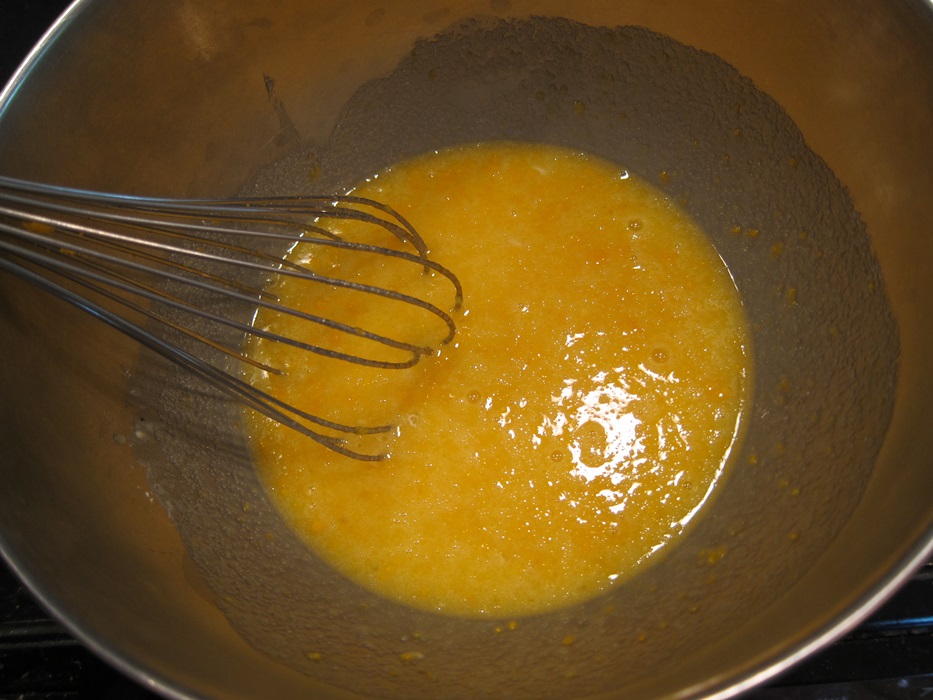
IMG_6094While the crust bakes, whisk together the eggs, sugar, flour, juice, and zest.

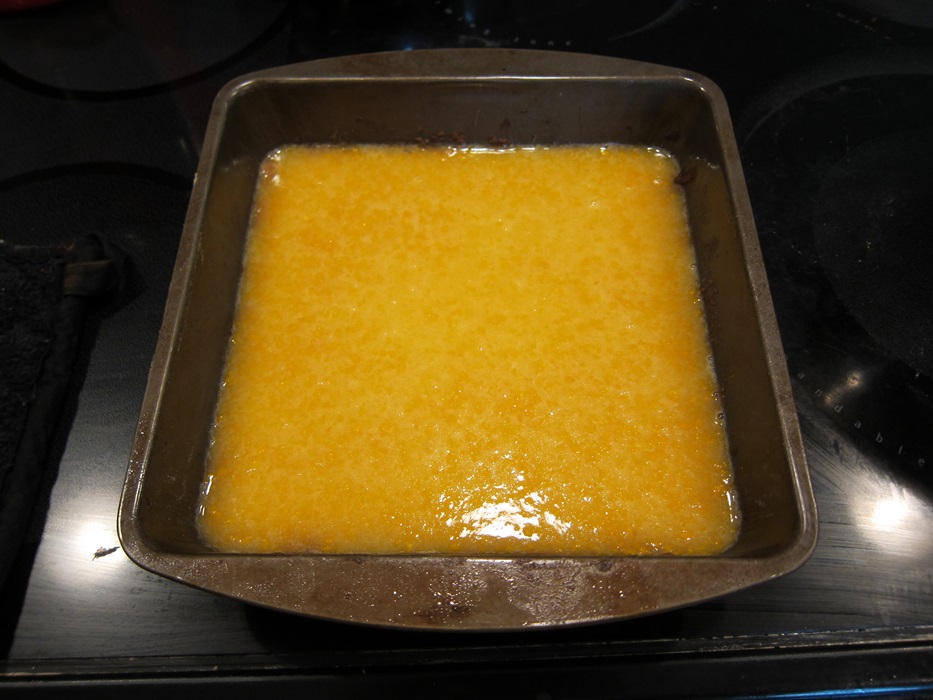
IMG_6093Pour the mixture over the baked crust.

IMG_6095Bake 20-25 minutes, until set. The middle of mine was still jiggly at 20, but set at 25.

IMG_6097Sprinkle with extra powdered sugar, if desired, then let cool completely in the pan before cutting into bars and serving.

IMG_6103Orange Bars

From Cooking.com.

Crust:

  • 1 cup all-purpose flour
  • 1/2 cup powdered sugar
  • 1 stick unsalted butter

Filling:

  • 2 eggs, lightly beaten
  • 1 cup sugar
  • 1 tablespoon all-purpose flour
  • 1/4 cup orange juice
  • zest from 1 orange
  • extra powdered sugar, optional

Preheat your oven to 375 degrees and grease an 8X8″ pan.

Stir together the flour and powdered sugar of the crust, then cut in the butter until only small pieces remain. Press firmly and evenly into the pan, and bake for 20 minutes.

While the crust bakes, whisk together the eggs, sugar, flour, juice, and zest.

Pour the mixture over the baked crust and bake again, 20-25 minutes, until set. Sprinkle with extra powdered sugar, if desired, then let cool completely in the pan before cutting into bars and serving.

Posted in Dessert | Tagged , , | Leave a comment

Baked Quinoa Chicken Parmesan

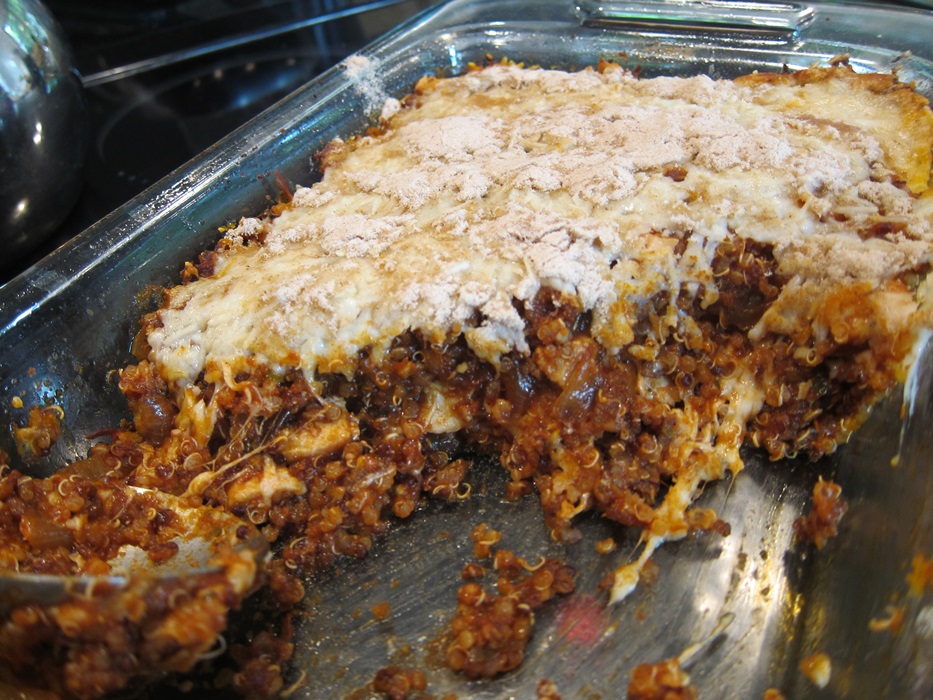
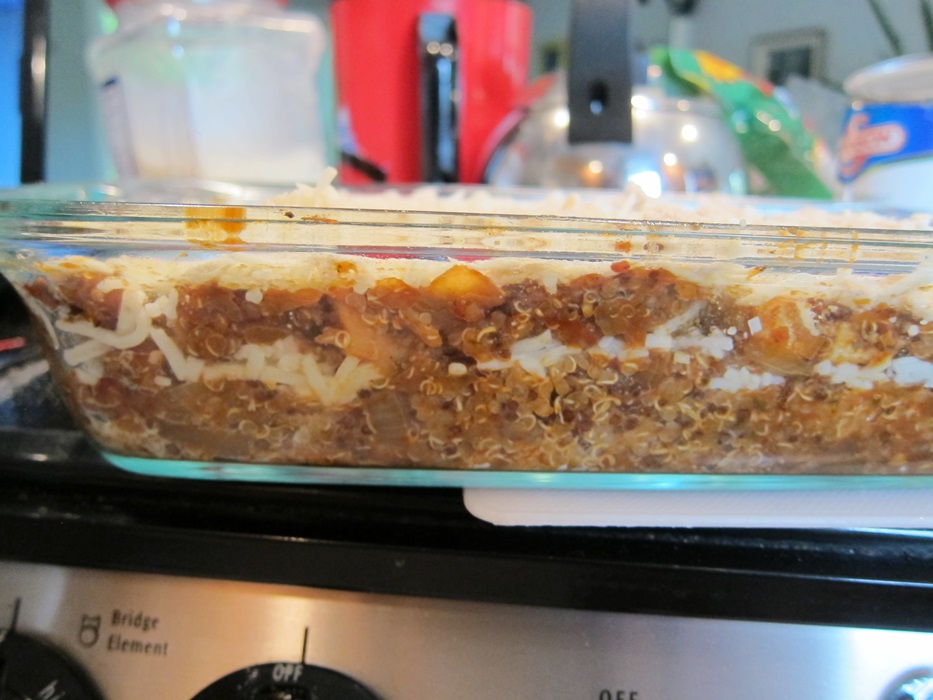
In so many quinoa-based dishes, I like it at first but get sick of the texture halfway through the meal. With this one, though, that never became an issue. I don’t know if it’s because the quinoa is cooked twice, and gets softer, or something about being so mixed in a sauce, but this is a quinoa dish that doesn’t make you tired of quinoa.

IMG_6091Ingredients:

  • 1 tablespoon olive oil
  • 1 medium onion, finely chopped
  • 3 garlic cloves, minced
  • 2 tablespoons balsamic vinegar
  • 1 (15 oz) can tomato sauce
  • 1 (15 oz) can diced tomatoes (didn’t have this, so just used more tomato sauce)
  • 1/4 teaspoon red pepper flakes
  • 1/2 teaspoon dried basil
  • 1/2 teaspoon dried oregano
  • pinch each salt and pepper
  • 1 cup quinoa
  • 2 cups low-sodium chicken broth
  • 1 lb boneless, skinless chicken breasts, cooked and cut into bite-size pieces
  • 1 cup shredded part-skim mozzarella cheese, divided
  • 2 tablespoons grated Parmesan cheese
  • 2 tablespoons panko breadcrumbs (I used gluten-free brown rice ‘bread’ crumbs)
  • 2 tablespoons chopped fresh parsley (didn’t bother)

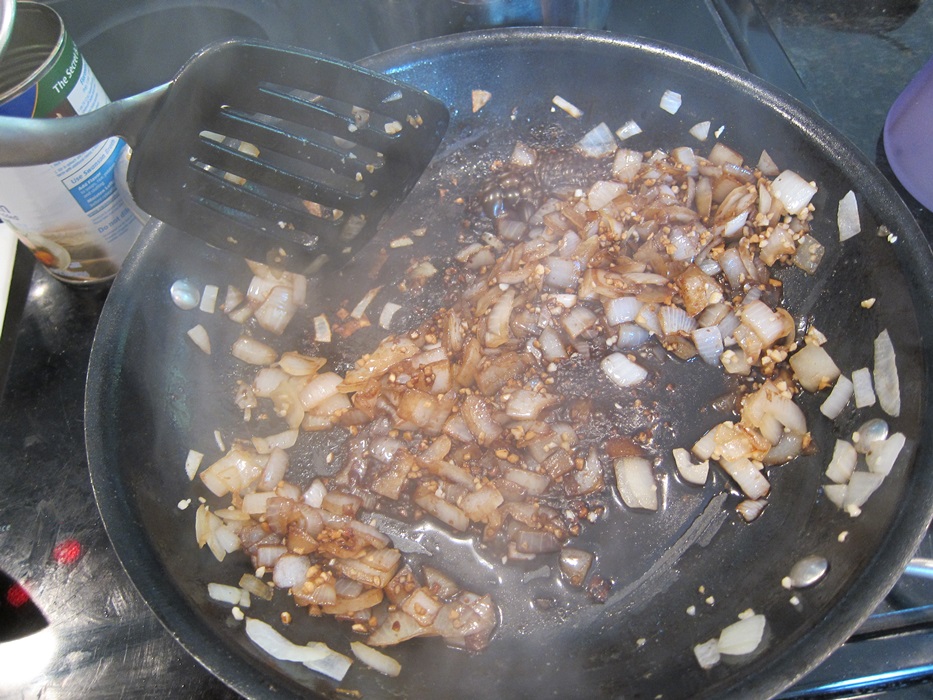
In a large saucepan (I used a frying pan, whoops), heat the oil over medium heat. Add the onion and cook until softened, about 5 minutes. Add the garlic and cook until fragrant, 30-60 seconds.

A bit browner than yours might be, as I had just cooked the chicken in that pan.

A bit browner than yours might be, as I had just cooked the chicken in that pan.

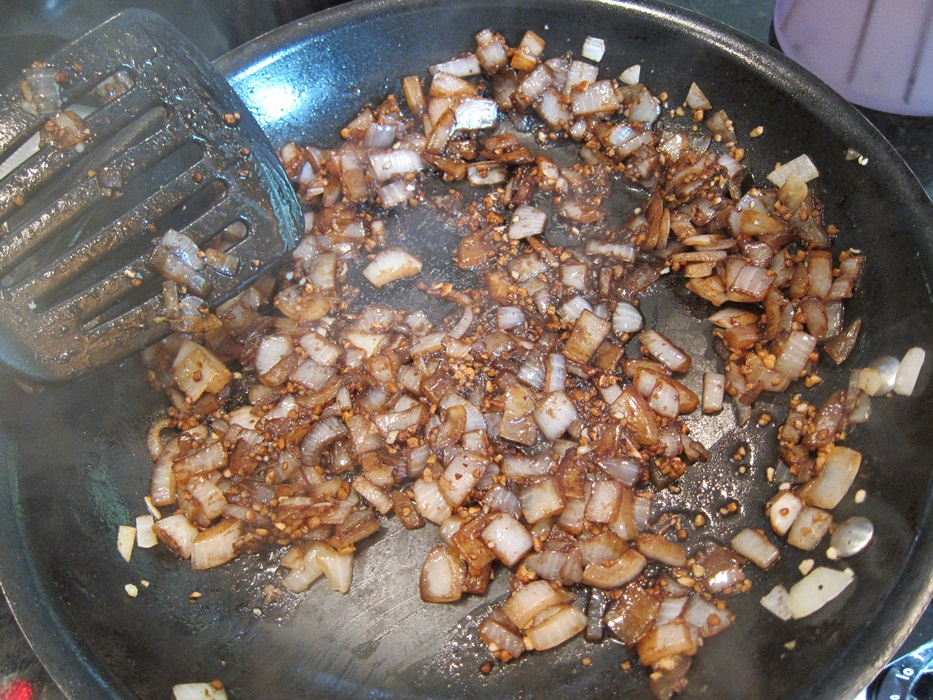
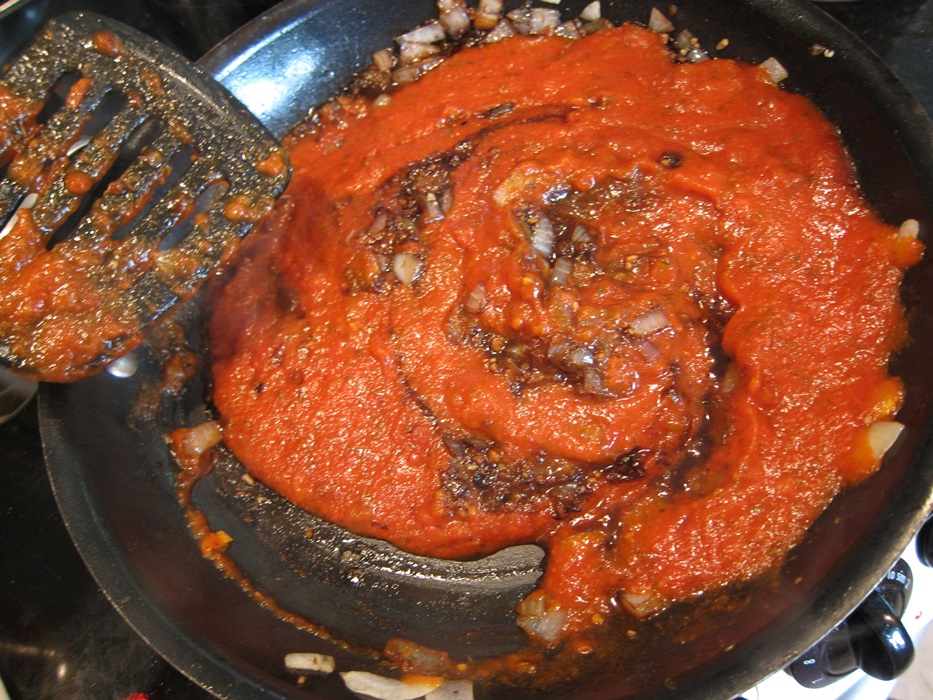
Add the vinegar and scrape the bottom of the pan to get any crusty bits.

IMG_6077Keep cooking until the vinegar is almost all absorbed/evaporated.

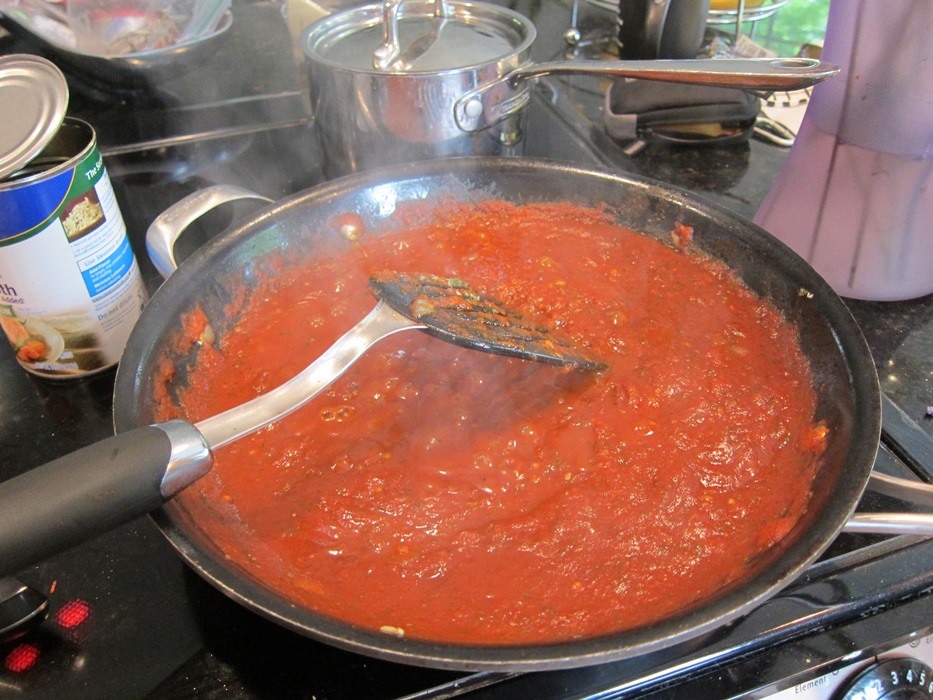
IMG_6078Add the tomato sauce, diced tomato, pepper flakes, basil, salt, and pepper.

IMG_6079Bring just to a boil, then lower the heat and simmer while you prepare the quinoa. (This would have been less likely to splatter everywhere in a saucepan!)

IMG_6083

Put the quinoa in a mesh strainer and rinse well. Transfer to a small pot and add the chicken broth. Place over medium-high heat until boiling, then cover and reduce the heat to low. Simmer 20-25 minutes, until the liquid has absorbed.

While the quinoa cooks, preheat the oven to 375 degrees and grease a 2 quart baking dish.

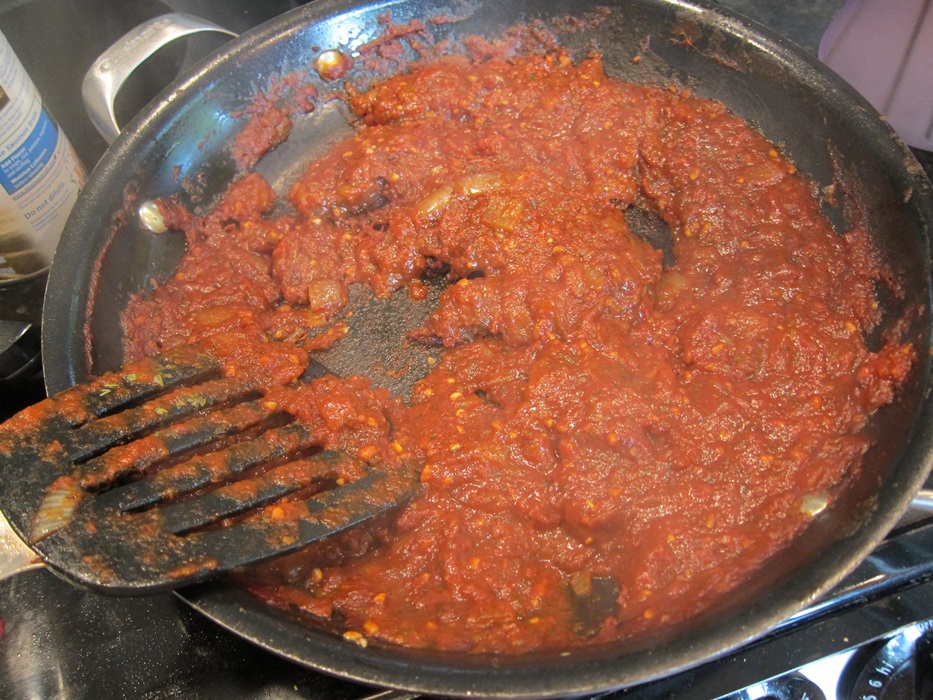
By the time the quinoa is cooked, the tomato mixture should be somewhat thickened.

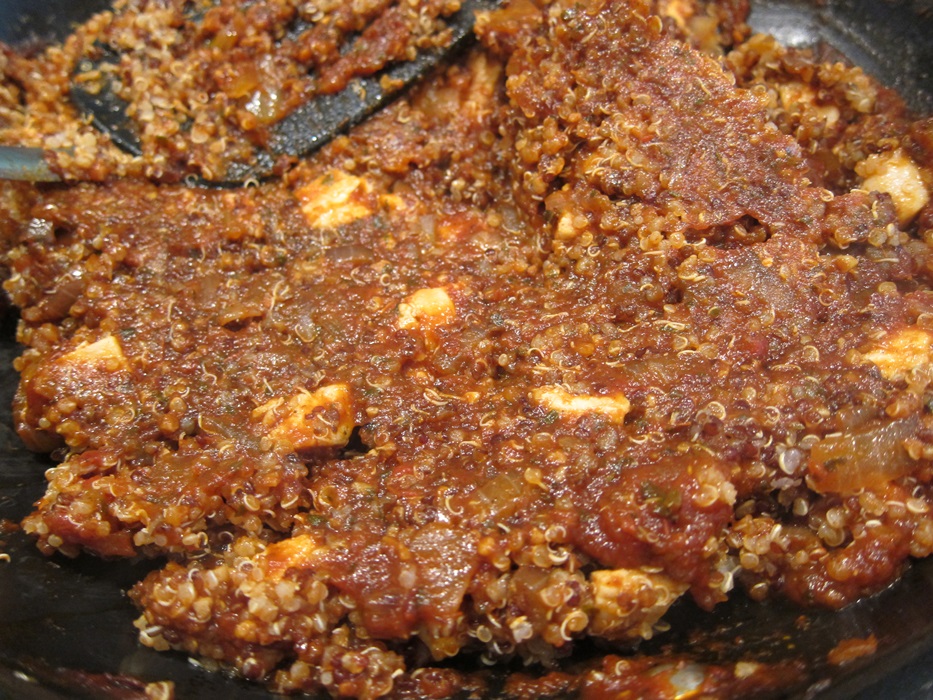
IMG_6084Stir in the chicken and cooked quinoa.

IMG_6085Spread half the quinoa mixture in the greased pan and cover with half of the mozzarella. Spread the remaining quinoa mixture on top, and again cover with the other half of the mozzarella. Sprinkle the Parmesan cheese over the mozzarella, then top with the breadcrumbs.

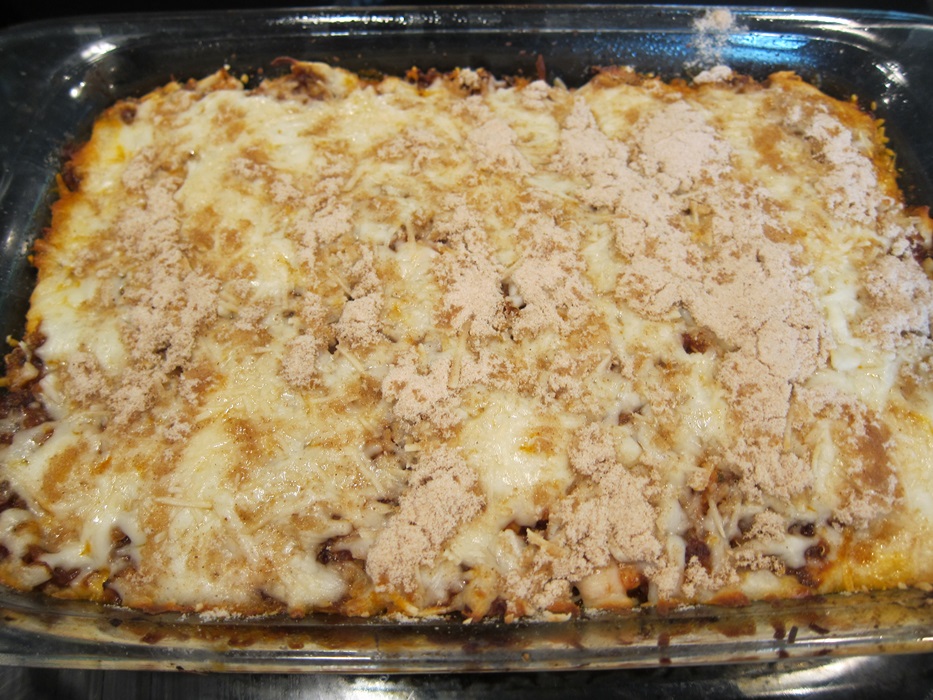
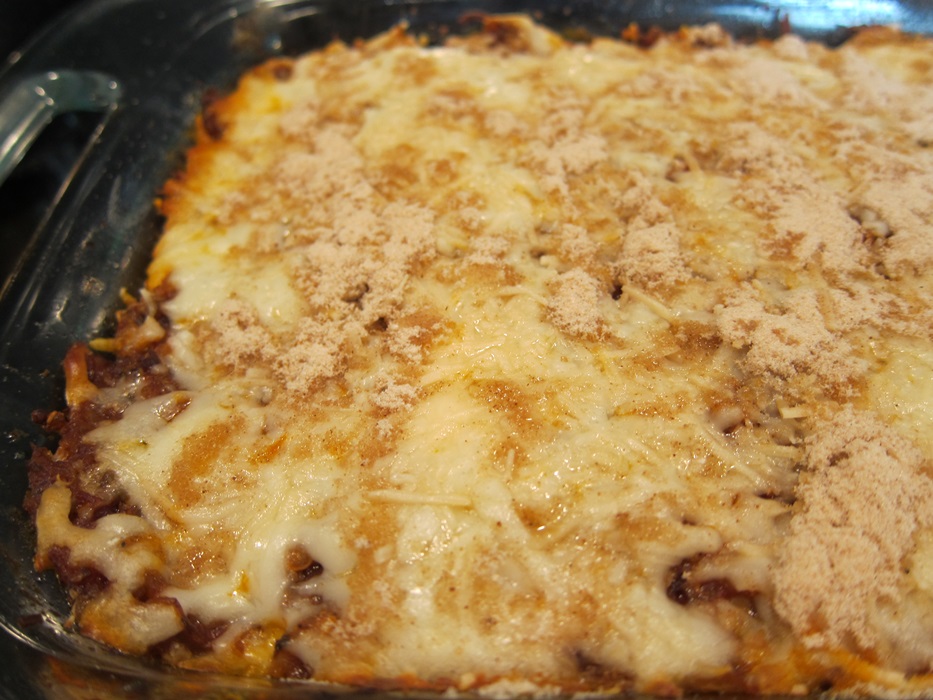
IMG_6086 IMG_6087Cover with foil and bake 15 minutes. Remove the foil and bake another 10, until the cheese is bubbly and golden.

Admittedly, gf breadcrumbs don't look quite as exciting as panko ones would.

Admittedly, gf breadcrumbs don’t look quite as exciting as panko ones would.

Serve garnished with parsley. Or not, I hate buying parsley when you need a tiny bit, and having the rest of the bunch slowly become a liquid in the back of the fridge.
IMG_6090I liked this! Everyone had seconds, which is generally a good sign, especially in a house where certain people will just make themselves a peanut butter sandwich at the table if they don’t care for your cooking that evening. Nice work not being tiresome, quinoa!

Baked Quinoa Chicken Parmesan

From Tracey’s Culinary Adventures.

  • 1 tablespoon olive oil
  • 1 medium onion, finely chopped
  • 3 garlic cloves, minced
  • 2 tablespoons balsamic vinegar
  • 1 (15 oz) can tomato sauce
  • 1 (15 oz) can diced tomatoes (or additional tomato sauce)
  • 1/4 teaspoon red pepper flakes
  • 1/2 teaspoon dried basil
  • 1/2 teaspoon dried oregano
  • pinch each salt and pepper
  • 1 cup quinoa
  • 2 cups low-sodium chicken broth
  • 1 lb boneless, skinless chicken breasts, cooked and cut into bite-size pieces
  • 1 cup shredded part-skim mozzarella cheese, divided
  • 2 tablespoons grated Parmesan cheese
  • 2 tablespoons panko breadcrumbs
  • 2 tablespoons chopped fresh parsley

In a large saucepan, heat the oil over medium heat. Add the onion and cook until softened, about 5 minutes, then add the garlic and cook until fragrant, 30-60 seconds. Add the vinegar and scrape the bottom of the pan to loosen any crusty bits, then keep cooking until the vinegar is almost all absorbed/evaporated. Add the tomato sauce, diced tomato, pepper flakes, basil, salt, and pepper. Bring just to a boil, then lower the heat and simmer while you prepare the quinoa.

Put the quinoa in a mesh strainer and rinse well. Transfer to a small pot and add the chicken broth. Place over medium-high heat until boiling, then cover and reduce the heat to low. Simmer 20-25 minutes, until the liquid has absorbed.

While the quinoa cooks, preheat the oven to 375 degrees and grease a 2 quart baking dish.

Stir the chicken and cooked quinoa into the thickened tomato mixture.
Spread half the quinoa mixture in the greased pan and cover with half of the mozzarella. Spread the remaining quinoa mixture on top, and again cover with the other half of the mozzarella. Sprinkle the Parmesan cheese over the mozzarella, then top with the breadcrumbs.  Cover with foil and bake 15 minutes. Remove the foil and bake another 10 minutes, until the cheese is bubbly and golden. Serve garnished with parsley.
Posted in Dinner | Tagged , , , | Leave a comment