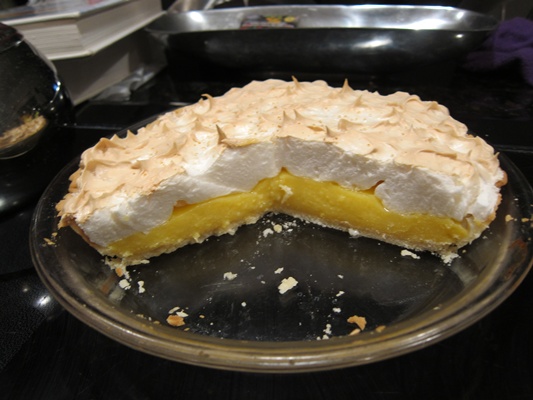
I really like recipes from my Cook’s Illustrated book, because you know they tried tons of different methods to get the best results. In this pie, for instance, they tried a bunch of things to prevent common problems with meringue. The solution they came up with includes having you put the meringue on hot filling to help cook the bottom of the meringue (which prevents puddles of uncooked/undercooked egg), and bake in a relatively cool oven to prevent overcooking and brown the meringue evenly. It works wonderfully!
 Ingredients:
Lemon Filling:
- 1 cup sugar
- 1/4 cup cornstarch
- 1/8 teaspoon salt
- 1 1/2 cups cold water
- 6 large egg yolks
- 1 tablespoon grated lemon zest
- 1/2 cup freshly squeezed lemon juice
- 2 tablespoons unsalted butter
Meringue Topping:
- 1 tablespoon cornstarch
- 1/3 cup water
- 1/4 teaspoon cream of tartar
- 1/2 cup sugar
- 4 large egg whites
- 1/2 teaspoon vanilla extract
Plus:
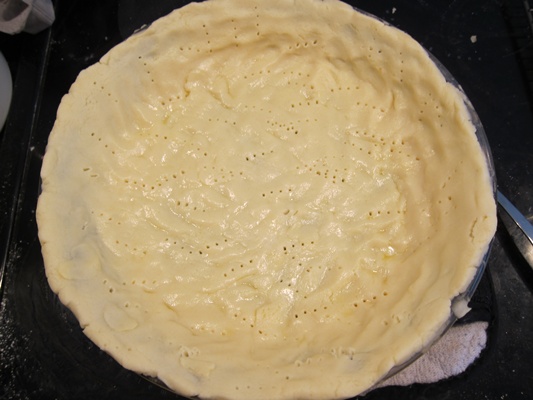
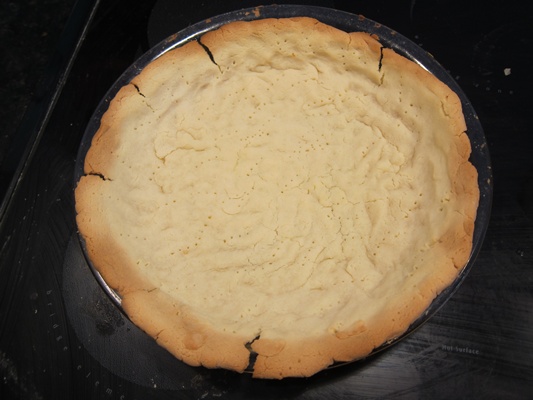
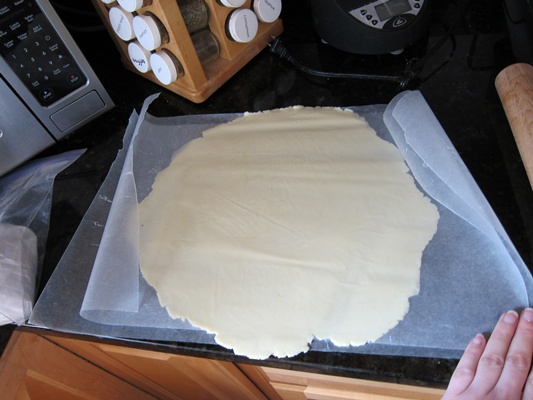
- one pre-baked pie crust, cooled to room temperature
I got just enough juice from 2 lemons – not a bad idea to have a third around just in case.
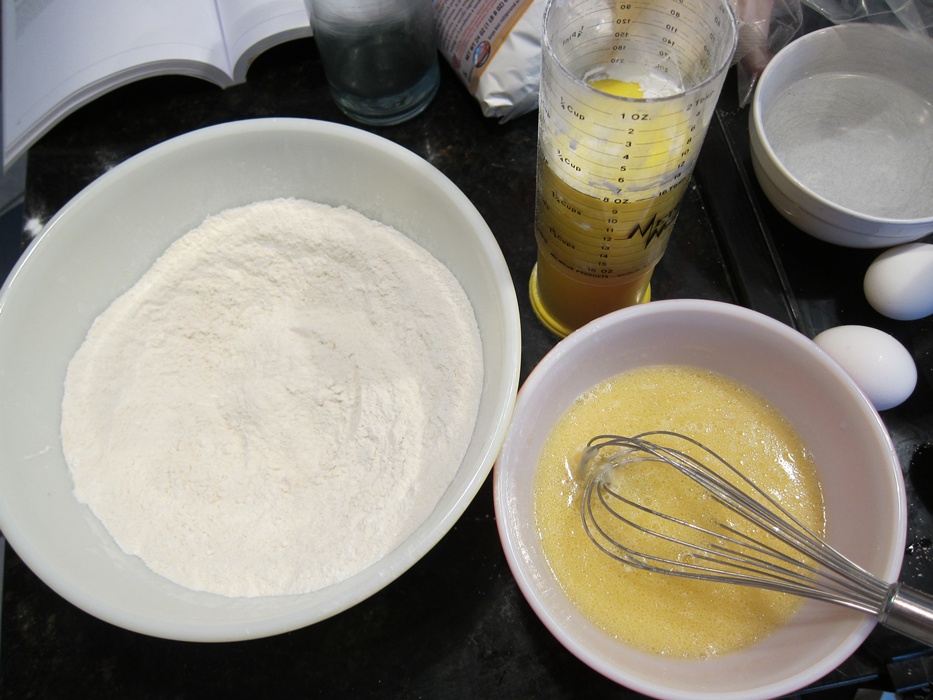
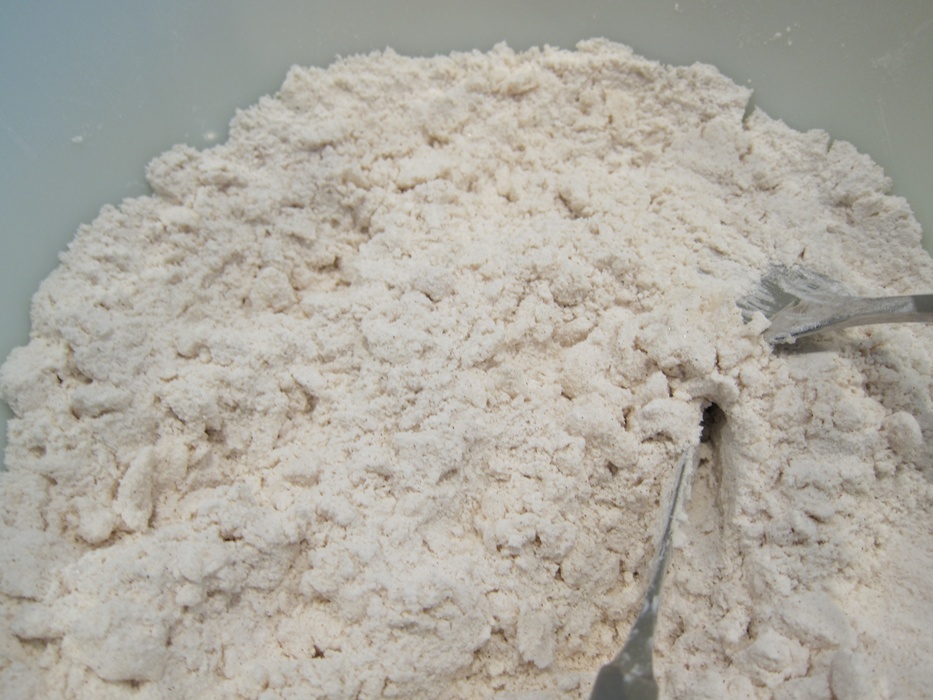
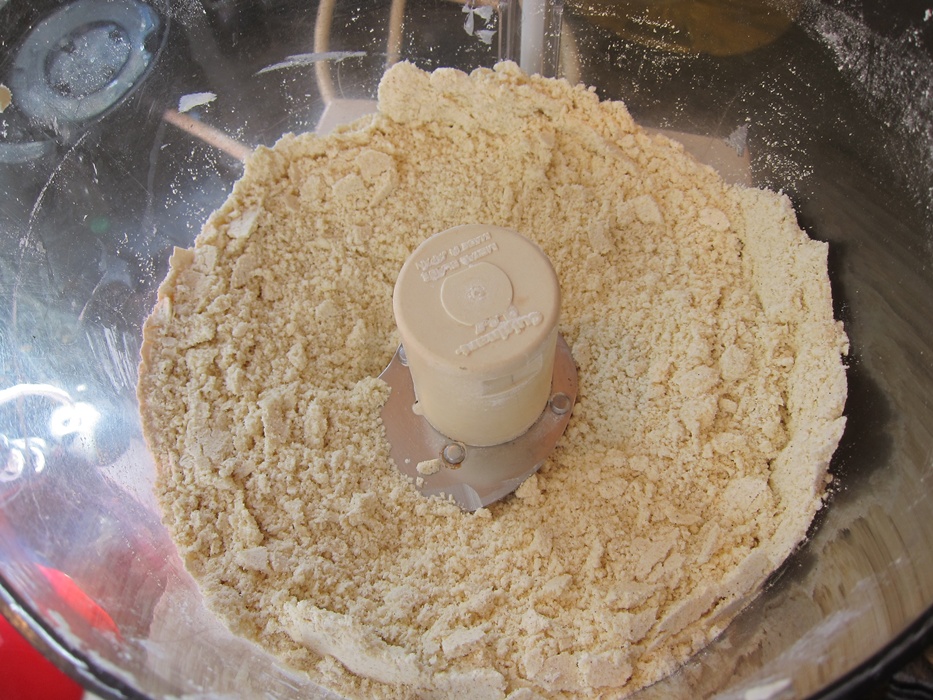
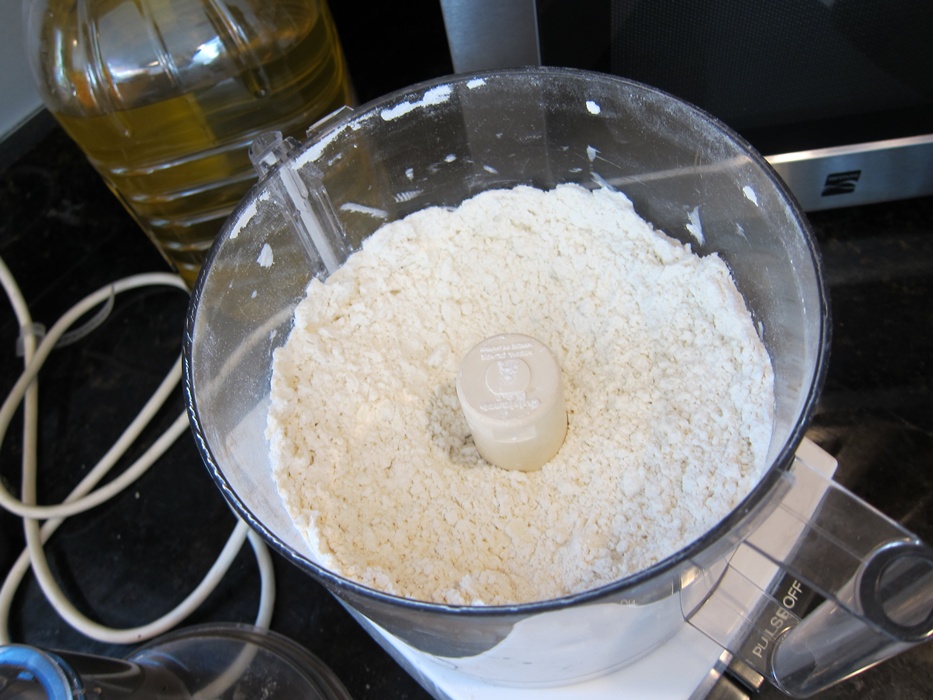
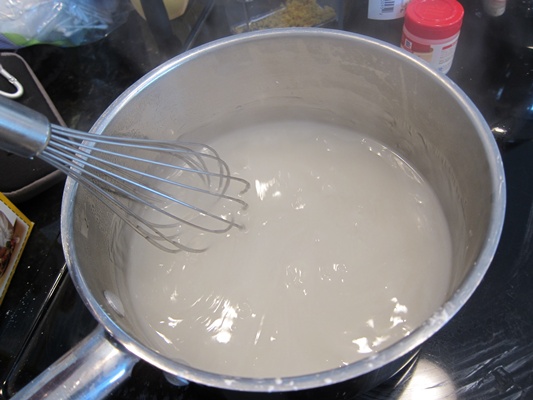
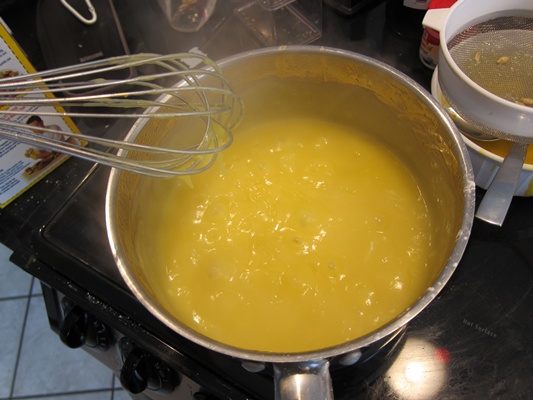
To make the filling, mix the sugar, cornstarch, salt and water in a large nonreactive saucepan, stirring until the cornstarch is entirely dissolved. Bring to a simmer over medium heat whisking more frequently as it thickens, until it becomes translucent.
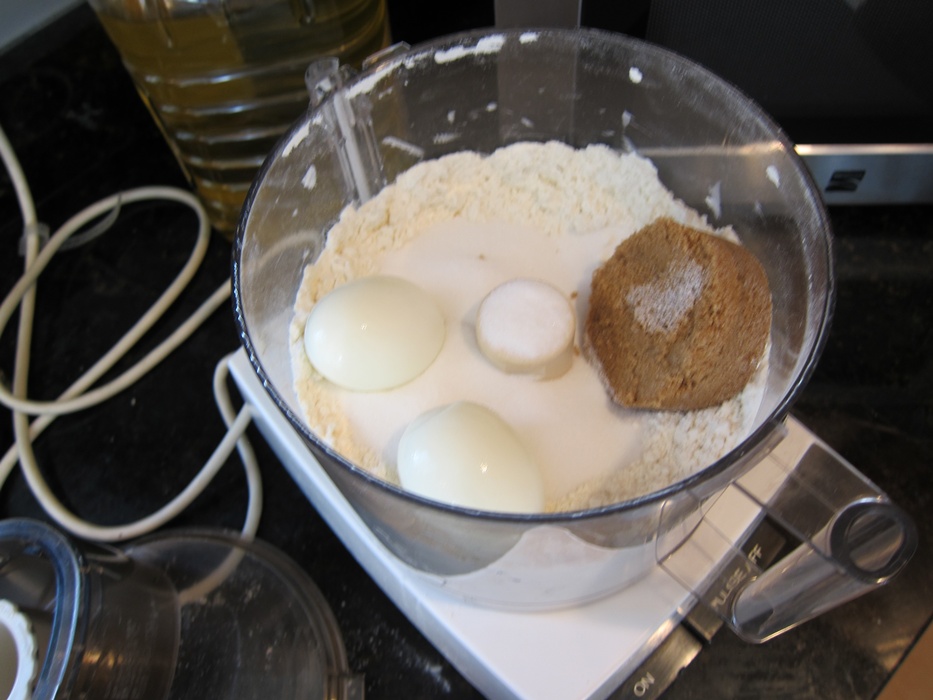
 Whisk in the egg yolks two at a time.
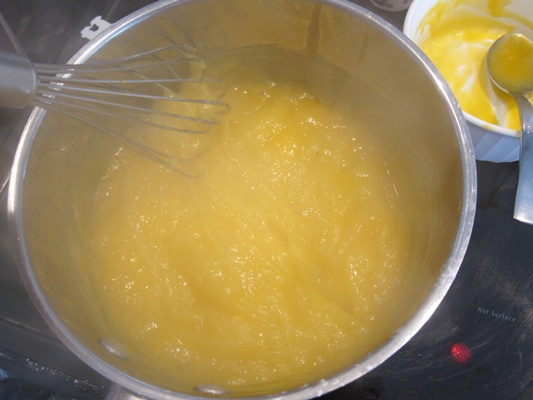 Whisk in the zest, then lemon juice, and finally the butter. Bring to a solid simmer, whisking constantly, then remove from the heat.
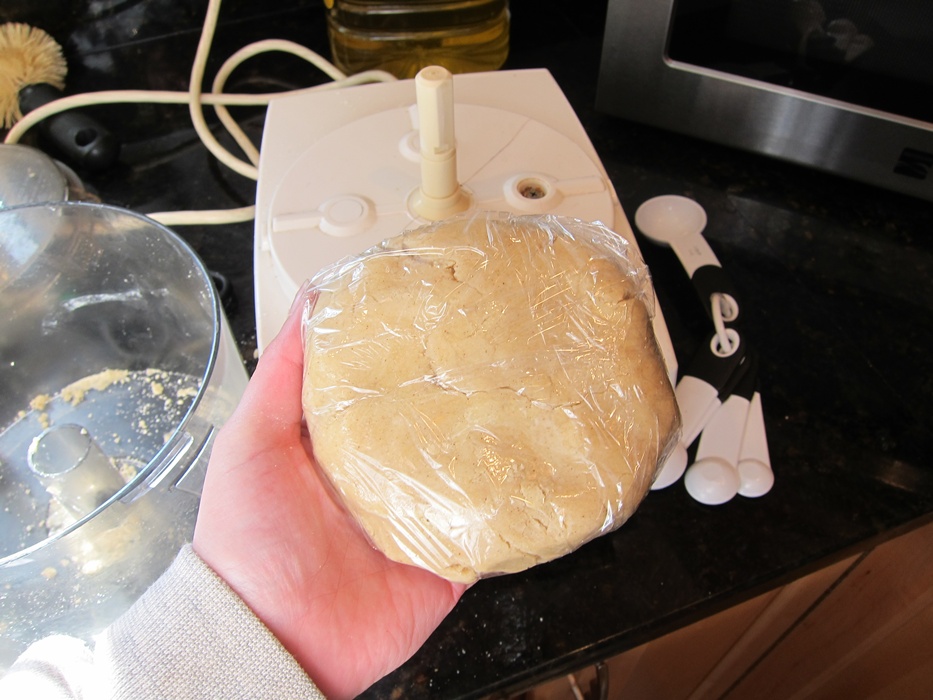
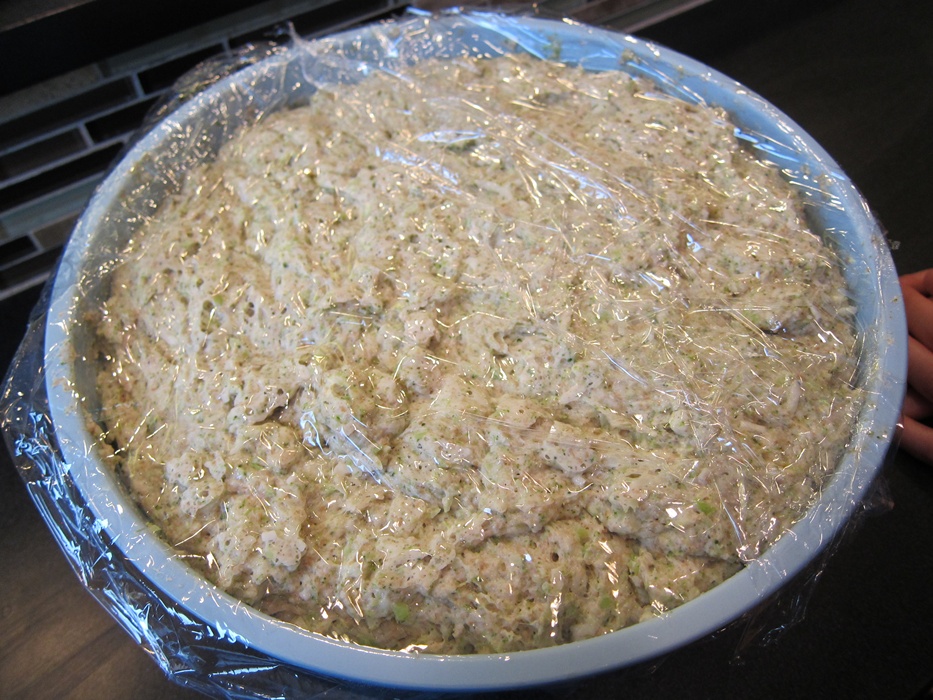
 Cover with plastic wrap, pressing the wrap directly on the surface of the mixture to prevent a skin from forming.
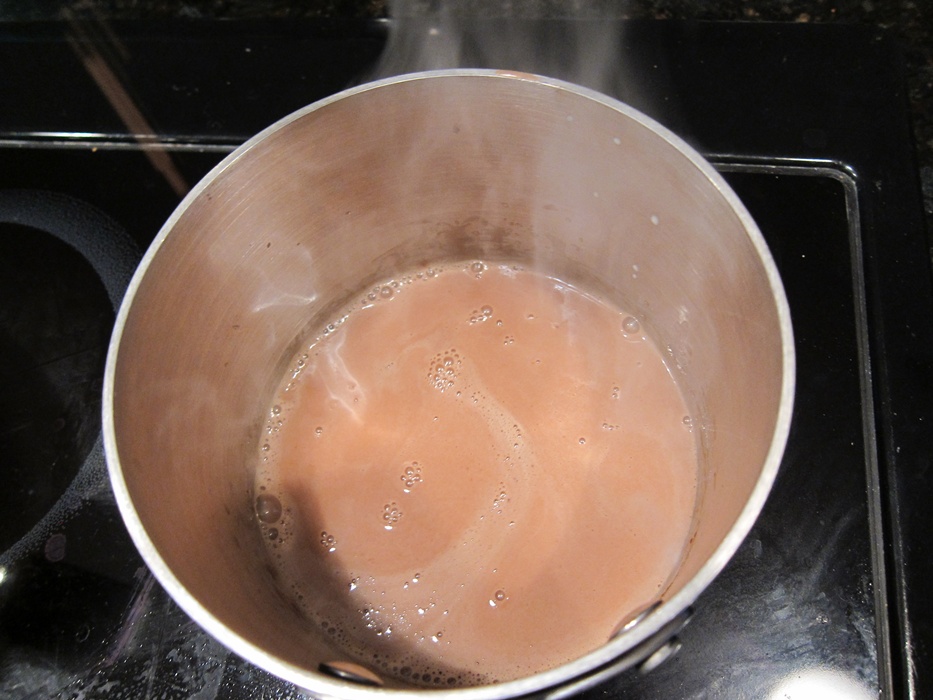
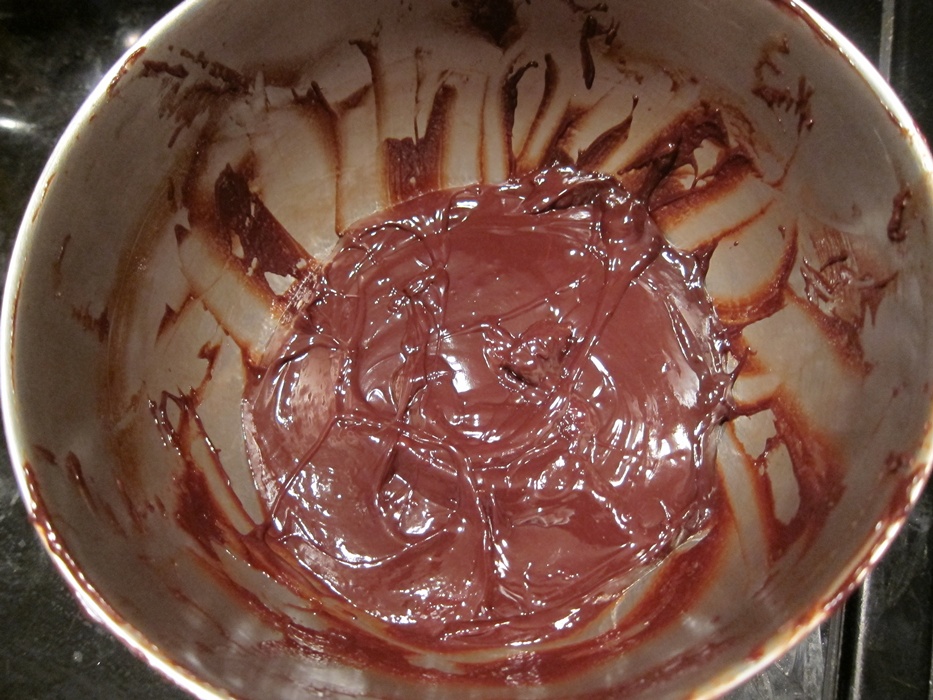
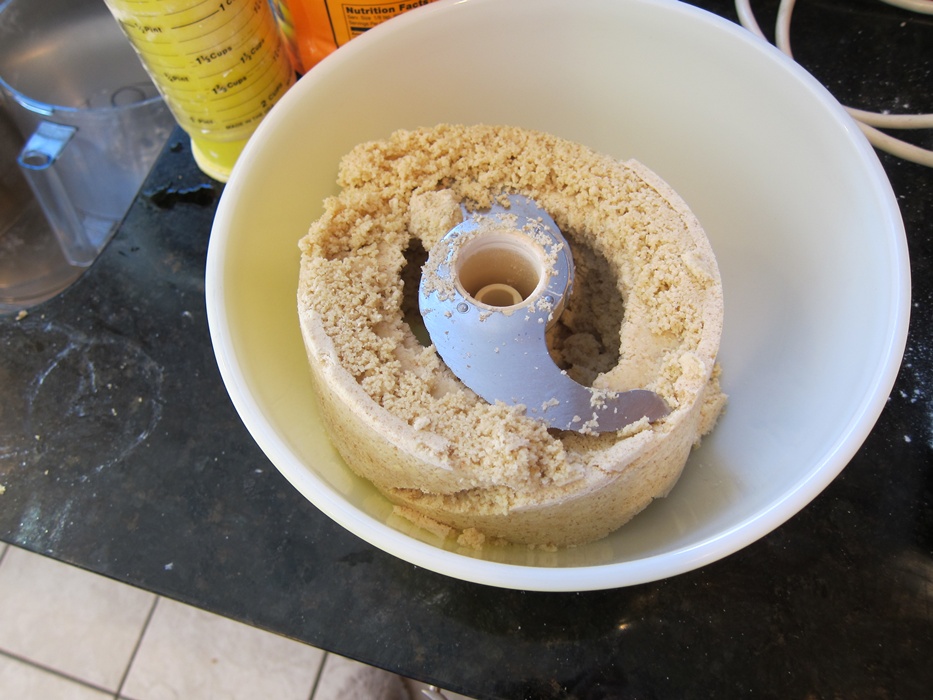
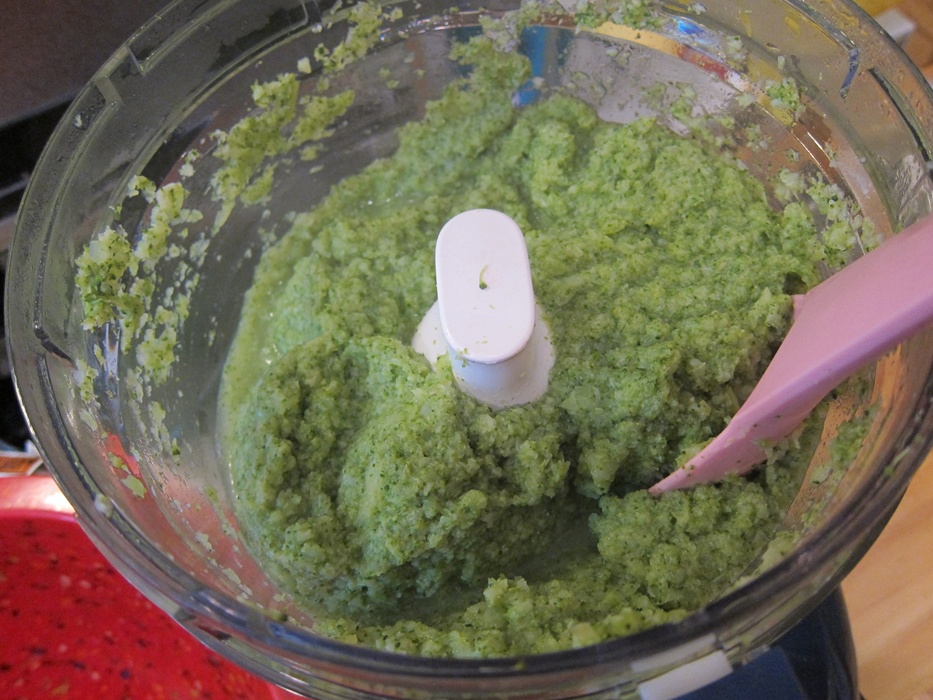
To make the meringue, mix the cornstarch with the water in a small saucepan, whisking until completely dissolved, then place over medium heat. Whisk with increasing frequency until the mixture starts to simmer and turn translucent, then remove from the heat and set aside. This is very little water, so it’ll happen quite quickly.
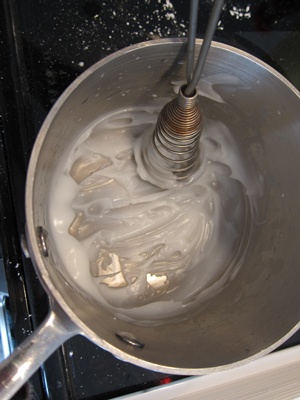
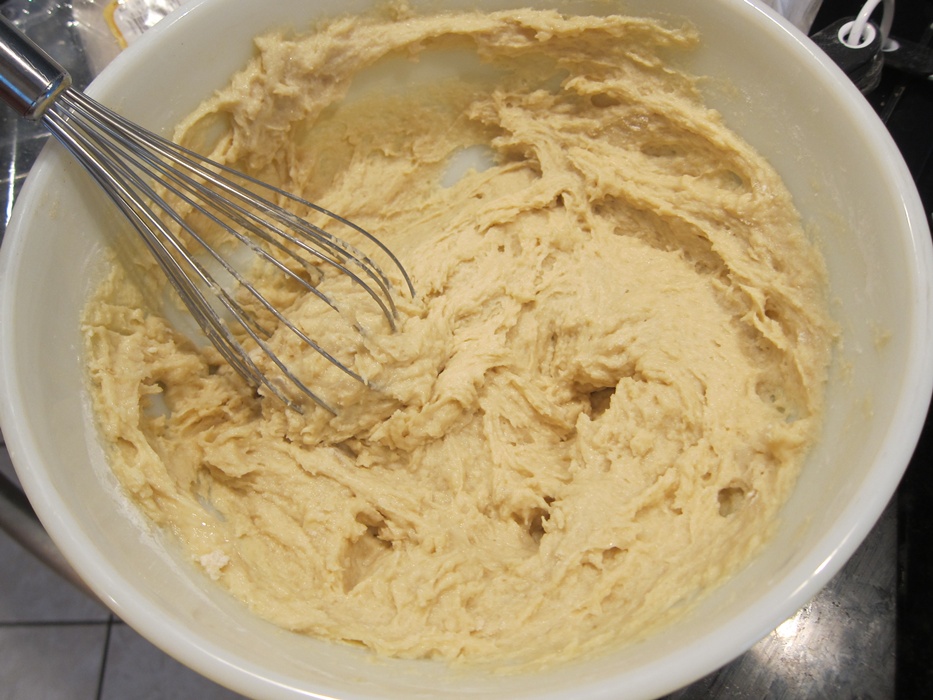
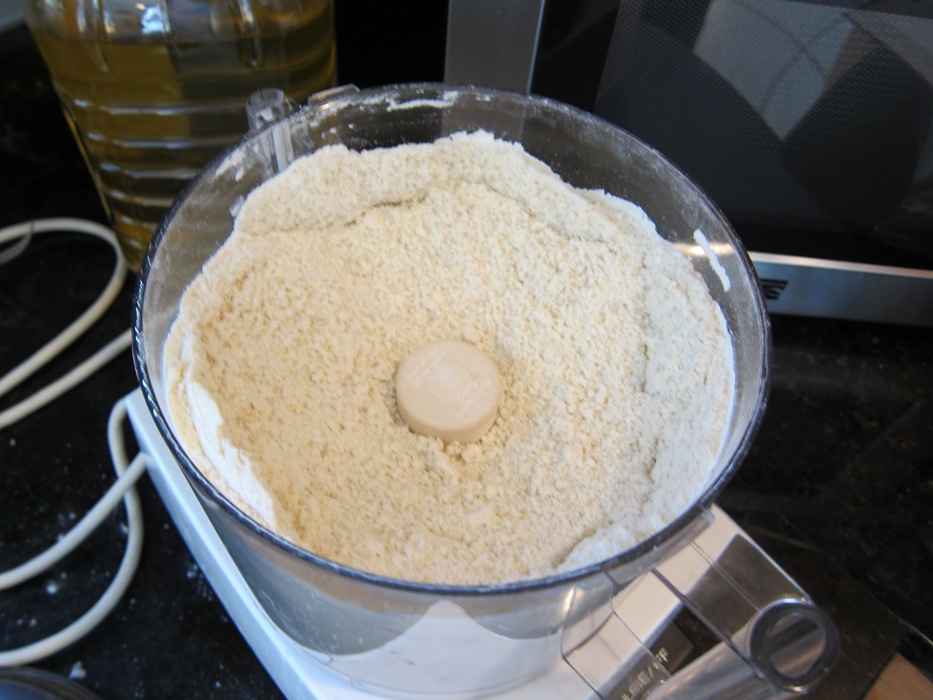
Thicker this time.
Preheat the oven to 325 degrees. Mix the cream of tartar and sugar together and set aside briefly.
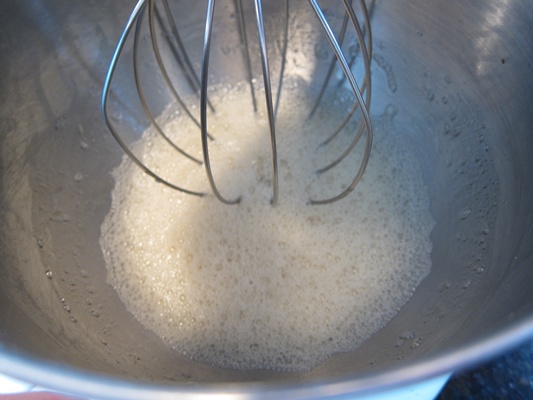
Beat the egg whites and vanilla until frothy.
 Add the sugar mixture, one tablespoon at a time, and continue beating until the mixture reaches soft peaks.
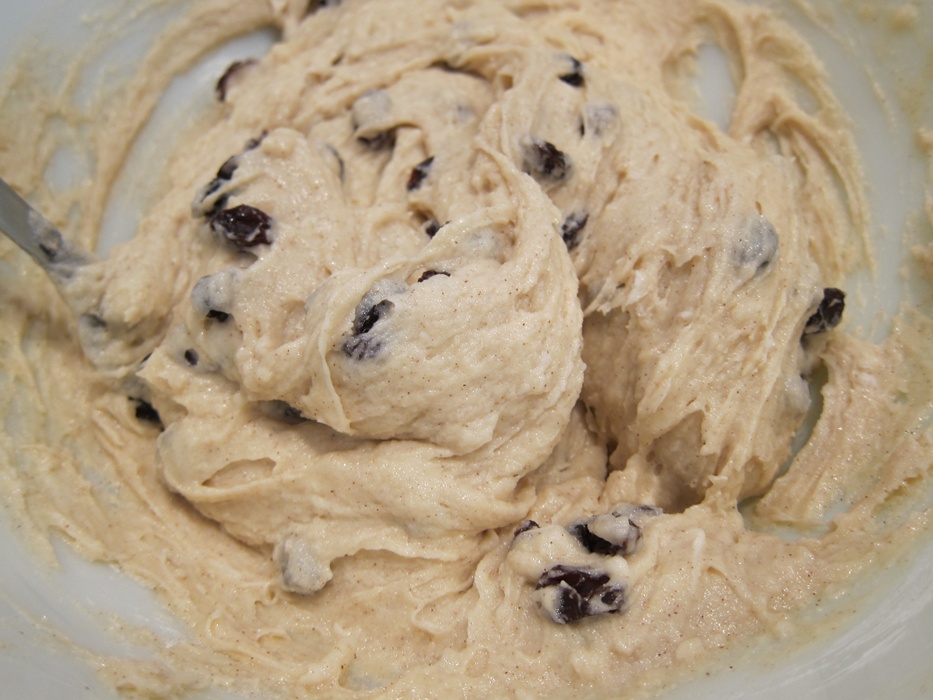
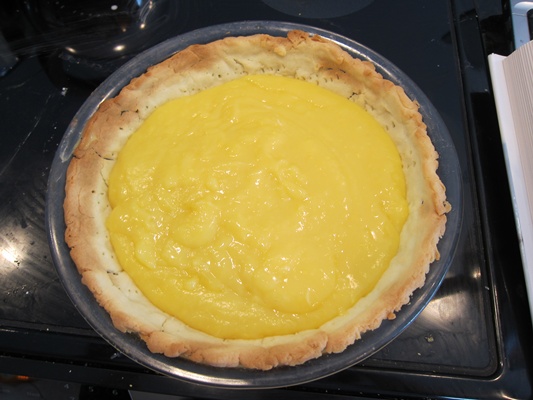
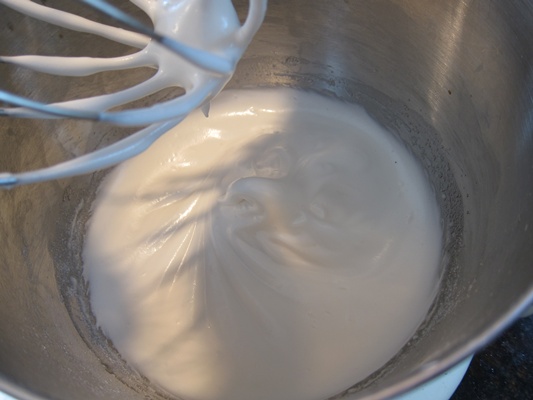 Add the cornstarch mixture, 1 tablespoon at a time, and continue beating until the mixture reaches stiff peaks. During the last minute or so that the eggs are being beaten remove the plastic wrap from the lemon filling and put it back over low heat to rewarm. Pour the reheated filling into the crust.
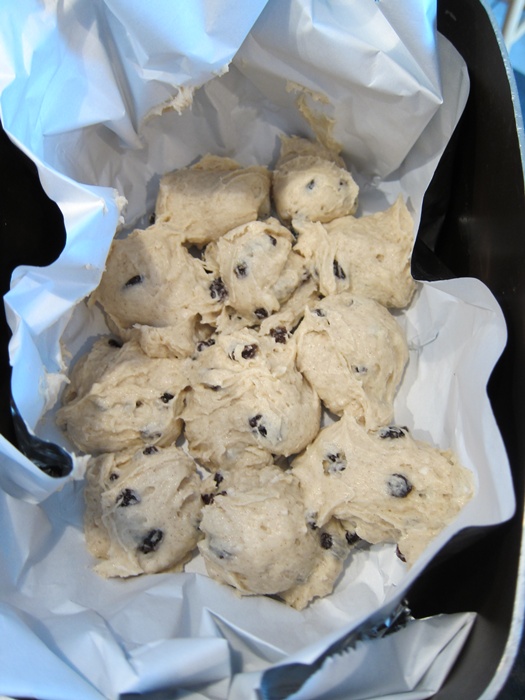
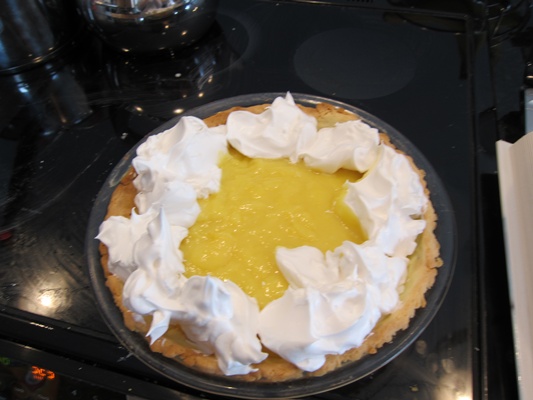
 Immediately spread the meringue around the edge of the filling.
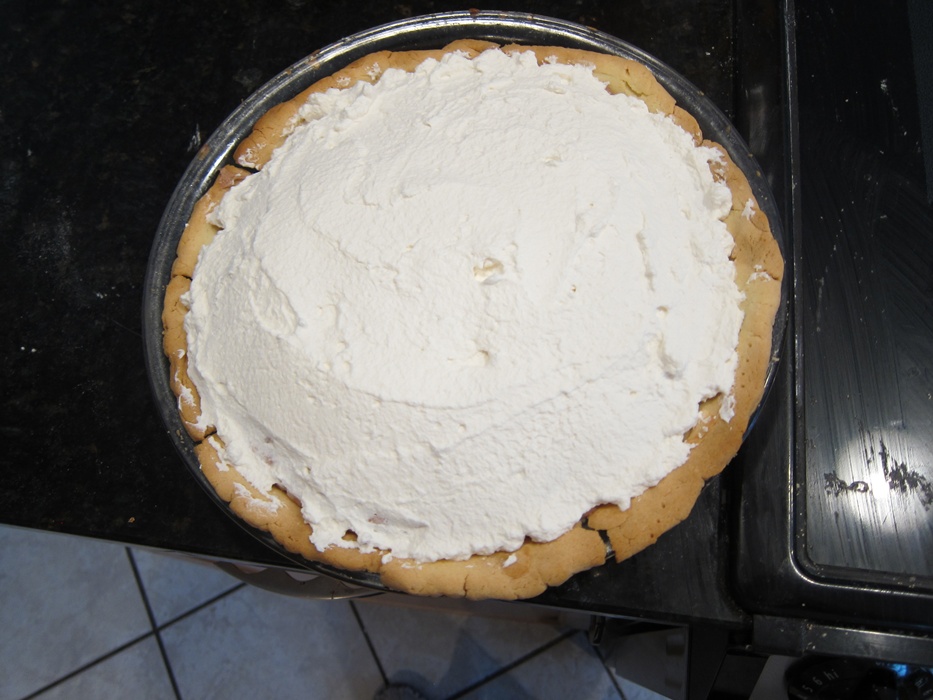
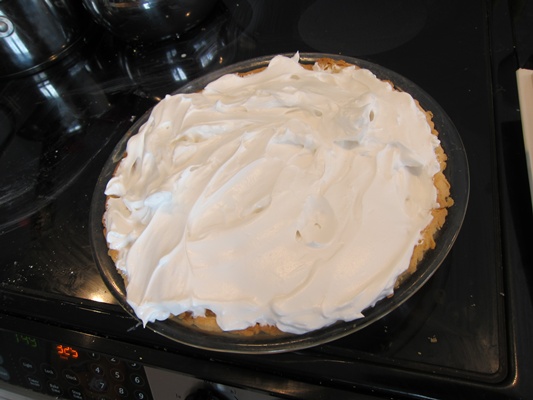
 Fill in the center with the rest of the meringue.
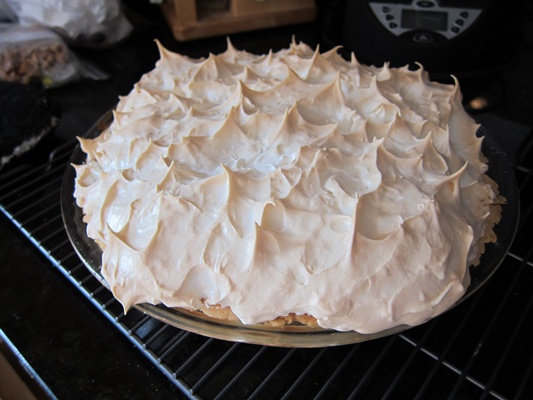
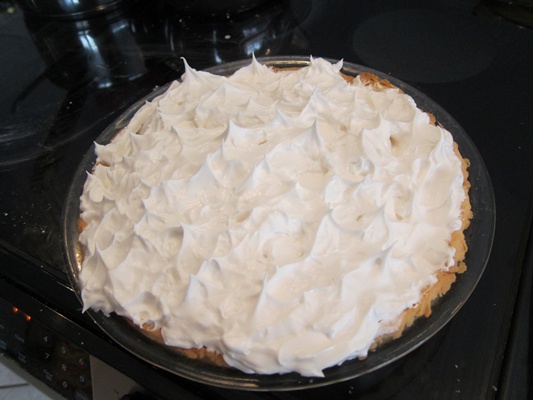
 Make sure the meringue touches the crust all the way around, so that it won’t shrink and pull in towards the middle. Use the back of a spoon to create peaks all over the meringue by gently tapping and pulling sharply away.
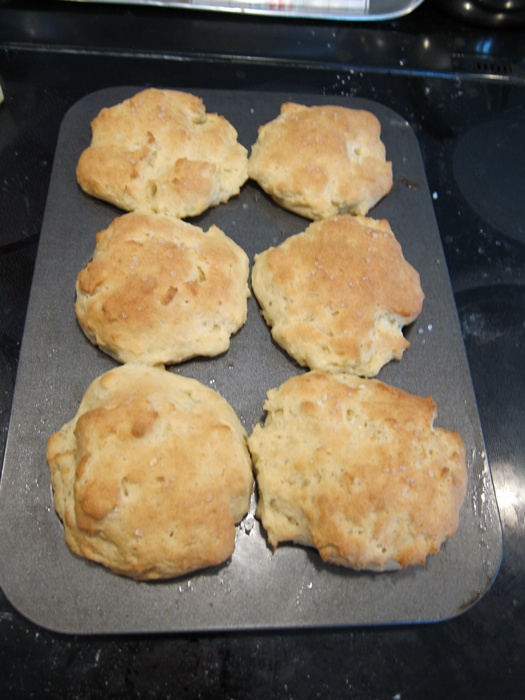
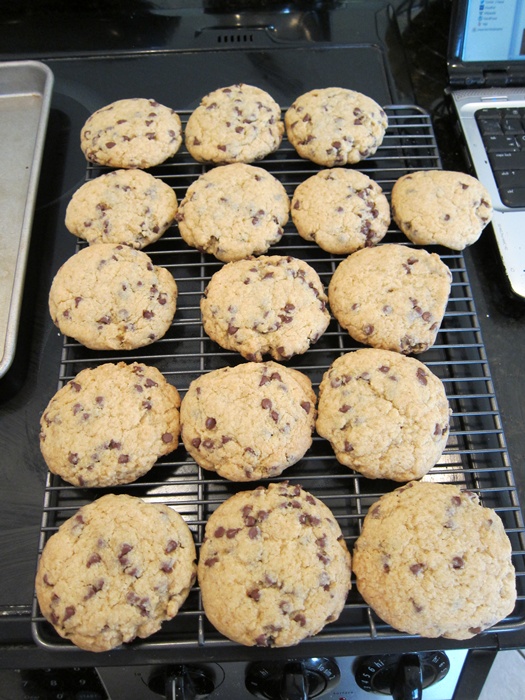
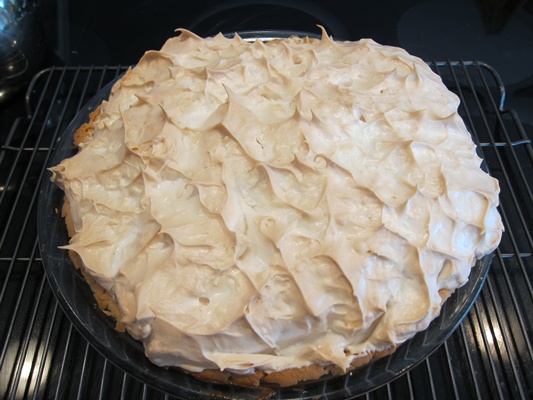
 Bake until the meringue is golden brown, about 20 minutes. Transfer to a wire rack and cool to room temperature.
 This pie is best day of, but still quite tasty for several more days.
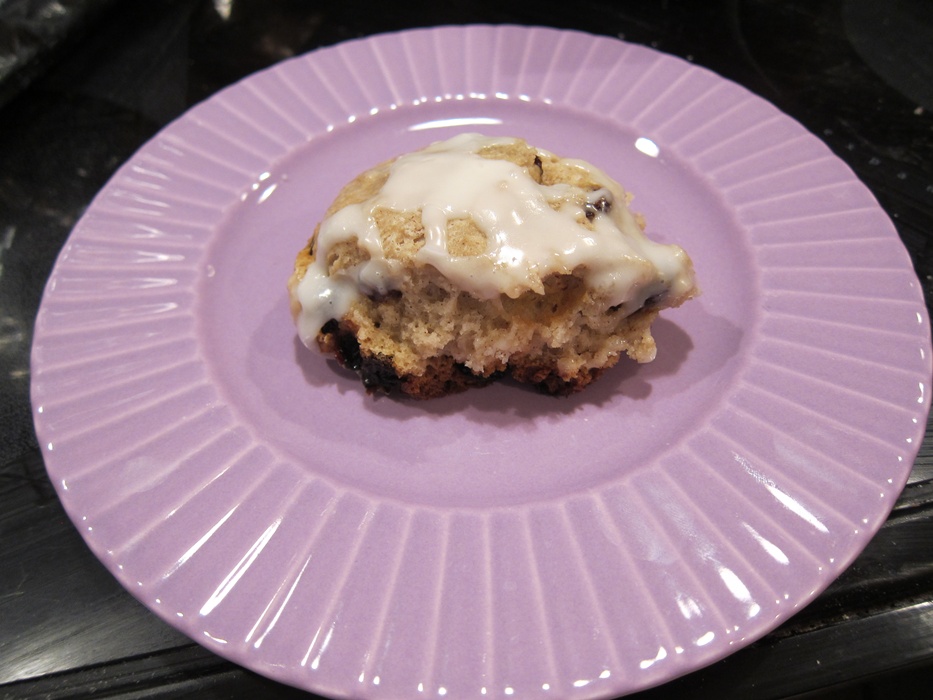
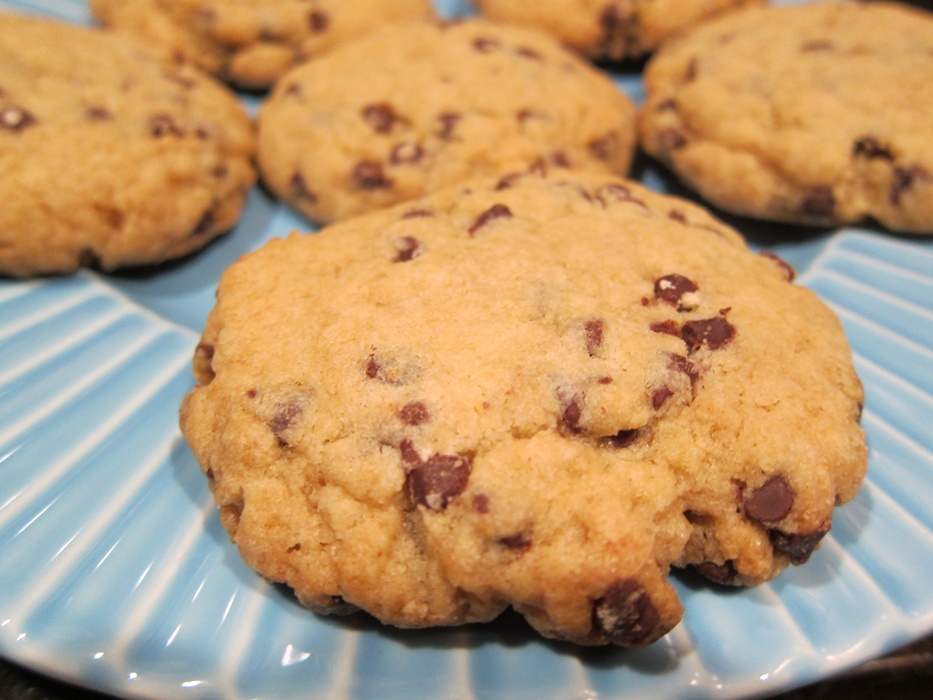
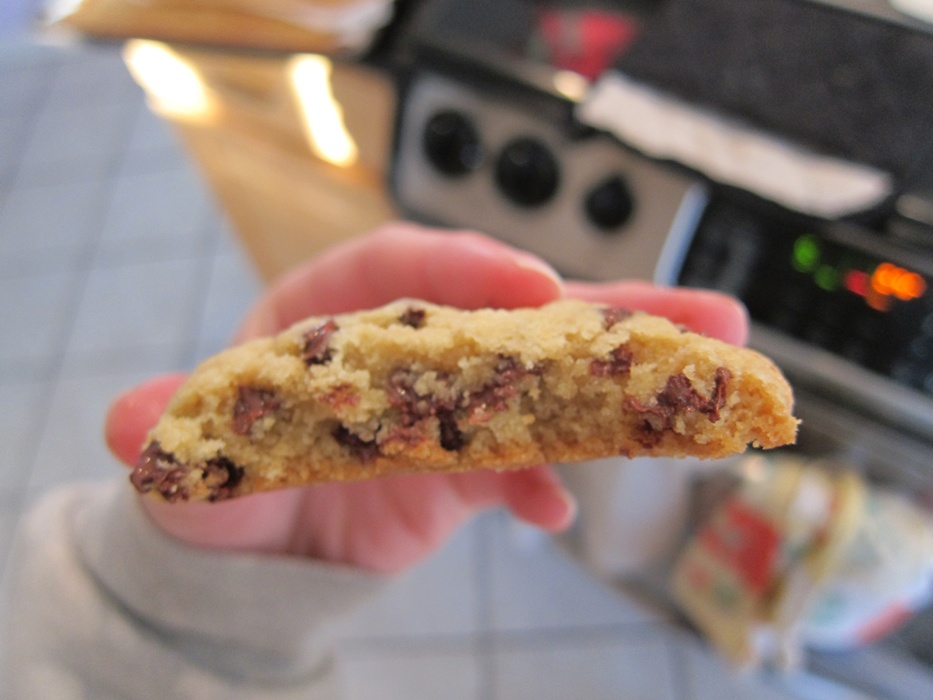
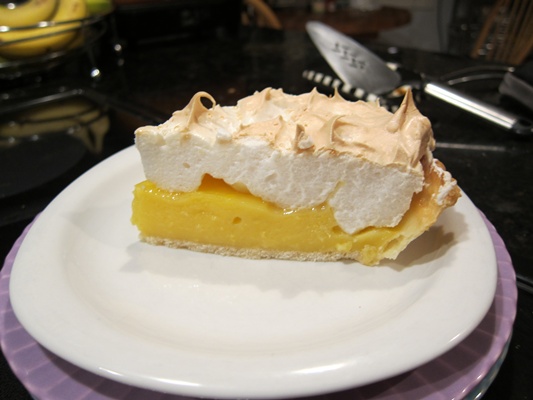 The meringue is light and fluffy, and the filling was very lemony. The Cook’s Illustrated folk know what’s up.
Lemon Meringue Pie
From The Best Recipe.
Lemon Filling:
- 1 cup sugar
- 1/4 cup cornstarch
- 1/8 teaspoon salt
- 1 1/2 cups cold water
- 6 large egg yolks
- 1 tablespoon grated lemon zest
- 1/2 cup freshly squeezed lemon juice
- 2 tablespoons unsalted butter
Meringue Topping:
- 1 tablespoon cornstarch
- 1/3 cup water
- 1/4 teaspoon cream of tartar
- 1/2 cup sugar
- 4 large egg whites
- 1/2 teaspoon vanilla extract
Plus:
- one pre-baked pie crust, cooled to room temperature
To make the filling, mix the sugar, cornstarch, salt and water in a large nonreactive saucepan, stirring until the cornstarch is entirely dissolved. Bring to a simmer over medium heat whisking more frequently as it thickens, until it becomes translucent. Whisk in the egg yolks two at a time. Whisk in the zest, then lemon juice, and finally the butter. Bring to a solid simmer, whisking constantly, then remove from the heat. Cover with plastic wrap, pressing the wrap directly on the surface of the mixture to prevent a skin from forming.
To make the meringue, mix the cornstarch with the water in a small saucepan, whisking until completely dissolved, then place over medium heat. Whisk with increasing frequency until the mixture starts to simmer and turn translucent, then remove from the heat and set aside.
Preheat the oven to 325 degrees. Mix the cream of tartar and sugar together and set aside briefly.
Beat the egg whites and vanilla until frothy, then add the sugar mixture, one tablespoon at a time, and continue beating until the mixture reaches soft peaks. Add the cornstarch mixture, 1 tablespoon at a time, and continue beating until the mixture reaches stiff peaks.
During the last minute or so that the meringue is being beaten, remove the plastic wrap from the lemon filling and put it back over low heat to rewarm.
Pour the reheated filling into the crust. Immediately spread meringue around the edge of the filling, then fill in the center with the rest of the meringue. Make sure the meringue touches the crust all the way around, so that it won’t shrink and pull in towards the middle. Use the back of a spoon to create peaks all over the meringue by gently tapping and pulling sharply away.
Bake until the meringue is golden brown, about 20 minutes. Transfer to a wire rack and cool to room temperature.