The other day my mom asked me to use some shrimp she’d gotten from the farmers’ market. I think she was probably picturing some garlic-y shrimp with rice or something, but there was good looking cheddar in the fridge, which was calling to me way more.
 Ingredients:
- 4 cups water
- salt and pepper
- 1 cup stone-ground grits
- 3 tablespoons butter
- 2 cups shredded sharp cheddar cheese
- 1 pound shrimp, peeled and deveined
- 6 slices bacon, chopped
- 4 teaspoons lemon juice
- 2 tablespoons chopped parsley
- 1 cup thinly sliced scallions
- 1 large clove garlic, minced
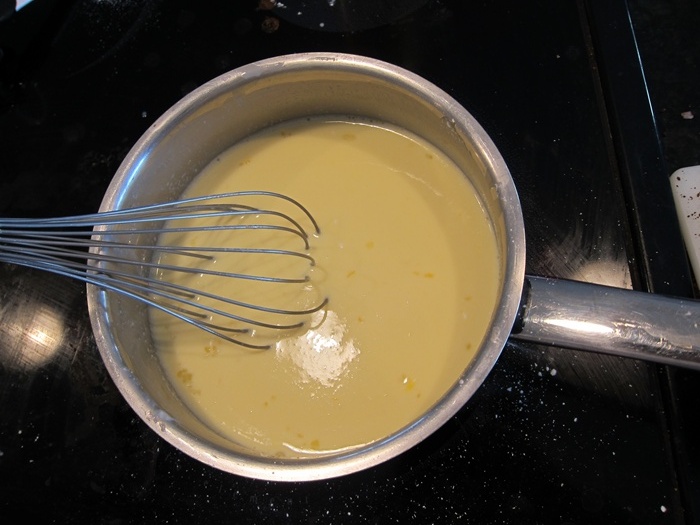
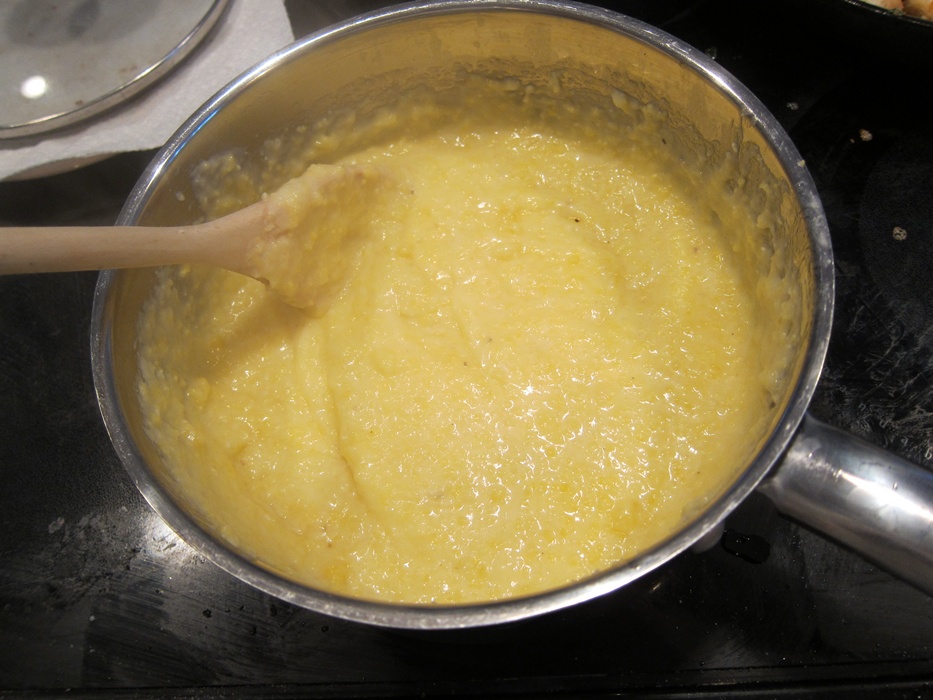
In a medium saucepan over high heat, bring the water to a boil. Once boiling, add a pinch each of salt and pepper, and the cup of grits. It turns out grits are the same thing as polenta, so if you’ve got that from making polenta bread or baked polenta with tomato and basil, you’re set.
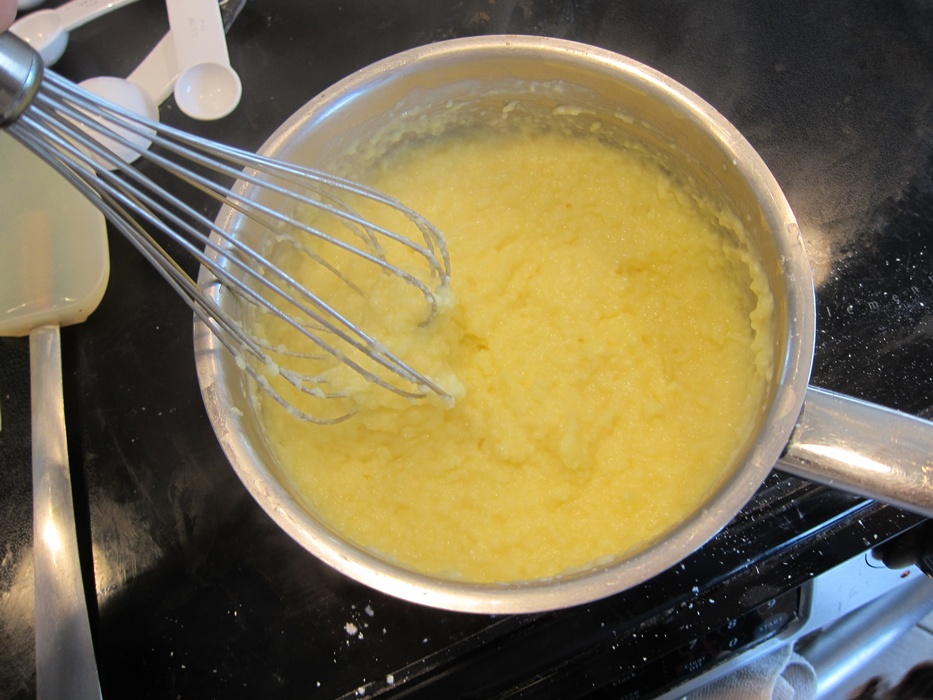
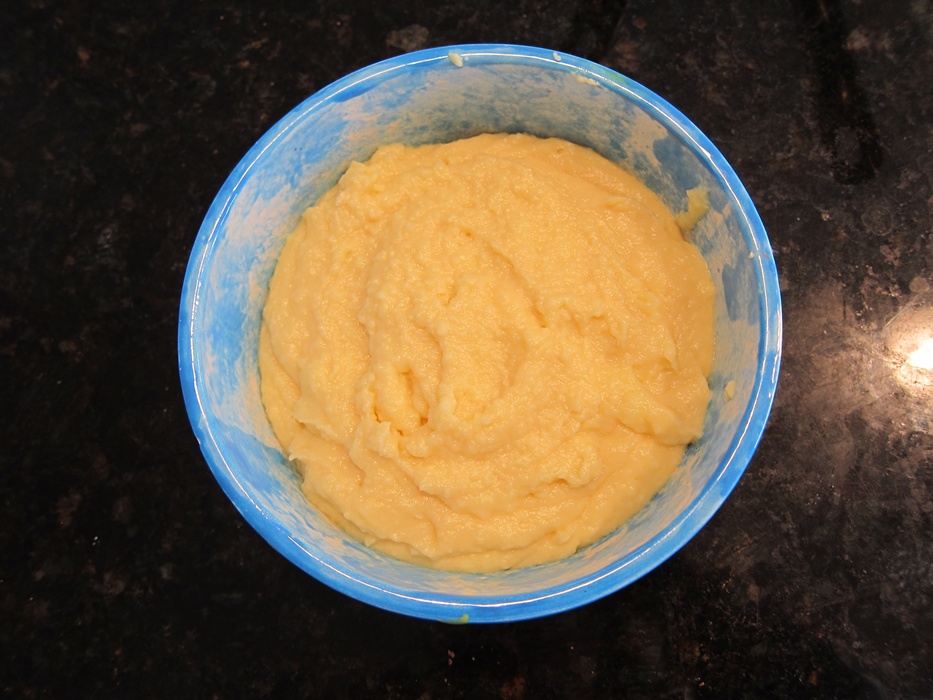
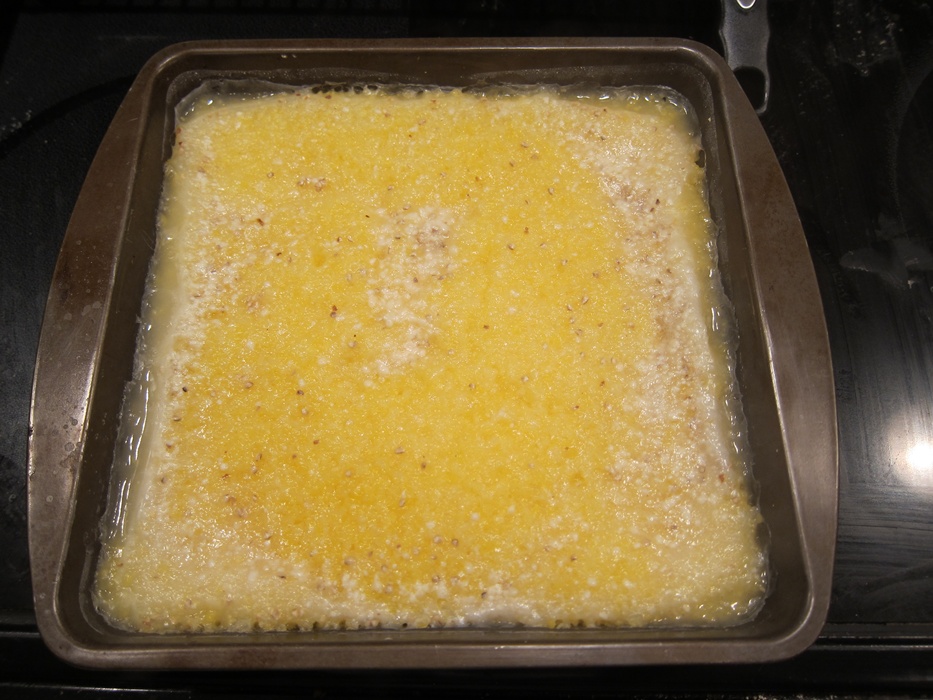
 Reduce the heat to low, cover, and cook until the water is absorbed, 20-25 minutes. Stir once or twice during that time to avoid dry chunks in the middle. When it’s done, remove from the heat and stir in the butter and cheese until well mixed.
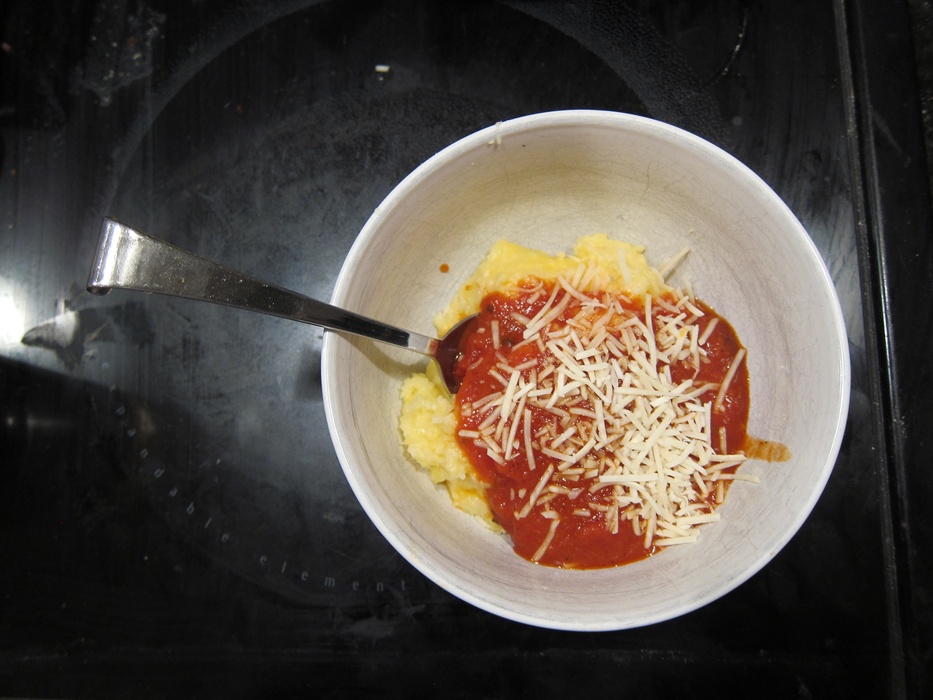
Cheesy!
Meanwhile, cook the chopped up bacon in a pan over medium heat until browned, then remove and drain. My general method for chopping up bacon is to use kitchen shears to cut it into bits over/into the heated pan.
 Cook the shrimp in a little bit of the leftover bacon grease until pink.
 Add the bacon back, along with the lemon juice, parsley, garlic, and scallions. Saute for 3 minutes.
 I added a lot, but not a full cup of scallions, because a) that’s SO MANY SCALLIONS and b) I refused to cut the ones that are trying to flower – I want to see how that turns out!
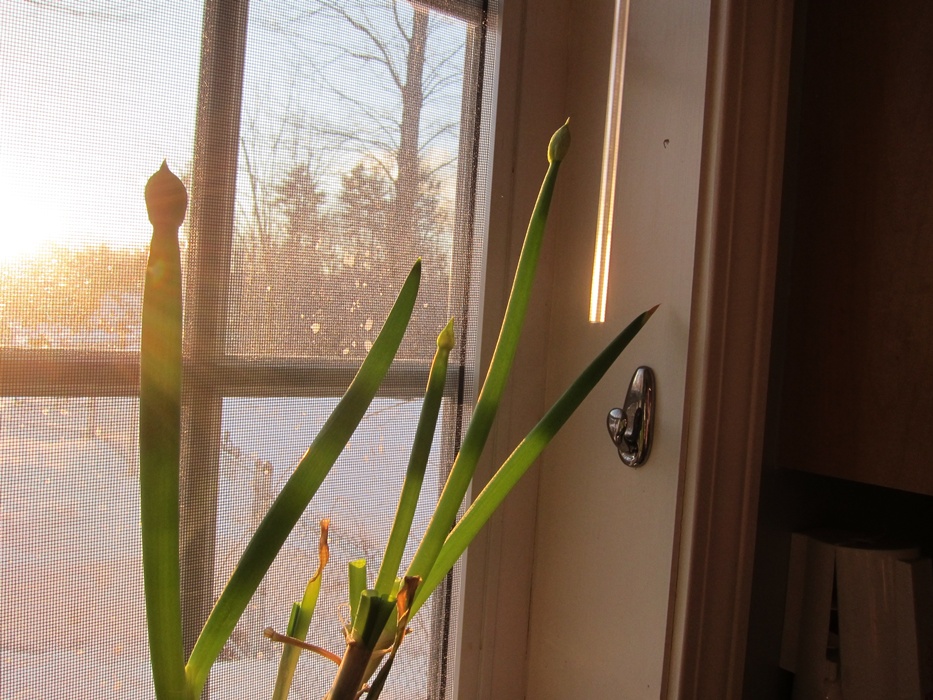
Buds!
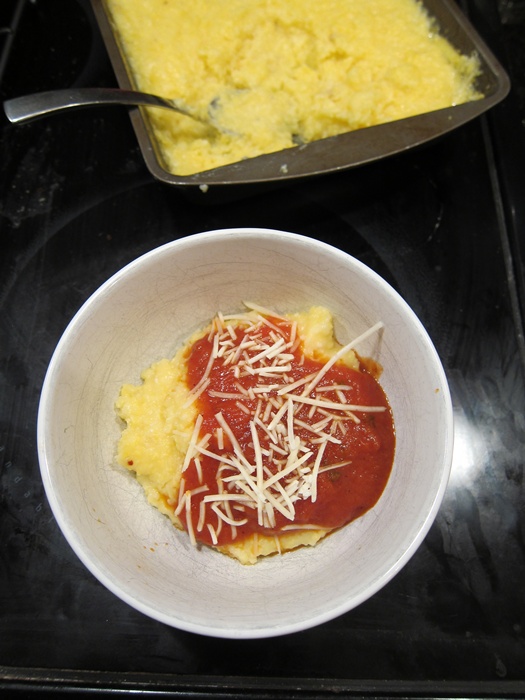
When both the shrimp and grits are ready, Food Network says to stir them both together, I thought it looked nicer served with the shrimp on top of a serving of grits.
 This was really tasty – the cheese and bacon provide plenty of flavor to prevent the grits from being insanely boring (I don’t understand the Southern palate). It’s also fairly quick – if you have everything all prepped (the cheese grated, the shrimp prepared, etc.) you could get it done in about half an hour. Easy and delicious!
Shrimp and Cheesy Grits
From FoodNetwork.com.
- 4 cups water
- salt and pepper
- 1 cup stone-ground grits
- 3 tablespoons butter
- 2 cups shredded sharp cheddar cheese
- 1 pound shrimp, peeled and deveined
- 6 slices bacon, chopped
- 4 teaspoons lemon juice
- 2 tablespoons chopped parsley
- 1 cup thinly sliced scallions
- 1 large clove garlic, minced
In a medium saucepan over high heat, bring the water to a boil. Once boiling, add a pinch each of salt and pepper, and the cup of grits. Reduce the heat to low, cover, and cook until the water is absorbed, 20-25 minutes. Stir once or twice during that time to avoid dry chunks in the middle. When it’s done, remove from the heat and stir in the butter and cheese until well mixed.
Meanwhile, cook the chopped up bacon in a pan over medium heat until browned, then remove and drain.
Cook the shrimp in a little bit of the leftover bacon grease until pink. Add the bacon back, along with the lemon juice, parsley, garlic, and scallions. Saute for 3 minutes.
When both the shrimp and grits are ready, either stir together, or serve in bowls with the shrimp atop the grits.