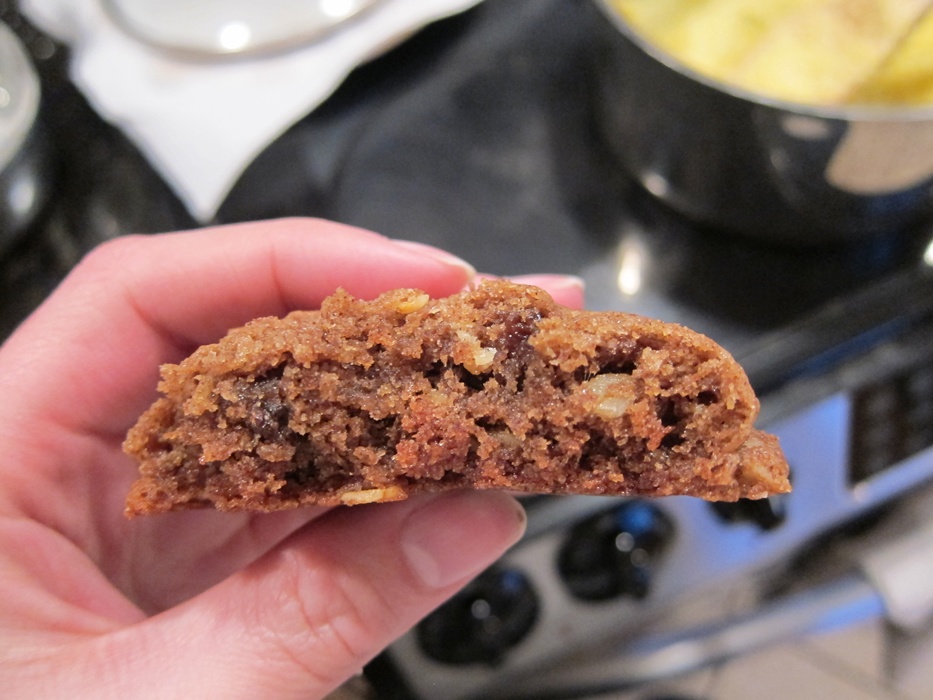
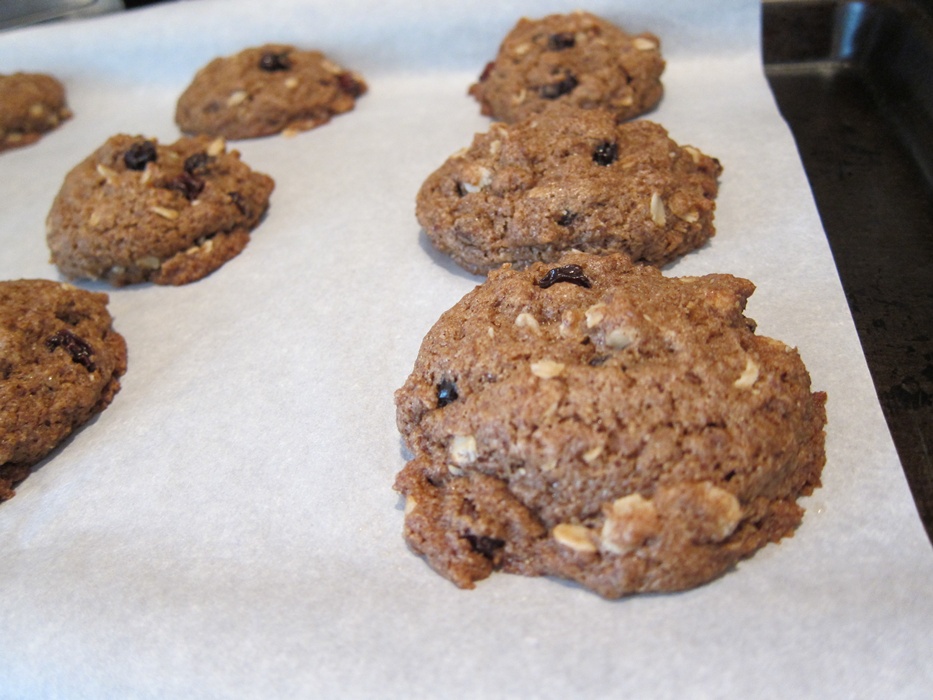
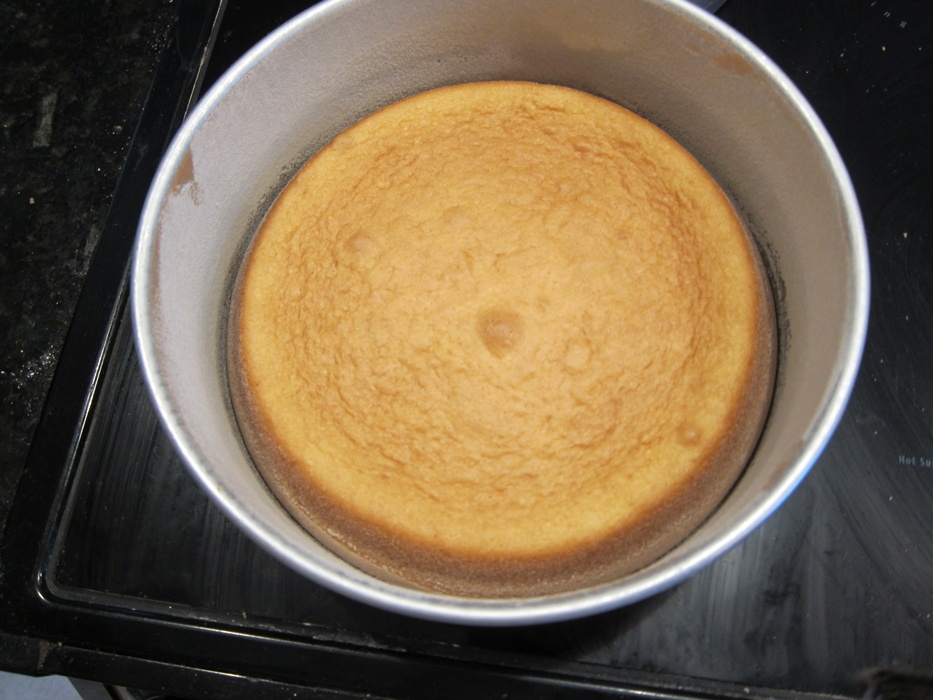
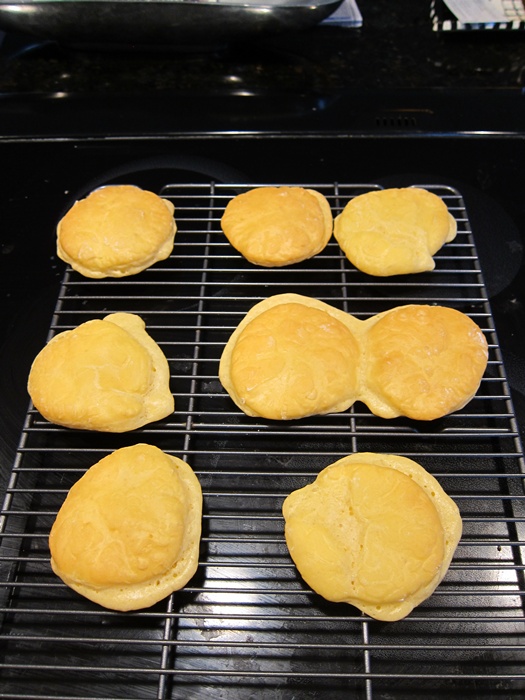
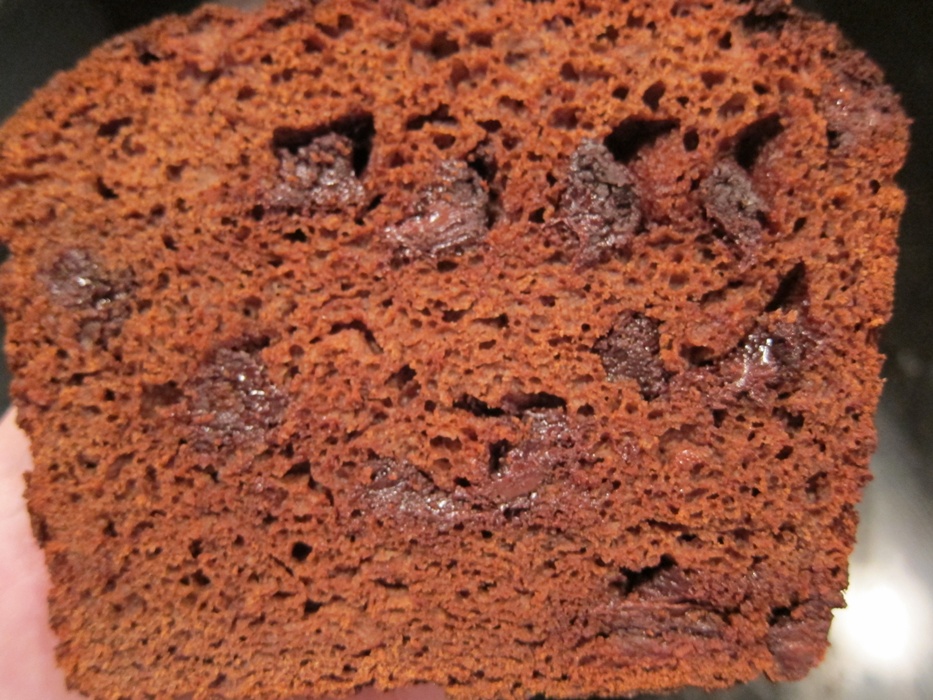
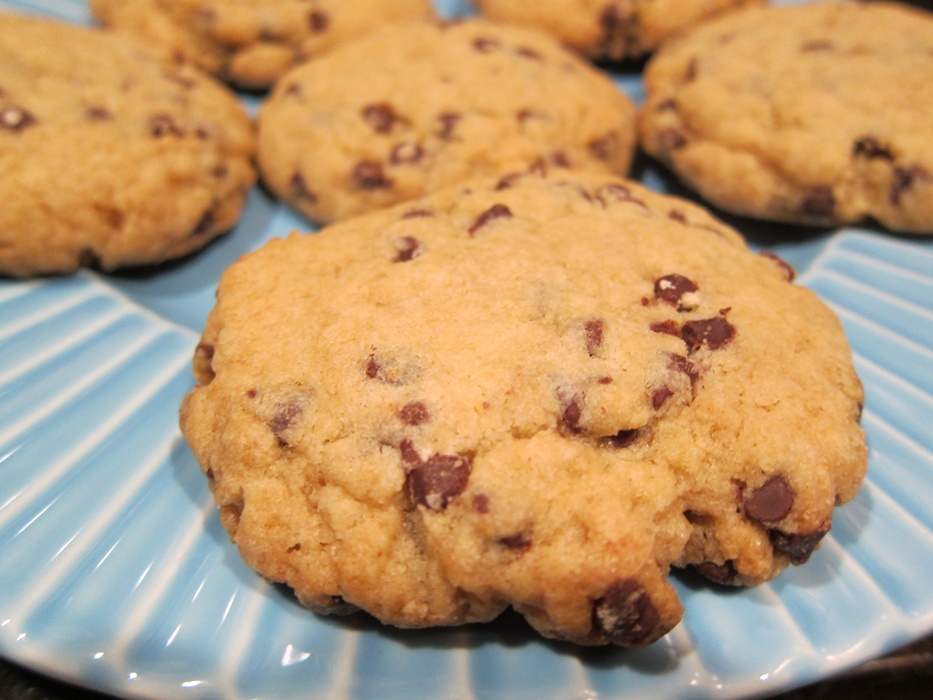
I know that from the name, these should be weird, possibly gross. They’re not, though! You don’t notice the taste of egg in the cookie, they’re just big, thick, firm chocolate chip cookies. (If you don’t notice it, what’s the point? Texture? Maybe? No idea, it just works!) They’re good enough that the goalie on my floor hockey team, who usually don’t take any cookies, had a second!
 Ingredients:
- 2 3/4 cups all-purpose flour
- 1 teaspoon salt
- 1/2 teaspoon baking soda
- 1 cup unsalted butter, cold
- 3/4 cup sugar
- 1/2 cup firmly packed light brown sugar
- 2 hard boiled eggs, de-shelled
- 1 teaspoon vanilla
- 1 cup semisweet chocolate chips (I used minis, but that’s not necessary)
Preheat the oven to 350 with a rack on the center shelf. Line two baking sheets with parchment.
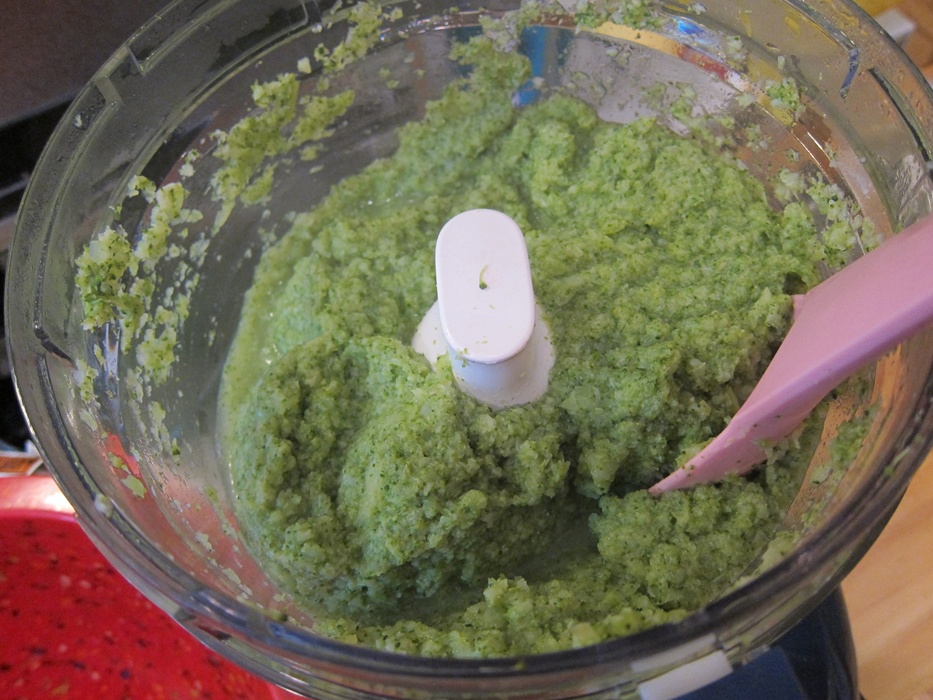
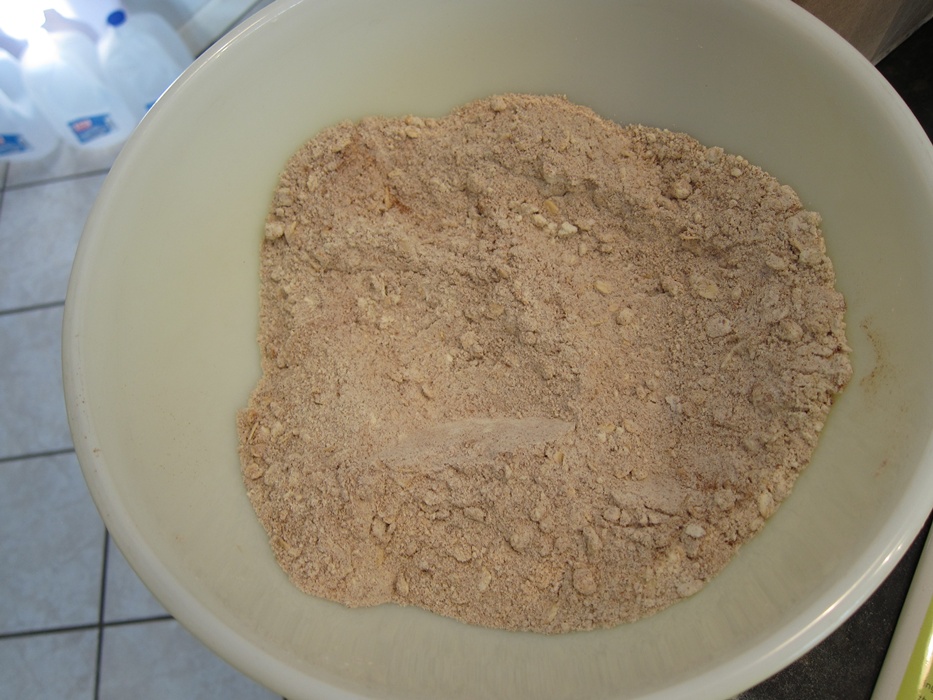
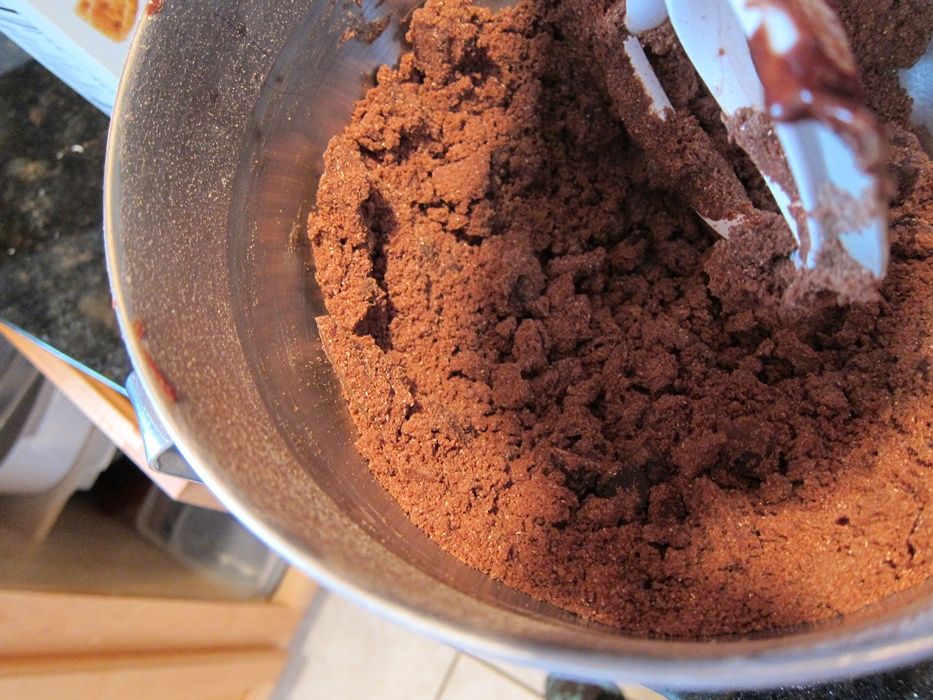
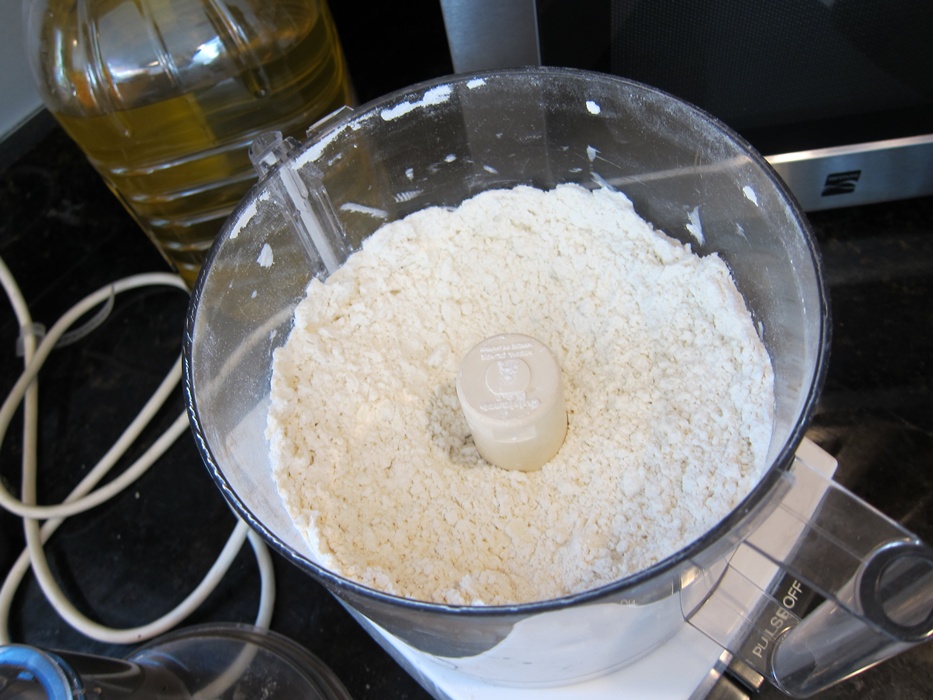
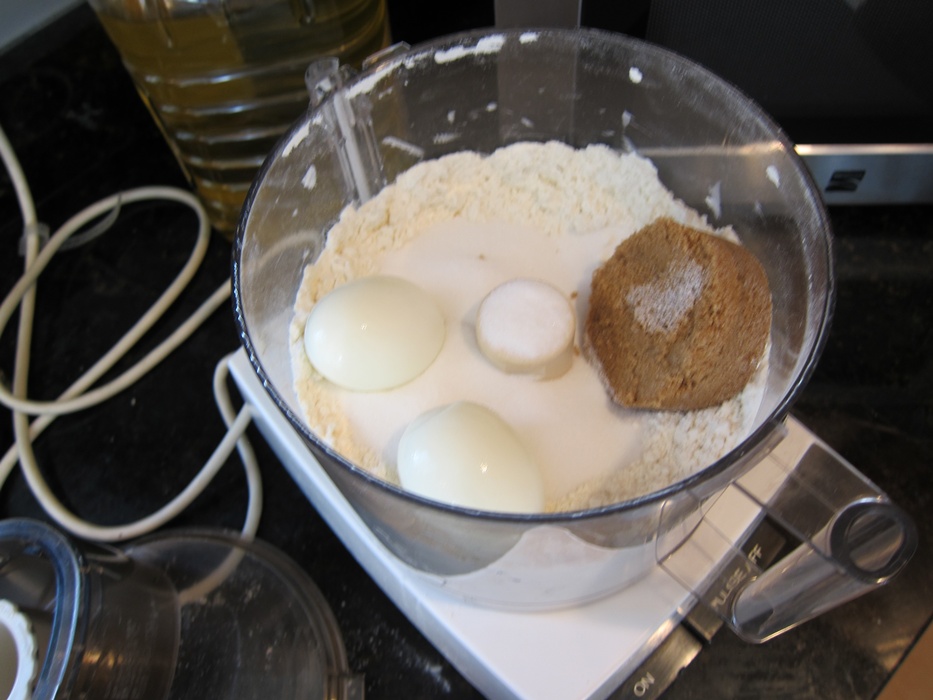
Combine the flour, salt, and baking soda in a food processor and pulse briefly. Add the butter and pulse until coarse and crumbly. To speed things along, I cut the butter into roughly 1/2 tablespoon chunks, but don’t bother getting too finicky about it, since the food processor cuts way faster than you do.
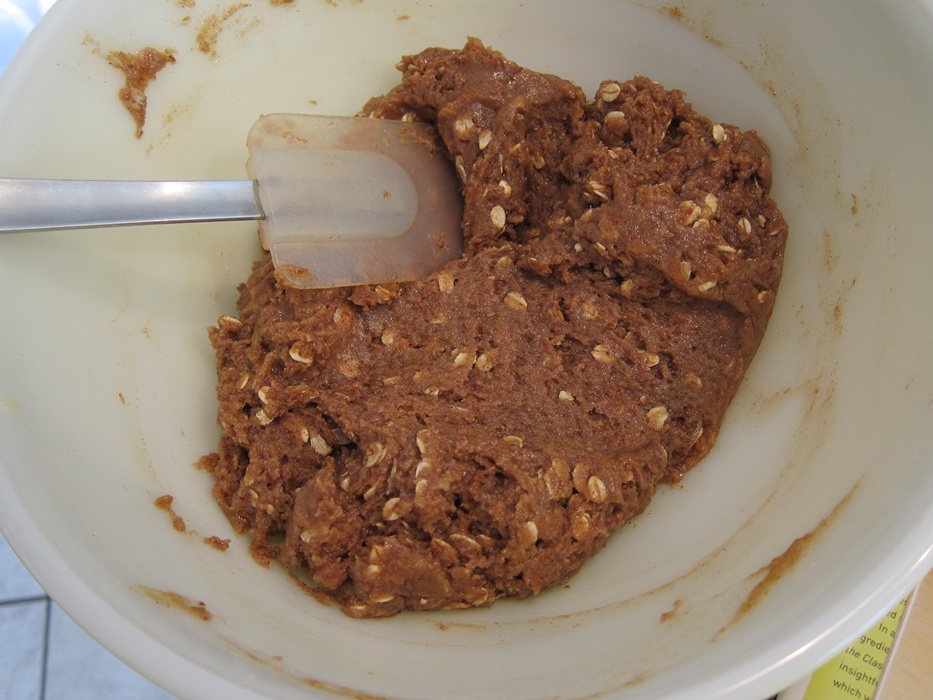
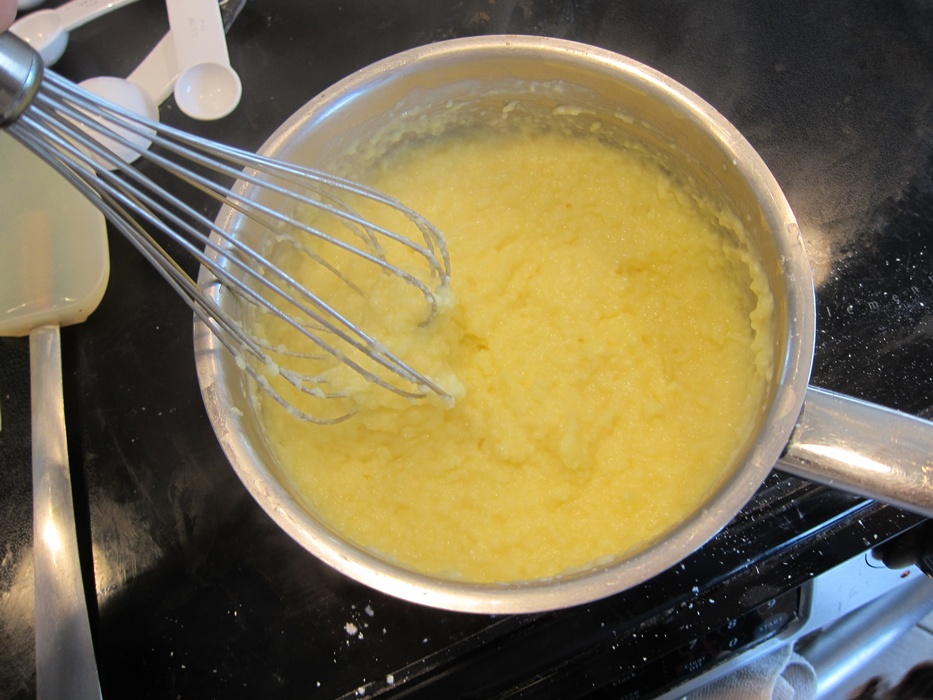
 Add the sugars and eggs, and pulse again until mealy looking.
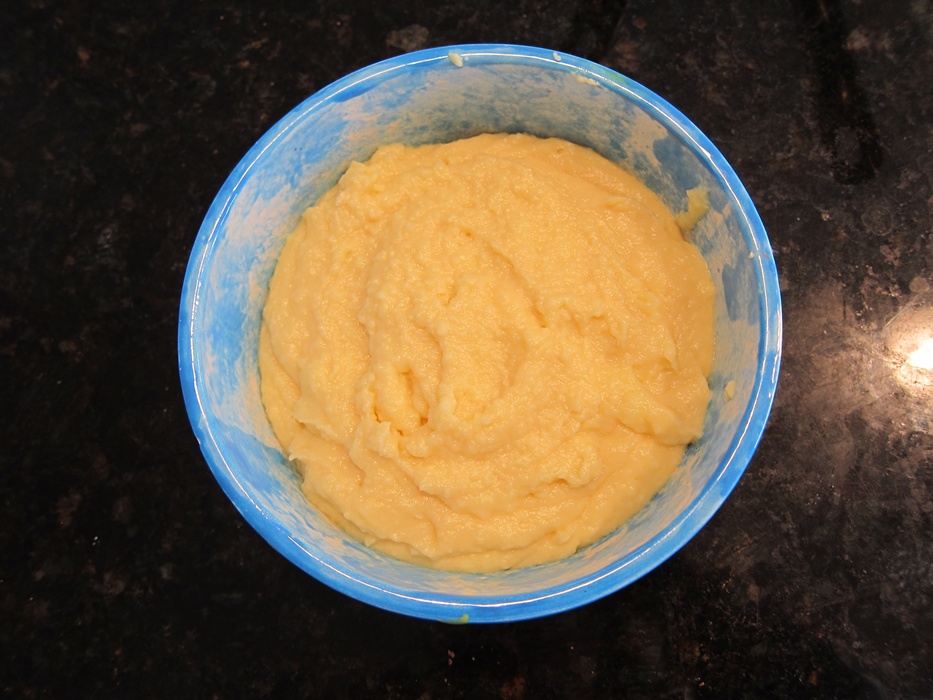
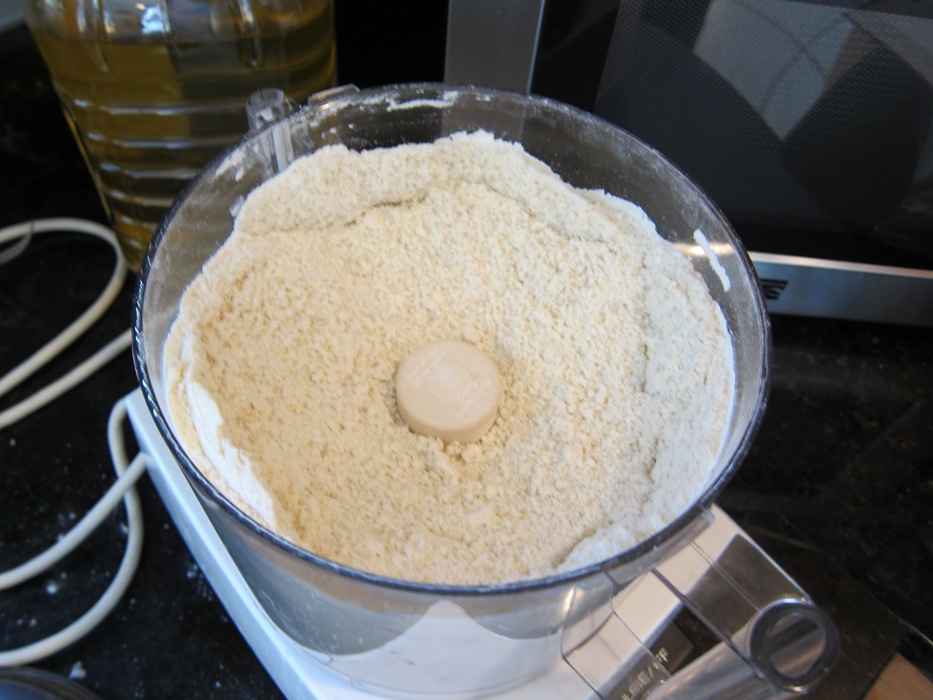 Add the vanilla and pulse again until the mixture just begins to come together, then transfer to a large bowl.
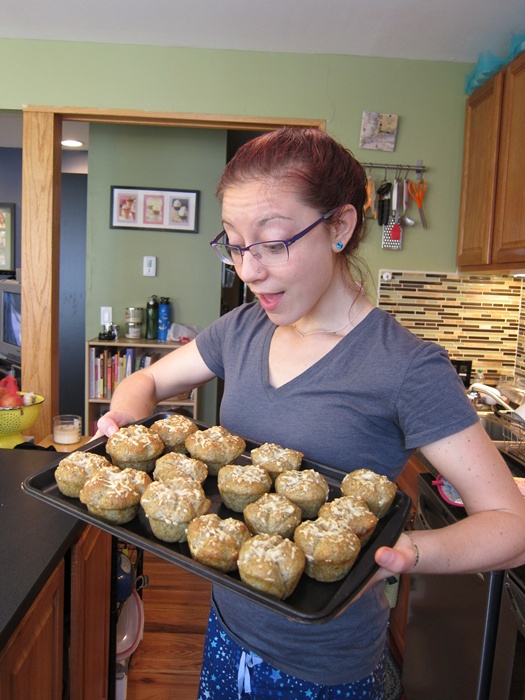
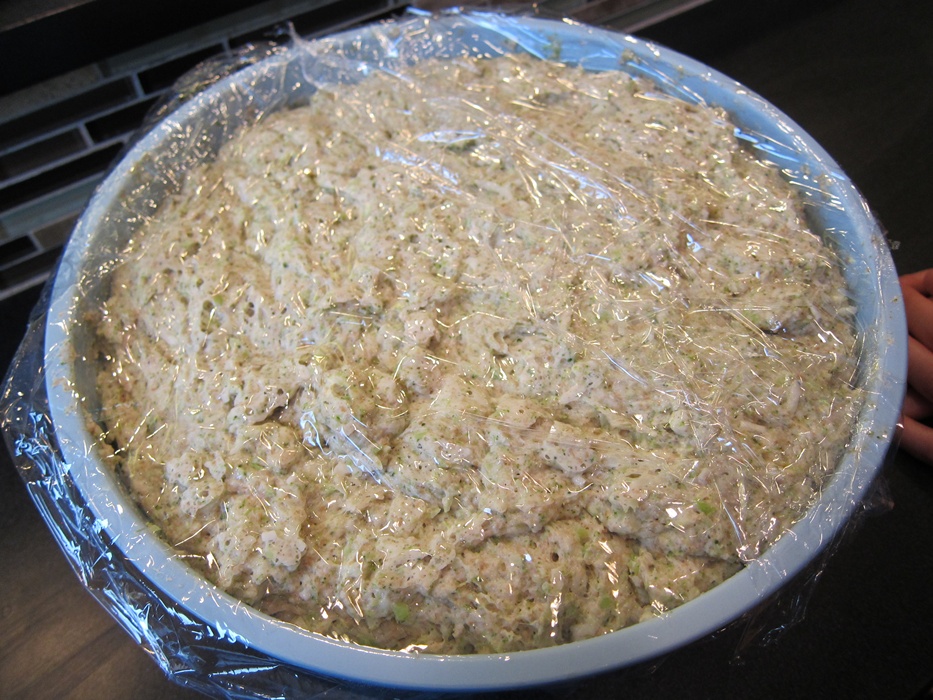
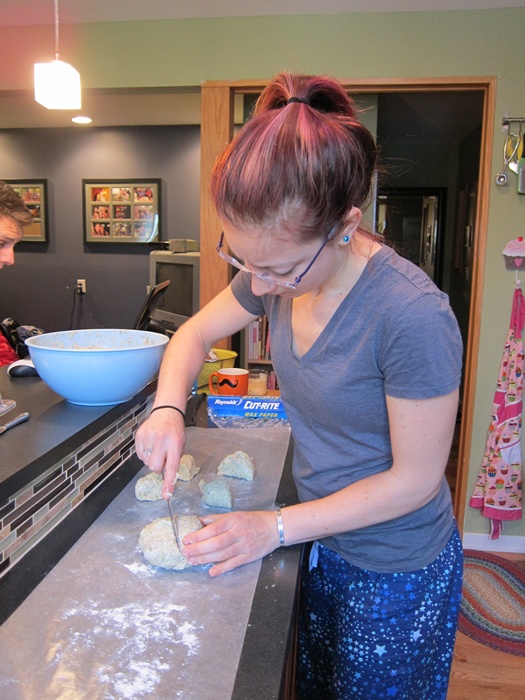
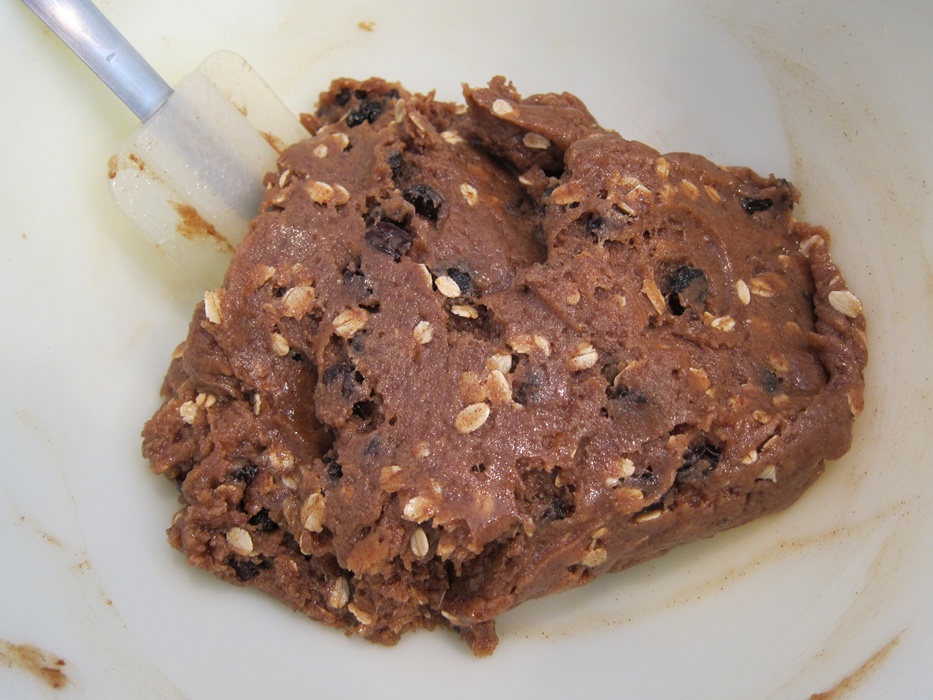
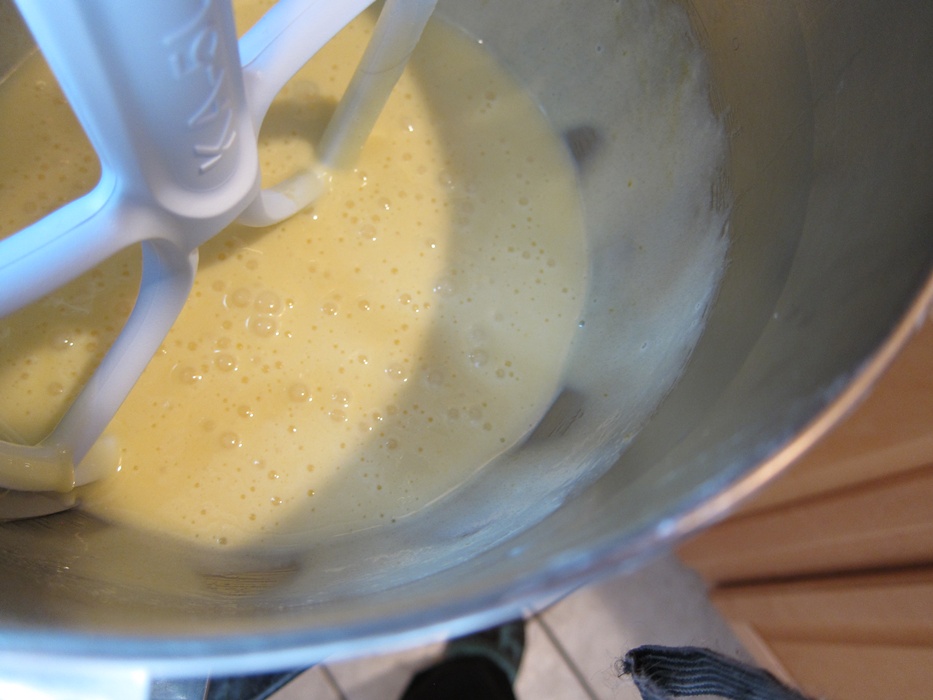
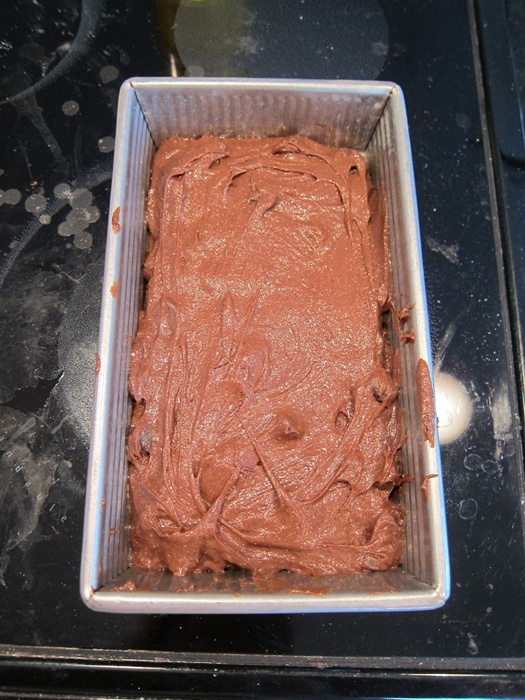
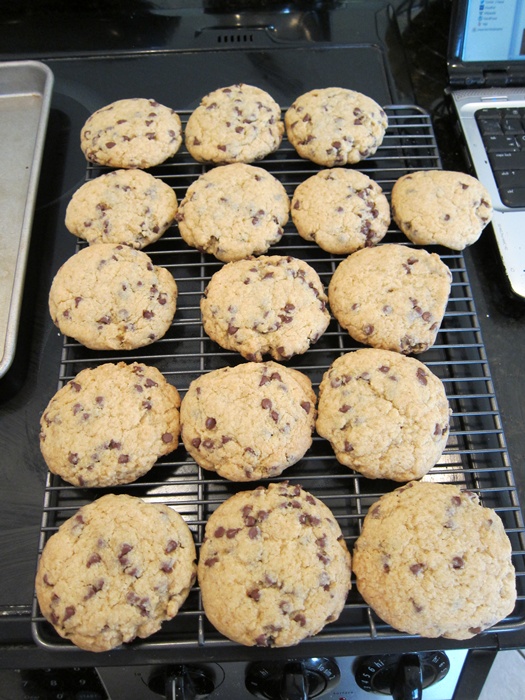
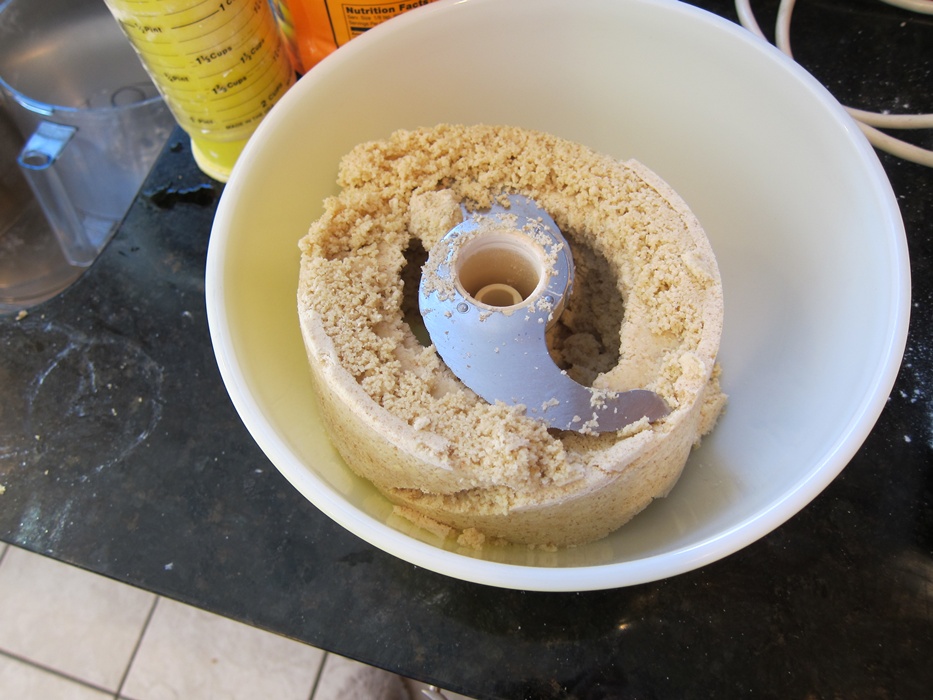 Stir in the chocolate chips, then divide the dough into 16 balls. You might as well use your hands to stir in the chips, since you’ll be using them to shape anyway. Gently flatten the balls, and place them well spaced apart, 8 to a baking sheet.
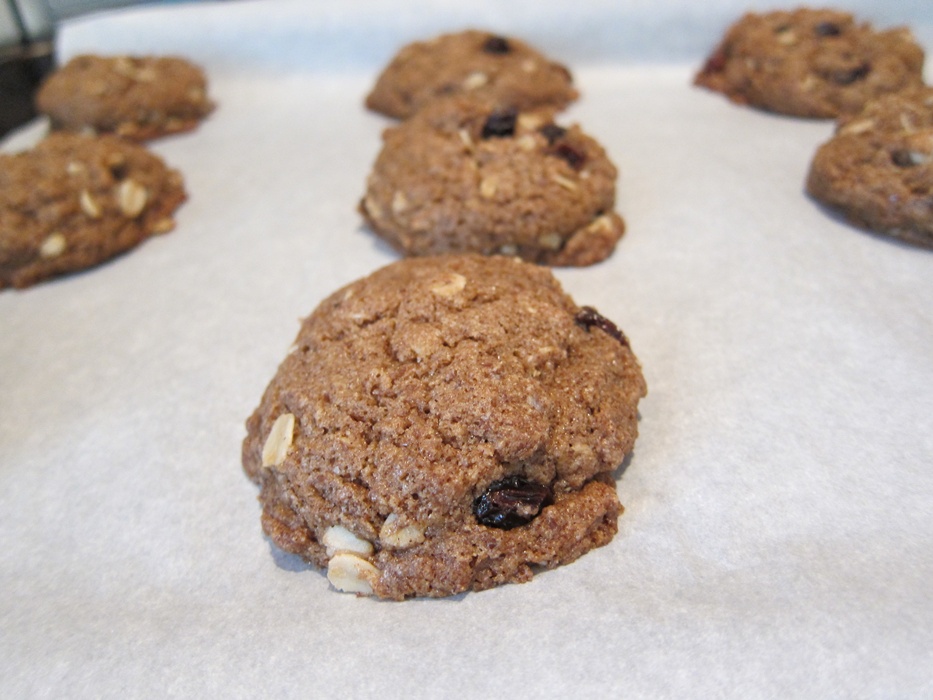
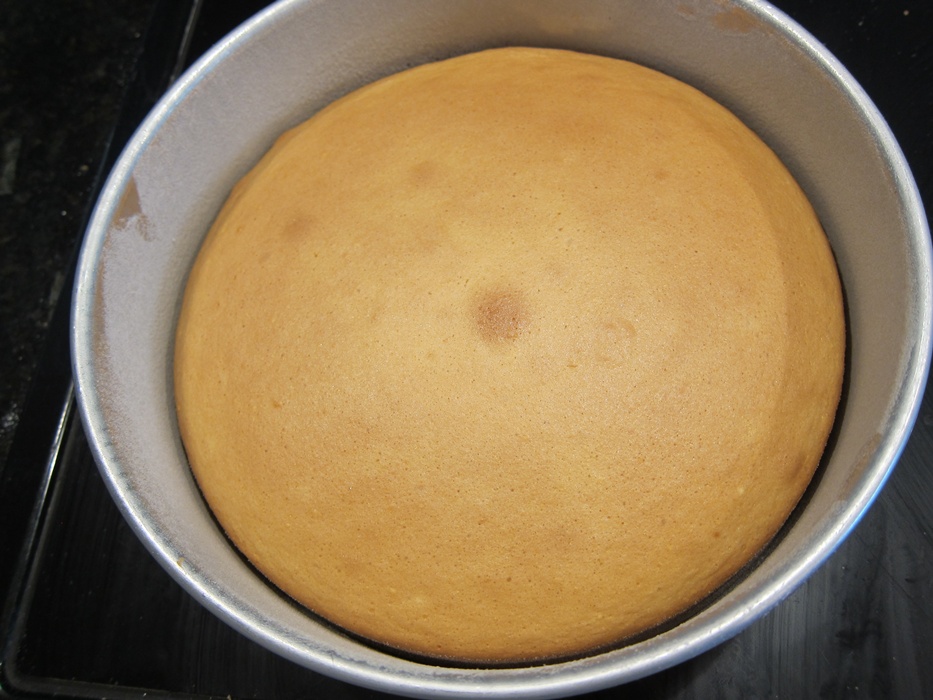
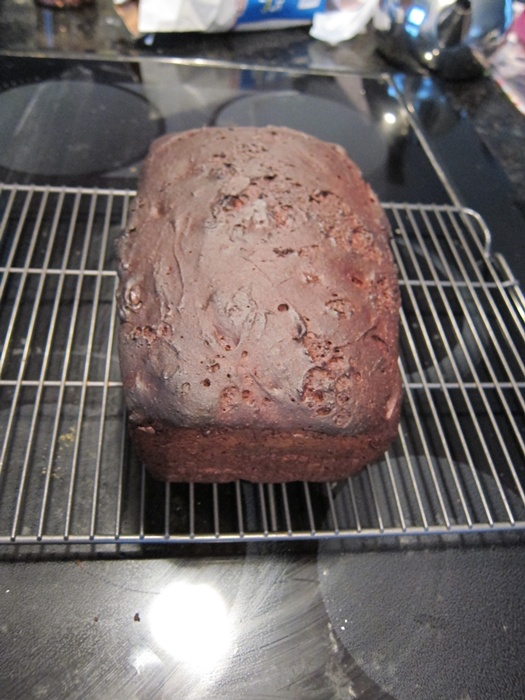
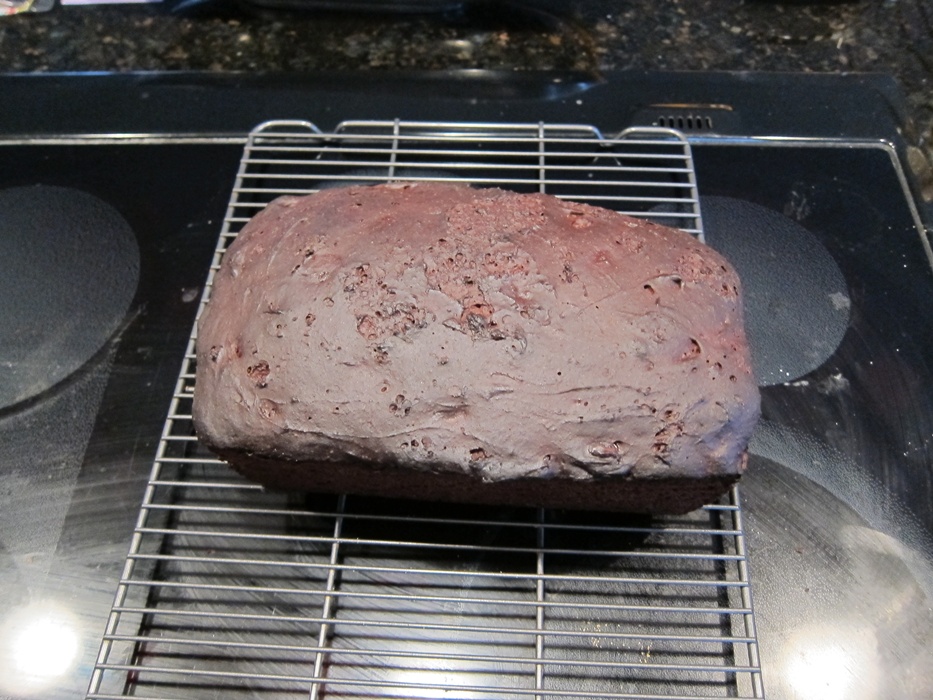
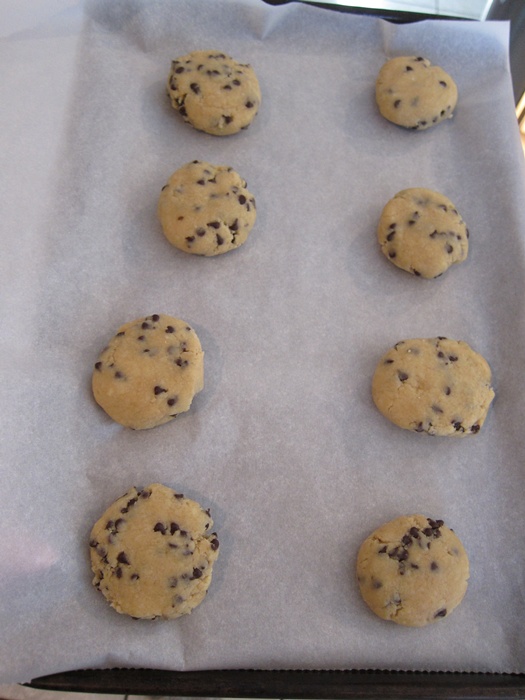 Bake one sheet at a time for 15 to 20 minutes (mine took 20), until lightly browned around the edges. Let cool on the sheet for 5 minutes, then transfer to a wire rack to cool completely.
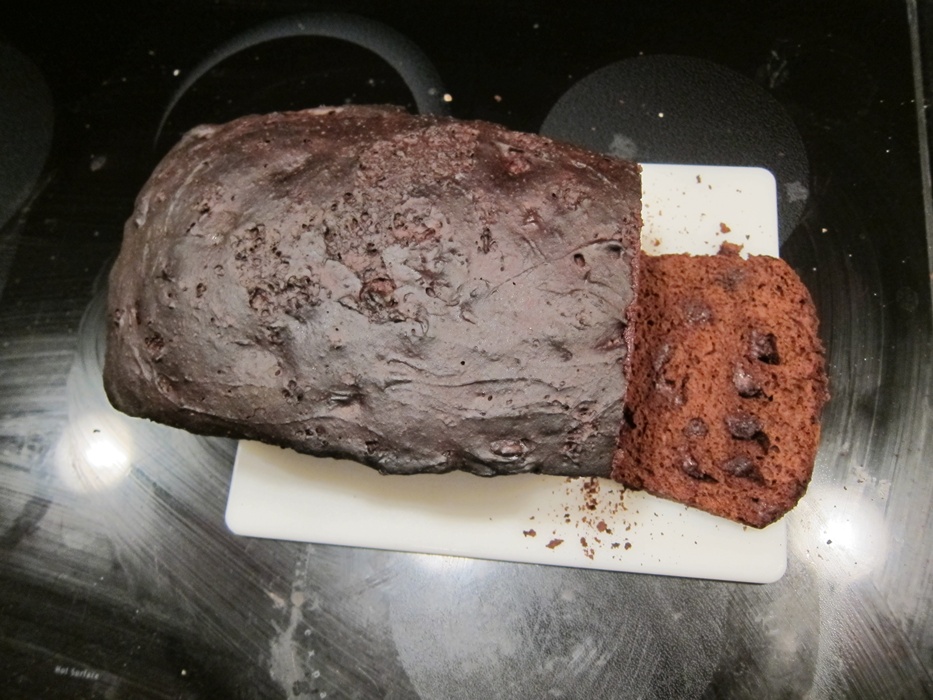
 The recipe notes that the texture improves as you let them cool, and is even better if you freeze the completely cooled cookies and let them thaw. After eating one still warm, I froze the rest, and they were nicely firm when they were back to room temp later.
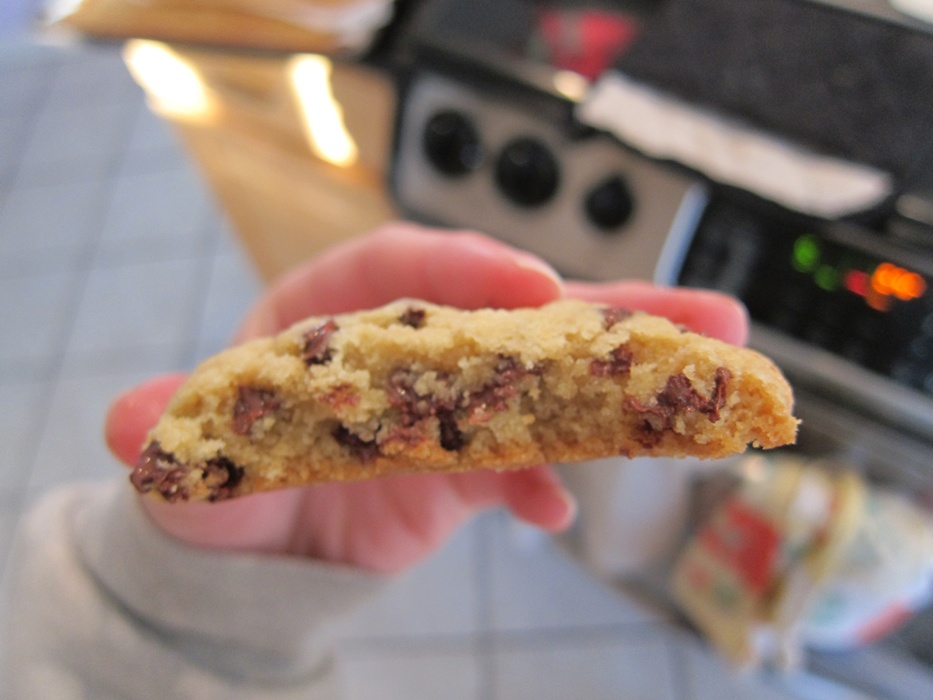 This could be my new go to chocolate chip cookie!
Hard Boiled Egg Chocolate Chip Cookies
From The Daily Cookie.
- 2 3/4 cups all-purpose flour
- 1 teaspoon salt
- 1/2 teaspoon baking soda
- 1 cup unsalted butter, cold
- 3/4 cup sugar
- 1/2 cup firmly packed light brown sugar
- 2 hard boiled eggs, de-shelled
- 1 teaspoon vanilla
- 1 cup semisweet chocolate chips
Preheat the oven to 350 with a rack on the center shelf. Line two baking sheets with parchment.
Combine the flour, salt, and baking soda in a food processor and pulse briefly. Add the butter and pulse until coarse and crumbly. Add the sugars and eggs, and pulse again until mealy looking. Add the vanilla and pulse again until the mixture just begins to come together. Transfer to a large bowl and stir in the chocolate chips, then divide the dough into 16 balls. Gently flatten the balls, and place them well spaced apart, 8 to a baking sheet.
Bake one sheet at a time for 15 to 20 minutes, until lightly browned around the edges. Let cool on the sheet for 5 minutes, then transfer to a wire rack to cool completely. For best texture, once cooled completely, freeze and then thaw.