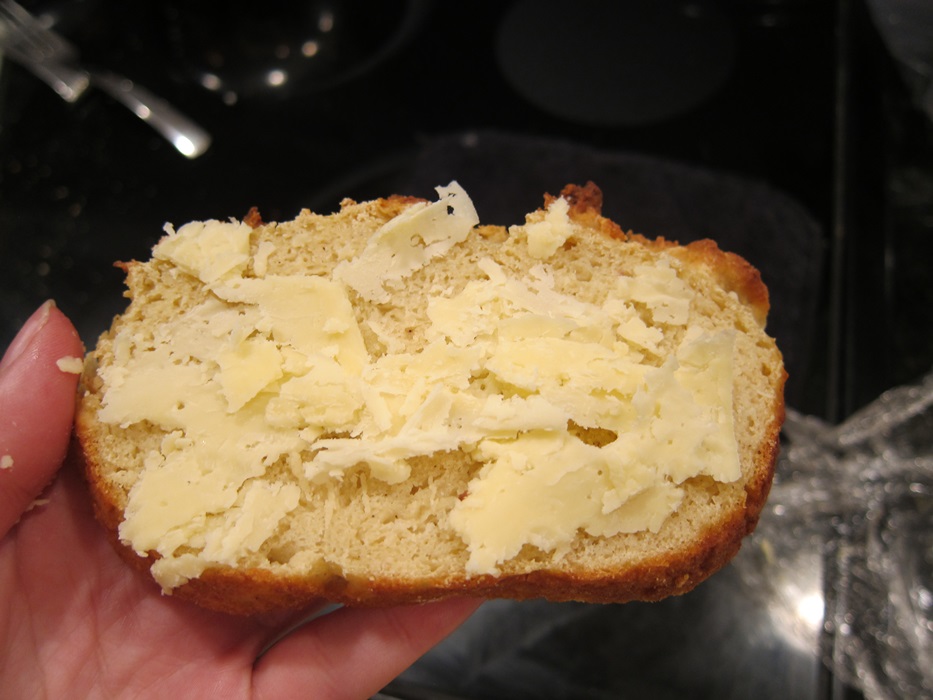
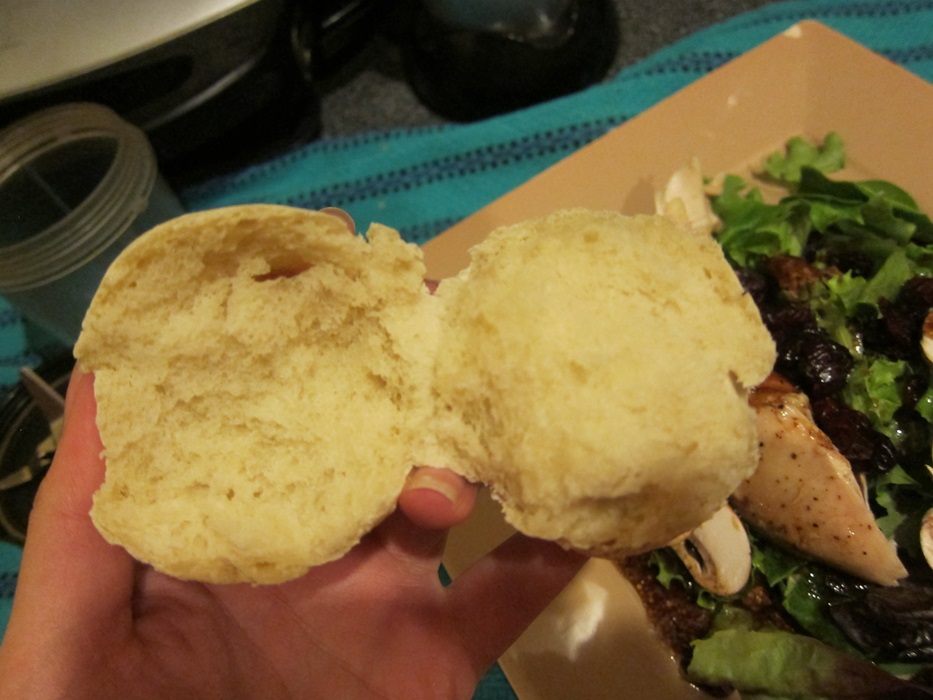
Some simple rolls that are soft inside, with just a little chewiness to the outside and a nice, not especially sweet flavor. They’re not crunchy rolls, so if that’s what you’re craving, try this recipe.

 Ingredients:
- 2 1/2 teaspoons active dry yeast
- 2 cups buttermilk, room temperature (most annoyingly, the small size in my supermarket these days is 14 ounces, not 16, so you’ll have to get a bigger bottle, or just make buttermilk yourself)
- 2 tablespoons honey
- 4 1/2 cups flour, plus additional while kneading
- 2 teaspoons kosher salt
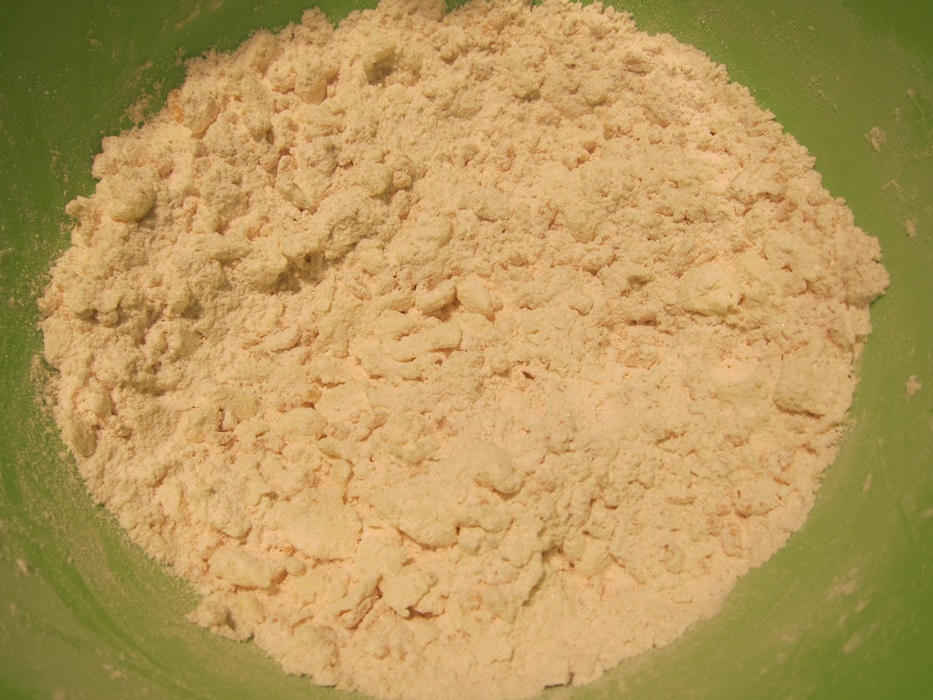
Stir together the yeast, buttermilk, and honey in a large bowl, or the bowl of a stand mixer. Add the flour and salt, and stir together again.
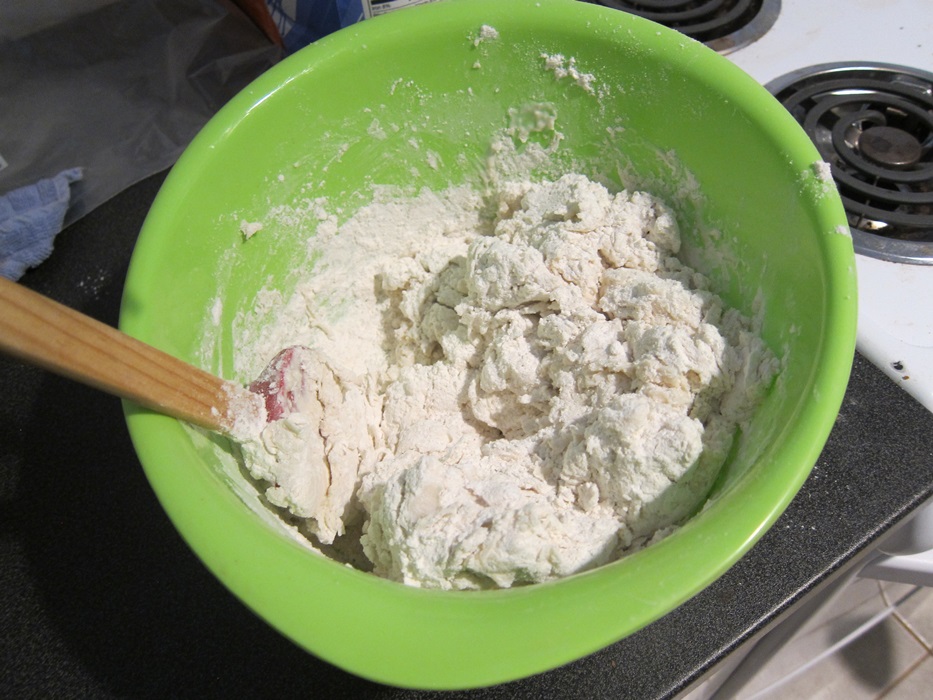 If kneading by hand, turn out onto a lightly floured surface and knead about 10 minutes, adding just enough flour that the dough is only tacky, rather than sticky, and comes off the counter and your hands easily without leaving any behind. If using a mixer, use the dough hook to knead, adding flour until the dough pulls away from the sides of the bowl. The recipe I was following said she added another cup of flour, I would say I used less than 1/4 cup to reach a nice texture.

I know in some of my old bread recipes, I used to keep adding more and more flour until the dough wasn’t even remotely tacky, but that’s not as nice a texture, and I try to leave the dough a tiny bit of moisture these days, if only because it means the dough doesn’t have as many big cracks you can’t squish back together.
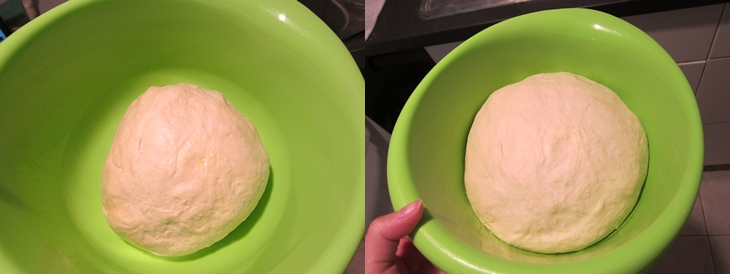
Transfer the kneaded dough to a large, lightly greased bowl and cover with plastic wrap. Let rise somewhere warm until doubled, about two hours.
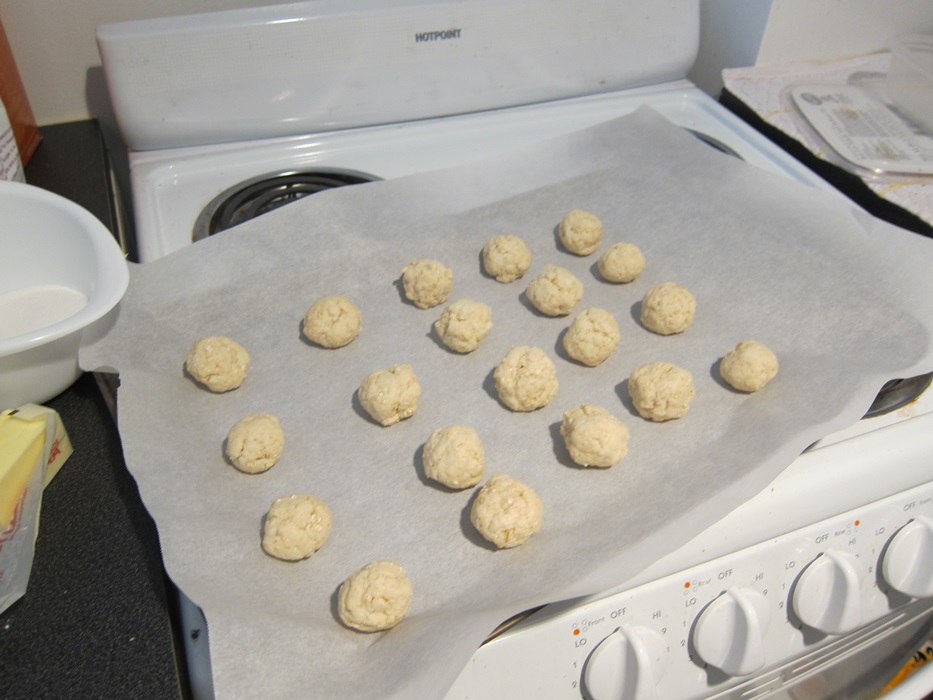
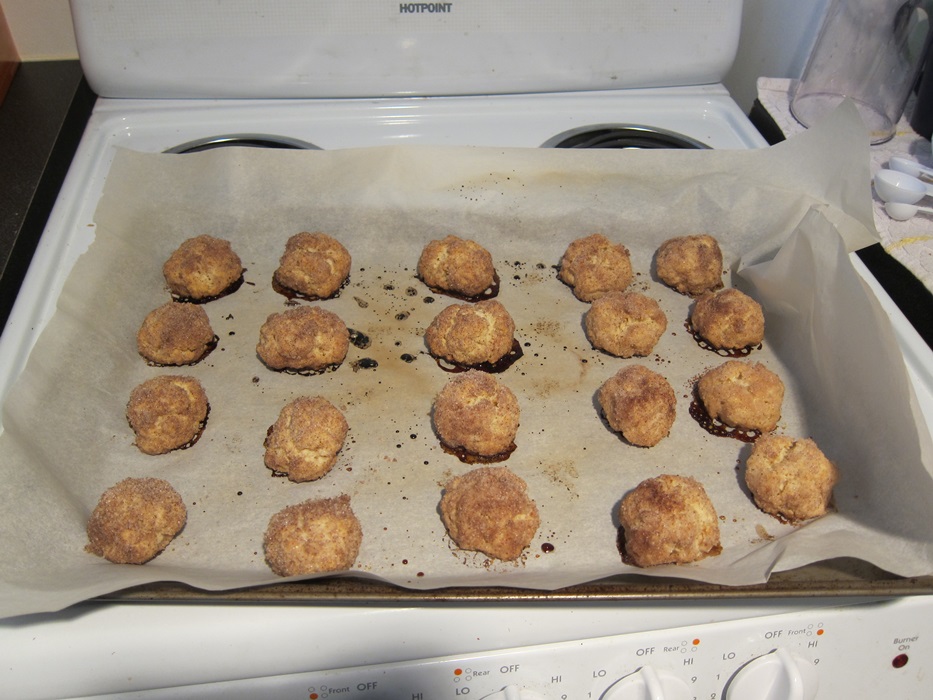
 Punch down the risen dough, and divide into 2 ounce pieces. Roll the dough into balls, then place on a parchment lined sheet. Cover loosely with plastic wrap, and let rise somewhere warm about 40 minutes. During that time, preheat oven to 375 degrees.
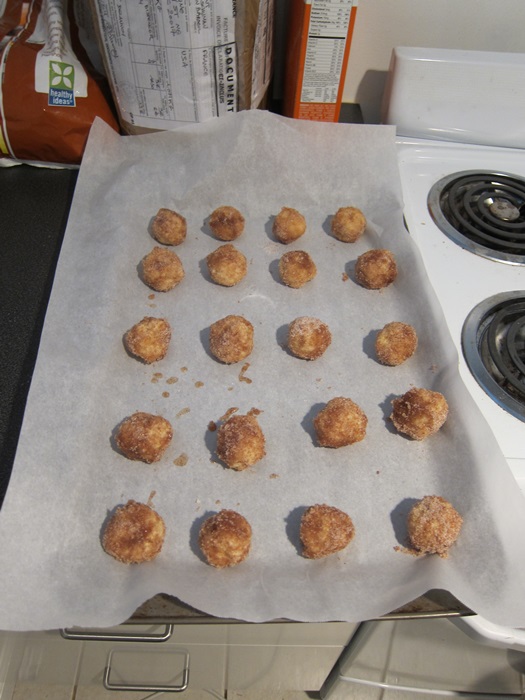
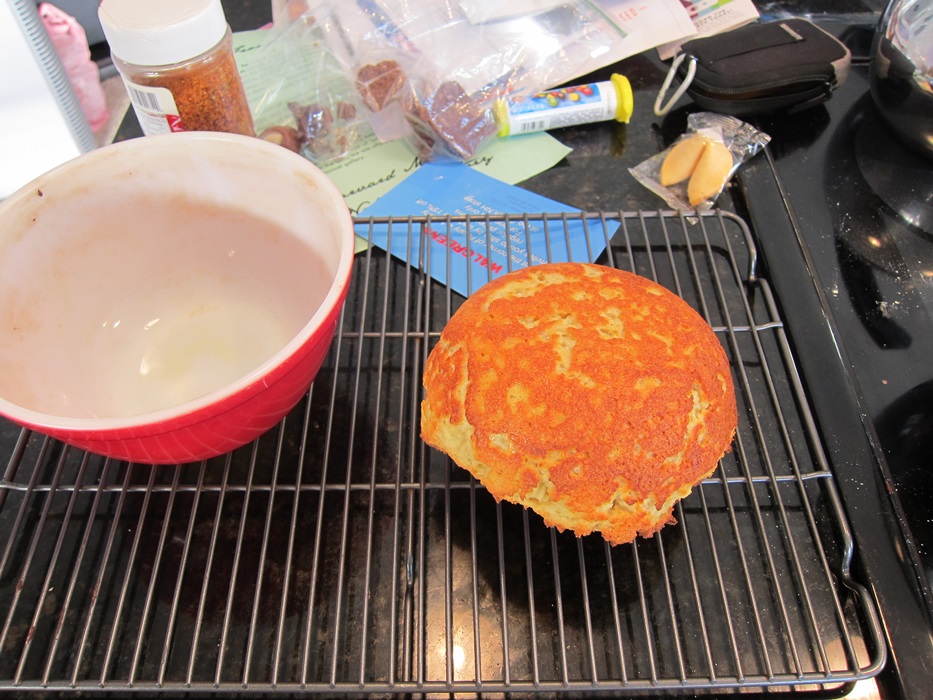
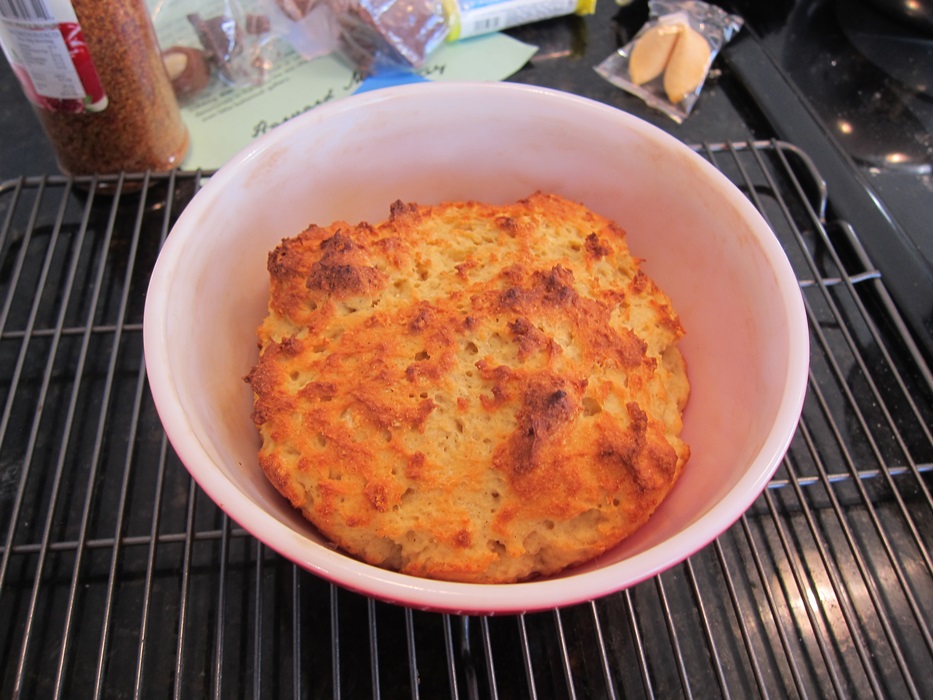
 Bake 15-20 minutes, until golden brown, checking the bottoms for doneness. Let baked rolls cool on a wire rack.

Bottoms brown first – don’t want them to burn!
These were a swell side to some giant salads! I’ll be sharing this post with YeastSpotting.

Honey Buttermilk Dinner Rolls
From Alexandra’s Kitchen.
- 2 1/2 teaspoons active dry yeast
- 2 cups buttermilk, room temperature
- 2 tablespoons honey
- 4 1/2 cups flour, plus additional while kneading
- 2 teaspoons kosher salt
Stir together the yeast, buttermilk, and honey in a large bowl, or the bowl of a stand mixer. Add the flour and salt, and stir together. If kneading by hand, turn out onto a lightly floured surface and knead about 10 minutes, adding just enough flour that the dough is only tacky, rather than sticky, and comes off the counter and your hands easily without leaving any behind. If using a mixer, use the dough hook to knead, adding flour until the dough pulls away from the sides of the bowl.
Transfer the kneaded dough to a large, lightly greased bowl and cover with plastic wrap. Let rise somewhere warm until doubled, about two hours.
Punch down the risen dough, and divide into 2 ounce pieces. Roll the dough into balls, then place on a parchment lined sheet. Cover loosely with plastic wrap, and let rise somewhere warm about 40 minutes. During that time, preheat oven to 375 degrees.
Bake 15-20 minutes, until golden brown, checking the bottoms for doneness. Let baked rolls cool on a wire rack.