Adobo Chicken Quesadillas

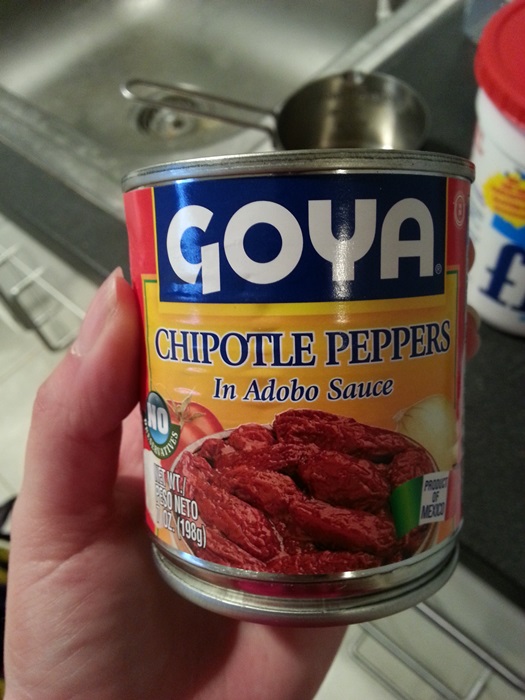
I really like the adobo sauce that comes in cans of chipotles in adobo, although I’ve possibly only actually used it once or twice since this chipotle and cheese pull-apart bread from 2011. I was looking for a lazy meal to use up some cheese in the fridge recently, though, and had bought a can of chipotles a while before, so this idea worked out deliciously!
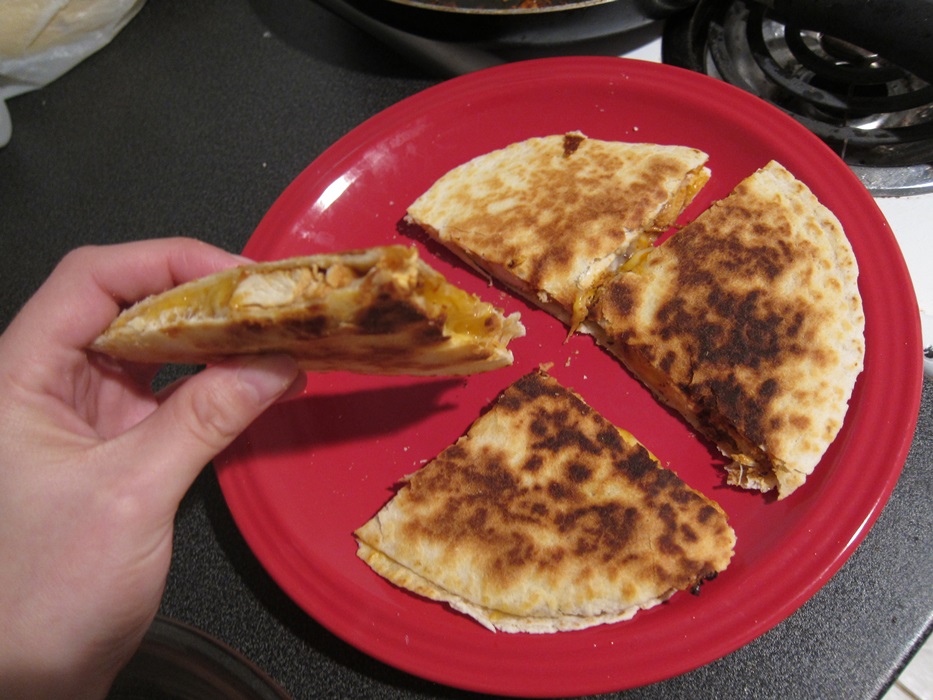
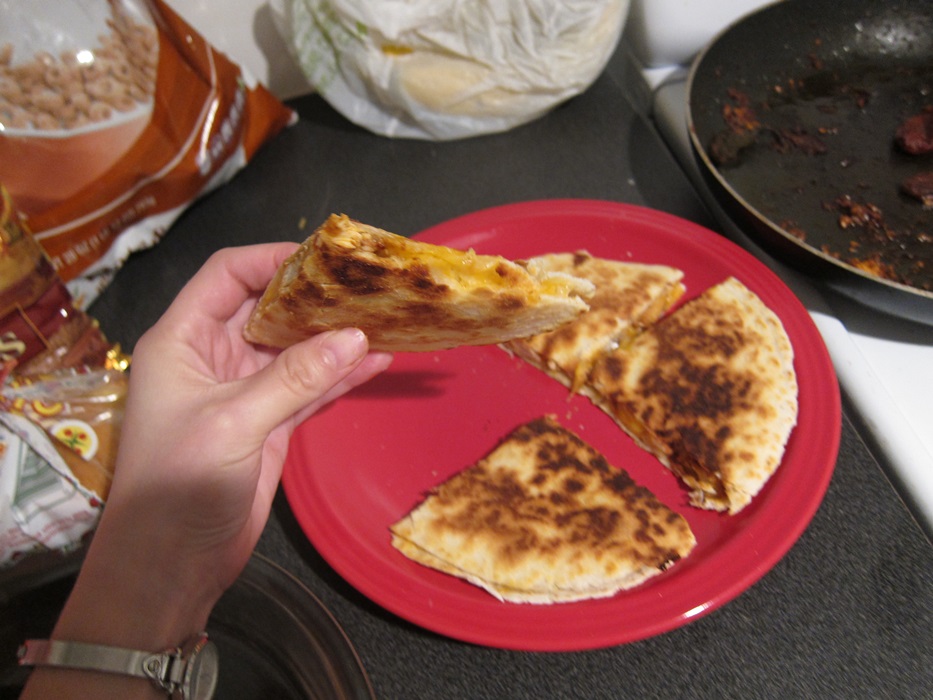
IMG_4182Making quesadillas isn’t exactly super complex, but this was a tasty version I enjoyed, and found worth sharing!

Ingredients:

  • 4 chicken tenders, sliced to roughly 1/2″ thickness
  • 1 can chipotles in adobo
  • 4 flour tortillas
  • shredded cheese (a Mexican blend would be good, I used a combo of cheddar and mozzarella)
  • sour cream for serving, if desired

20141120_162040If you have time, the easiest way to slice chicken thin is to let some frozen chicken half-thaw, so it’s still firm and will stand up to cutting.
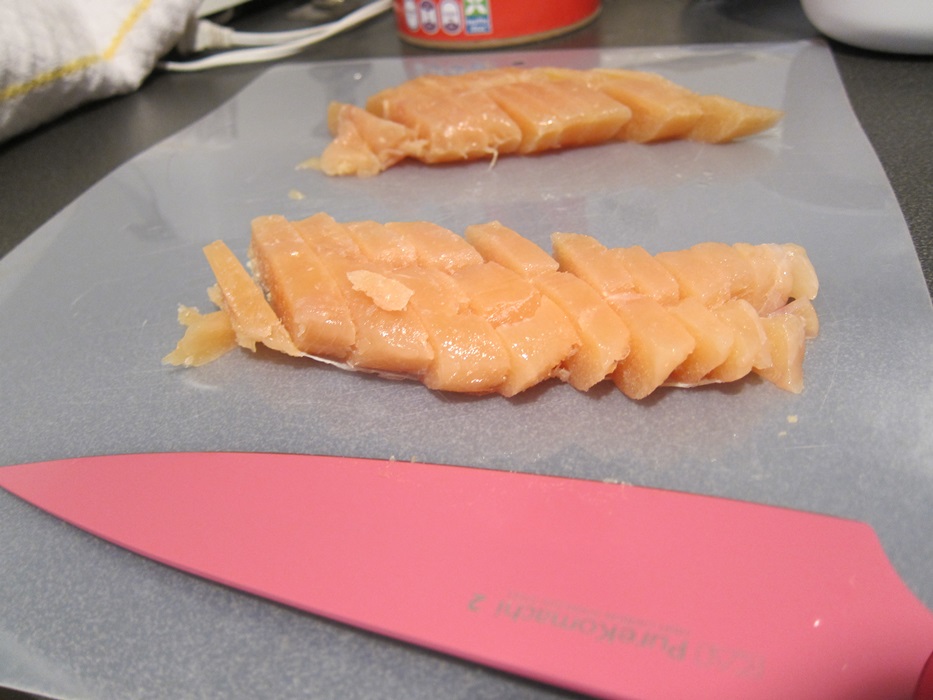
IMG_4172Stir the sliced chicken and the can of chipotles in adobo together in a small bowl, and let sit around an hour (or until the chicken has fully thawed).
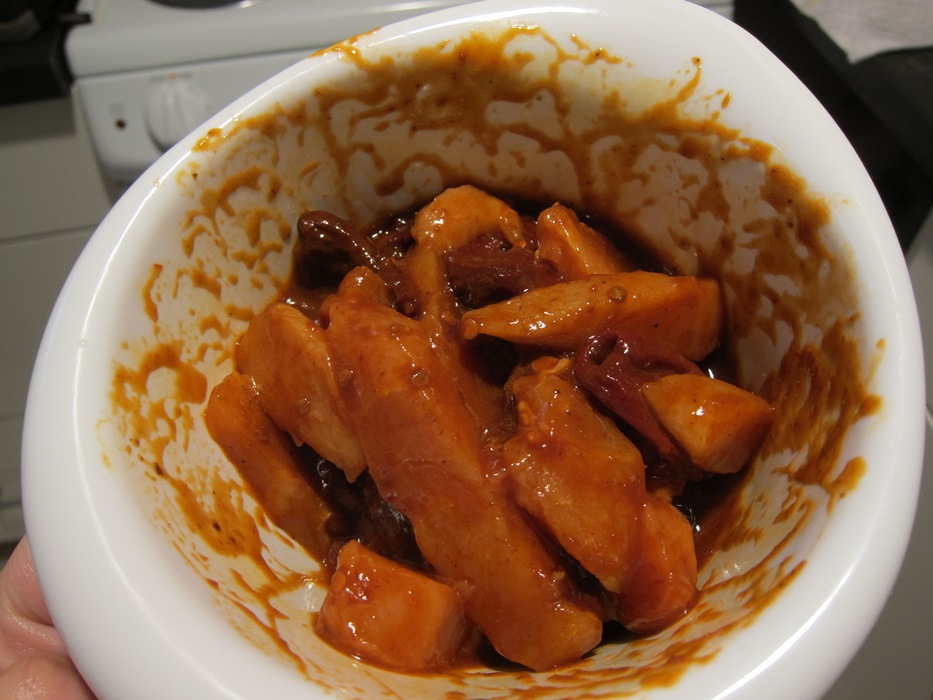
IMG_4173Chop the peppers, if you intend to eat them, or take them out now if you don’t want spicy quesadillas. If you’re not going to eat them, you don’t want to cook them, because cooking chipotles can make you cough a ton. Cook on the stove until the chicken is cooked all the way through.
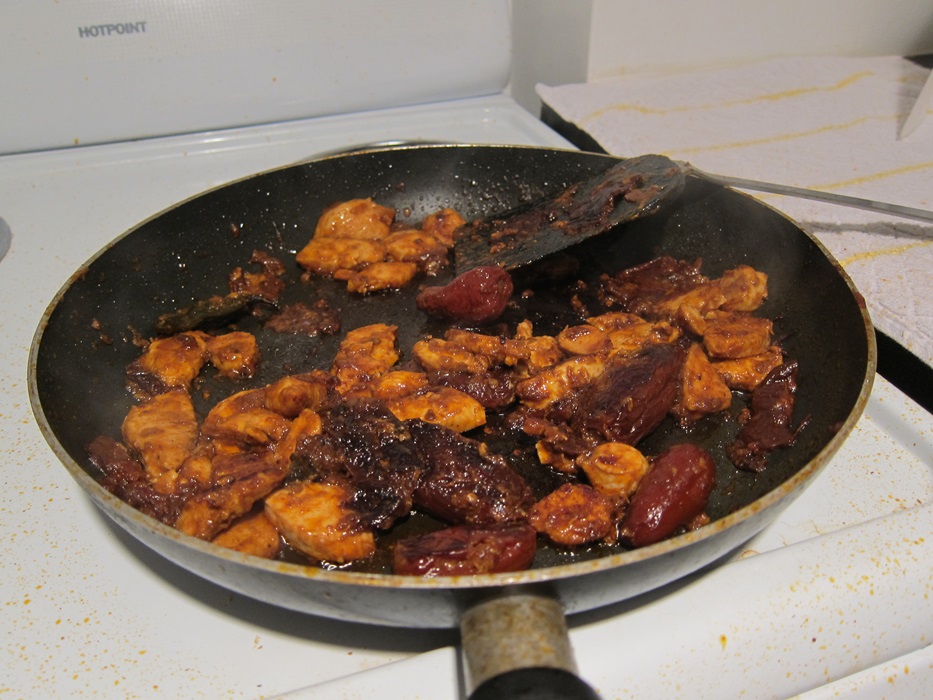
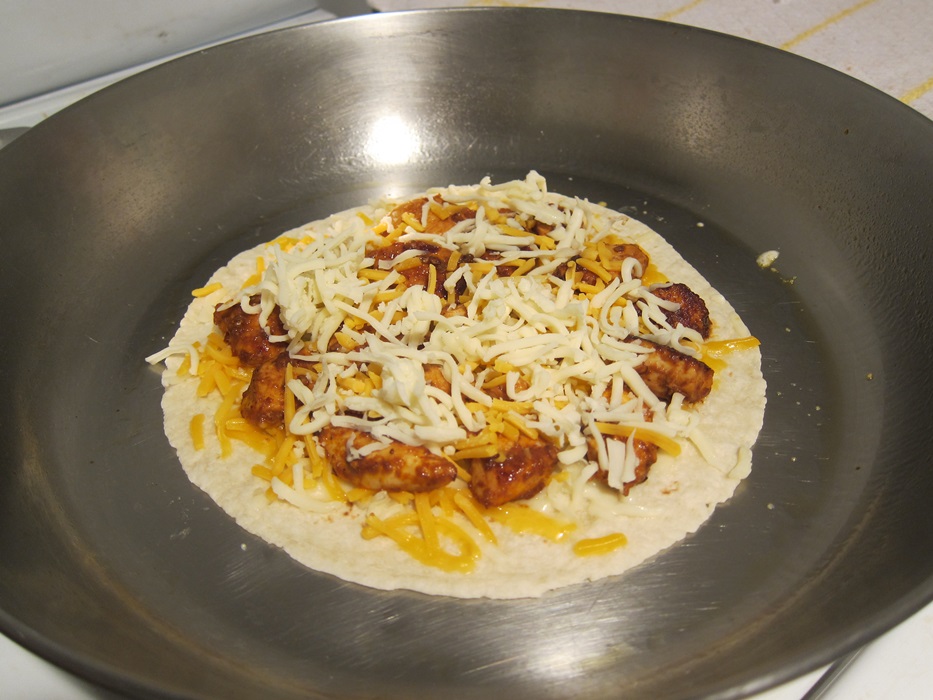
IMG_4174Lightly grease a pan different pan (or clean and dry the first pan), and heat over medium-low heat. (Lower heat gives the cheese time to melt before the tortillas get a chance to burn!) Add a tortilla, and spread a big handful of cheese over it. Add half the cooked chicken, then cover with more chicken and a second tortilla.
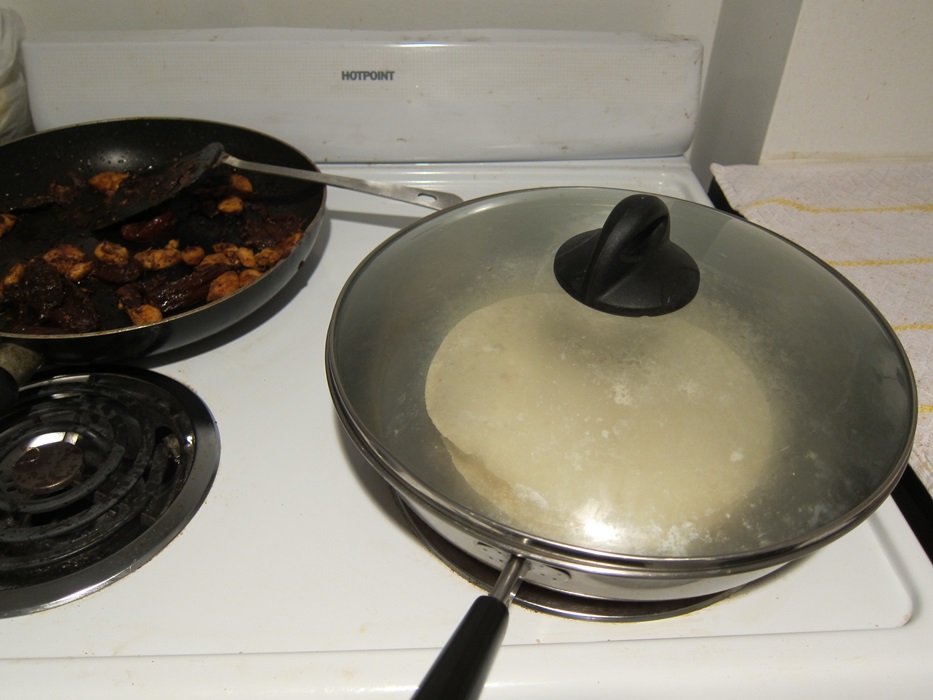
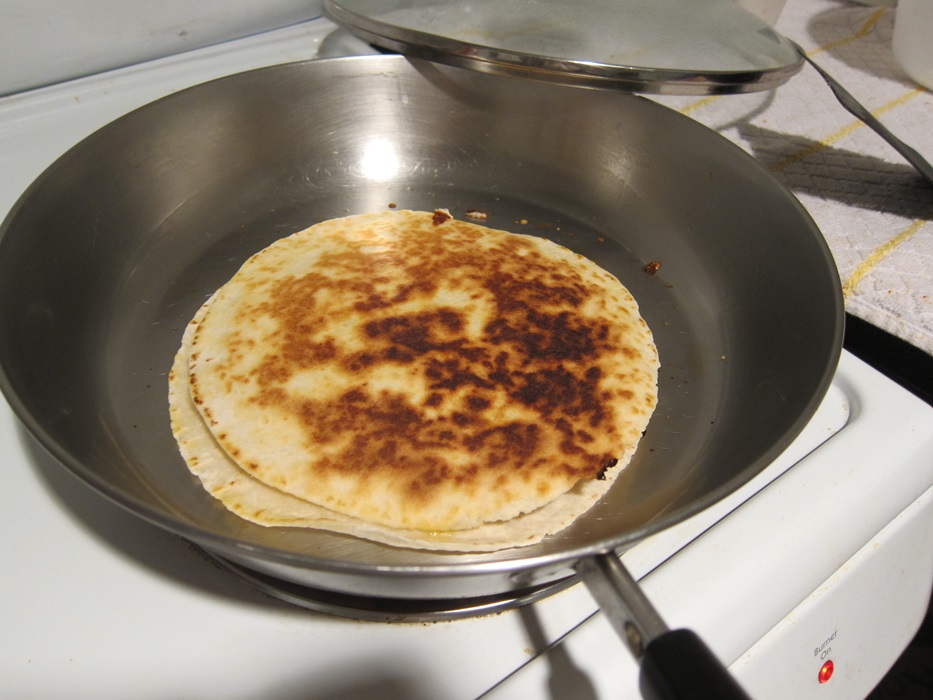
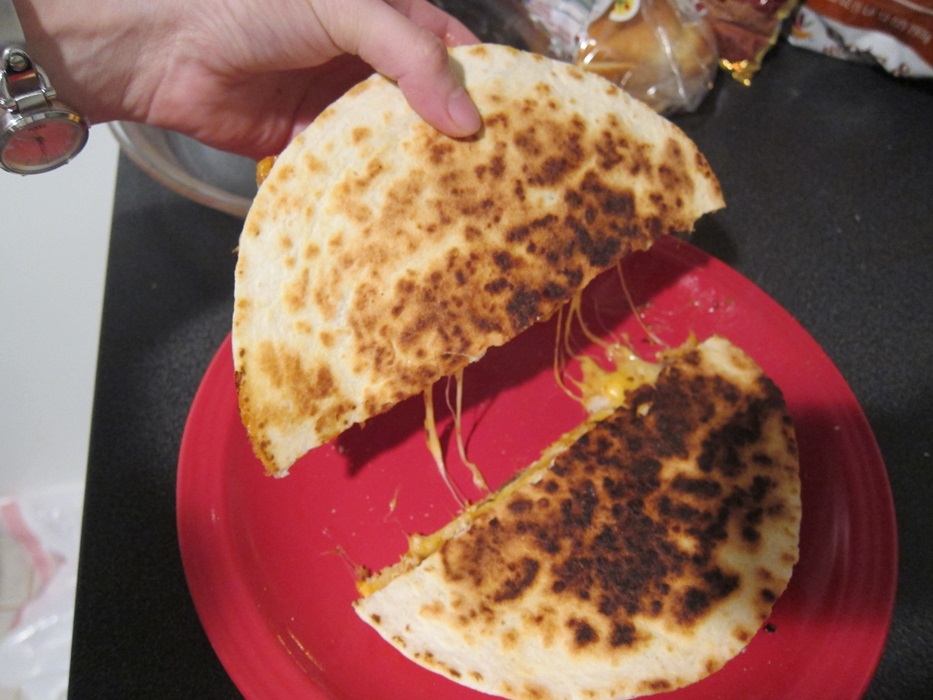
IMG_4175Put a lid on the pan (to help the whole thing get warm, letting the cheese melt), and cook several minutes until the bottom tortilla has lightly browned on the bottom, then flip and cook until the second tortilla has browned as well.
IMG_4176Remove from the pan, cook the second half of the ingredients, then slice and serve while still warm.
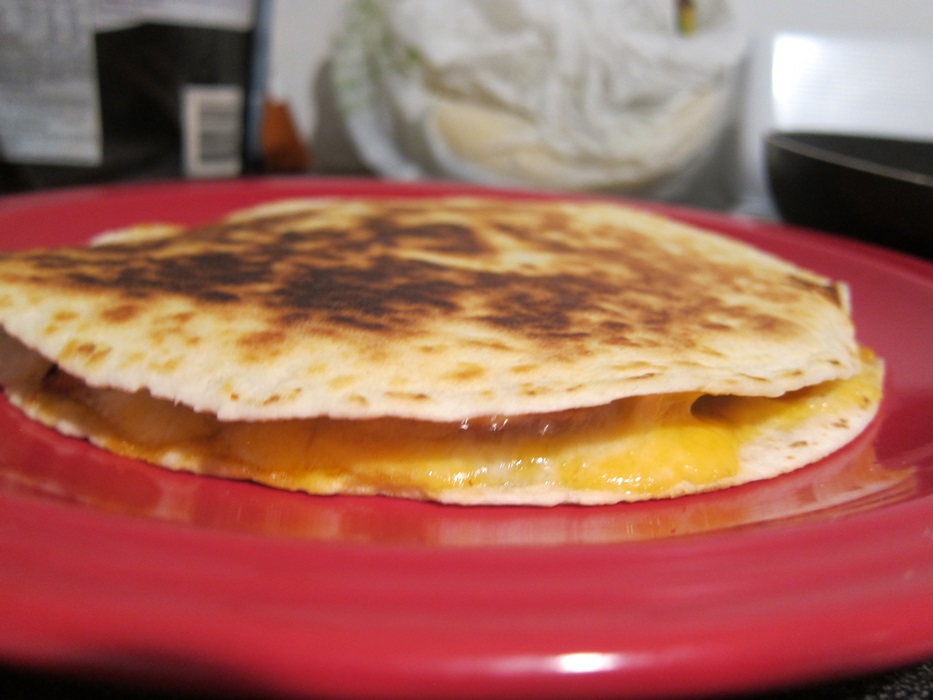
IMG_4177 IMG_4179 IMG_4183 IMG_4181I was quite pleased with these, and will probably make them again!

Chipotle Chicken Quesadillas

  • 4 chicken tenders, sliced to 1/2″ thickness
  • 1 can chipotles in adobo
  • 4 flour tortillas
  • shredded cheese
  • sour cream for serving, if desired

If you have time, the easiest way to slice chicken thin is to let some frozen chicken half-thaw, so it’s still firm and will stand up to cutting.

Stir the sliced chicken and the can of chipotles in adobo together in a small bowl, and let sit around an hour (or until the chicken has fully thawed). Discard peppers if you don’t want spicy quesadillas, or chop if you intend to eat them, then cook in a pan on the stove over medium heat until the chicken until cooked through.

Lightly grease a pan different pan, and heat over medium-low heat. Add a tortilla, and spread a big handful of cheese over it. Add half the cooked chicken, then cover with more chicken and a second tortilla. Put a lid on the pan, and cook several minutes until the bottom tortilla has lightly browned on the bottom, then flip and cook until the second tortilla has browned as well. Remove from the pan, cook the second half of the ingredients, then slice and serve while still warm.
Posted in Dinner | Tagged , , , | Leave a comment

Flourless Chocolate Cake

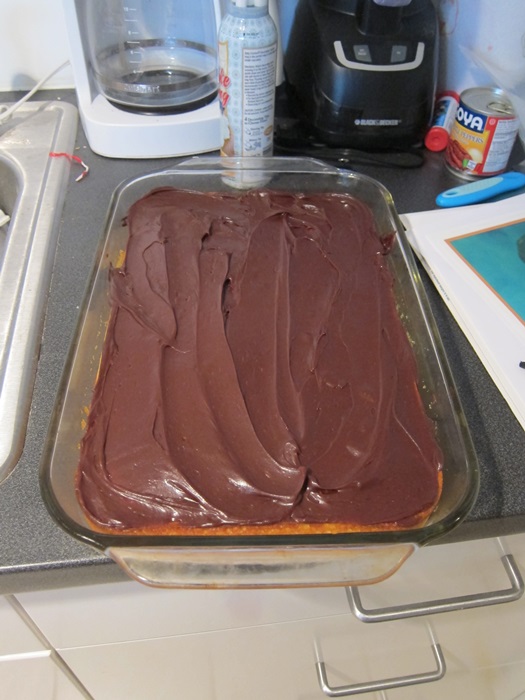
This fall my mother and I met up in Philly for a weekend of museums and food. Easily the best thing we had, which we’ve been talking about ever since, was a slice of flourless chocolate cake at Giorgio on Pine. This isn’t quite that cake, but it’s a good step closer than, say, this truffle cake (despite having a fairly similar ingredient list). It’s intensely rich and chocolatey. Giorgio’s cake is still a bit smoother/creamier textured, but if you let this one come up to room temperature, it’s close! Either way, it’s the chocolate-i-est thing I’ve ever made, and it’s fantastic!

IMG_4300Ingredients:

Cake:

  • 1 pound bittersweet or semisweet chocolate, coarsely chopped (I used 10 ounces bittersweet, 6 of semisweet)
  • 11 tablespoons unsalted butter, cut into 1/2 inch cubes
  • 5 large eggs, separated
  • 1 teaspoon vanilla extract
  • 1/4 teaspoon salt
  • 2 tablespoons sugar

Ganache:

  • 1 cup heavy cream
  • 3/4 cup cocoa powder, sifted
  • 1/4 cup granulated sugar
  • 1/2 teaspoon strong brewed coffee (skipped this)
  • 1/2 teaspoon vanilla

Preheat oven to 325 degrees. Grease a 9″ round cake pan, line the bottom with parchment, and grease the parchment as well.

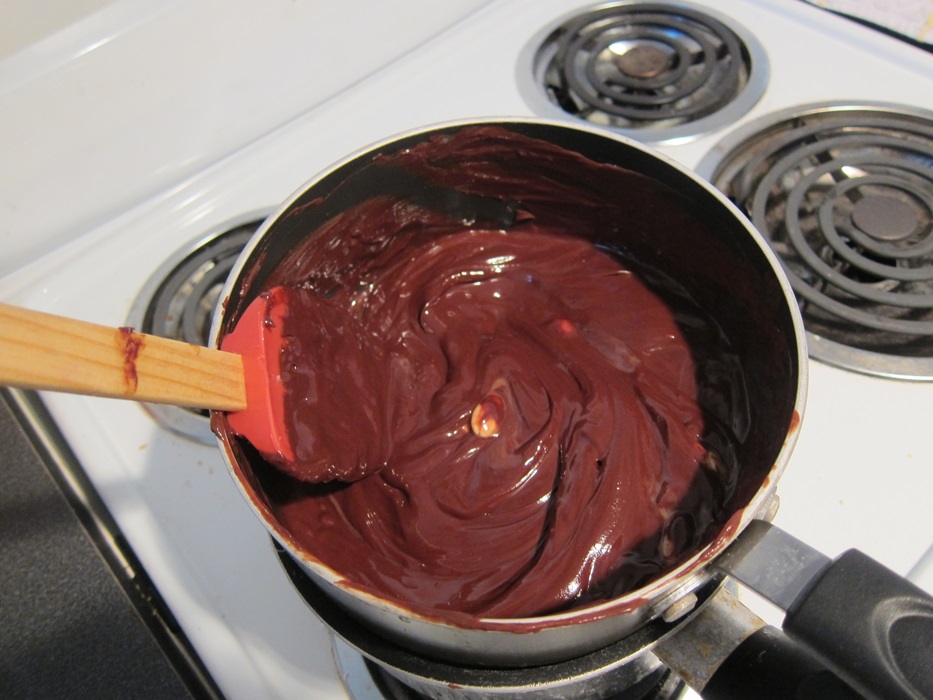
In a double boiler, gently melt the chocolate and butter, stirring frequently. When only a few chunks of solid chocolate remain, remove from heat and continue stirring until the residual heat has melted the remaining bits.

IMG_4291Drizzle the egg yolks into the melted chocolate while whisking the chocolate to prevent the eggs from cooking, then stir in the vanilla.

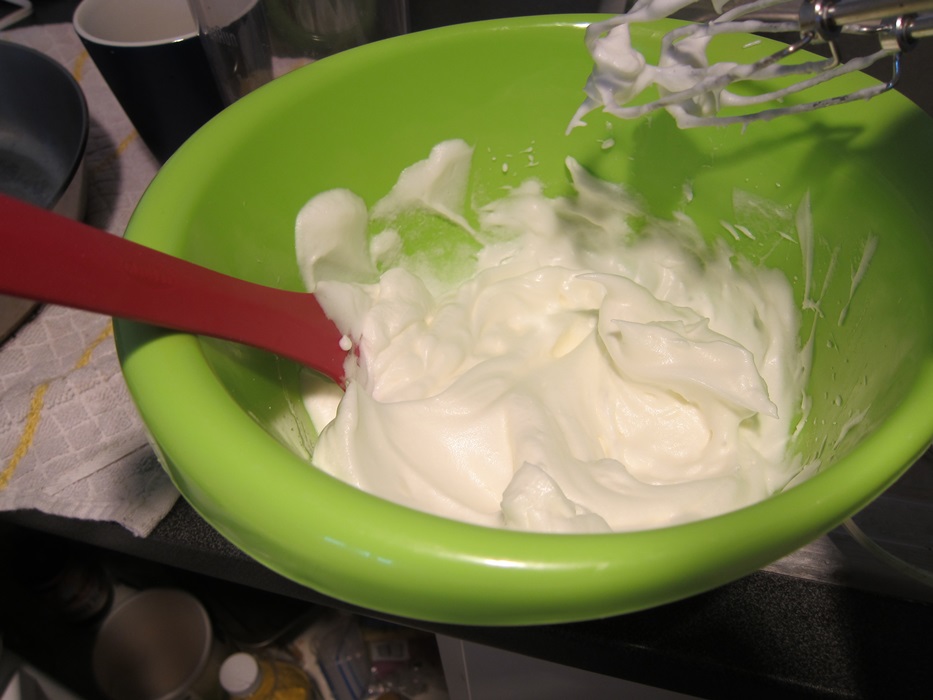
IMG_4292In a large bowl, beat the egg whites and salt until soft peaks form. Add the sugar, and beat until firm peaks form.
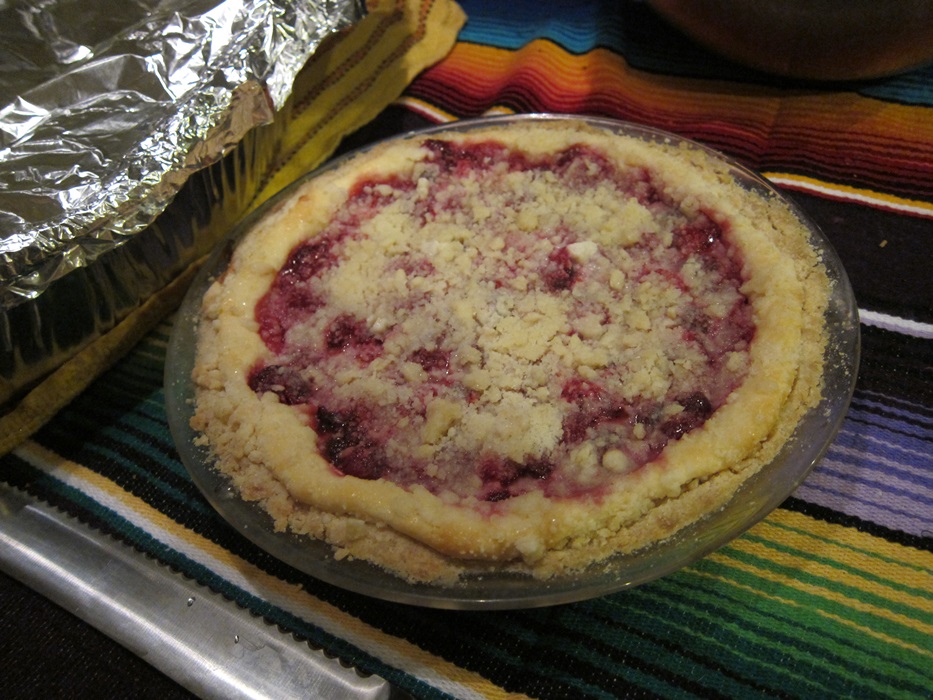
IMG_4293Fold the egg whites into the chocolate mixture in two additions, mixing until just combined. Gently turn the mixture into the prepared cake pan.
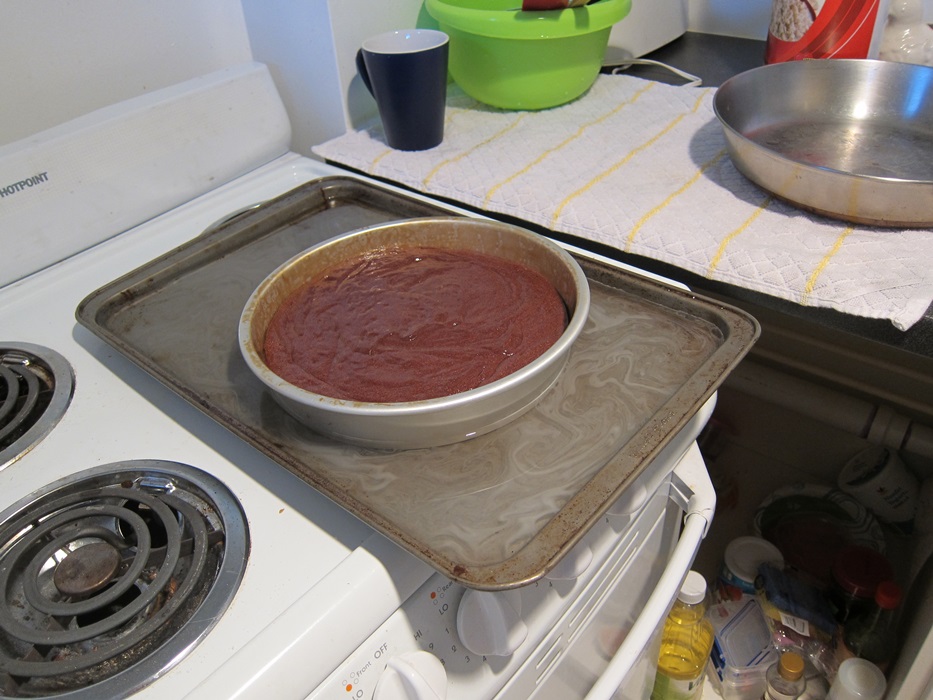
Place the cake pan in a large baking dish/roasting pan, and fill the outer pan with water until the water comes up to half the cake pan’s height. My jelly roll pan was the only pan I had big enough to fit the cake pan, which was not ideal (trying to move something full of water with such low walls is a nightmare), but worked out alright.

IMG_4295Place both pans into the preheated oven and bake 30 minutes, until the top and sides are set. It’s ok if the middle is still jiggly.

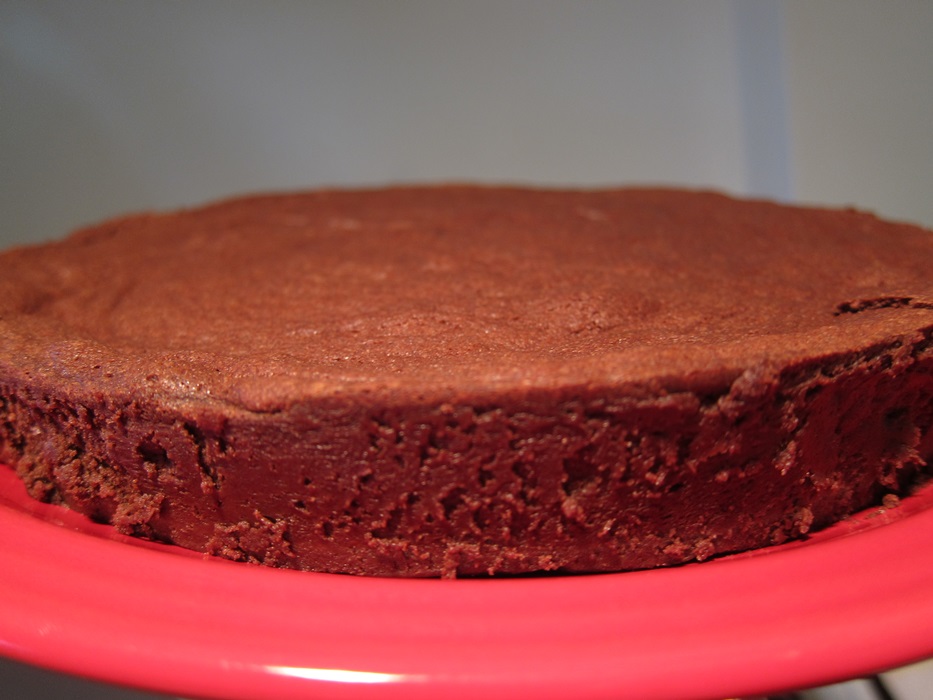
IMG_4296Let the cake cool in the pan, then run a knife/spatula inside the edge of the pan. Flip out onto a platter/cutting board, remove the parchment if necessary, then flip onto your serving platter. Store in the refrigerator to set.

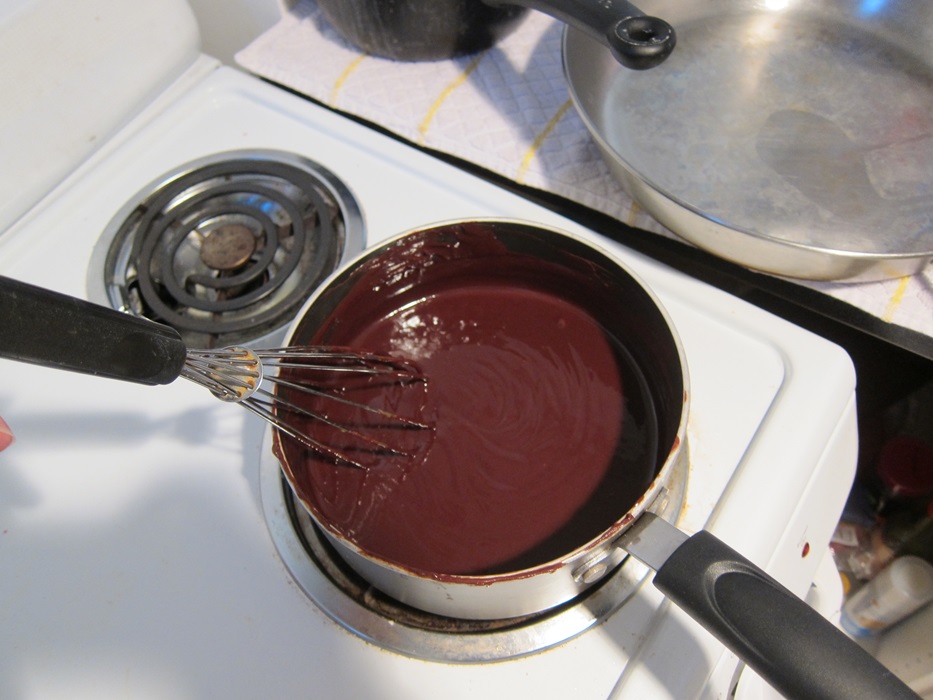
IMG_4297 IMG_4298To prepare the ganache, heat the cream in a saucepan over medium heat. Stir constantly until it just begins to simmer, then remove from the heat. Stir in the remaining ingredients until smooth. Do be sure to sift the cocoa powder, as mouthfuls of unsweetened cocoa powder are a bit gross. I actually was worried that this wouldn’t be sweet enough, but once I tried it, I was into it!

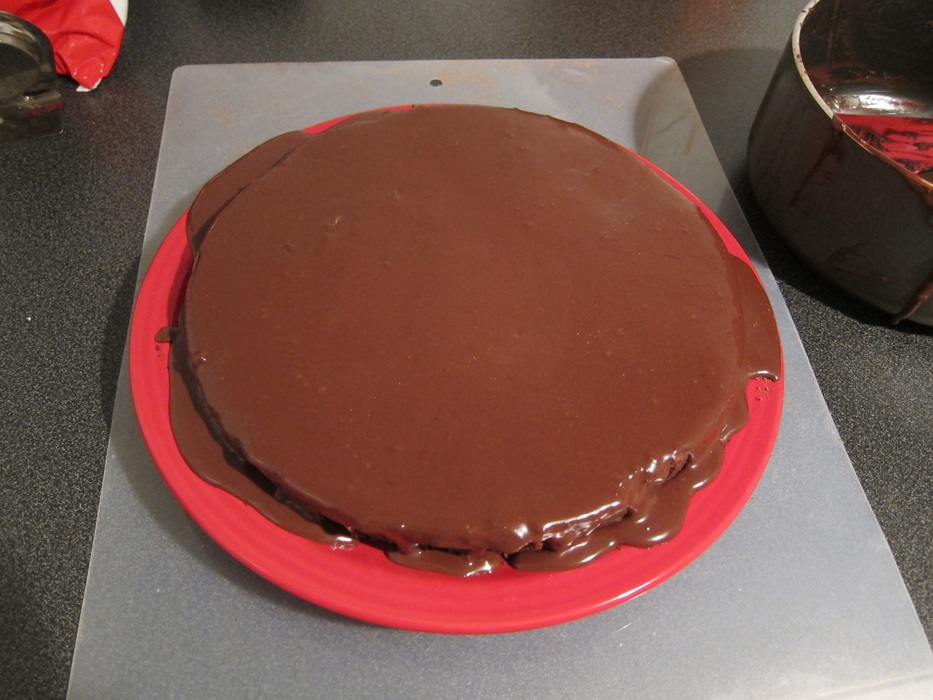
IMG_4299Let the mixture sit until it has thickened some (at least half an hour), and then pour/spread over the cake, and refrigerate until set. It will never become a hard shell, but will stay in place and you can lightly touch it without it coming off on your hands.

IMG_4302 IMG_4303Store the cake in the fridge, and let come to room temperature when serving.

Jasmin is interested in food of any type. (But no, I didn't give her a pound of chocolate.)

Jasmin is interested in food of any type. (But no, I didn’t give her a pound of chocolate.)

Flourless Chocolate Cake

From CakeSpy.

Cake:

  • 1 pound bittersweet or semisweet chocolate, coarsely chopped
  • 11 tablespoons unsalted butter, cut into 1/2 inch cubes
  • 5 large eggs, separated
  • 1 teaspoon vanilla extract
  • 1/4 teaspoon salt
  • 2 tablespoons sugar

Ganache:

  • 1 cup heavy cream
  • 3/4 cup cocoa powder, sifted
  • 1/4 cup granulated sugar
  • 1/2 teaspoon strong brewed coffee
  • 1/2 teaspoon vanilla

Preheat oven to 325 degrees. Grease a 9″ round cake pan, line the bottom with parchment, and grease the parchment as well.

In a double boiler, gently melt the chocolate and butter, stirring frequently. When only a few chunks of solid chocolate remain, remove from heat and continue stirring until the residual heat has melted the remaining bits. Drizzle the egg yolks into the melted chocolate while whisking the chocolate to prevent the eggs from cooking, then stir in the vanilla.

In a large bowl, beat the egg whites and salt until soft peaks form. Add the sugar, and beat until firm peaks form. Fold the egg whites into the chocolate mixture in two additions, mixing until just combined. Gently turn the mixture into the prepared cake pan.

Place the cake pan in a large baking dish/roasting pan, and fill the outer pan with water until the water comes up to half the cake pan’s height. Place both pans into the preheated oven and bake 30 minutes, until the top and sides are set.

Let the cake cool in the pan, then run a knife/spatula inside the edge of the pan. Flip out onto a platter/cutting board, remove the parchment if necessary, then flip onto your serving platter. Store in the refrigerator to set.

To prepare the ganache, heat the cream in a saucepan over medium heat. Stir constantly until it just begins to simmer, then remove from the heat. Stir in the remaining ingredients until smooth. Let the mixture sit until it has thickened some, and then pour/spread over the cake, and refrigerate until set.

Store the cake in the fridge, and let come to room temperature when serving.

Posted in Dessert | Tagged , , , | 2 Comments

Gluten-Free Peasant Bread

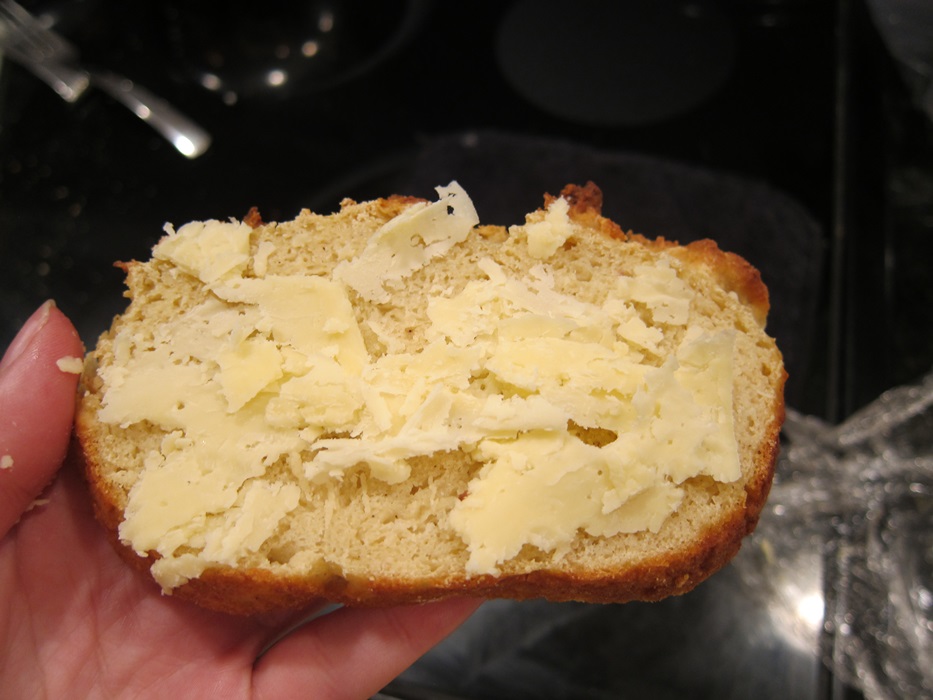
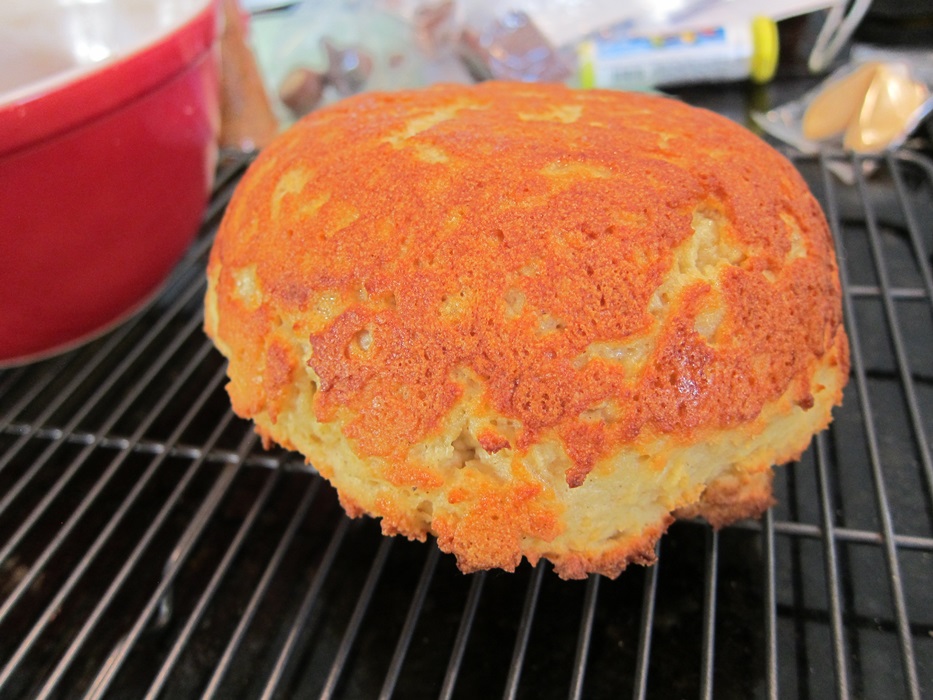
While I was home a few weeks ago, I thought I’d try a new gf bread recipe. This one turned out to be fairly satisfying! The egg whites provide structure for the dough, so it has a good crusty outside, is reasonably sturdy when sliced, and has a pretty good flavor that’s great with the extra sharp cheddar you may have just picked up at the local farmer’s market!

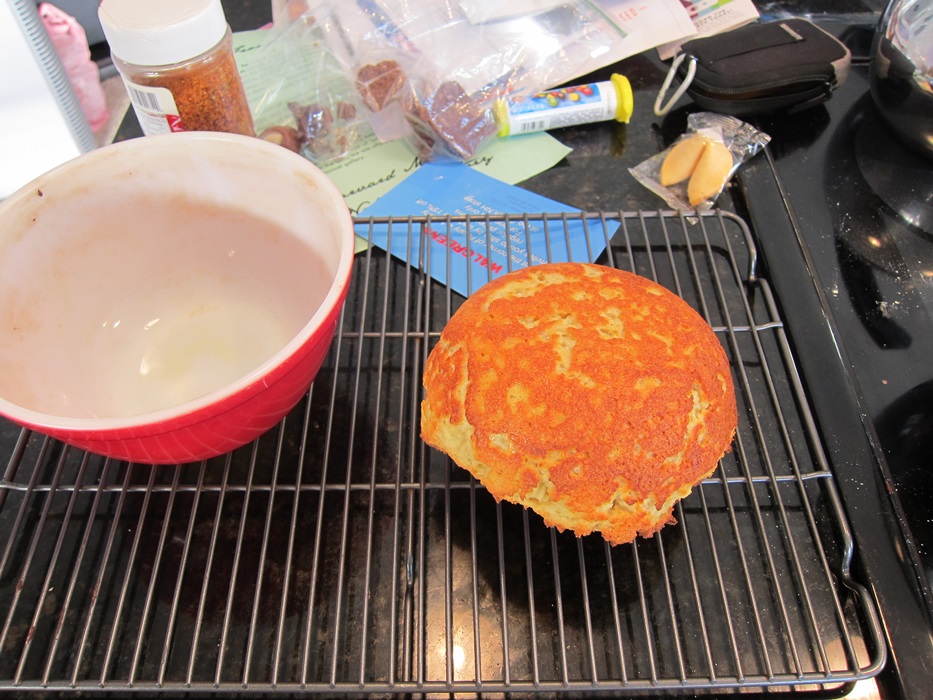
IMG_4255The bread is baked in a smallish glass bowl. The one I used was part of a colorful set of Pyrex mixing bowls, and said 1/2 quart, which… I don’t really get, because it certainly holds more than two cups. Just make sure that the bowl you use has enough room leftover for the bread to rise some.

IMG_4241Ingredients:

  • 1 cup lukewarm water, milk, or buttermilk (water may give a slightly better texture, while milk or buttermilk give a better flavor)
  • 1 1/2 teaspoons sugar
  • 1 1/2 teaspoons active-dry yeast
  • 2 cups all-purpose gluten-free flour (I used a bit of King Arthur’s, and some Bob’s Red Mill when the KAF stuff ran out)
  • 2 teaspoons xanthan gum
  • 1 teaspoon kosher salt
  • 2 egg whites
  • butter, for greasing the bowl

In a small bowl, dissolve the sugar into the water/milk, and sprinkle the yeast in. Let sit 10-15 minutes until foamy.

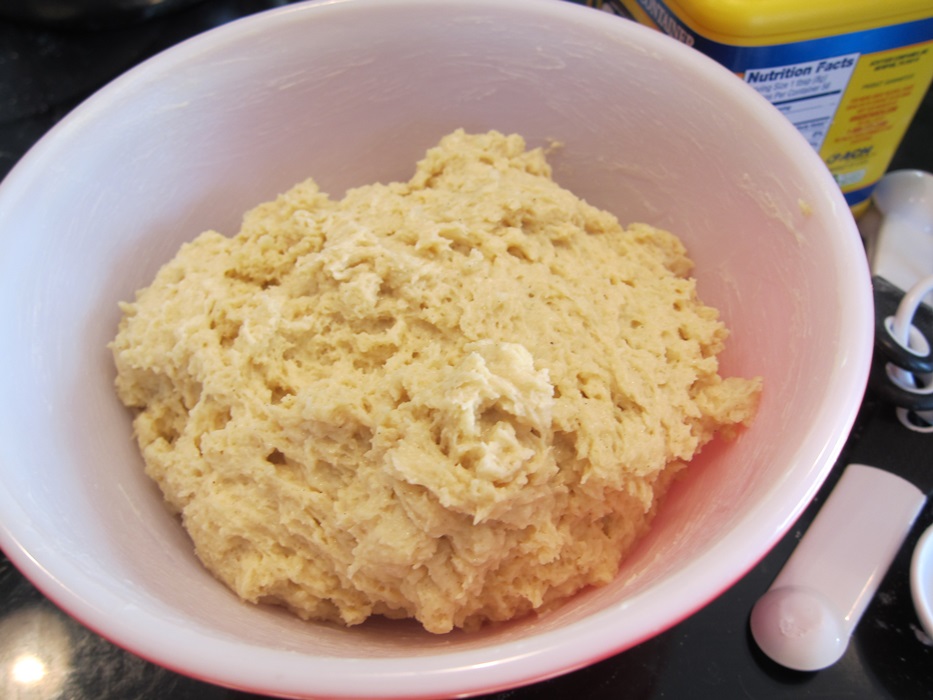
In a large bowl, whisk together the flour, xanthan gum, and salt. Stir in the liquid mixture, then the egg whites, and continue stirring until the flour is evenly moistened.

IMG_4237Cover with a tea towel or plastic wrap and set aside to rise in a warm spot for at least one hour, up to 2 hours.

IMG_4238Grease the bowl you’re going to bake in well with the butter, then gently transfer the risen dough from the larger bowl. Let rise a further 20-30 minutes and preheat your oven to 425.

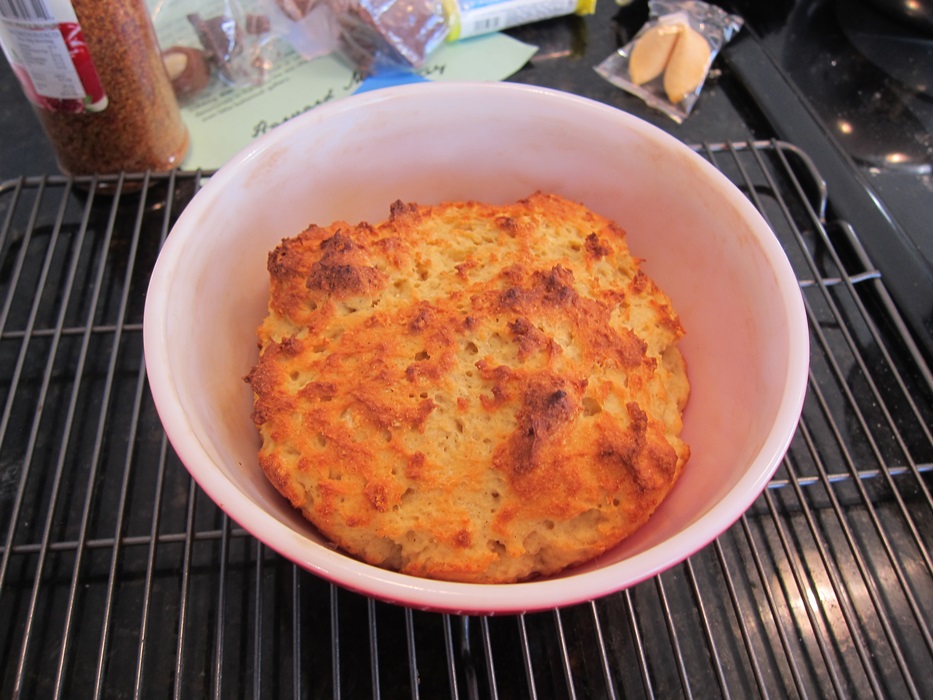
IMG_4239Bake, in the bowl, for 30 minutes.

IMG_4240Turn the baked bread out onto a cooling rack, and cool at least 10 minutes before slicing.

IMG_4243 IMG_4256Easy enough!

Gluten Free Peasant Bread

From Alexandra’s Kitchen.

  • 1 cup lukewarm water, milk, or buttermilk (water may give a slightly better texture, while milk or buttermilk give a better flavor)
  • 1 1/2 teaspoons sugar
  • 1 1/2 teaspoons active-dry yeast
  • 2 cups all-purpose gluten-free flour
  • 2 teaspoons xanthan gum
  • 1 teaspoon kosher salt
  • 2 egg whites
  • butter, for greasing the bowl

In a small bowl, dissolve the sugar into the water/milk, and sprinkle the yeast in. Let sit 10-15 minutes until foamy.

In a large bowl, whisk together the flour, xanthan gum, and salt. Stir in the liquid mixture, then the egg whites, and continue stirring until the flour is evenly moistened. Cover with a tea towel or plastic wrap and set aside to rise in a warm spot for at least one hour, up to 2 hours.

Grease the bowl you’re going to bake in well with the butter, then gently transfer the risen dough from the larger bowl. Let rise a further 20-30 minutes while your oven preheats to 425.

Bake, in the bowl, for 30 minutes. Turn the baked bread out onto a cooling rack, and cool at least 10 minutes before slicing.


Posted in Bread | Tagged , , | 2 Comments

Whatchamacallit Popcorn

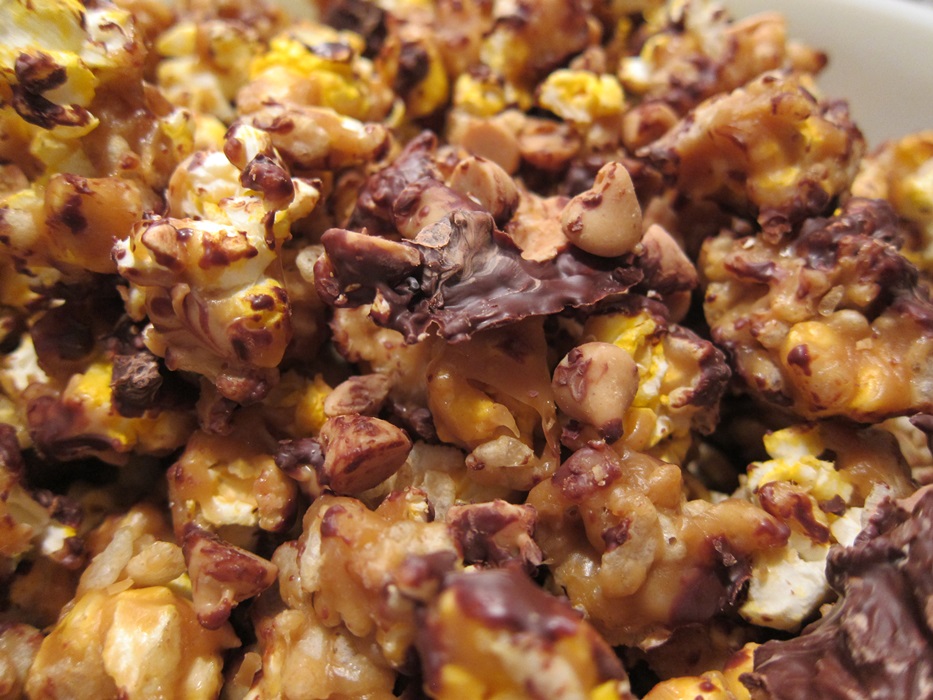
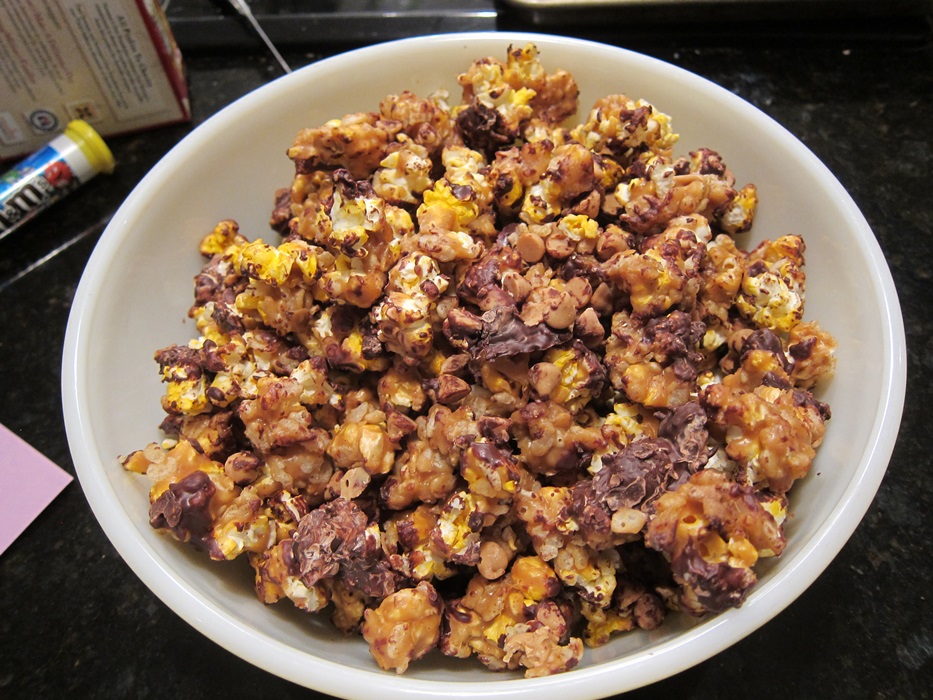
I’m not sure I’ve ever had Whatchamacallits, and that hasn’t actually changed in the making of this popcorn, as they’re not gluten-free and I needed this popcorn to be. Doesn’t stop this from being a real delicious, sugary treat! It’s a solid enough dessert that it actually lasted several days, so don’t think that just because it’s popcorn-based you’ll scarf it all in seconds like air.

IMG_4233Ingredients:

  • 1/2 cup unpopped popcorn kernels or one regular sized bag microwave popcorn
  • 2/3 cup brown sugar, packed
  • 2/3 cup light corn syrup
  • 3 tablespoons butter
  • 1 teaspoon salt
  • 1/2 cup creamy peanut butter
  • 2 cups Rice Krispie cereal (they make a g-f version if you need it)
  • 2-3 cups chopped Whatchamacallit candy bars or several large handfuls peanut butter chips
  • 1 cup semisweet chocolate chips

Line a large jelly roll with parchment paper and set aside. Pop the popcorn and set aside in a large bowl.

Preheat oven to 250 degrees.

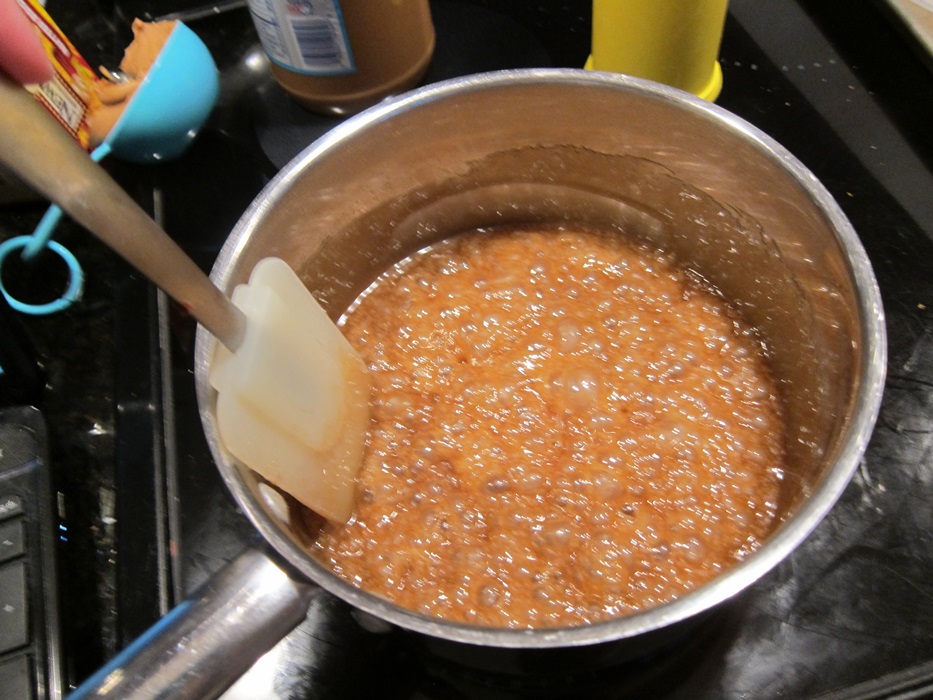
Combine the brown sugar, corn syrup, butter, and salt in a medium saucepan and bring to a boil over medium heat.

IMG_4225Boil three minutes, then remove from the heat and stir in the peanut butter until smooth.

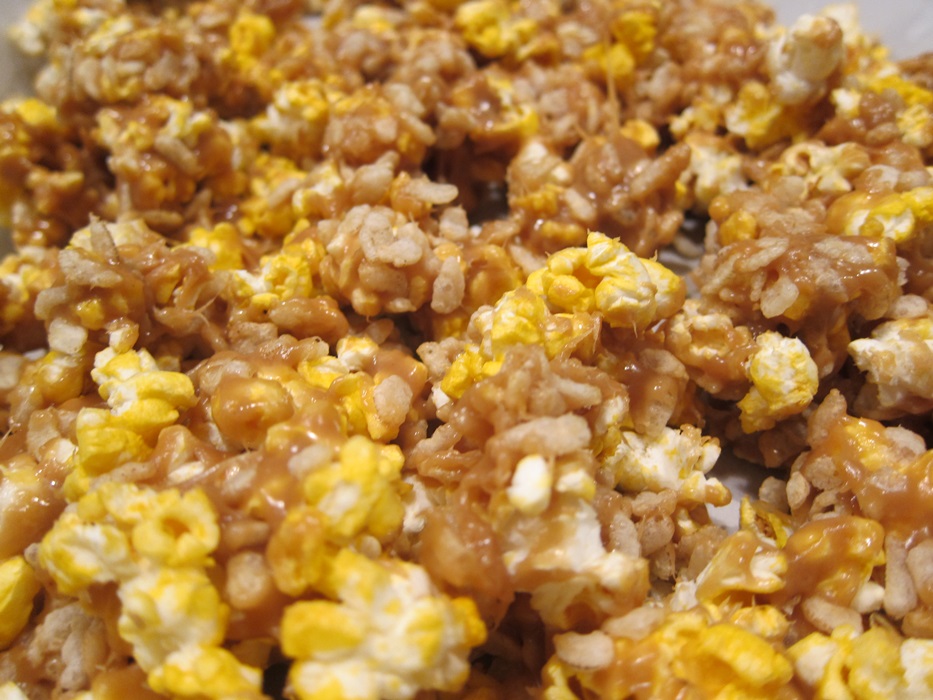
Pour the peanut butter mixture over the popcorn, then sprinkle the Rice Krispies on top. Stir together well, then spread out on the parchment-lined pan. Bake for 1 hour, removing to stir the popcorn every 15 minutes.

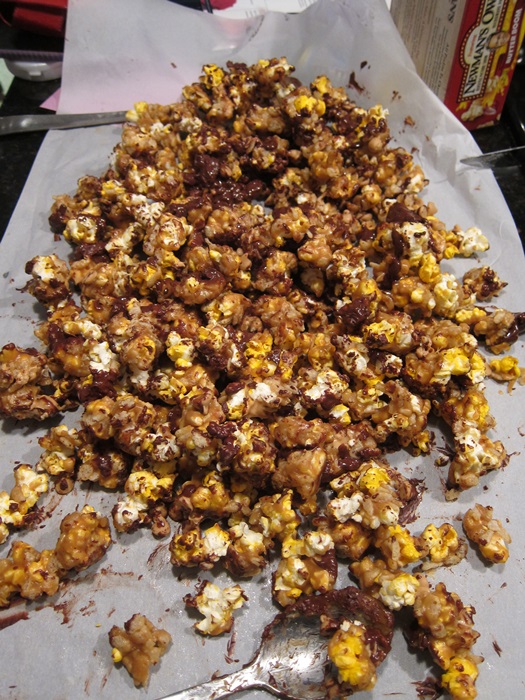
IMG_4229Remove the baked popcorn from the oven and spread out on a parchment-lined counter. Break up any large clumps of popcorn, then scatter the Whatchamacallits/peanut butter chips over the still-warm popcorn. Carefully melt the chocolate chips, then drizzle over the popcorn mixture. (My ‘drizzle’ turned into big blobs, so I just stirred it all back up to get a more even distribution of chocolate.)

IMG_4231Let cool a bit so the chocolate firms up, then serve in a large bowl and enjoy! Leftovers will keep for several days in an air tight container.

IMG_4232

Whatchamacallit Popcorn

From Cookies and Cups.

  • 1/2 cup unpopped popcorn kernels or one regular sized bag microwave popcorn
  • 2/3 cup brown sugar, packed
  • 2/3 cup light corn syrup
  • 3 tablespoons butter
  • 1 teaspoon salt
  • 1/2 cup creamy peanut butter
  • 2 cups Rice Krispie cereal
  • 2-3 cups chopped Whatchamacallit candy bars or several large handfuls peanut butter chips
  • 1 cup semisweet chocolate chips

Line a large jelly roll with parchment paper and set aside. Pop the popcorn and set aside in a large bowl.

Preheat oven to 250 degrees.

Combine the brown sugar, corn syrup, butter, and salt in a medium saucepan and bring to a boil over medium heat. Boil three minutes, then remove from the heat and stir in the peanut butter until smooth.

Pour the peanut butter mixture over the popcorn, then sprinkle the Rice Krispies on top. Stir together well, then spread out on the parchment-lined pan. Bake for 1 hour, removing to stir the popcorn every 15 minutes.

Remove the baked popcorn from the oven and spread out on a parchment-lined counter. Break up any large clumps of popcorn, then scatter the Whatchamacallits/peanut butter chips over the still-warm popcorn. Carefully melt the chocolate chips, then drizzle over the popcorn mixture.

Let cool until the chocolate firms, then serve in a large bowl and enjoy! Leftovers will keep for several days in an air tight container.

Posted in Dessert, Snack | Tagged , , , | Leave a comment

2014 Wrap-Up

2014 was an interesting year, during which I moved 3 times, through a variety of terrible kitchens (plus my mother’s nice one). Mostly for that reason, there were only 34 new posts on the blog last year, vs around 150 in past years, which has lead to a weird situation where none of the top 10 most viewed recipes during the year actually came from 2014. Gluten-free recipes seem to be popular, and based on search terms, everyone wants to know how to make chocolate chip cookie dough that works with cookie cutters. Good taste, guys!

These most popular recipes are:

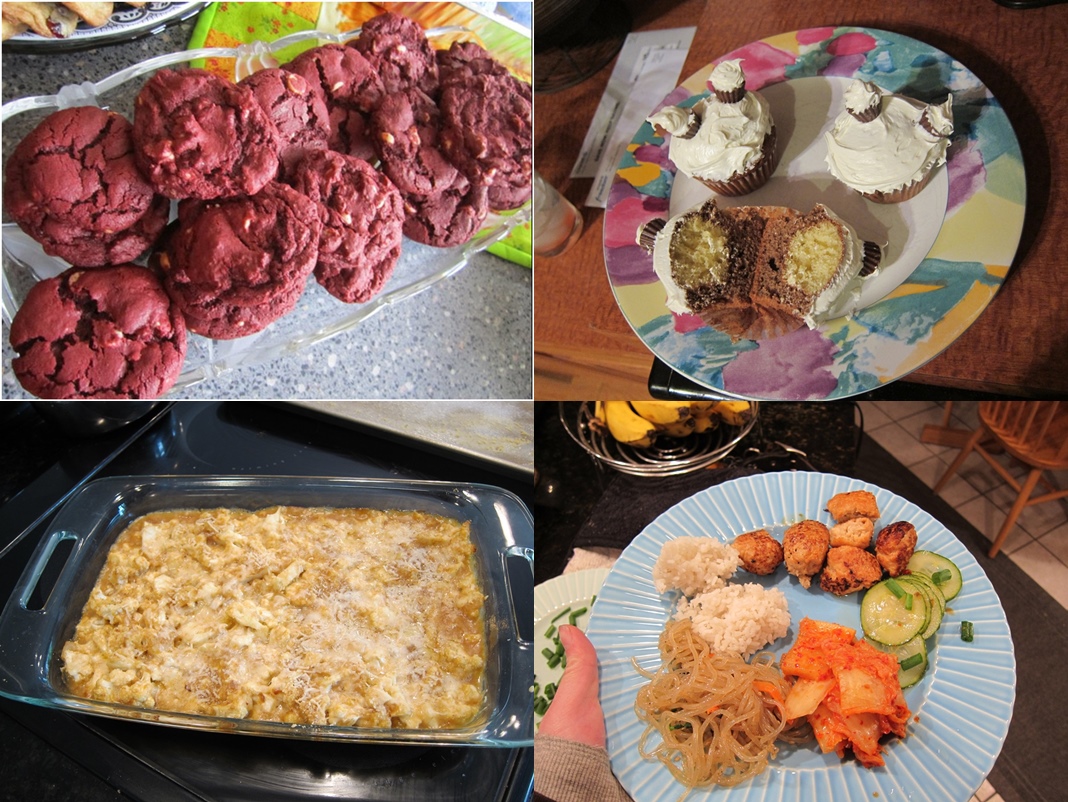
10-710) Red Velvet Cookies (a guest post by my friend Catie)

9) Yo Dawg Cupcakes

8) Not Mac & Cheese (popular with Paleo folk, from a gluten-free cookbook)

7) Korean Meatballs with Quick Pickled Cucumbers

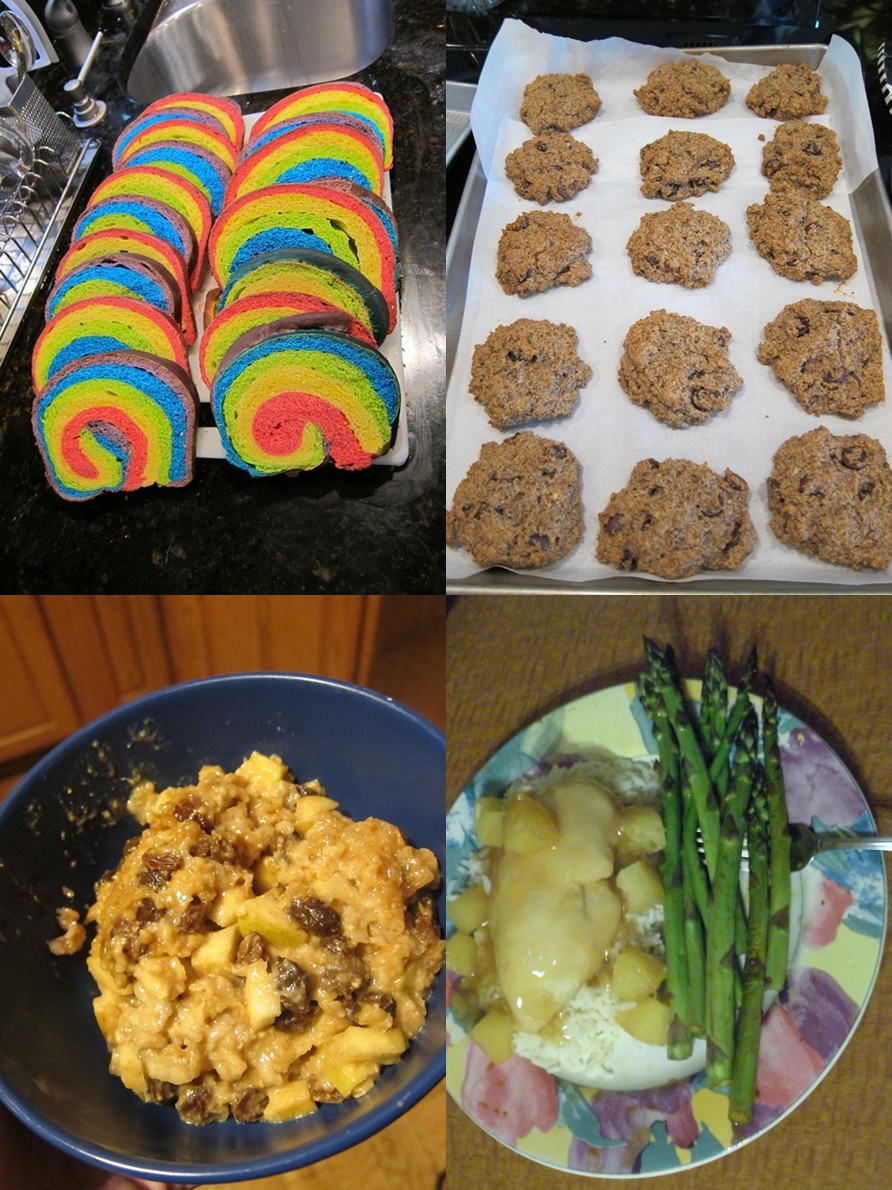
6-36) Rainbow Bread (so pretty!)

5) Wheat Belly Gluten-Free Chocolate Chip Cookies

4) Crockpot Oatmeal (ugly but convenient!)

3) Pineapple Brown Sugar Chicken (for years my go-to easy meal)

2-12) Cookie Cutter Chocolate Chip Cookies

1) Wheat Belly Bakery Basic Bread

…boy those plates we had my last time in DC were ugly. But they were also free, making them in fact fantastic plates!

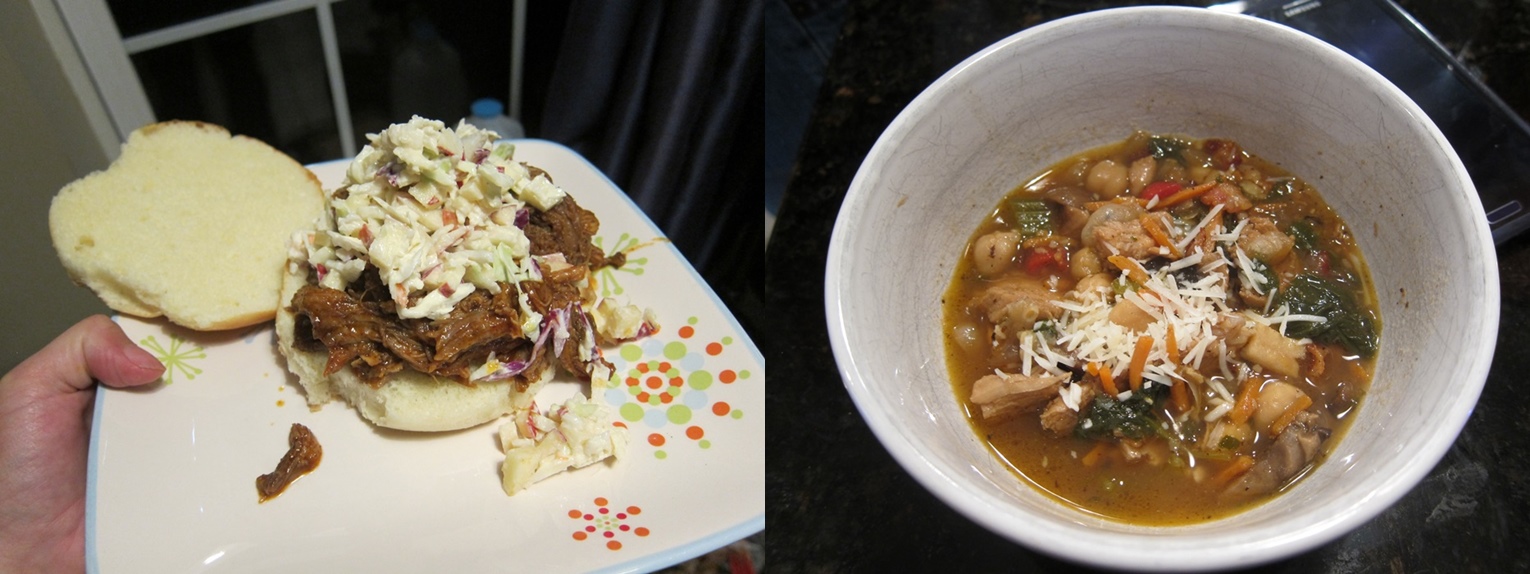
I tried to come up with a favorite recipe for the year, but wound up with a tie between Chipotle Pulled Pork with Apple Slaw and Chickpea Chicken Soup. If you missed them before, now’s a good time to check them out!

favs

See you Wednesday with what should be the start of a more reliable 2015!

Posted in Pictures | Tagged , , , , , | Leave a comment

Cream Cheese Chocolate Chip Cookies

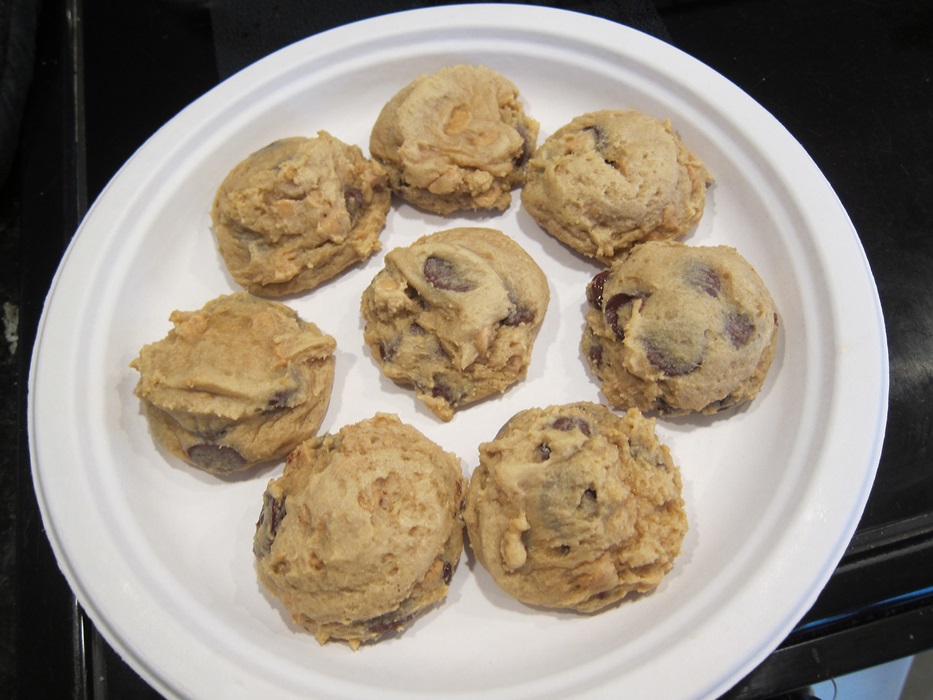
Some friends and I were home over the holidays and wanted to bake together. This recipe was suggested by my friend Catie, and was a gooood choice. The cookies are thick, and flavorful, although there’s not a clear cream cheese flavor. Someone asked if their was coconut in them, which…I can’t particularly explain. We swapped out some of the chocolate chips for peanut butter chips, and I think it was a good move.

IMG_4224If you’re wondering why have cream cheese cookies which don’t taste like cream cheese, the benefit is in the texture. These are soft and rich and delightful!

Ingredients:

  • 1/2 cup unsalted butter, room temperature
  • 1/4 cup cream cheese, room temperature
  • 3/4 cup light brown sugar, packed
  • 1/4 cup granulated sugar
  • 1 large egg
  • 2 teaspoons vanilla extract
  • 2 1/4 cups all-purpose flour
  • 2 teaspoons cornstarch
  • 1 teaspoon baking soda
  • 1/4 teaspoon salt (supposedly this is optional, but I wouldn’t skip it)
  • 2 1/4 cups semi-sweet chocolate chips or chunks (we used 1 1/4 cup large chocolate chips, 1 cup peanut butter chips)

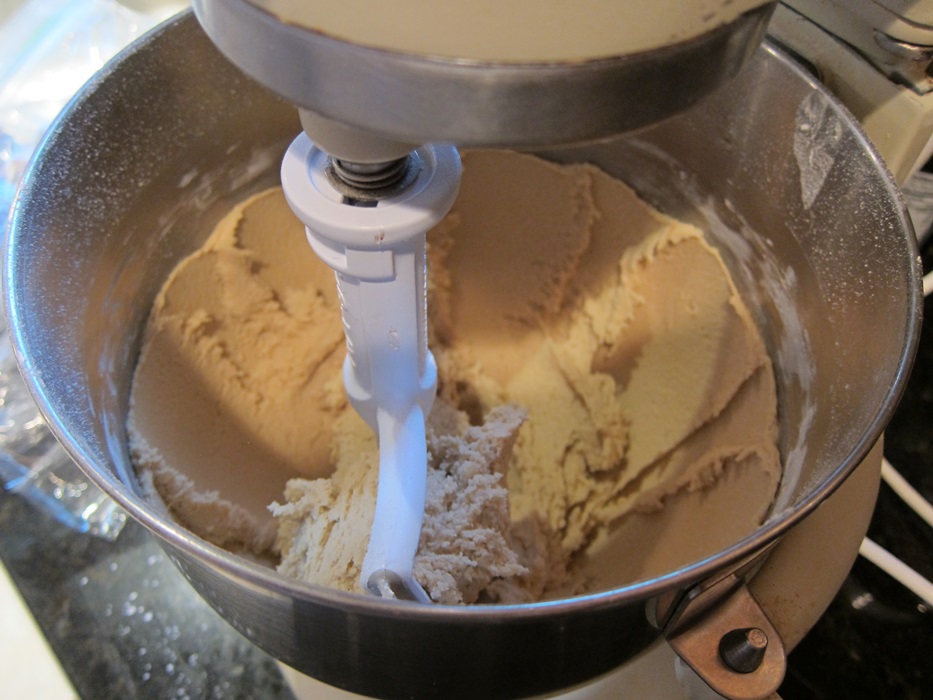
Combine the butter, cream cheese, brown sugar, granulated sugar, egg, and vanilla in a mixer bowl and beat with the paddle attachment until light and fluffy, about 5 minutes.

IMG_4216Scrape down the sides of the bowl, then add the flour, cornstarch, baking soda, and salt, and mix until just combined, about a minute.

IMG_4217Add the chocolate chips and beat just long enough to evenly mix.

IMG_4218Using a 2″ cookie scoop, form heaping mounds of dough and place on a plate. Cover with plastic wrap, and refrigerate at least two hours, up to 5 days before baking. The point of this refrigeration is to keep the dough from spreading during baking. We skipped this step, putting our dough balls directly onto a parchment lined sheet and baking, and actually found that they spread very little, but if you want to ensure that your cookies stay thick during baking, go ahead and do chill them first.

IMG_4219 IMG_4220Preheat oven to 350 and grease or line a pair of baking sheets. Place your chilled dough balls at least 2″ apart on the pans, then bake 8-9 minutes, until the edges are set. They cookies may look undercooked and pale in the center – this is ok, they will firm up somewhat while cooling, without getting overcooked. Let cookies cool for 5 minutes on the pans, then transfer to a wire rack to cool completely.

IMG_4222

Cream Cheese Chocolate Chip Cookies

From Averie Cooks.

  • 1/2 cup unsalted butter, room temperature
  • 1/4 cup cream cheese, room temperature
  • 3/4 cup light brown sugar, packed
  • 1/4 cup granulated sugar
  • 1 large egg
  • 2 teaspoons vanilla extract
  • 2 1/4 cups all-purpose flour
  • 2 teaspoons cornstarch
  • 1 teaspoon baking soda
  • 1/4 teaspoon salt (optional)
  • 2 1/4 cups semi-sweet chocolate chips or chunks, or a combination of chocolate and peanut butter chips

Combine the butter, cream cheese, brown sugar, granulated sugar, egg, and vanilla in a mixer bowl and beat with the paddle attachment until light and fluffy, about 5 minutes. Scrape down the sides of the bowl, then add the flour, cornstarch, baking soda, and salt, and mix until just combined, about a minute. Add the chocolate chips and beat just long enough to evenly mix.

Using a 2″ cookie scoop, form heaping mounds of dough and place on a plate. Cover with plastic wrap, and refrigerate at least two hours, up to 5 days before baking.

Preheat oven to 350 and grease or line a pair of baking sheets. Place your chilled dough balls at least 2″ apart on the pans, then bake 8-9 minutes, until the edges are set but centers remain pale. Let cookies cool for 5 minutes on the pans, then transfer to a wire rack to cool completely.

Posted in Dessert | Tagged , , | Leave a comment

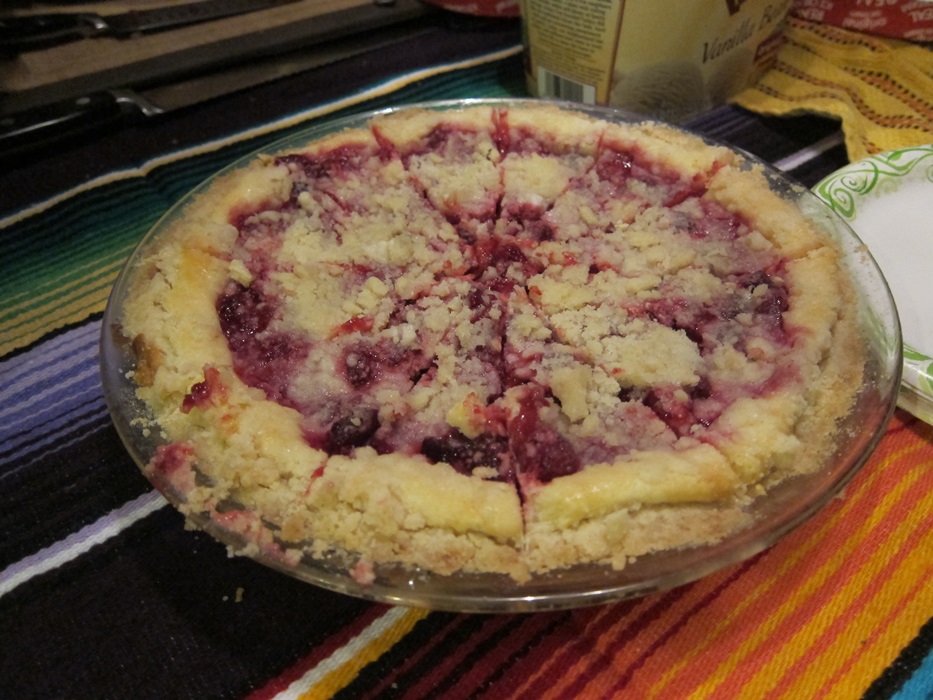
Cranberry Cheesecake Pie

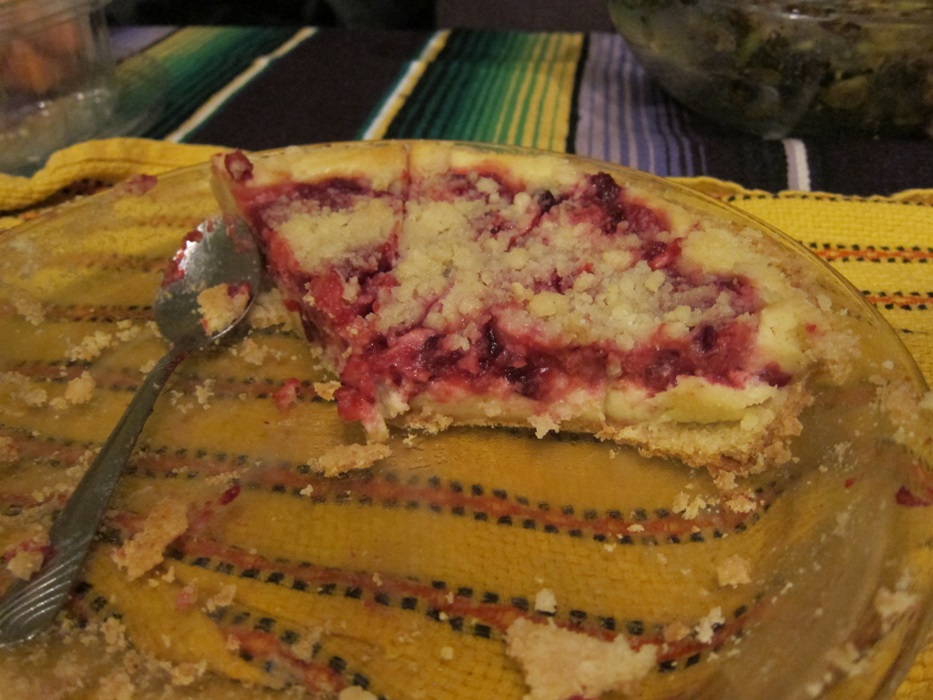
Two cranberry pie things in a row? Tis the season, I suppose! I brought this, plus some cranberry salsa, to a turducken feast this weekend, and both went over quite well! The cranberries are made less tart with sugar, but still contrast nicely with the cheesecake, and they’re both held in by a crisp crust that crumbles just a bit in your mouth. It’s a good combo!

IMG_4213Ingredients:

Cranberry Filling:

    • 8 ounces cranberries
    • 6 tablespoons granulated sugar
    • 1/2 teaspoon lemon zest
    • 1 teaspoon lemon juice
    • 1/2 cup water

Crust/Crumb Topping:

    • 1 1/4 cups all-purpose flour
    • 1/2 cup granulated sugar
    • 1/2 teaspoon baking powder
    • 1/4 teaspoon salt
    • 1/2 cup unsalted butter, cold and cut into 1/2-inch cubes

Cheesecake:

  • 8 ounces cream cheese, room temperature
  • 1/2 cup granulated sugar
  • 1 large egg
  • 1 teaspoon vanilla extract

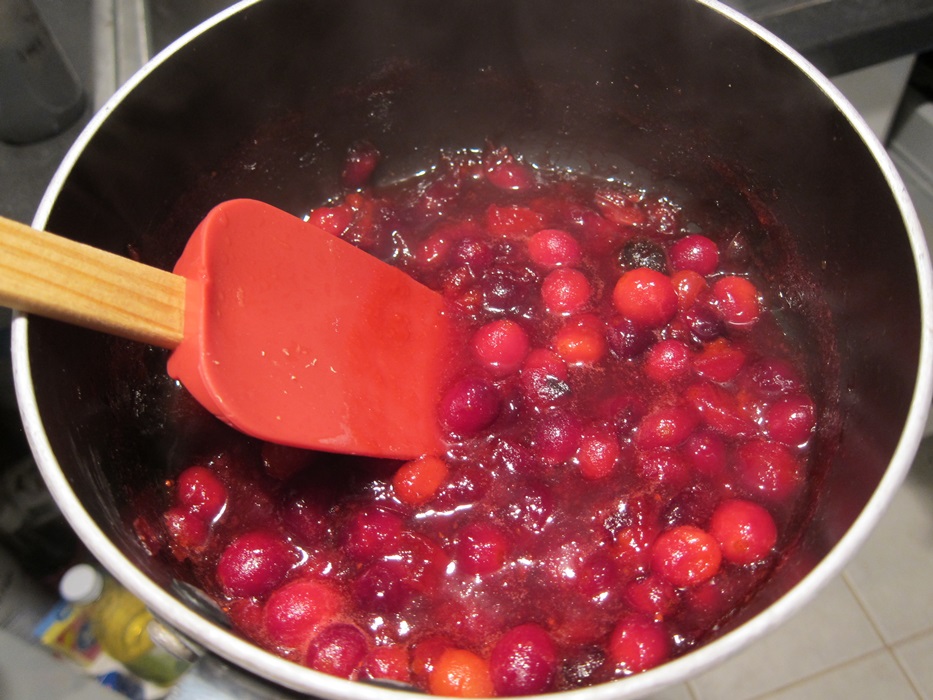
IMG_4215Start off by combining all the cranberry filling ingredients in a saucepan over medium high heat. Once the mixture reaches a boil, reduce the heat to medium low and simmer for 10 minutes, or until the cranberries are soft, then set aside to cool.

IMG_4194Next, preheat your oven to 350 degrees. Grease a 9″ pie pan and set aside.

Stir together the flour, sugar, baking powder, and salt of the crust mixture. Add the butter and cut in with a pastry blender or forks until the mixture is crumbly, but will hold together when pressed. Set 1/2 cup of the mixture aside.

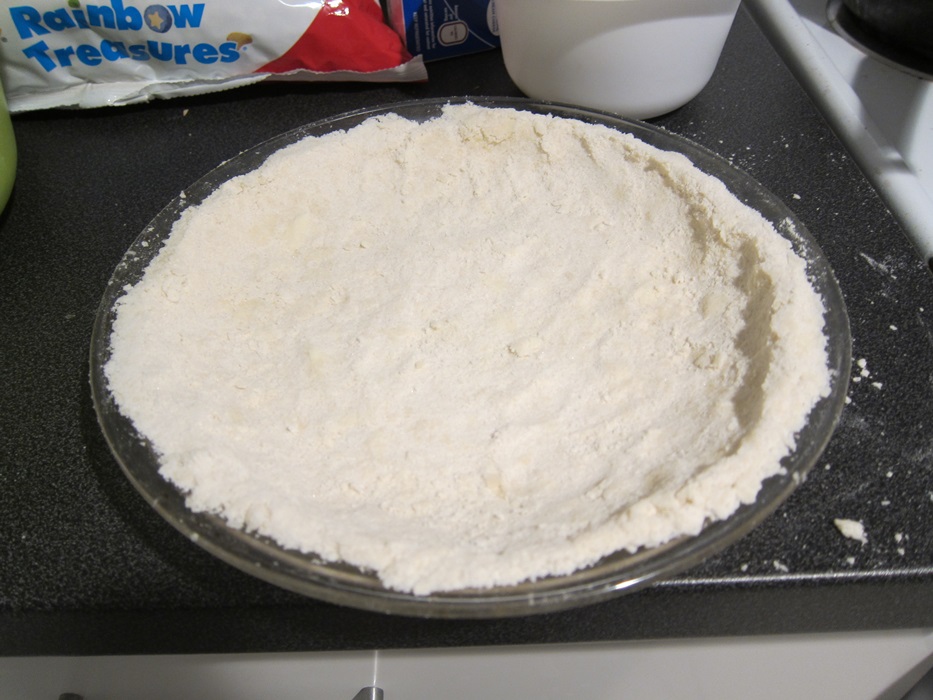
IMG_4195Pour the remainder of the crust mixture into the prepared pie pan and press to create a smooth, even layer across the bottom and up the sides of the pan.

IMG_4196Bake 10 minutes, then set aside to cool slightly, leaving the oven on.

IMG_4197While the crust cools a bit, beat together the cream cheese and sugar in a large bowl until light and fluffy. Beat in the egg and vanilla until smooth, then pour into the crust and spread evenly.

IMG_4198IMG_4199Spoon the cranberry mixture onto the cheesecake layer gently, leaving about 1/2″ clear around the edges of the pan.

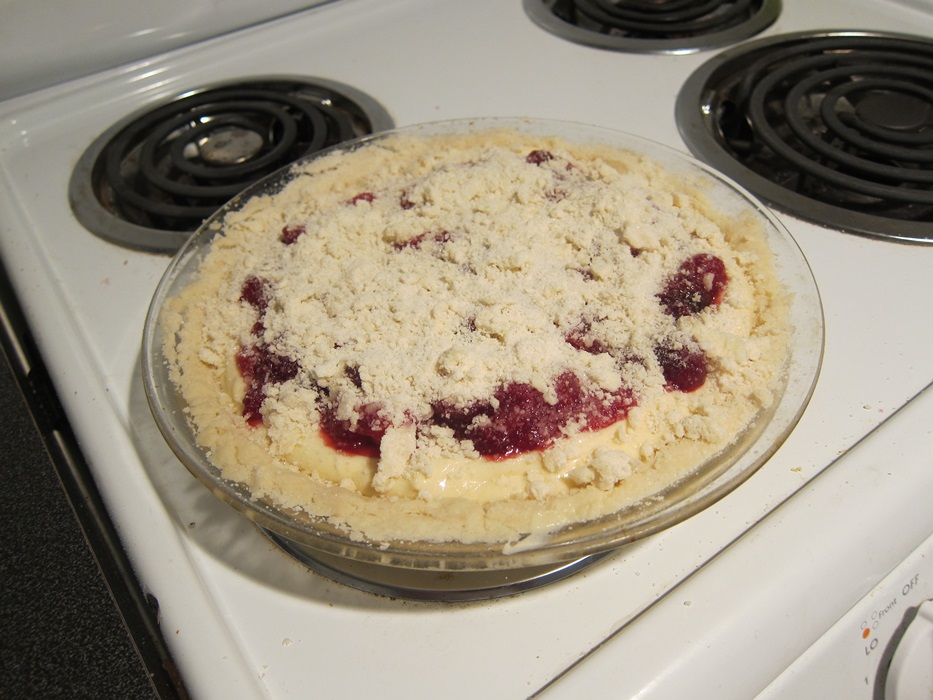
IMG_4200Crumble the remaining crust mixture over the top. Appearance-wise, you’re probably better of pressing the mixture into clumps a bit more than I did, but don’t worry about it too much.

IMG_4201Return to the oven 30-35 minutes, until the edges are golden brown.

IMG_4202Cover and refrigerate at least 2 hours before serving, to let the cheesecake firm up, and store any leftovers in the fridge.

IMG_4214In the meantime, while it cools, have a giant turducken meal, perhaps? Don’t mind if I do!

IMG_4206IMG_4211 IMG_4212

Cranberry Cheesecake Pie

From Break or Bake.

Cranberry Filling:

    • 8 ounces cranberries
    • 6 tablespoons granulated sugar
    • 1/2 teaspoon lemon zest
    • 1 teaspoon lemon juice
    • 1/2 cup water

Crust/Crumb Topping:

    • 1 1/4 cups all-purpose flour
    • 1/2 cup granulated sugar
    • 1/2 teaspoon baking powder
    • 1/4 teaspoon salt
    • 1/2 cup unsalted butter, cold and cut into 1/2-inch cubes

Cheesecake:

  • 8 ounces cream cheese, room temperature
  • 1/2 cup granulated sugar
  • 1 large egg
  • 1 teaspoon vanilla extract

Start off by combining all the cranberry filling ingredients in a saucepan over medium high heat. Once the mixture reaches a boil, reduce the heat to medium low and simmer for 10 minutes, or until the cranberries are soft, then set aside to cool.

Next, preheat your oven to 350 degrees. Grease a 9″ pie pan and set aside.

Stir together the flour, sugar, baking powder, and salt of the crust mixture. Add the butter and cut in with a pastry blender or forks until the mixture is crumbly, but will hold together when pressed. Set 1/2 cup of the mixture aside.

Pour the remainder of the crust mixture into the prepared pie pan and press to create a smooth, even layer across the bottom and up the sides of the pan. Bake 10 minutes, then set aside to cool slightly, leaving the oven on.

While the crust cools a bit, beat together the cream cheese and sugar in a large bowl until light and fluffy. Beat in the egg and vanilla until smooth, then pour into the crust and spread evenly.

Spoon the cranberry mixture onto the cheesecake layer gently, leaving about 1/2″ clear around the edges of the pan. Crumble the remaining crust mixture over the top. Return to the oven 30-35 minutes, until the edges are golden brown.

Cover and refrigerate at least 2 hours before serving, to let the cheesecake firm up, and store any leftovers in the fridge.

Posted in Dessert | Tagged , , , | 2 Comments

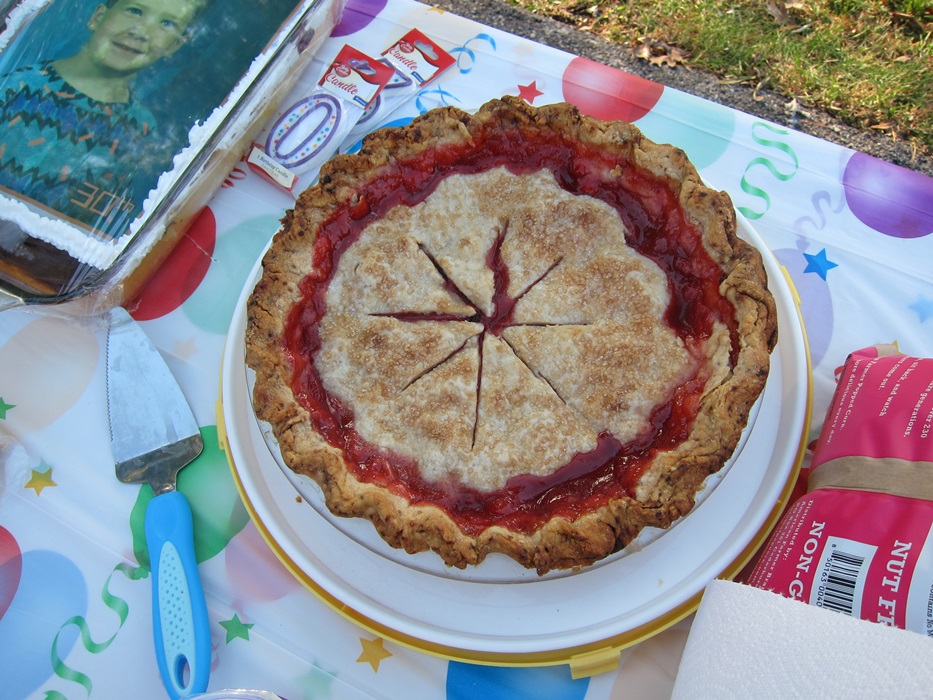
Deep Dish Strawberry-Cranberry Pie

In yet another post a bit related to my friend Alex’s birthday, this pie is one his mother made for his birthday that I really really liked! The cranberries aren’t overwhelmingly tart, but enough to balance out the sweetness of sugar and strawberries. This crust is vegan, and I sort of made a mess flopping it into the dish, but you can also use any other crust you already know you’re good at.

IMG_4168Ingredients:

Filling:

  • 4 cups strawberries, hulled and quartered
  • 2 cups frozen cranberries (for some reason I thought these would be hard to find, but they were just right there with all the other frozen fruit)
  • 1 cup raw sugar
  • 1/4 cup cornstarch
  • pinch of salt

Flaky Crust:

  • 2 1/2 cups flour
  • 2 tablespoons raw sugar
  • 1 teaspoon salt
  • 1 cup shortening
  • water (or 1 egg mixed with 1 tablespoon water, if not vegan)
  • extra raw sugar for sprinkling

Preheat your oven to 375 and position a rack in the lower third of the oven. Combine all the filling ingredients in a large bowl (or a bag, if you’re baking taking it to someone else’s house to bake), and set aside.

PHOTOGENIC

PHOTOGENIC

Combine the flour, sugar, and salt of the crust in a food process and pulse briefly to combine. Add the shortening and process until the whole mass comes together. You don’t need any water in this crust – the shortening is enough to hold everything together. Also, because it’s shortening, chilling it doesn’t make it firm up, so there’s not much point chilling the dough as you would a standard pie crust.

IMG_4162Divide the dough into two portions, one slightly larger than the other. Roll out the smaller piece of dough between two pieces of wax paper into a 13″ round, about 1/8″ thick, and line a 9 1/2″ glass pie plate with it.

IMG_4165Spoon the filling into the crust.

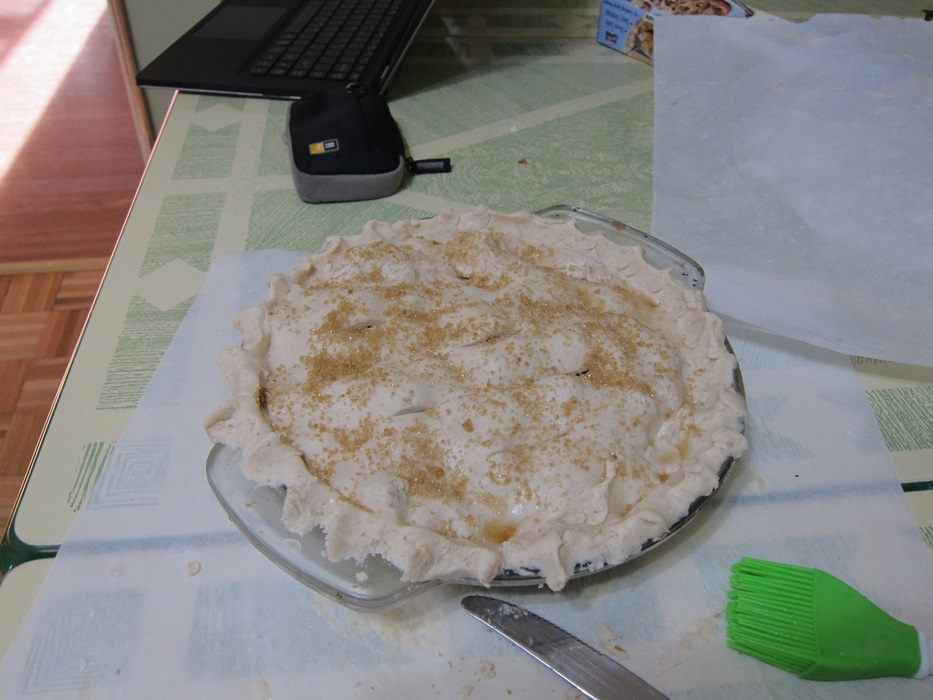
IMG_4166Roll the other piece of dough into a 12″ round, and cover the filling. Trim the excess dough and crimp the edges. Brush the top with water (or the egg wash, for a glossier brown top) and sprinkle with the extra sugar. Cut a few holes in the top for steam to vent.

IMG_4167Place the pie on a cookie sheet (forgot this step, regretted that mistake), and bake until the filling is bubbling and the crust is golden brown, 1 1/2 – 2 hours. Mine took pretty much the full 2 to brown. Cover the edges with foil if they are browning must faster than the center, to keep them from burning.

IMG_4169The final, hardest step: Let cool 5 hours at room temperature before serving.

Mrs. King’s did, admittedly, turn out prettier, but either way, I’m a big fan of strawberry things and this fit the bill!

Prettier Pie!

Prettier Pie!

Deep Dish Strawberry-Cranberry Pie

From Mrs. King!

Filling:

  • 4 cups strawberries, hulled and quartered
  • 2 cups frozen cranberries
  • 1 cup raw sugar
  • 1/4 cup cornstarch
  • pinch of salt

Flaky Crust:

  • 2 1/2 cups flour
  • 2 tablespoons raw sugar
  • 1 teaspoon salt
  • 1 cup shortening
  • water (or 1 egg mixed with 1 tablespoon water, if not vegan)
  • extra raw sugar for sprinkling

Preheat your oven to 375 and position a rack in the lower third of the oven. Combine all the filling ingredients in a large bowl, and set aside.

Combine the flour, sugar, and salt of the crust in a food process and pulse briefly to combine. Add the shortening and process until the whole mass comes together.

Divide the dough into two portions, one slightly larger than the other. Roll out the smaller piece of dough between two pieces of wax paper into a 13″ round, about 1/8″ thick, and line a 9 1/2″ glass pie plate with it. Spoon the filling into the crust.

Roll the other piece of dough into a 12″ round, and cover the filling. Trim the excess dough and crimp the edges. Brush the top with water (or the egg wash, for a glossier brown top) and sprinkle with the extra sugar. Cut a few holes in the top for steam to vent.

Place the pie on a cookie sheet, and bake until the filling is bubbling and the crust is golden brown, 1 1/2 – 2 hours. Cover the edges with foil if they are browning must faster than the center, to keep them from burning.

The final, hardest step: Let cool 5 hours at room temperature before serving.

Posted in Dessert | Tagged , , , | Leave a comment

Apple Cider Cake

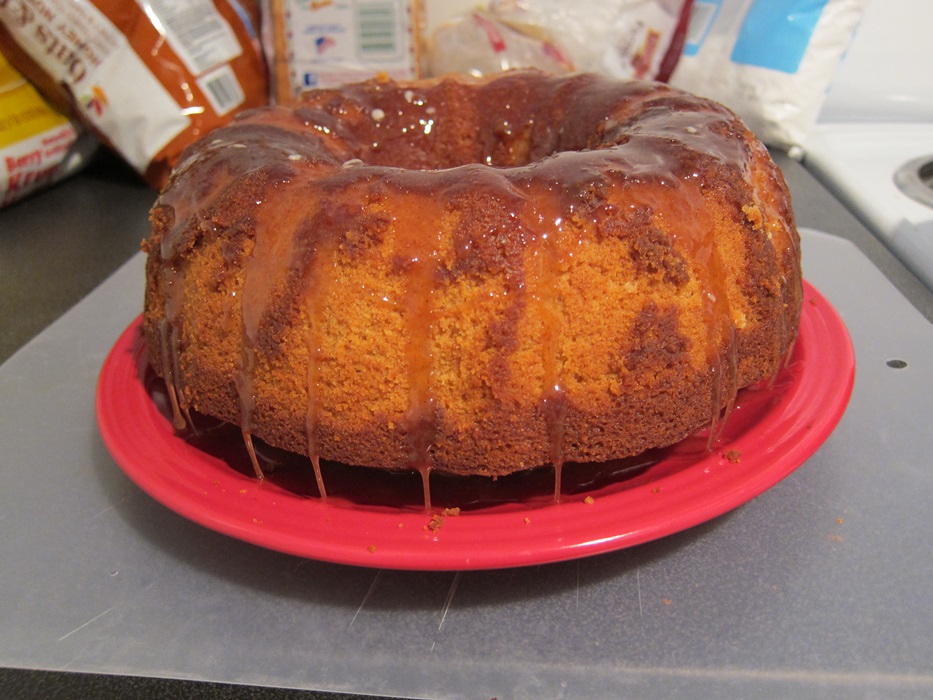
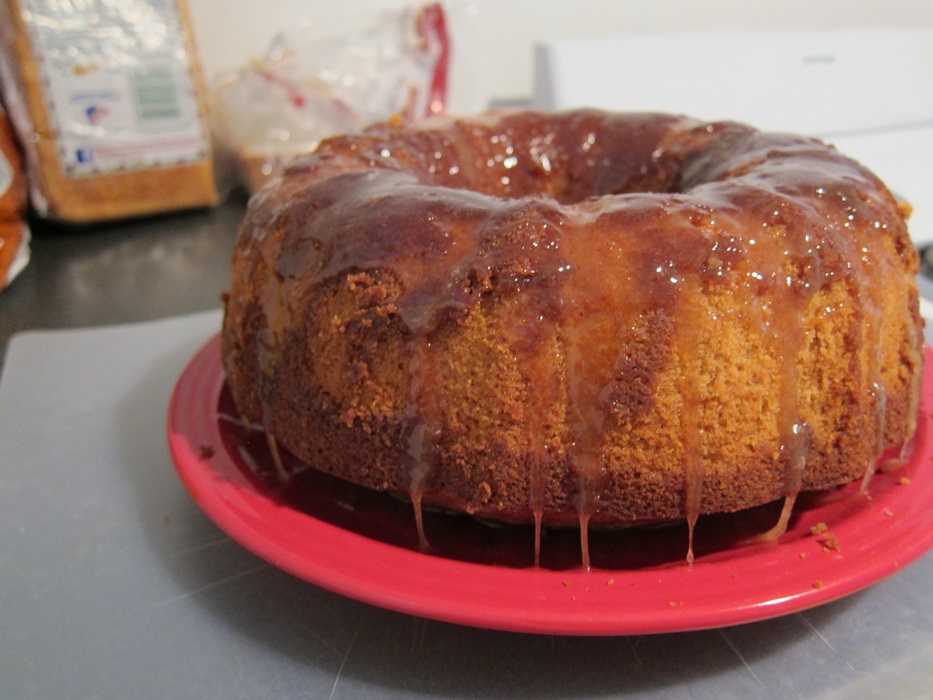
After Alex’s birthday last week, there was some leftover apple cider. I don’t drink much besides water too often, so I needed to use some of it up in other ways. Luckily, there are countless delicious options, including this cake! It’s a very soft, dense, moist cake, with a lovely flavor. It’s quite nice!

IMG_4157Ingredients:

Cake:

  • 3 cups sugar
  • 1 1/2 cups butter, room temperature
  • 6 eggs
  • 3 cups flour
  • 1/2 teaspoon salt
  • 1/2 teaspoon baking powder
  • 1 teaspoon cinnamon
  • 1/2 teaspoon ground nutmeg
  • 1/8 teaspoon ground cloves
  • 1 cup apple cider
  • 1 teaspoon vanilla

Glaze:

  • 1 cup apple cider
  • 1/2 – 3/4 cup powdered sugar
  • 1/2 teaspoon ground cinnamon
  • 2 tablespoons butter
  • dash of salt

Preheat oven to 325 degrees. Grease a bundt pan very well and set aside. Combine the dry goods in a medium bowl , and combine the cider and vanilla in a bowl or measuring cup, and set both aside aside.

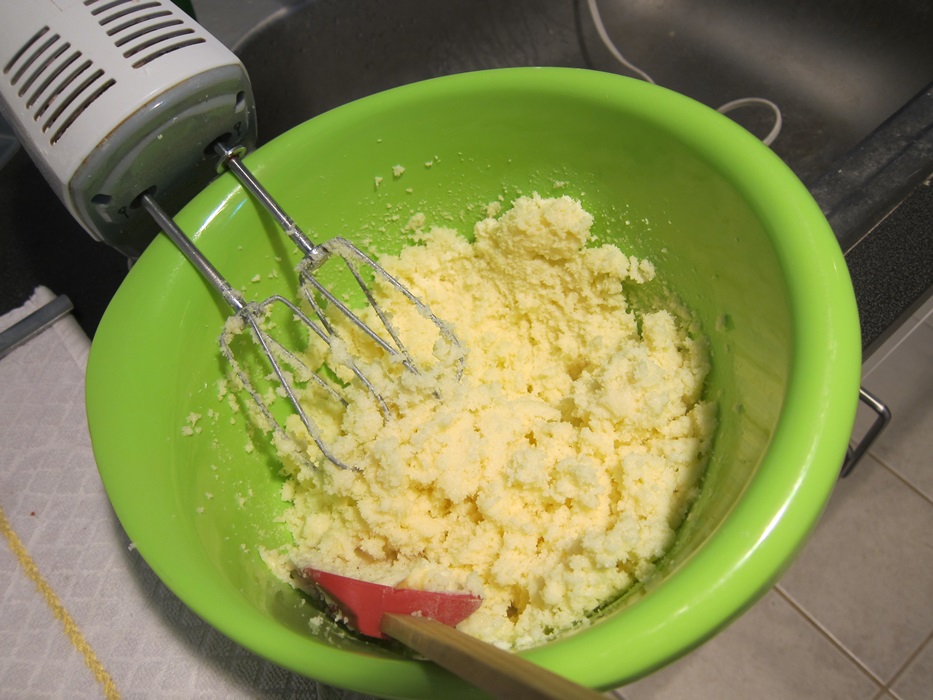
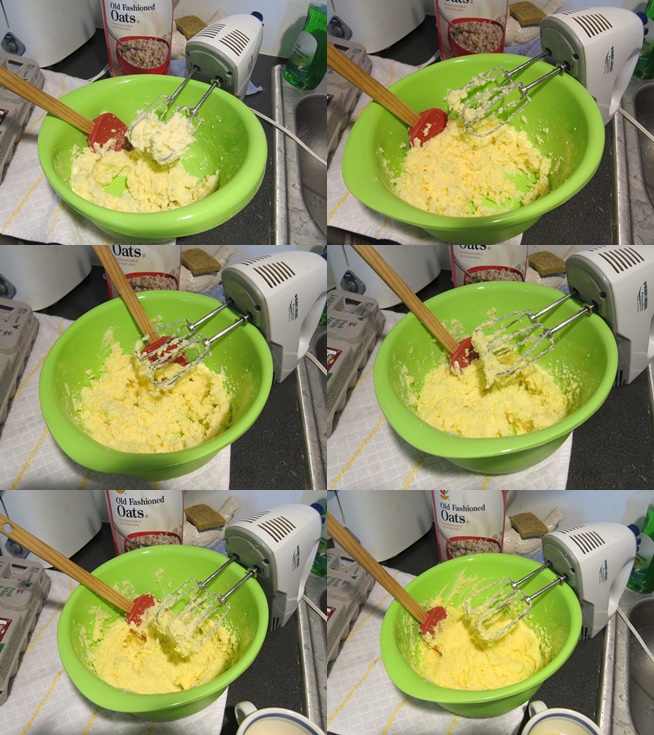
Beat together the butter and sugar until light and fluffy.

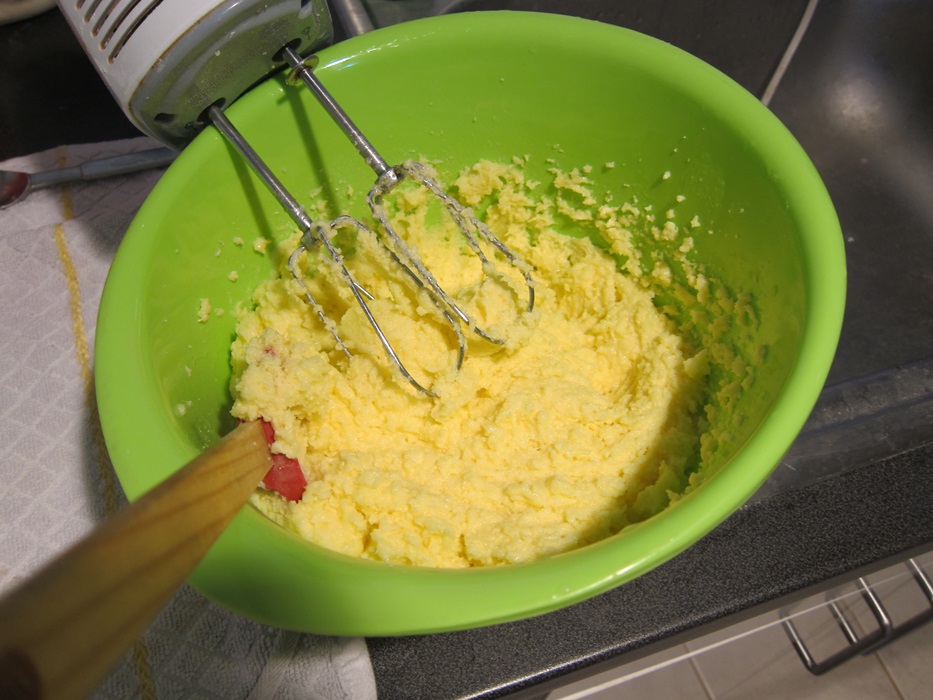
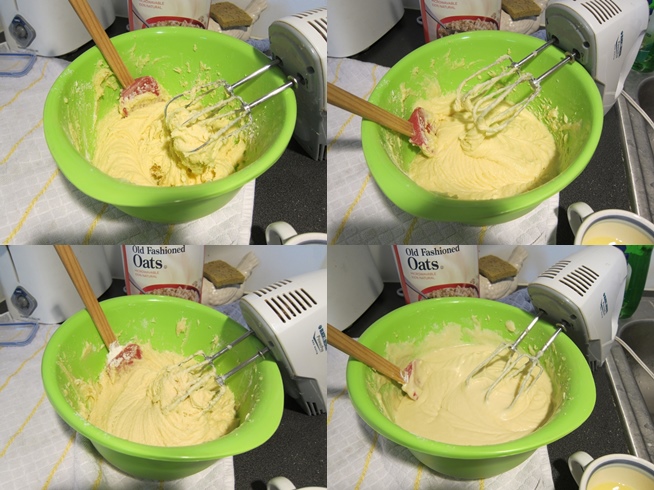
IMG_4150Beat in the eggs one at a time.

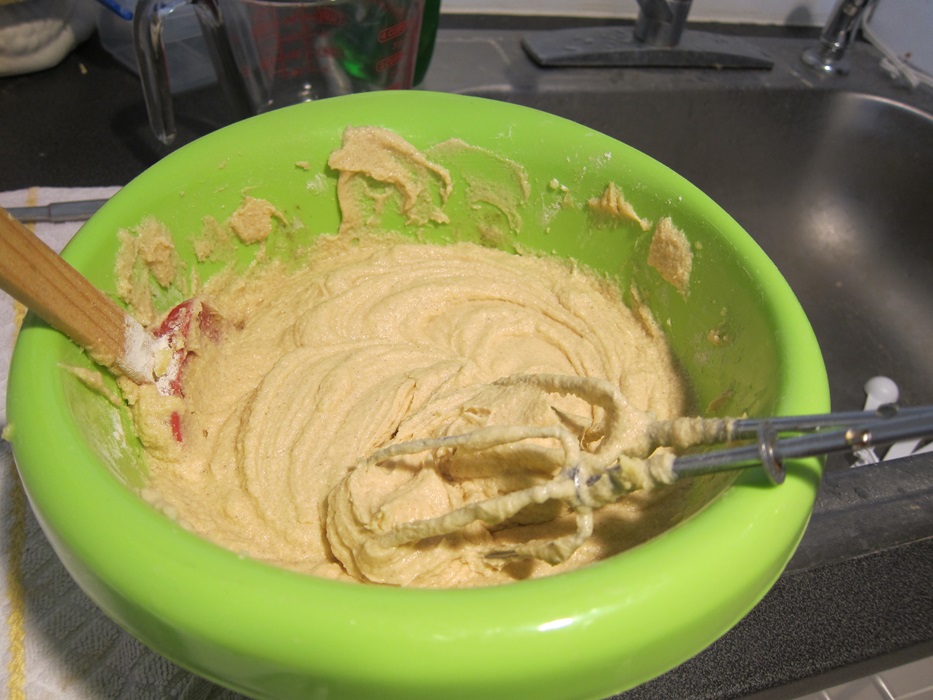
IMG_4151Beat in half flour mixture, followed by half the cider. Repeat with the second half of the flour mixture, and the remaining cider.

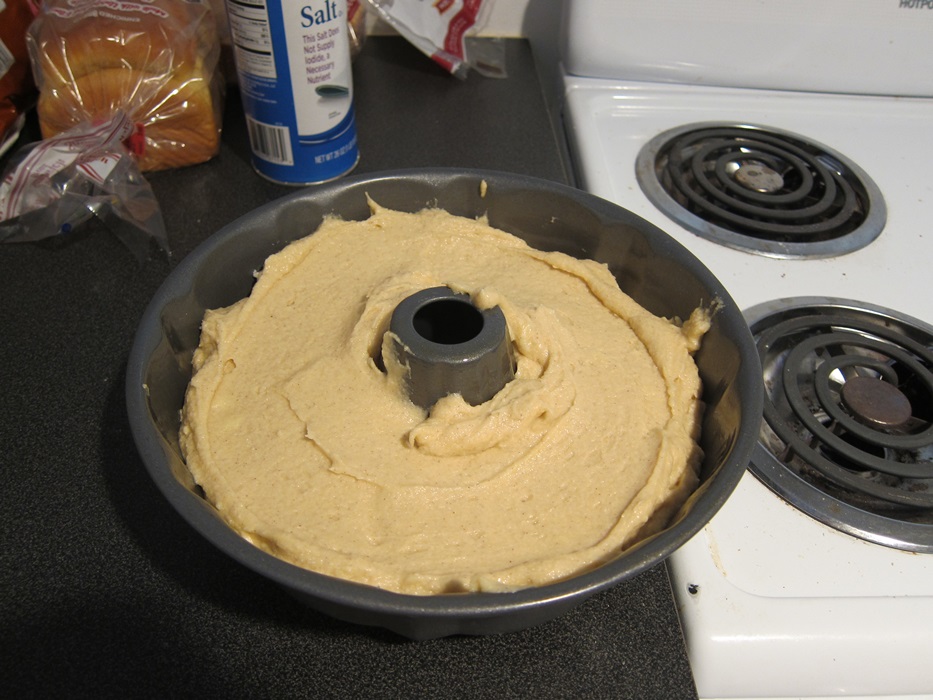
IMG_4152Pour the batter into the bundt pan.

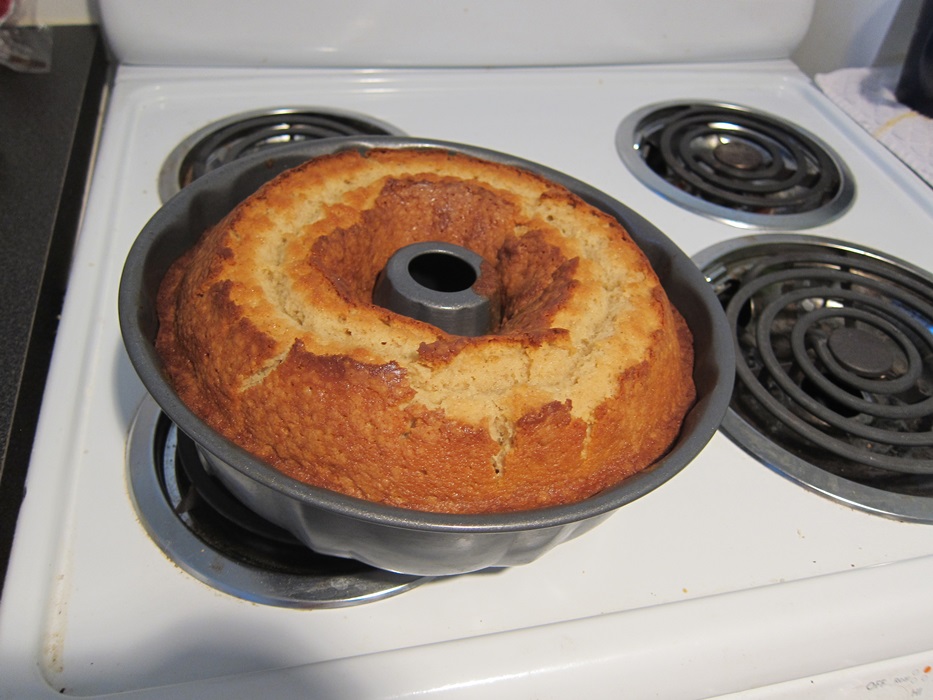
IMG_4153Bake 70 minutes, or until it passes the toothpick test.

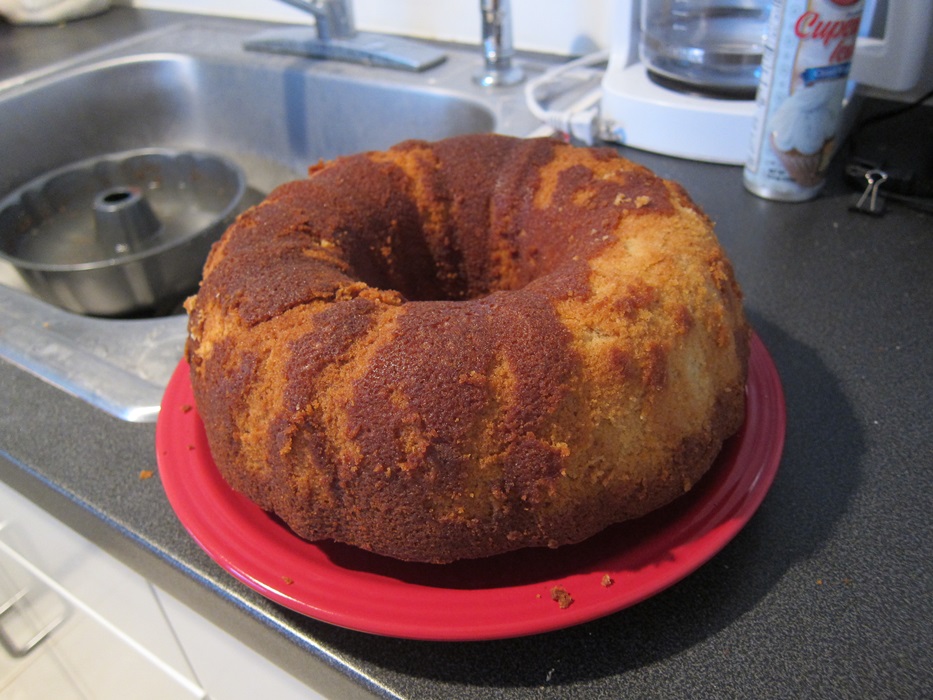
IMG_4154Cool in the pan at least an hour, then turn out onto a dish. Let finish cooling completely.

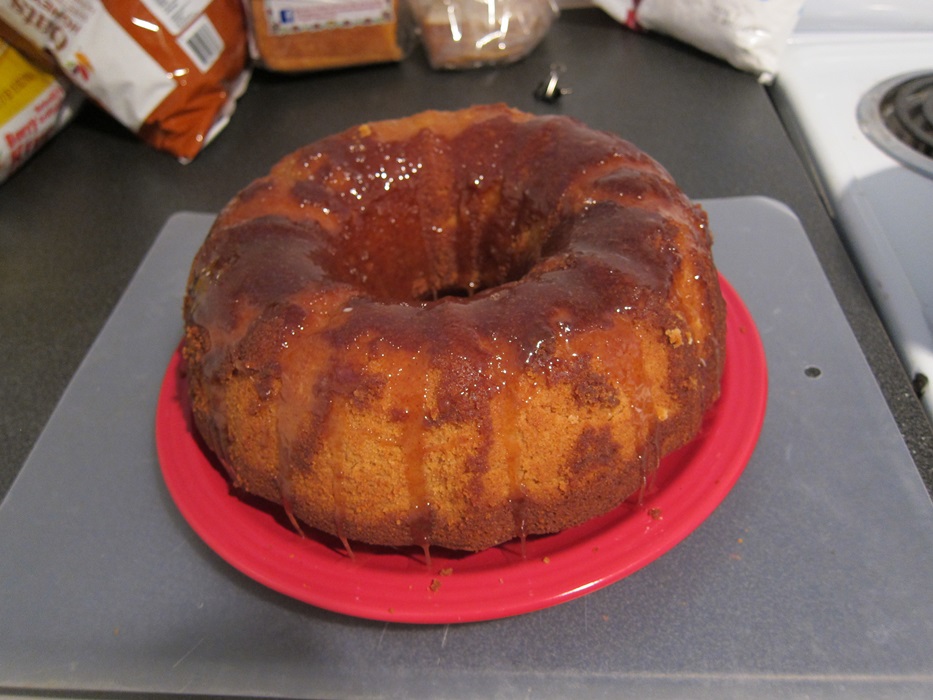
IMG_4156To make the glaze, heat the cider over medium heat until it reaches a boil. Reduce the heat, and simmer for 10 minutes or until it’s reduced by half. Stir in the butter, cinnamon, salt, and 1/2 a cup of powdered sugar. Add the remaining powdered sugar to thicken if desired, and drizzle over the cake.

IMG_4158 IMG_4159

Cider Cake

From Buns in My Oven.

Cake:

  • 3 cups sugar
  • 1 1/2 cups butter, room temperature
  • 6 eggs
  • 3 cups flour
  • 1/2 teaspoon salt
  • 1/2 teaspoon baking powder
  • 1 teaspoon cinnamon
  • 1/2 teaspoon ground nutmeg
  • 1/8 teaspoon ground cloves
  • 1 cup apple cider
  • 1 teaspoon vanilla

Glaze:

  • 1 cup apple cider
  • 1/2 – 3/4 cup powdered sugar
  • 1/2 teaspoon ground cinnamon
  • 2 tablespoons butter
  • dash of salt

Preheat oven to 325 degrees. Grease a bundt pan very well and set aside. Combine the dry goods in a medium bowl , and combine the cider and vanilla in a bowl or measuring cup, and set both aside aside.

Beat together the butter and sugar until light and fluffy. Beat in the eggs one at a time. Beat in half flour mixture, followed by half the cider. Repeat with the second half of the flour mixture, and the remaining cider.  Pour the batter into the bundt pan and bake 70 minutes, or until it passes the toothpick test.

Cool in the pan at least an hour, then turn out onto a dish. Let finish cooling completely.

To make the glaze, heat the cider over medium heat until it reaches a boil. Reduce the heat, and simmer for 10 minutes or until it’s reduced by half. Stir in the butter, cinnamon, salt, and 1/2 a cup of powdered sugar. Add the remaining powdered sugar to thicken if desired, and drizzle over the cake.

Posted in Dessert | Tagged , , | Leave a comment

Yellow Cake

Yellow cake with chocolate frosting has always been my favorite, but I don’t think I’d ever made one from scratch. I was asked to bring a cake to a surprise party, and the time was right! It has a nicer texture than box cake, and tastes great to boot!

IMG_4126Ingredients:

  • 1 cup unsalted butter, softened
  • 2 cups granulated sugar
  • 4 large eggs
  • 2 large egg yolks
  • 1 teaspoon salt
  • 3 teaspoons baking powder
  • 3 cups all-purpose flour
  • 2 cups buttermilk
  • 2 1/2 teaspoons vanilla extract

Preheat oven to 350 degrees and grease 2 9″ rounds or a 9X13″ pan. Whisk together the salt, baking powder, and flour in a medium bowl and set aside.

Cream the butter and sugar until light yellow.

IMG_4103Beat in the eggs one at a time, then the yolks, also one at a time.

eggsBeat in half the flour mixture on low speed, followed by half the buttermilk. Beat in the remaining flour, then the remaining buttermilk. Finally, stir in the vanilla.

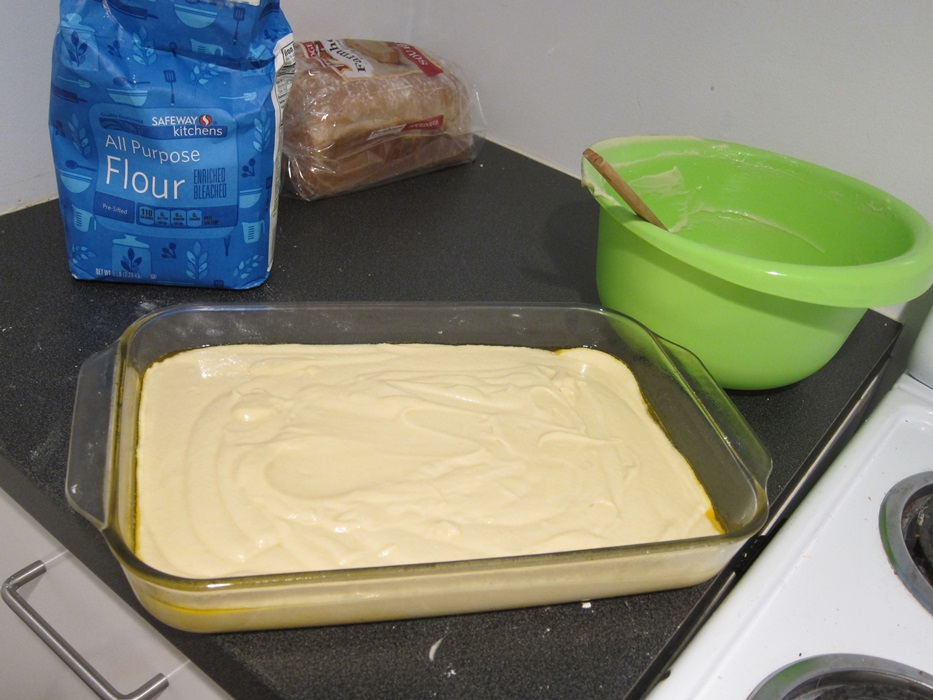
flourPour the batter into the prepared pan(s).

IMG_4114Bake until it passes a toothpick test, about 30 minutes for 2 rounds, 35 minutes for a 9X13″.

IMG_4116Let cool completely, several hours, then frost and decorate as desired.

IMG_4117IMG_4119

Homemade Yellow Cake

From Add A Pinch.

  • 1 cup unsalted butter, softened
  • 2 cups granulated sugar
  • 4 large eggs
  • 2 large egg yolks
  • 1 teaspoon salt
  • 3 teaspoons baking powder
  • 3 cups all-purpose flour
  • 2 cups buttermilk
  • 2 1/2 teaspoons vanilla extract

Preheat oven to 350 degrees and grease 2 9″ rounds or a 9X13″ pan. Whisk together the salt, baking powder, and flour in a medium bowl and set aside.

Cream the butter and sugar until light yellow. Beat in the eggs one at a time, then the yolks, also one at a time. Beat in half the flour mixture on low speed, followed by half the buttermilk. Beat in the remaining flour, then the remaining buttermilk. Then stir in the vanilla.

Pour the batter into the prepared pan(s). Bake until it passes a toothpick test, about 30 minutes for 2 rounds, 35 minutes for a 9X13″. Let cool completely, several hours, then frost and decorate as desired.

Posted in Dessert | Tagged , | 3 Comments