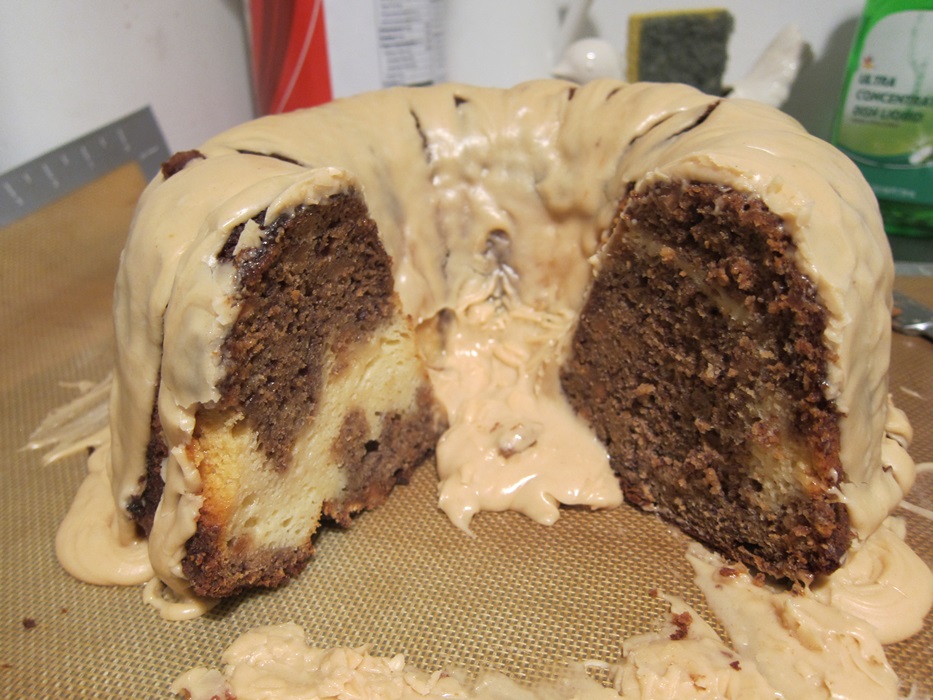
This recipe is actually one that I tried this spring in Greece with one of my classmates, but it didn’t work out quite right then. It turned out delicious, but the caramel was rock hard, so eating it was a challenging, somewhat drooly event. This time, though, thanks (I think) to the use of a candy thermometer, the caramel came out soft enough to bite, but still firm enough to hold its shape. Everyone that had some of this batch loved it, and it feels fall-appropriate!
 Ingredients:
Shortbread:
- 10 tablespoons unsalted butter, room temp
- 1/2 cup sugar
- 1/2 teaspoon salt
- 1 egg yolk
- 1 2/3 cup all-purpose flour
Apples:
- 1 tablespoon unsalted butter
- 1 apple, peeled, cored, and diced
- 1 tablespoon brown sugar
Caramel:
- 1 cup unsalted butter
- 1 cup light brown sugar
- 3/4 cup golden syrup or light corn syrup
- 2 teaspoons salt
- 4 tablespoons sugar
- 4 tablespoons heavy cream
- 1 1/2 teaspoons vanilla bean paste or extract
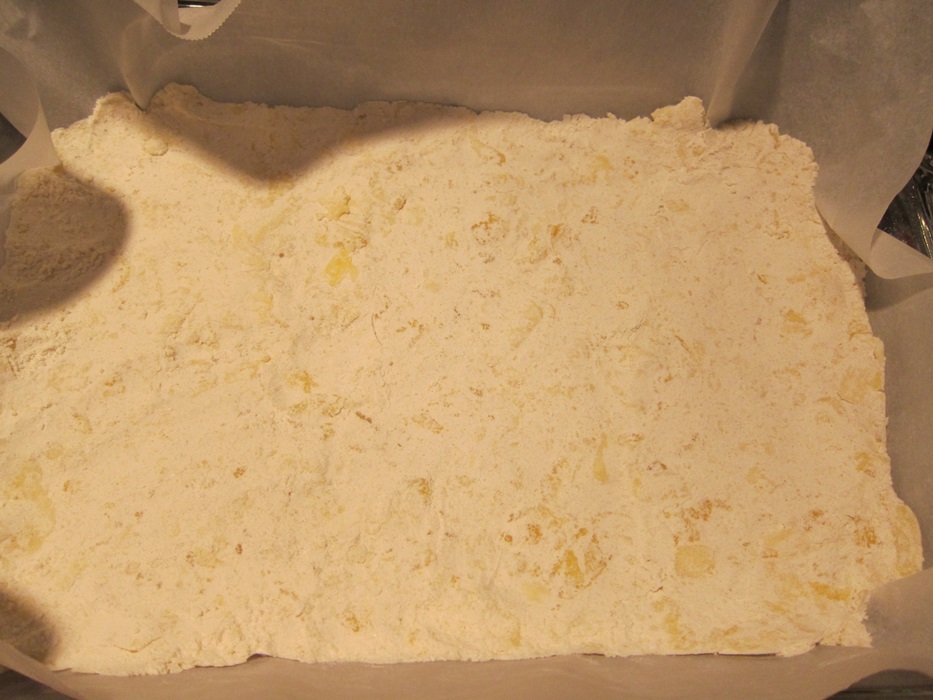
Line a 9X9″ pan with parchment paper and set aside. I only had an 8X11″ (and last time I used a 10″ round), and the ingredients still seemed sufficient for the slightly greater area.
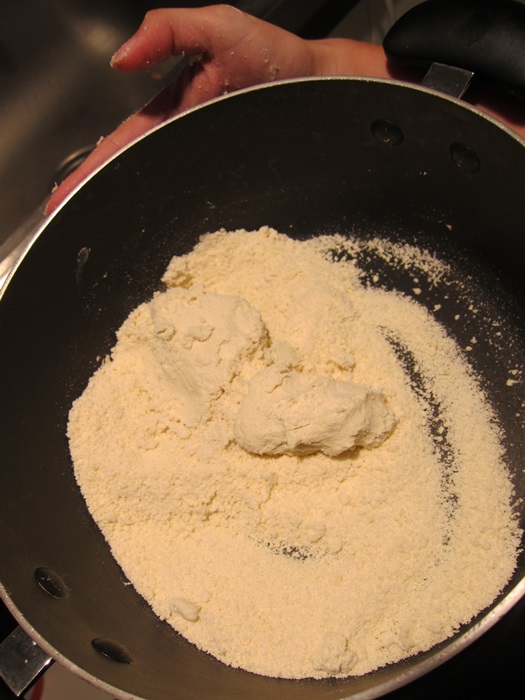
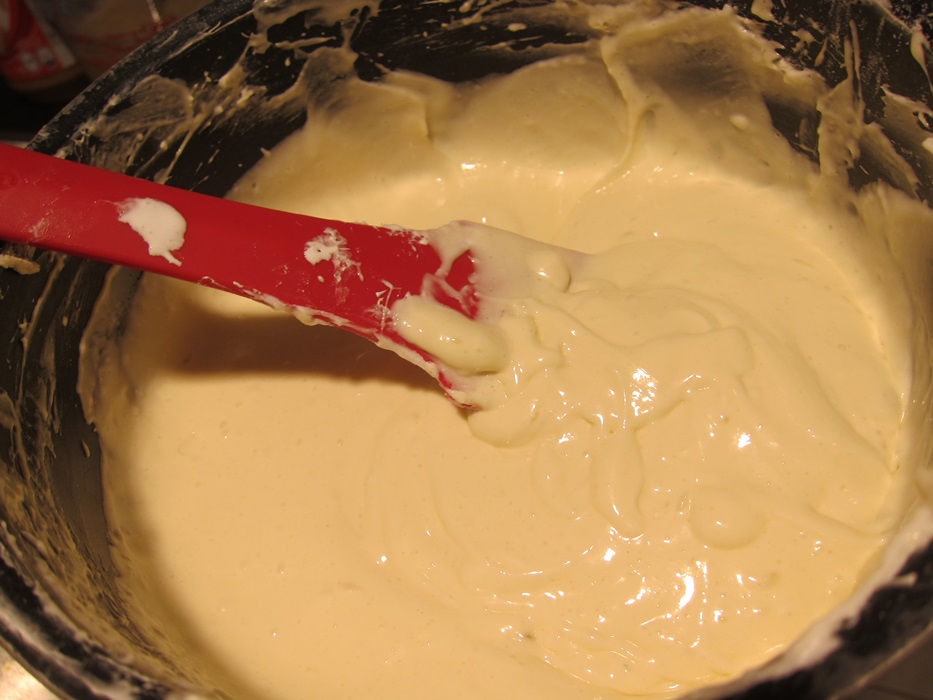
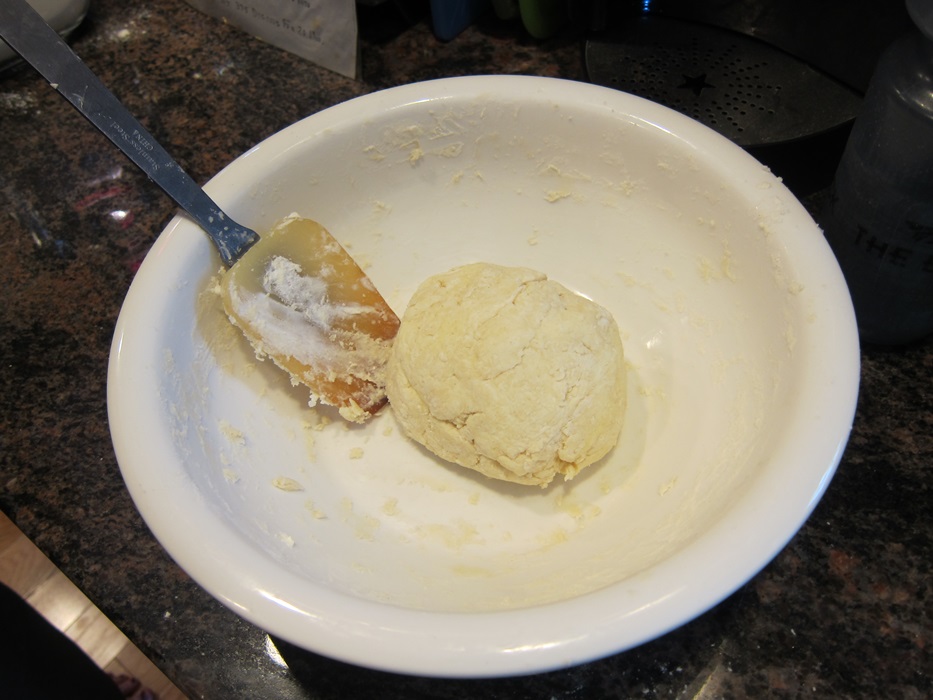
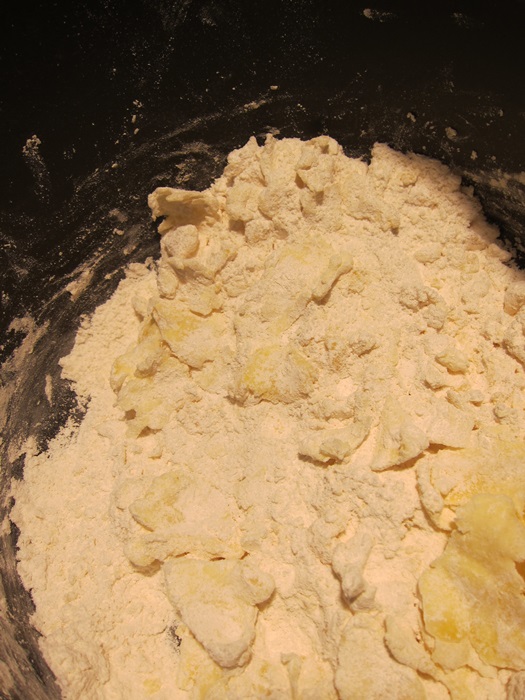
In a large bowl, combine the butter, sugar, and salt for the crust with a fork, then stir in the egg yolk.

Villy did lots of the work when we tried it in the spring!
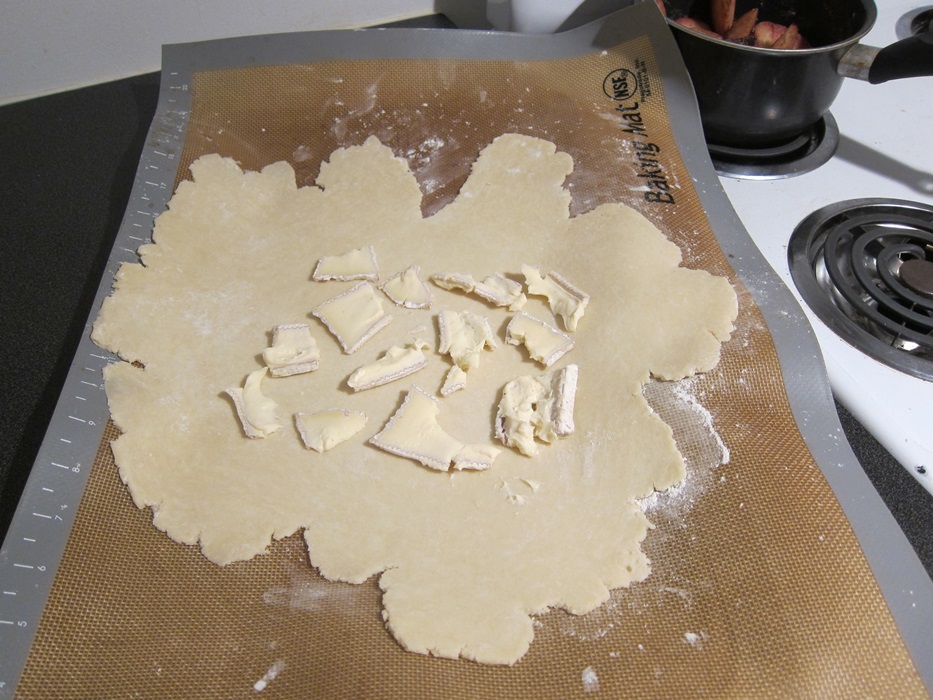
Add the flour, the combine with your hands until flaky. For me, this means squashing the butter bits until they’re super thin.
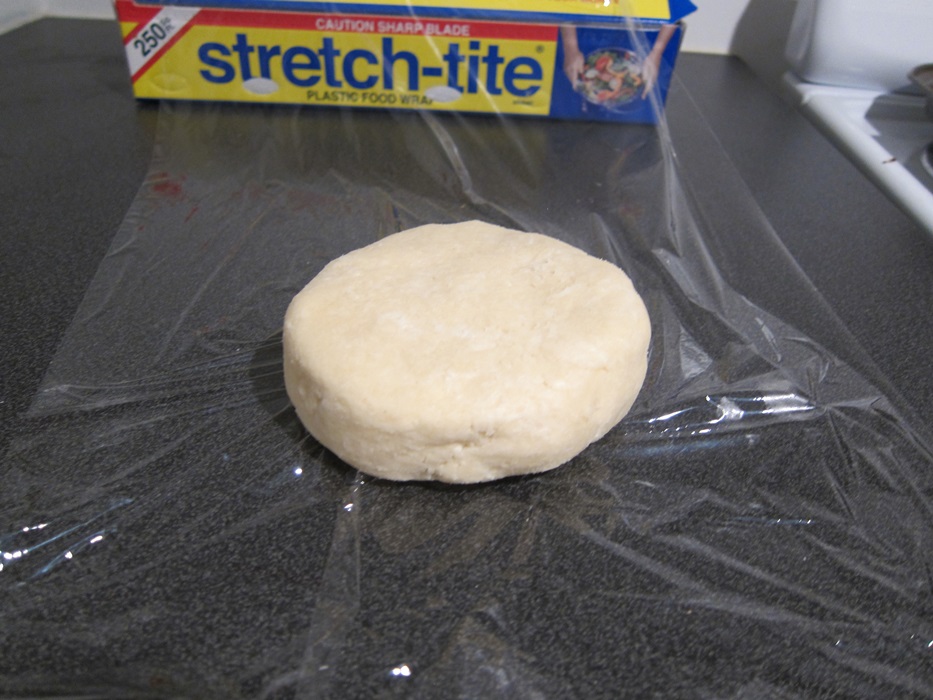
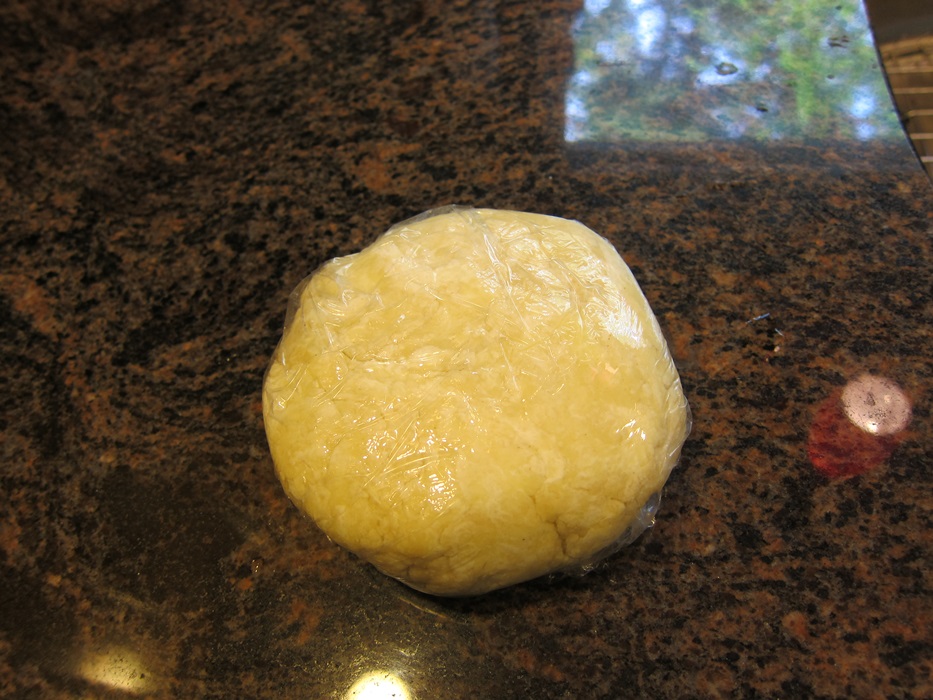
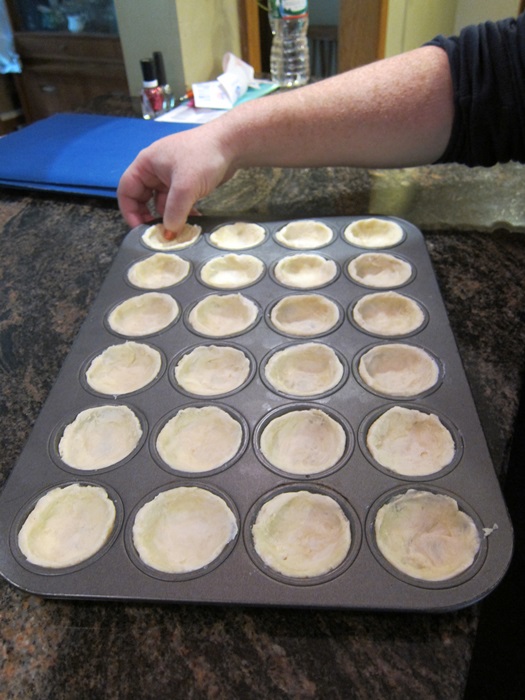
 Transfer the dough to your lined pan and press down evenly across the bottom of the pan. Refrigerate 30 minutes.
 During that time, preheat the oven to 350 degrees. Bake 25 minutes, until lightly browned, then take out and set aside.
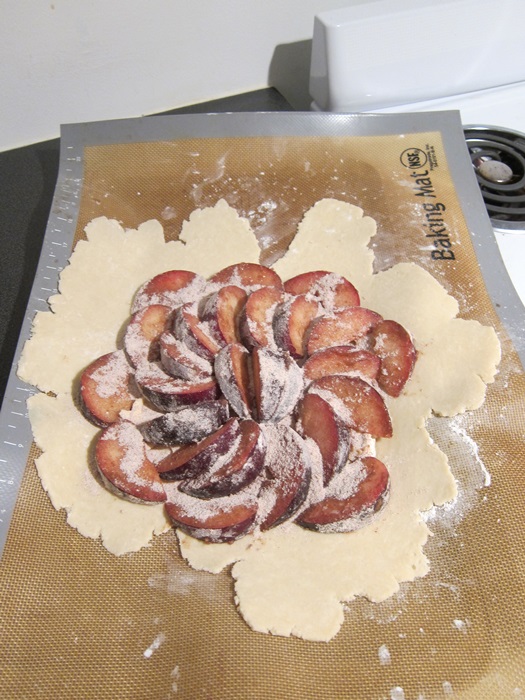
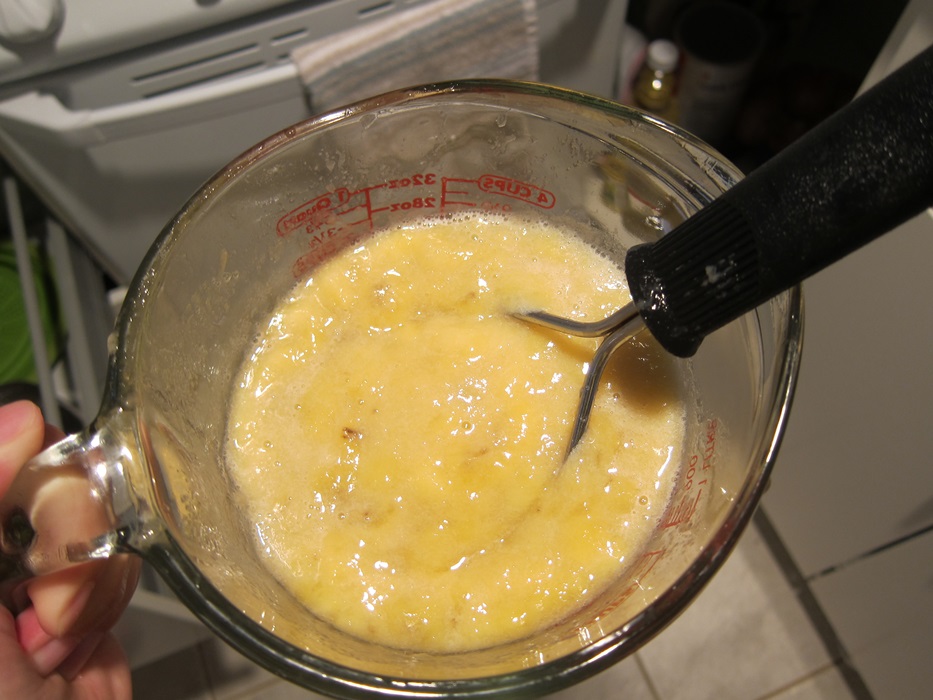
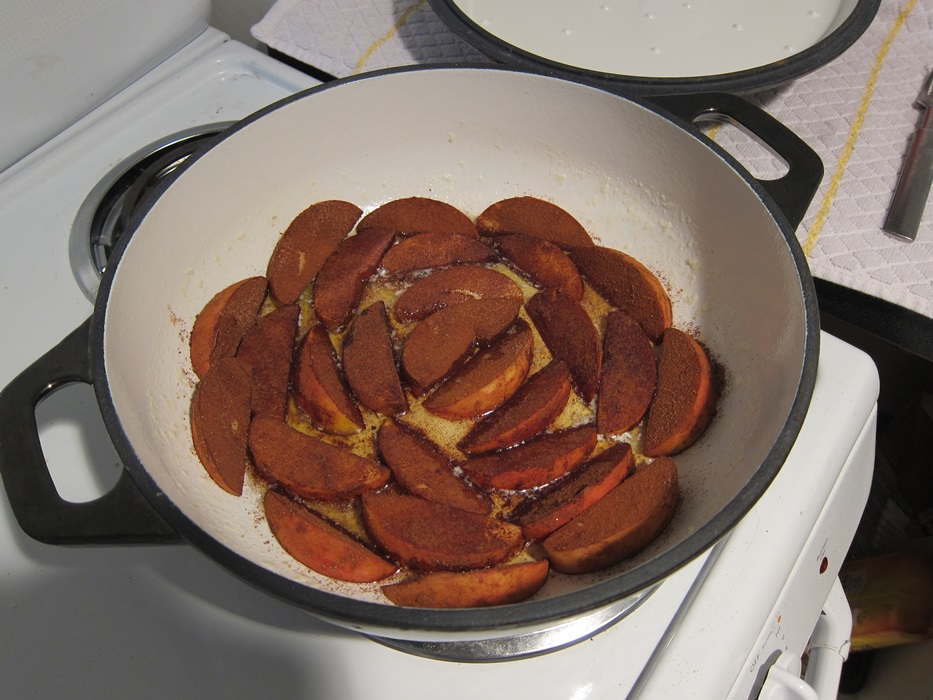
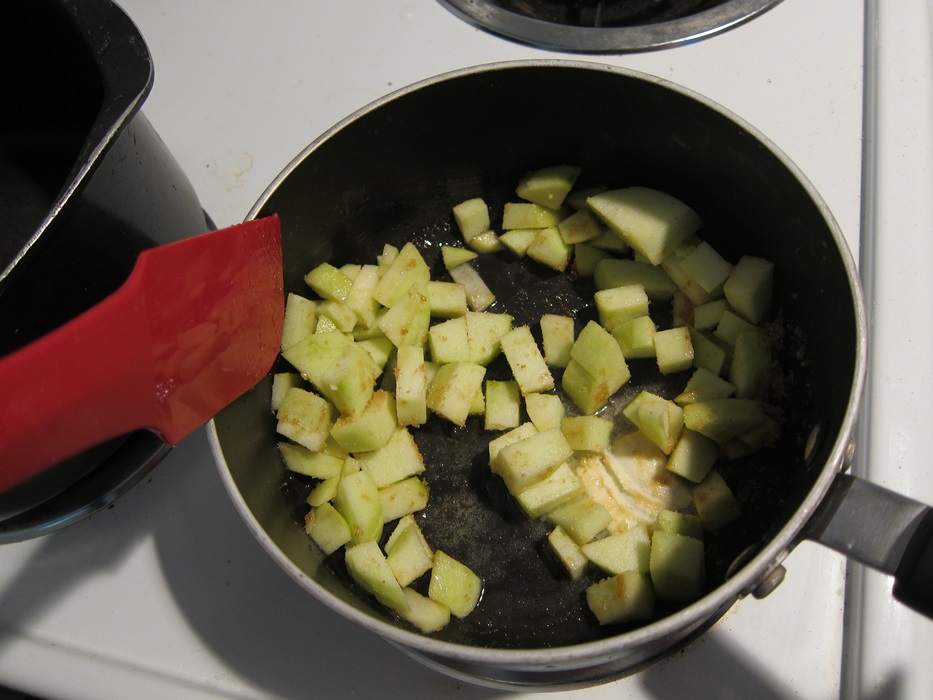
 While the shortbread bakes, combine the apples, butter, and sugar in a medium saucepan. Bring to a boil, then let simmer until the apples are soft. It may seem weird at first, expecting some apples, with no liquid but the melted butter, to boil, but the apples release some liquid and it does happen.
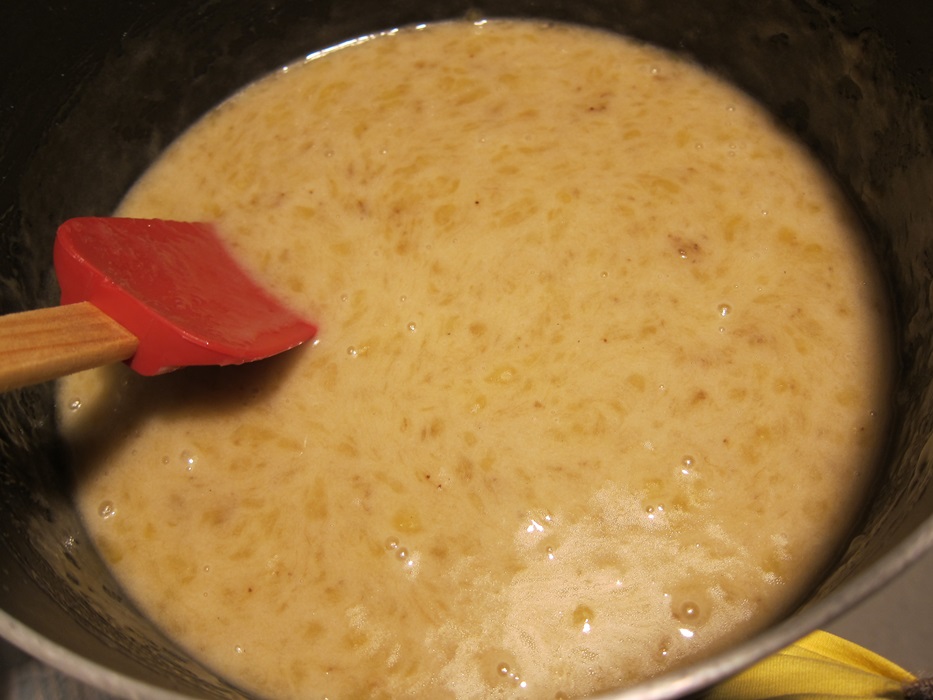
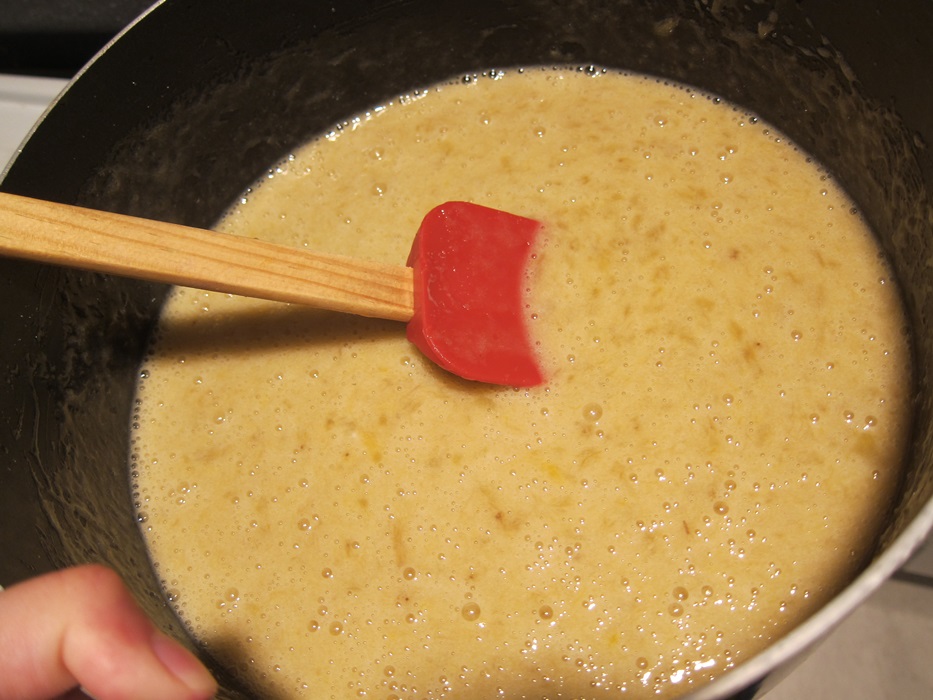
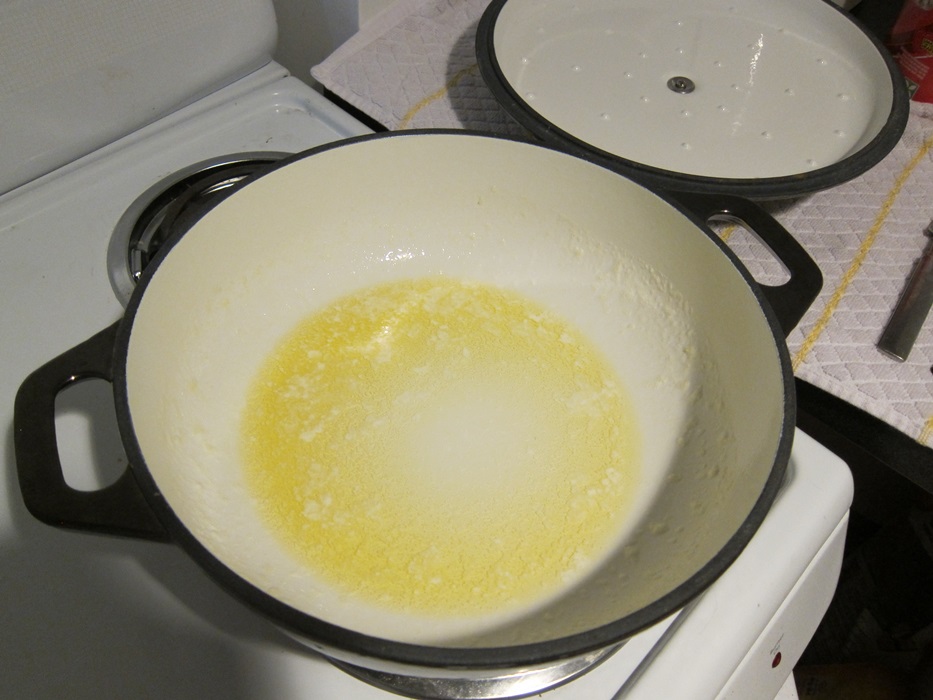
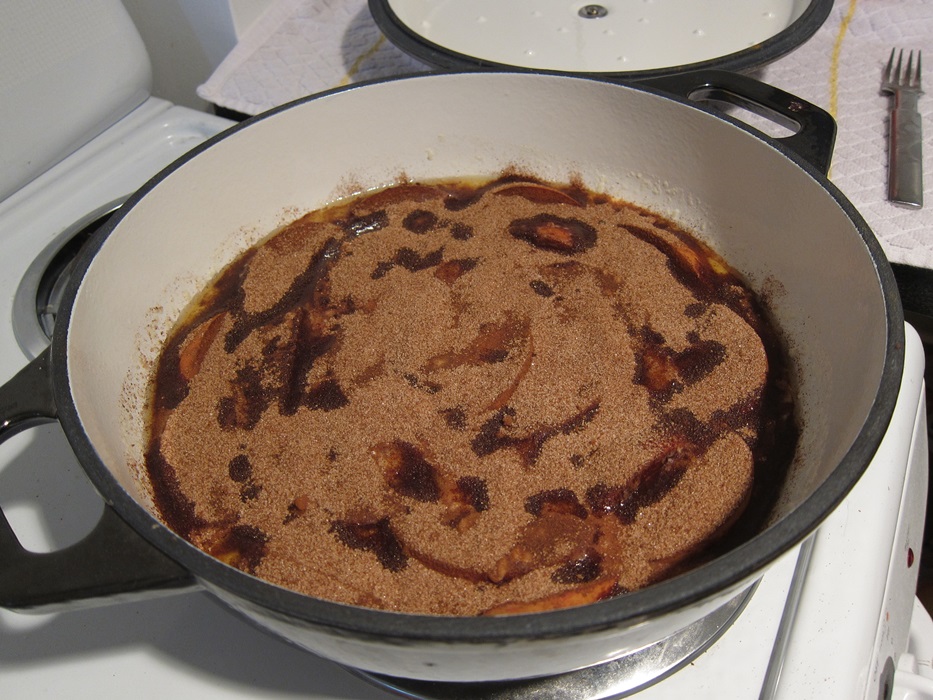
 Combine the butter, brown sugar, golden syrup, salt, sugar, and cream for the caramel in a large pot. Bring to a boil, then stir for 5-10 minutes until thick and bubbly, at about 248 on a candy thermometer.


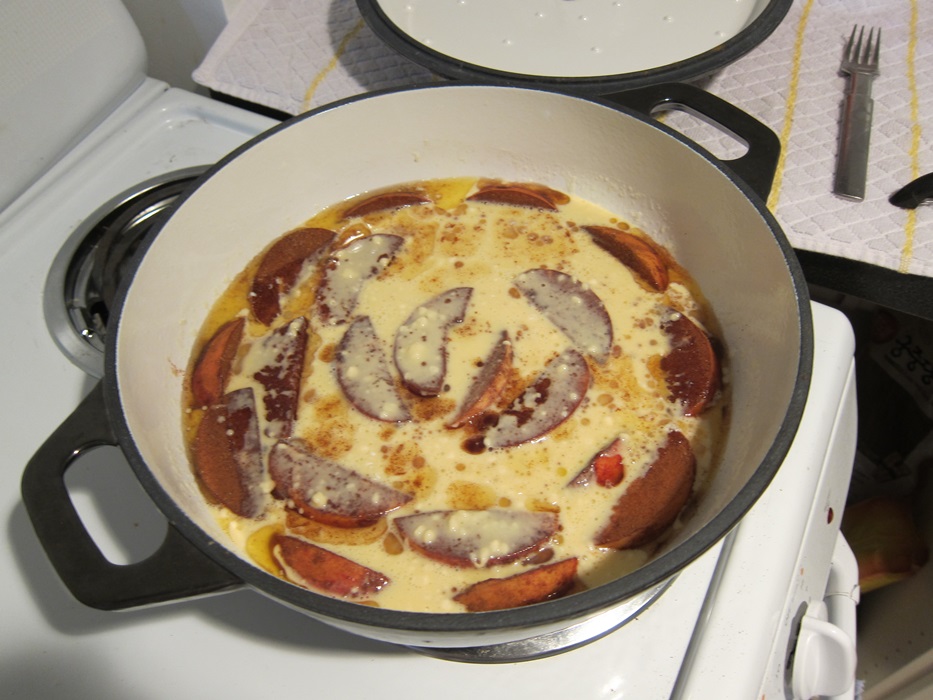
Remove the heated mixture from the stove, stir in the vanilla, then add the softened apples.
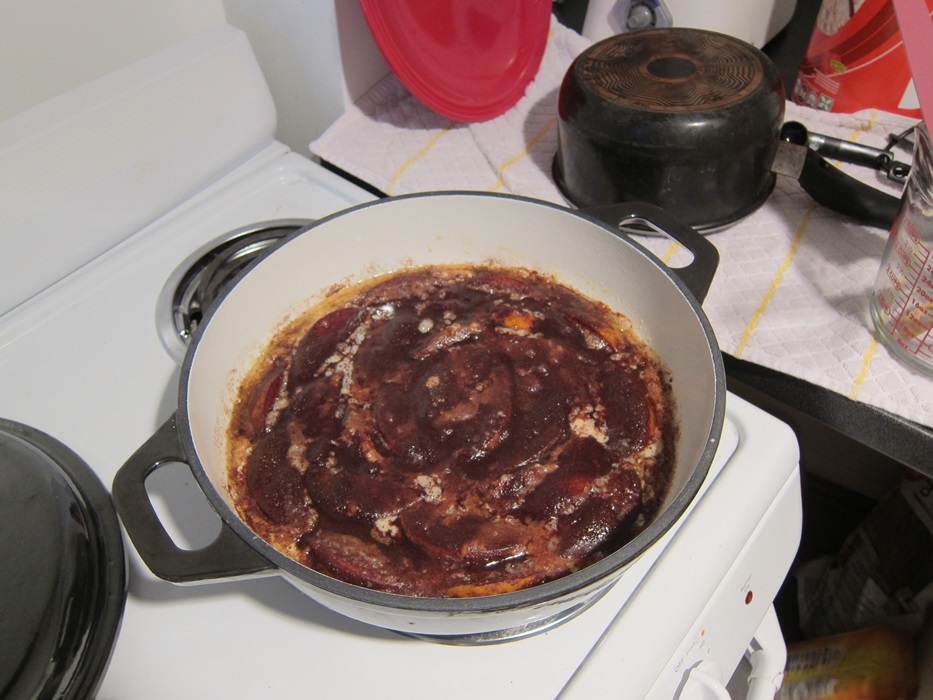
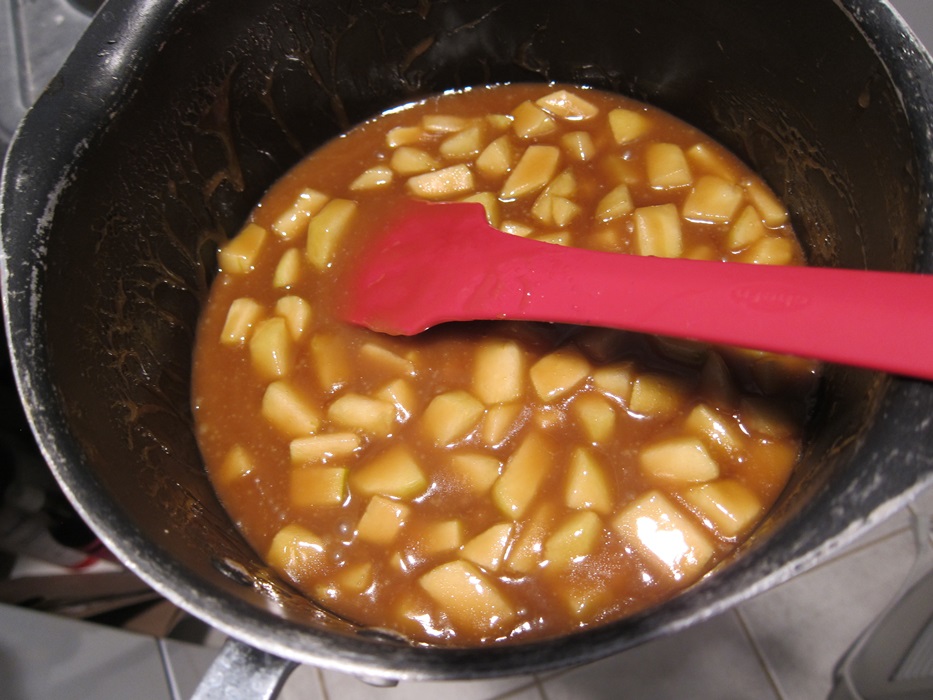 Pour the caramel mixture on top of the shortbread and spread evenly.
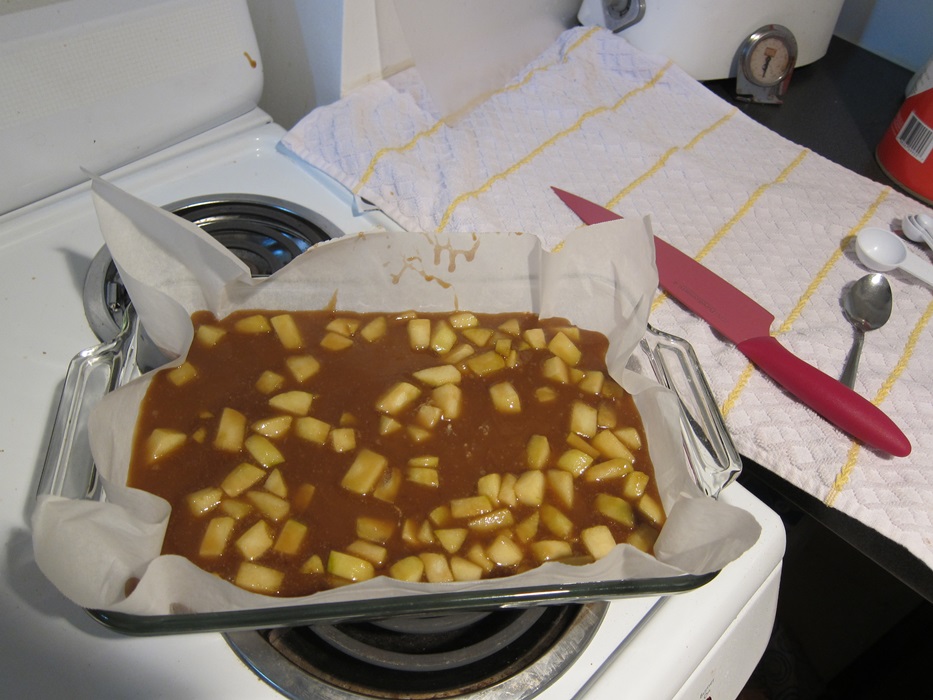 Refrigerate 2-4 hours, until firm. Slice cold, and keep chilled when not serving.
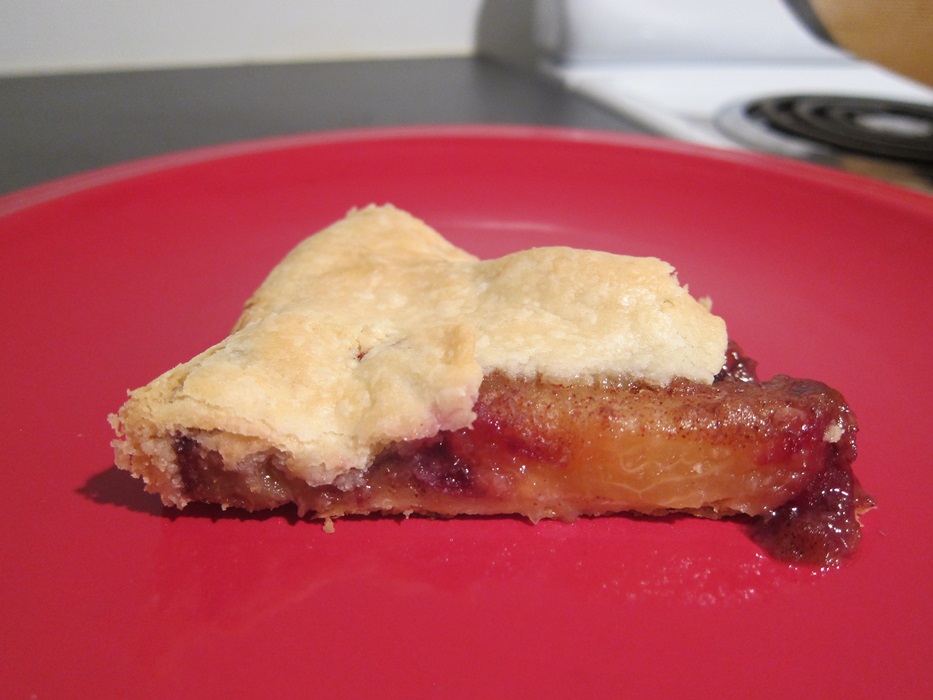
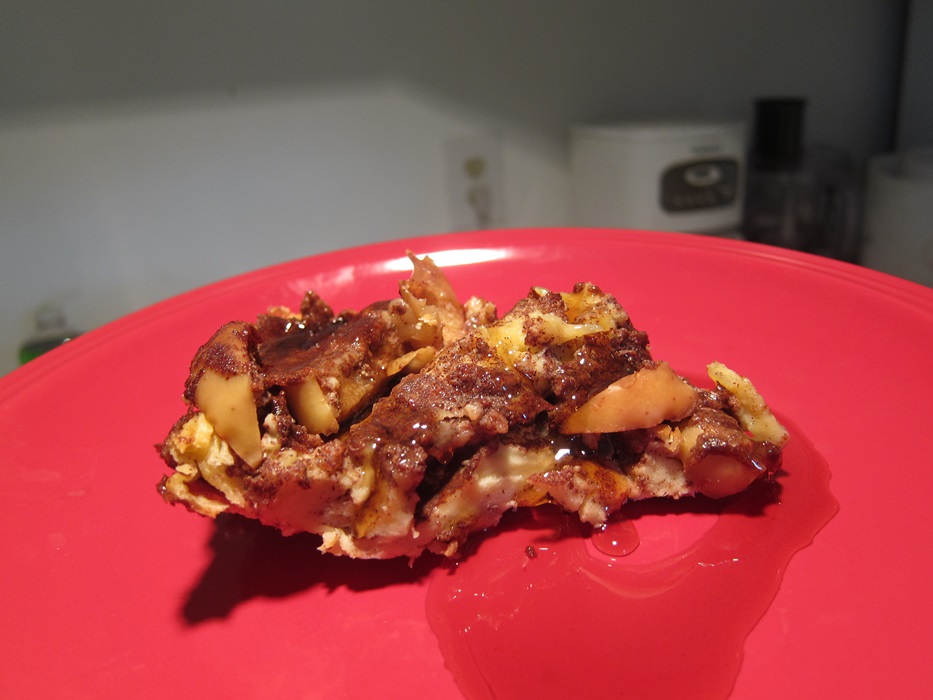
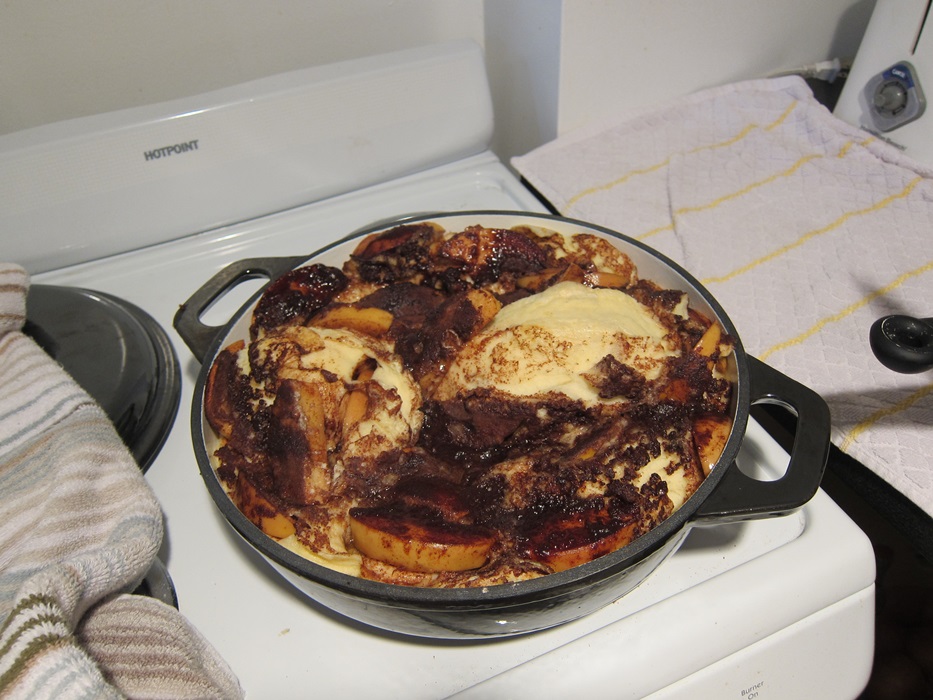
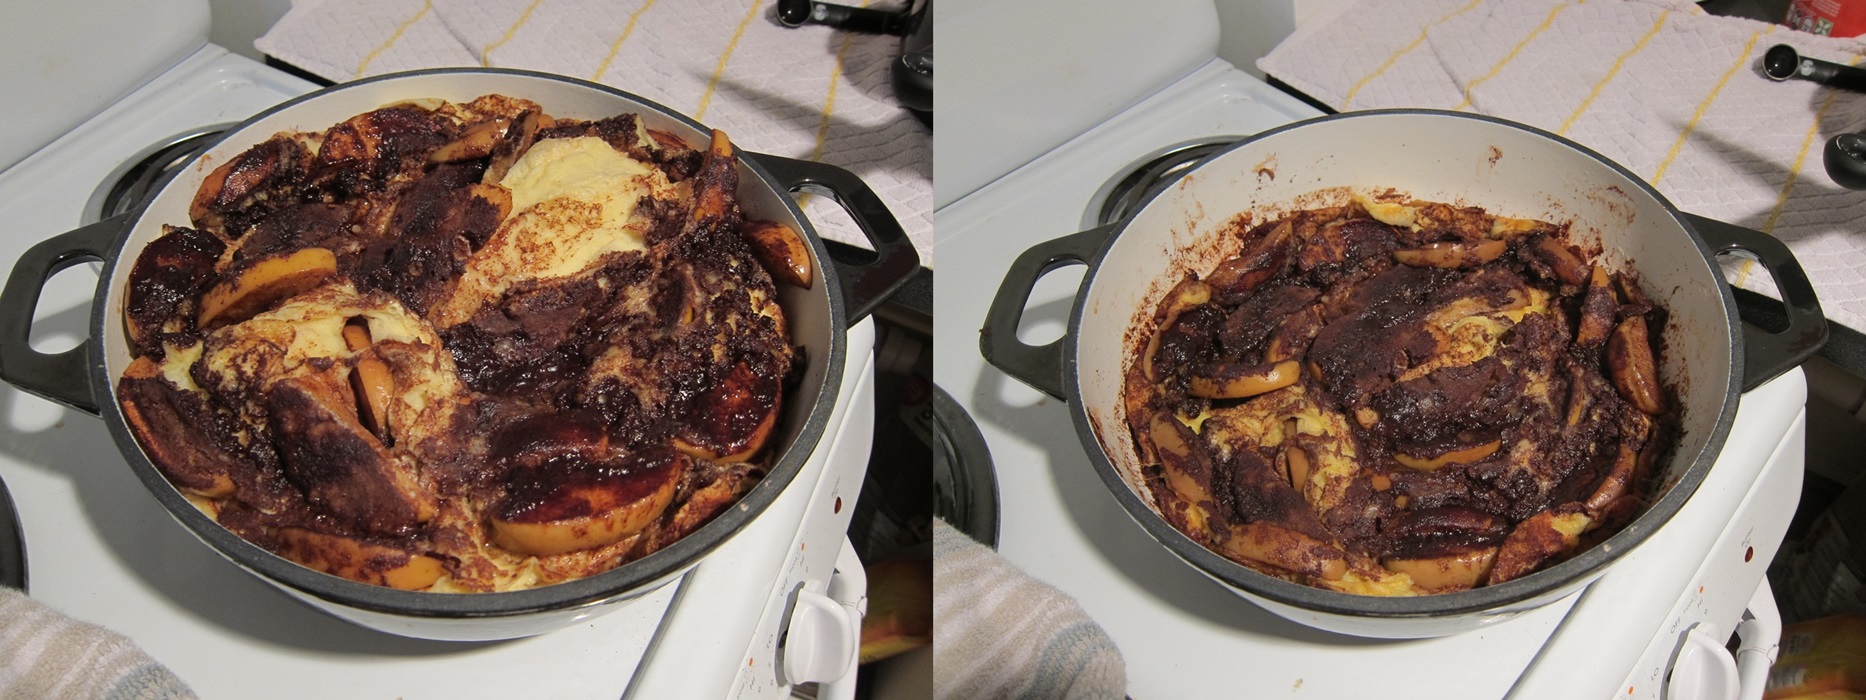
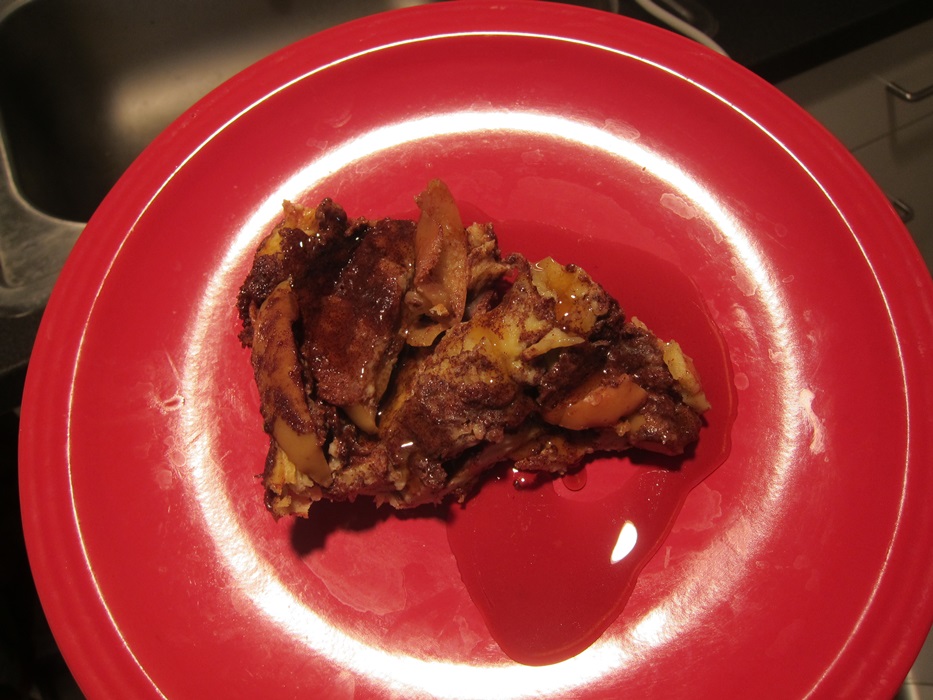
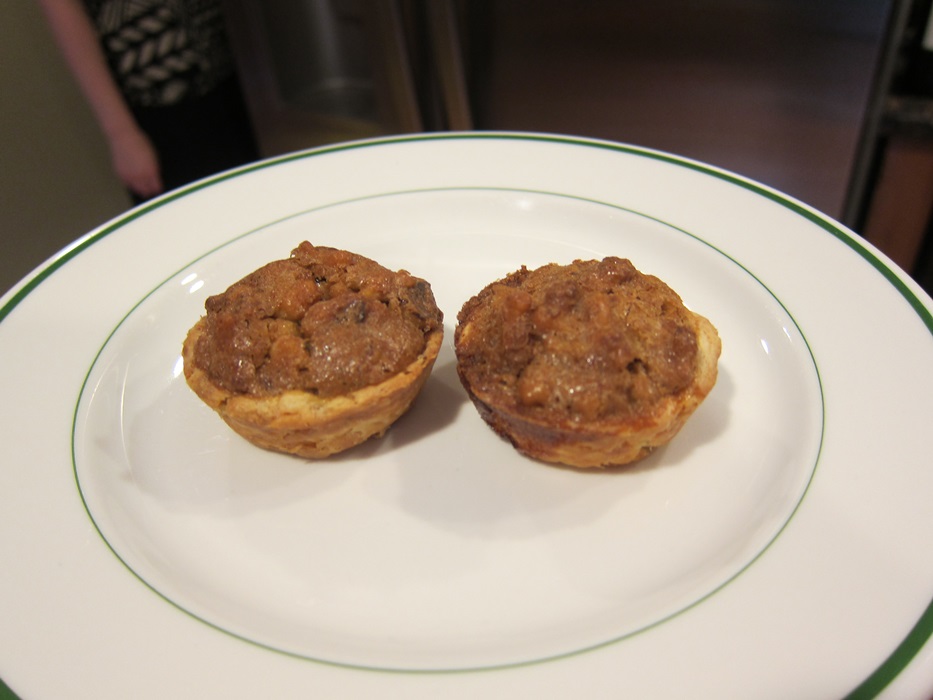
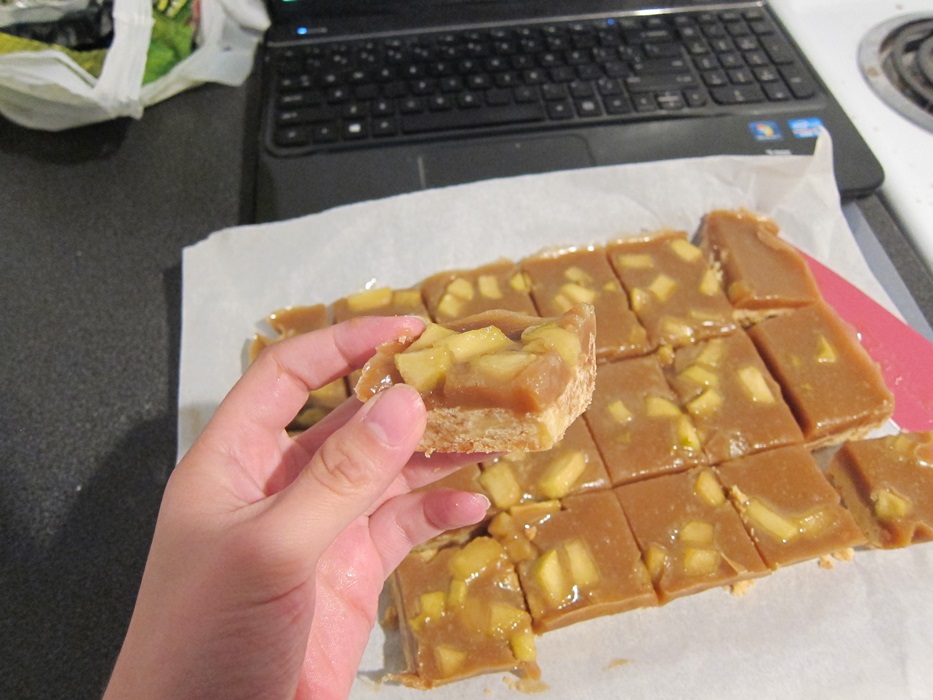
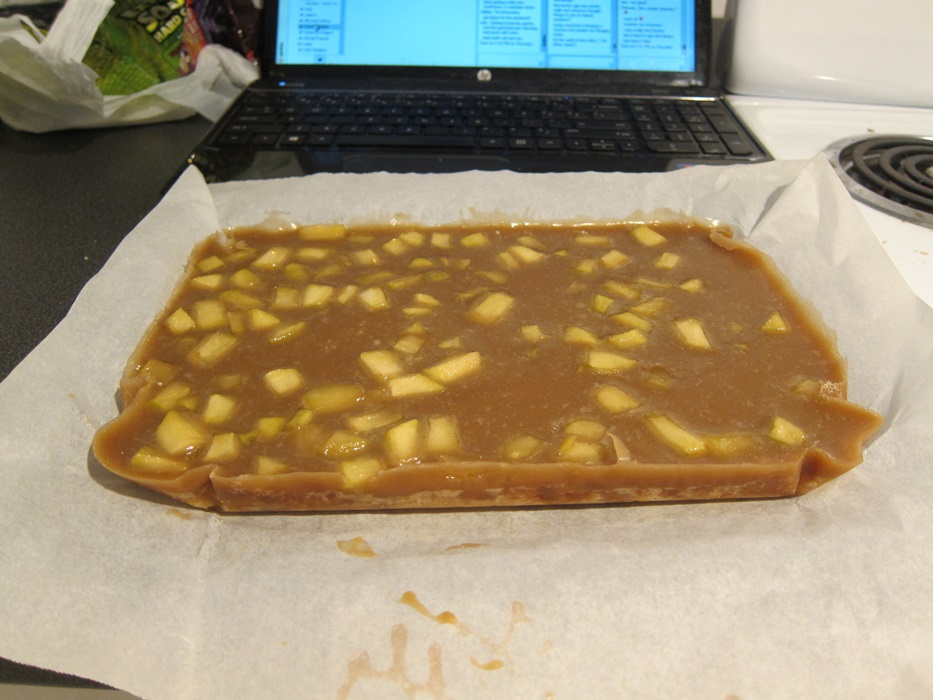 There is a lot of butter in this, and you can tell because it is really delicious! When you don’t overcook the caramel, it’s a good chewy texture that’s nice with the slight flakiness of the crust, with just a bit of gooeyness. It’s quite delightful!
Caramel Apple Shortbread Bars
From Culinary Concoctions by Peabody.
Shortbread:
- 10 tablespoons unsalted butter, room temp
- 1/2 cup sugar
- 1/2 teaspoon salt
- 1 egg yolk
- 1 2/3 cup all-purpose flour
Apples:
- 1 tablespoon unsalted butter
- 1 apple, peeled, cored, and diced
- 1 tablespoon brown sugar
Caramel:
- 1 cup unsalted butter
- 1 cup light brown sugar
- 3/4 cup golden syrup or light corn syrup
- 2 teaspoons salt
- 4 tablespoons sugar
- 4 tablespoons heavy cream
- 1 1/2 teaspoons vanilla bean paste or extract
Line a 9X9″ pan with parchment paper and set aside.
In a large bowl, combine the butter, sugar, and salt for the crust with a fork, then stir in the egg yolk. Add the flour, the combine with your hands until flaky. Transfer the dough to your lined pan and press down evenly across the bottom of the pan. Refrigerate 30 minutes. During that time, preheat the oven to 350 degrees. Bake 25 minutes, until lightly browned, then take out and set aside.
While the shortbread bakes, combine the apples, butter, and sugar in a medium saucepan. Bring to a boil, then let simmer until the apples are soft.
Combine the butter, brown sugar, golden syrup, salt, sugar, and cream for the caramel in a large pot. Bring to a boil, then stir for 5-10 minutes until thick and bubbly, at about 248 on a candy thermometer. Remove the heated mixture from the stove, stir in the vanilla, then add the softened apples.
Pour the caramel mixture on top of the shortbread and spread evenly. Refrigerate 2-4 hours, until firm. Slice cold, and keep chilled when not serving.