A really easy but surprisingly addictive snack that I served at my going away shindig!
 Ingredients:
- 2 bags microwave popcorn, butter flavor
- 2 cups M&Ms
- 1 1/2 cups pretzels, roughly broken up into medium sized chunks (I used Glutino gluten-free chocolate covered pretzels)
- 1 stick butter (I would use salted)
- 1 16 ounce bag mini marshmallows
Grease a bundt pan and medium bowl and set aside.
Pop both bags of popcorn in the microwave, one at a time. Pour them out into a very large bowl and fish out all the unpopped kernels. Add the M&Ms and pretzels, then set aside.
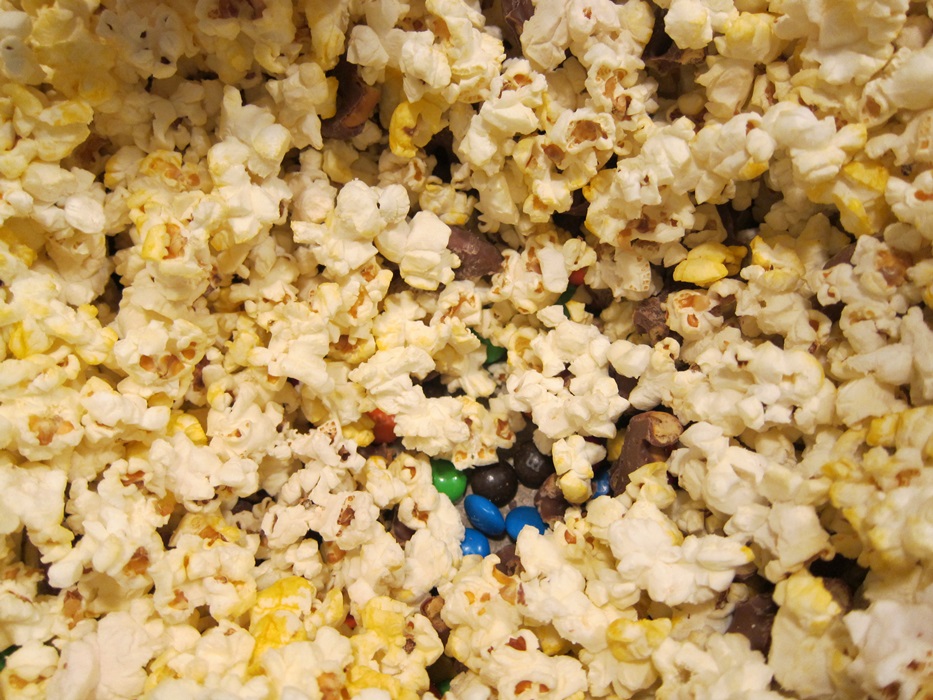
I stirred a tiny bit and all the M&Ms and pretzels dropped straight to the bottom!
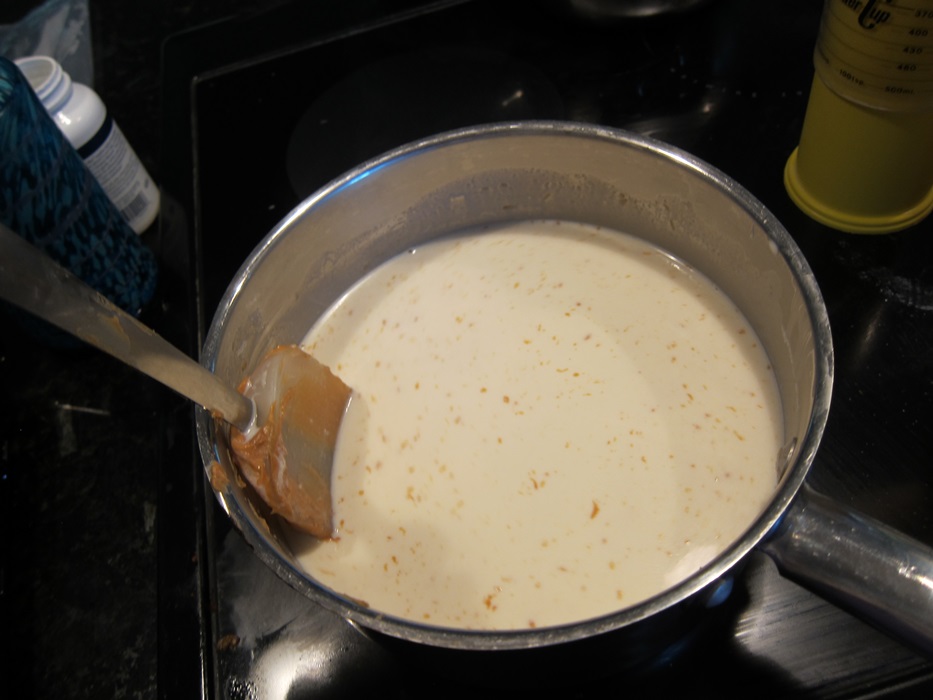
Melt the butter in a large saucepan over low heat, then add the marshmallows and cook until entirely melted and smooth.

Working on it…
Remove from the heat and let sit to cool a minute or two, then pour over the popcorn and stir well to combine, making sure that the M&Ms and pretzels are well mixed in, and not sinking all to the bottom.
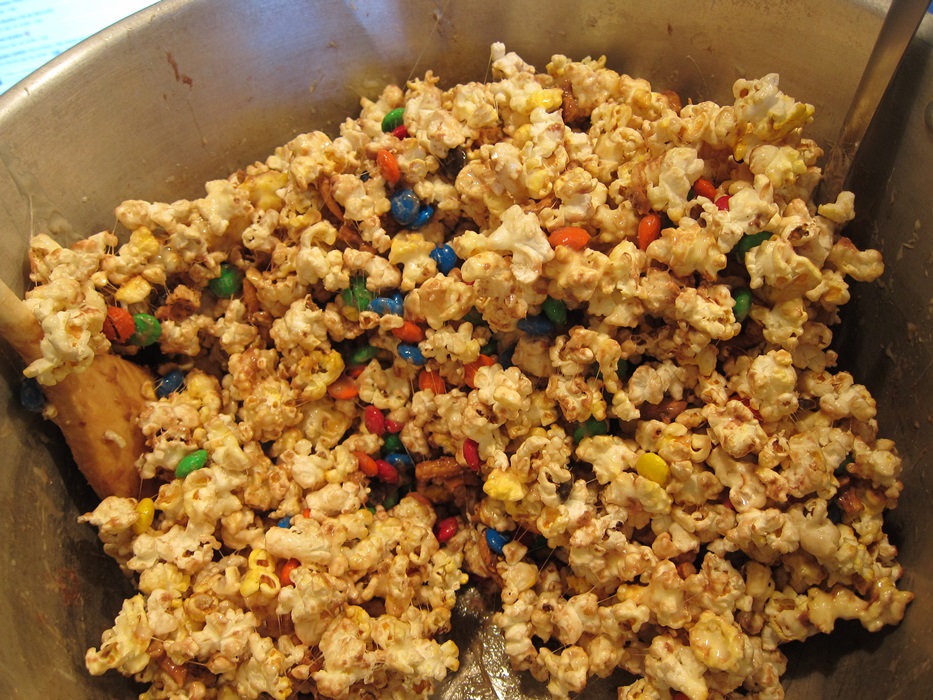
Delicious mess!
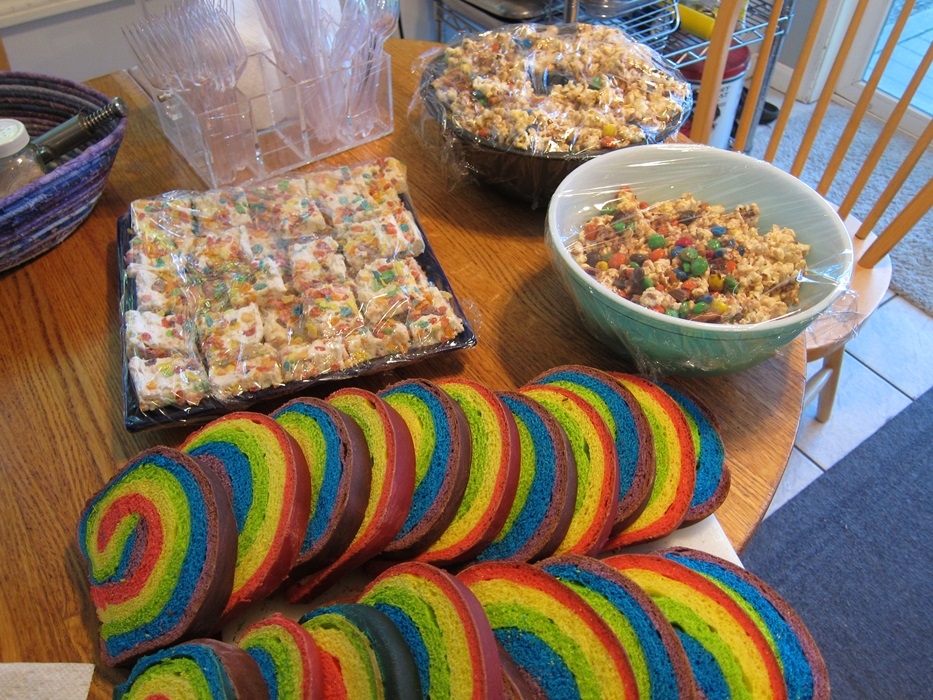
Transfer half of the popcorn mixture to the bundt pan and press in firmly, adding as much more as you can cram into the pan. I found I had more than could fit, so put the rest in a bowl and pressed it firmly together into there.

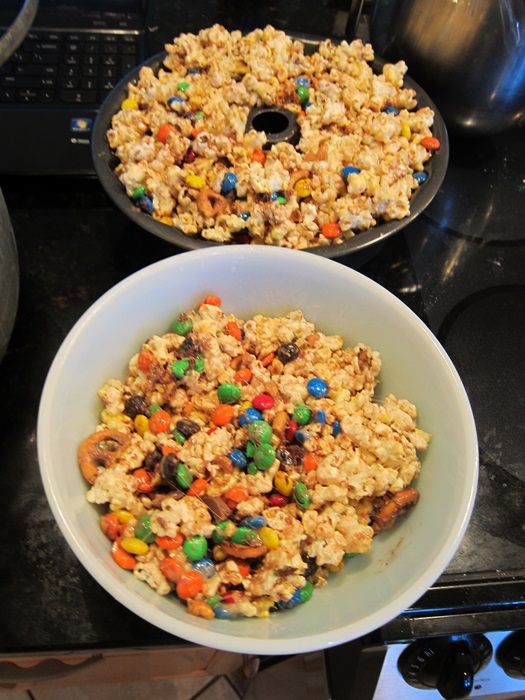 Cover with greased plastic wrap and let sit 1 hour, then turn out onto a platter. If it doesn’t come out easily and immediately, you can run a butter knife around the inside of the pan to loosen the popcorn, but mine dumped right out.
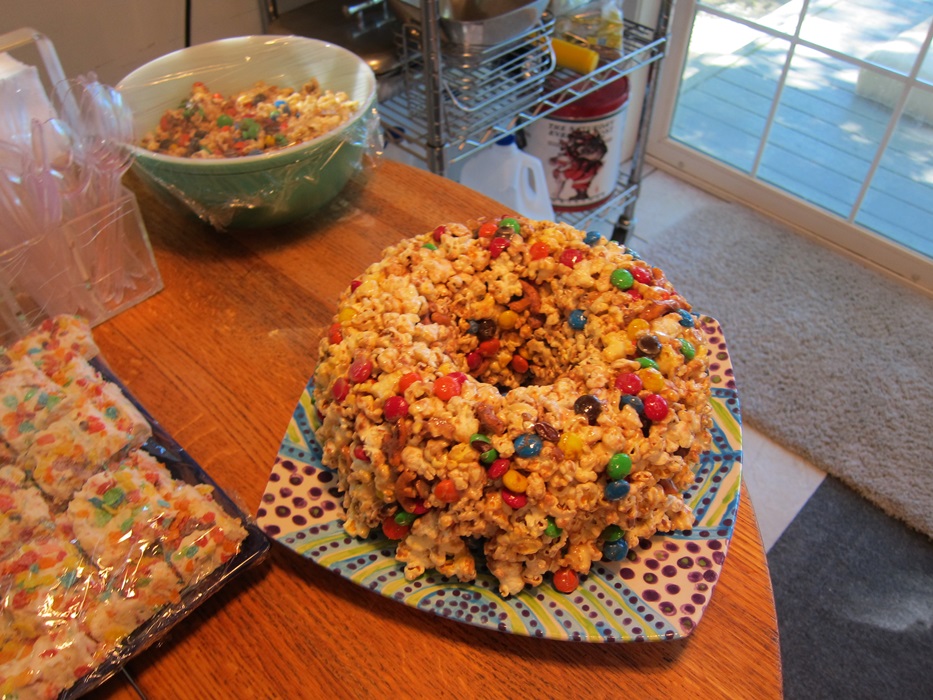
 You could theoretically do it all in a giant bowl, but the hole in the middle of the bundt cake makes it easier to cut slices. A bread knife works well for this. Too well – I can’t stop cutting off another chunk every time I walk by it!
 Huh, I wonder what would happen if you “floured” the inside of the greased pan with sprinkles? Something to consider…
Popcorn Cake
From Cookies and Cups.
- 2 bags microwave popcorn, butter flavor
- 2 cups M&Ms
- 1 1/2 cups pretzels, roughly broken up into medium sized chunks
- 1 stick butter
- 1 16 ounce bag mini marshmallows
Grease a bundt pan and medium bowl and set aside.
Pop both bags of popcorn in the microwave, one at a time. Pour them out into a very large bowl and fish out all the unpopped kernels. Add the M&Ms and pretzels, then set aside.
Melt the butter in a large saucepan over low heat, then add the marshmallows and cook until entirely melted and smooth.
Remove from the heat and let sit to cool a minute or two, then pour over the popcorn and stir well to combine, making sure that the M&Ms and pretzels are well mixed in, and not sinking all to the bottom.
Transfer half of the popcorn mixture to the bundt pan and press in firmly, adding as much more as you can cram into the pan. Press any extra firmly into the greased bowl.
Cover with greased plastic wrap and let sit 1 hour, then turn out onto a platter and serve.


 I’ll be sharing this with