This is not the first white bread on the blog. Heck, it’s not even the first white bread from King Arthur Flour on the blog! (That’d be here.) But this one does make a single loaf, which seemed like a good idea for my first attempt at yeast bread at altitude, so I wouldn’t be wasting too much if it didn’t work out, and this loaf can stand up to being sliced thinner than my clumsy hands can even manage.
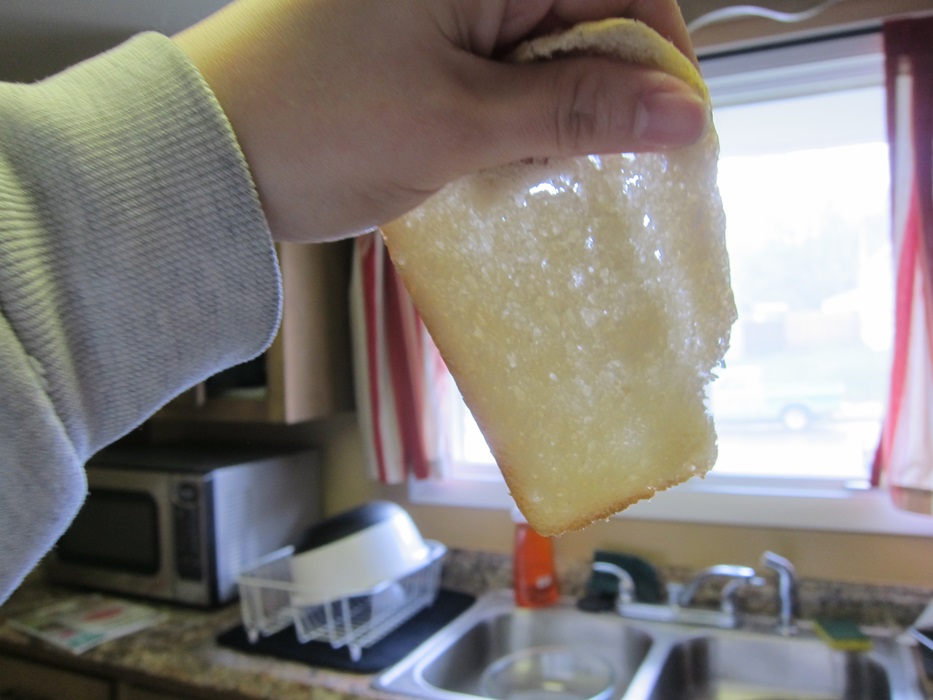
See? Terrible picture, but it can get super thin without crumbling.
Ingredients:
- 1 cup + 2 tablespoons to 1 1/2 cups lukewarm water
- 1 heaping tablespoon honey
- 2 1/4 teaspoons instant yeast
- 1 3/4 teaspoons salt
- 2 tablespoons unsalted butter, room temperature
- 4 cups King Arthur Unbleached All-Purpose Flour
- 1/2 cup nonfat dry milk granules
Now, that is clearly a big potential range of water. If you’re somewhere super humid and it’s mid-summer, use the smaller amount. If you live somewhere at high elevation and super dry, use the full amount!
Grease a large bowl and set aside. In another large bowl, add all the ingredients in the order listed. Stir until everything mostly sticks together, then turn out onto a clean surface.
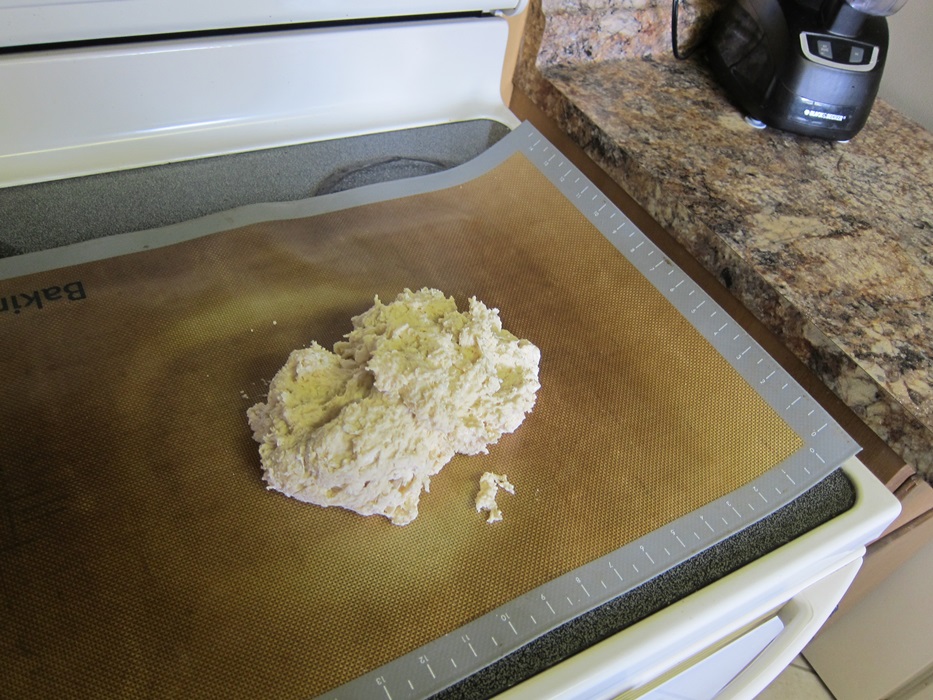
Knead for 8-10 minutes, until the dough is smooth and elastic. If you added the full amount of water and your dough feels like glop at the start, and you have no idea how to knead something of that texture, don’t worry, just grab the dough from one side, and fold it over to the other side. Grab the dough from the top, fold it down to the bottom. Keep going like this, folding and folding, and eventually it should develop some texture and become workable. Really that’s all kneading it anyway, just some aggressive folding. When your dough is smooth, shape it into a ball and place it in your greased bowl.

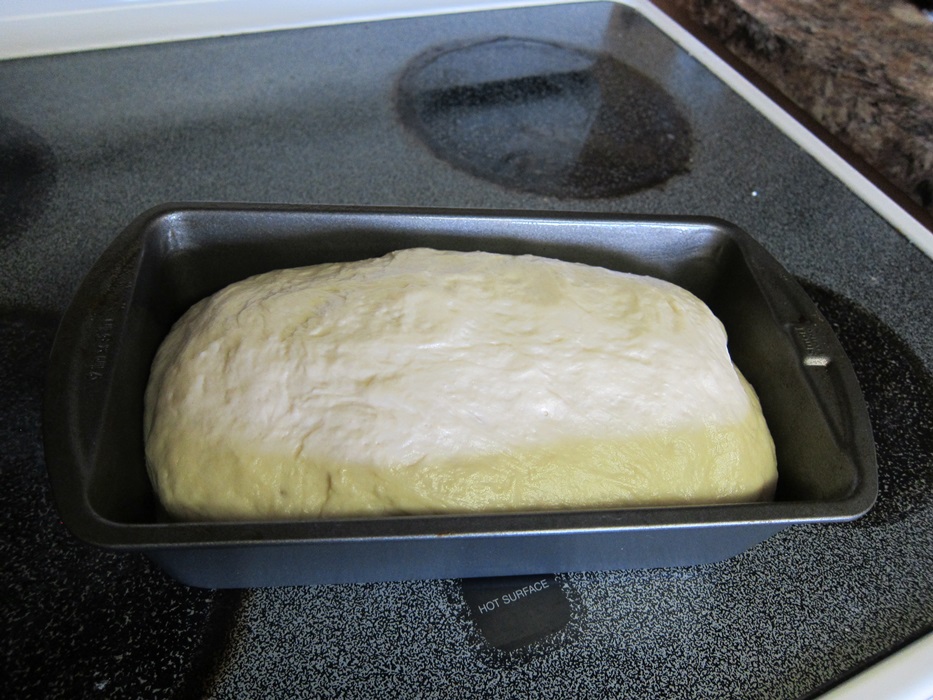
Roll it about a bit, to grease it on all sides, then cover with plastic wrap and let rest until very puffy – 1 to 2 hours. Because things do, in fact, rise faster at elevation, I punched it down halfway through the time, during which it had grown significantly, and in its second rise it seemed to grow even faster.
Grease a 9X5″ bread pan. Gently knock down the risen dough and shape it into a 9″ log. Place in the greased pan, cover, and allow to rise 60-90 minutes, until it has risen 1″-1 1/2″ inches over the edge of the pan. After how fast my second rise had gone, when the dough didn’t rise over the edges of the pan after an hour, I figured I’d just throw it in the oven, as I was worried the yeast had overworked themselves before.

Preheat oven to 350 degrees, then bake 20 minutes. Loosely tent the bread with a piece of tinfoil and cook another 15-20 minutes, until golden brown. When you tip the bread out of the pan, it should sound hollow when tapped on the bottom. Cool completely on a wire rack, then store wrapped in plastic.
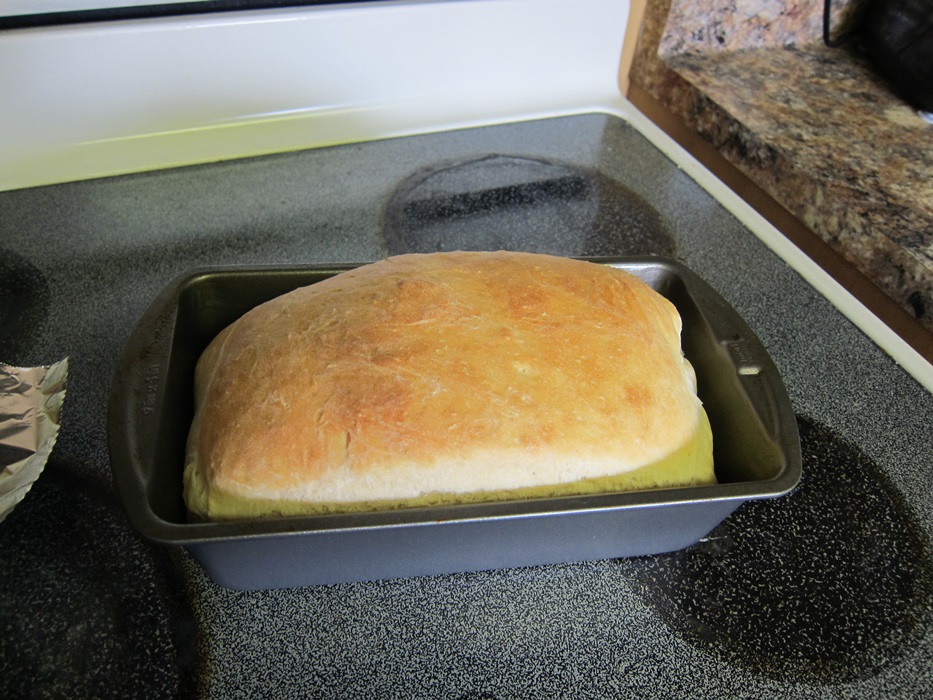
Looks good!
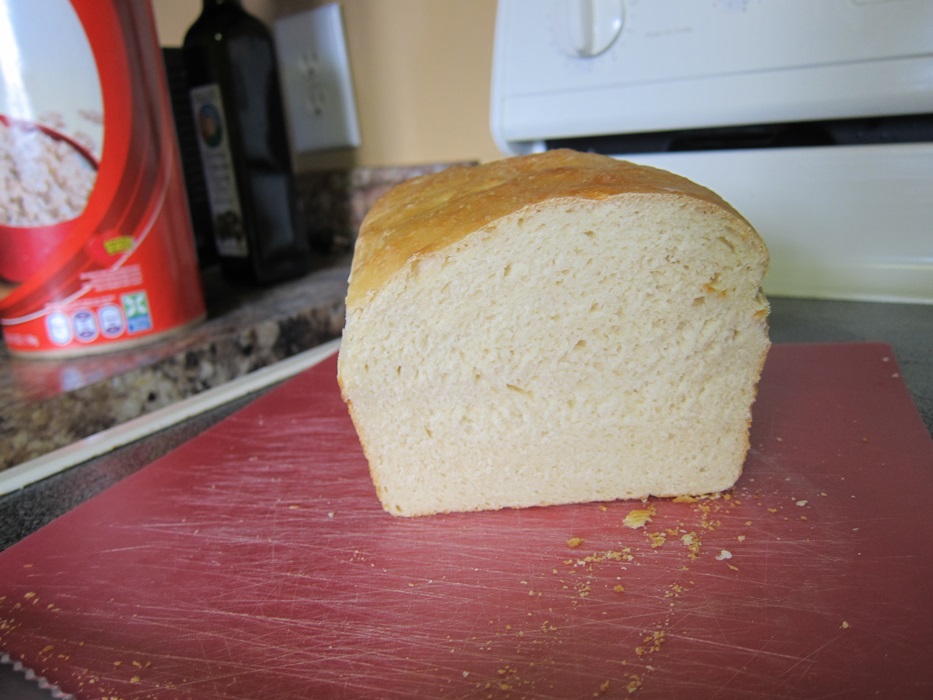
Makes for some nice sandwiches!
Classic White Sandwich Bread
From King Arthur Flour.
- 1 cup + 2 tablespoons to 1 1/2 cups lukewarm water
- 1 heaping tablespoon honey
- 2 1/4 teaspoons instant yeast
- 1 3/4 teaspoons salt
- 2 tablespoons unsalted butter, room temperature
- 4 cups King Arthur Unbleached All-Purpose Flour
- 1/2 cup nonfat dry milk granules
Grease a large bowl and set aside. In another large bowl, add all the ingredients in the order listed. Stir until everything mostly sticks together, then turn out onto a clean surface. Knead for 8-10 minutes, until the dough is smooth and elastic. Shape the dough into a ball and place it in your greased bowl. Roll it about a bit, to grease it on all sides, then cover with plastic wrap and let rest until very puffy – 1 to 2 hours.
Grease a 9X5″ bread pan. Gently knock down the risen dough and shape it into a 9″ log. Place in the greased pan, cover, and allow to rise 60-90 minutes, until it has risen 1″-1 1/2″ inches over the edge of the pan.
Preheat oven to 350 degrees, then bake 20 minutes. Loosely tent the bread with a piece of tinfoil and cook another 15-20 minutes, until golden brown. When you tip the bread out of the pan, it should sound hollow when tapped on the bottom. Cool completely on a wire rack, then store wrapped in plastic.