Based on the ingredient list (whole oranges??), I was unsure if this would be good or kind of terrible, but it seemed like it would be easy enough to try, and it turned out great! It makes a really moist, dense, orange-y cake that’s not overly sweet. The general consensus was that it is perfect!
 Ingredients:
- 3 large oranges
- 500 grams sugar
- 6 eggs
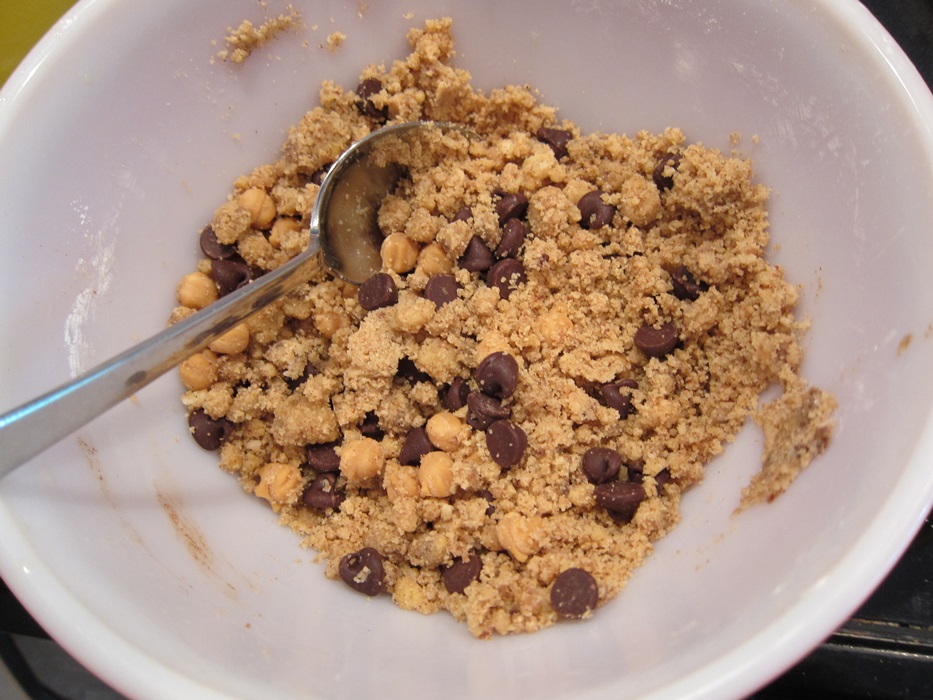
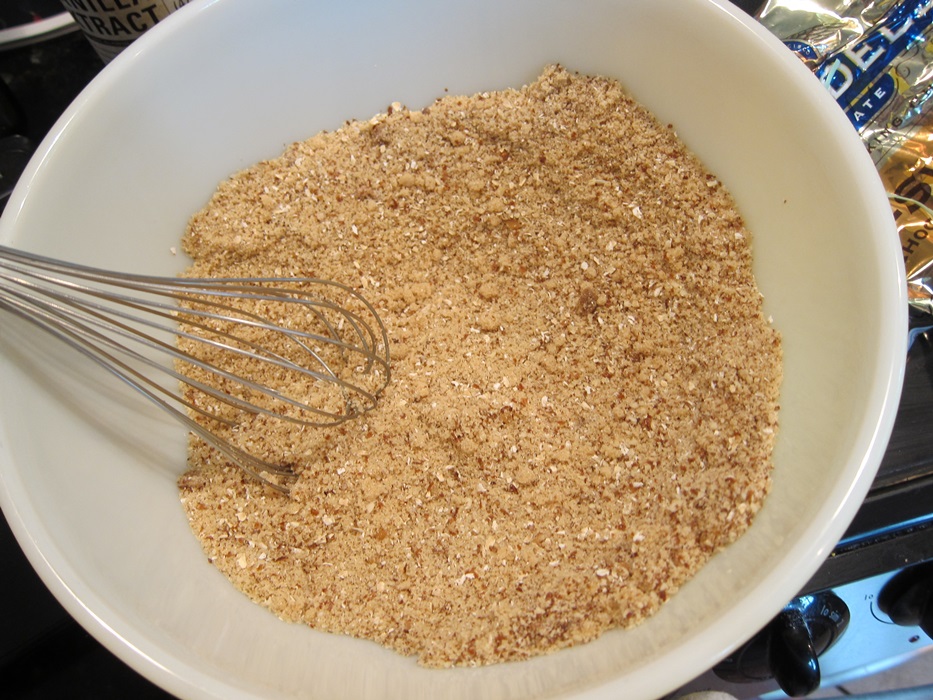
- 500 grams almond flour
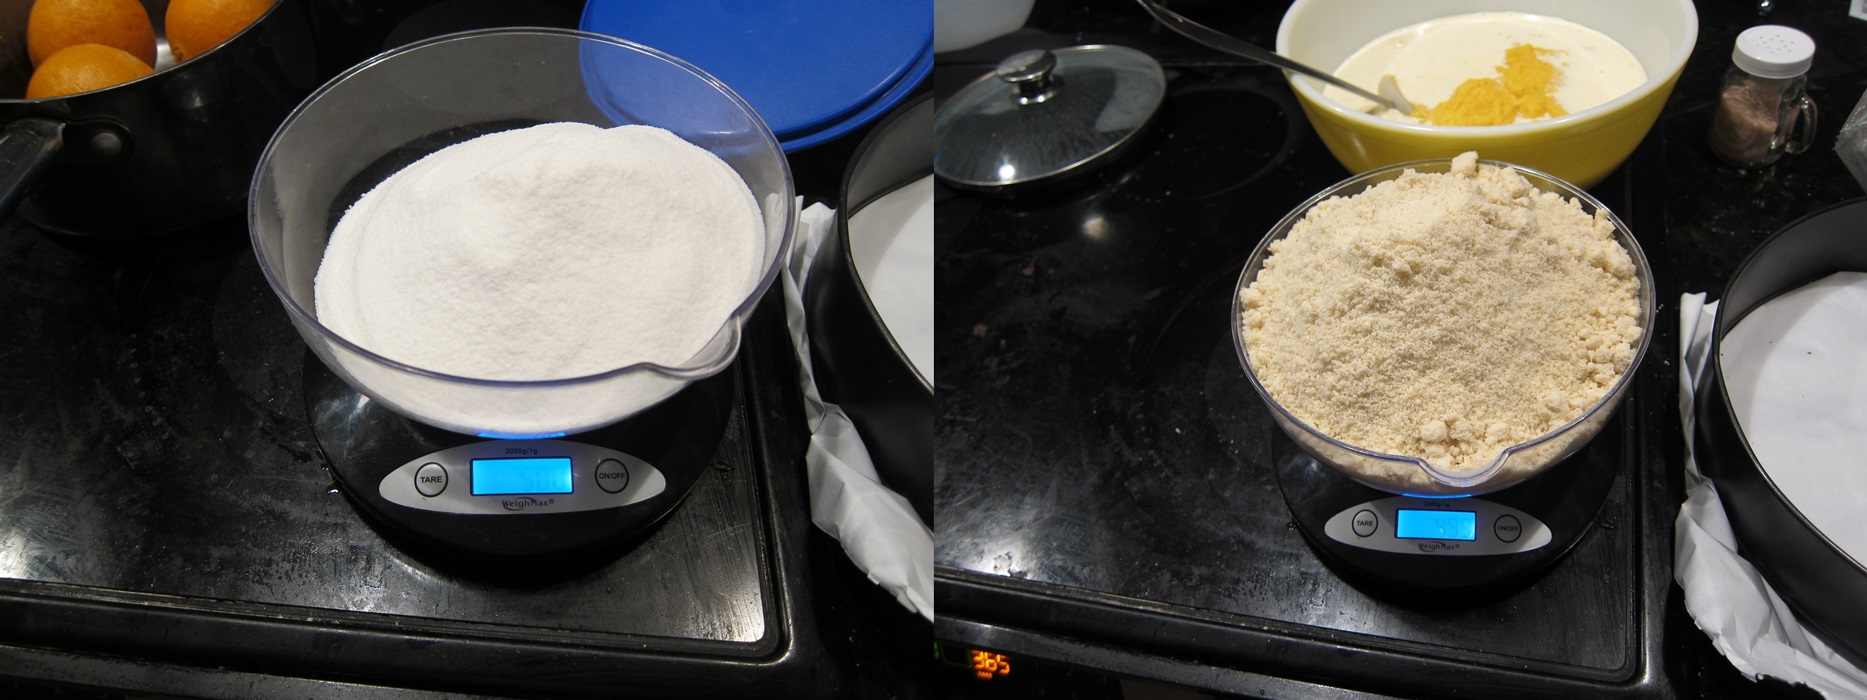
Same weight, much bigger volume of almond flour.
Put the oranges in a saucepan or small pot with enough water to cover them. They won’t actually stay covered, as they float, but you want to have enough so that some can be absorbed, and some can burn off as steam, and the oranges won’t hit the bottom of the pot. Put the pot over high heat, cover, and bring to a boil. Reduce to a simmer and simmer 1 hour, then pour off the water. The oranges apparently absorb some water, as the skin gets a bit smoother.
 Set the oranges aside to cool at least to the point that you can handle them comfortably, if not to room temperature.
Preheat the oven to 365 degrees, and grease a 9″ springform pan.
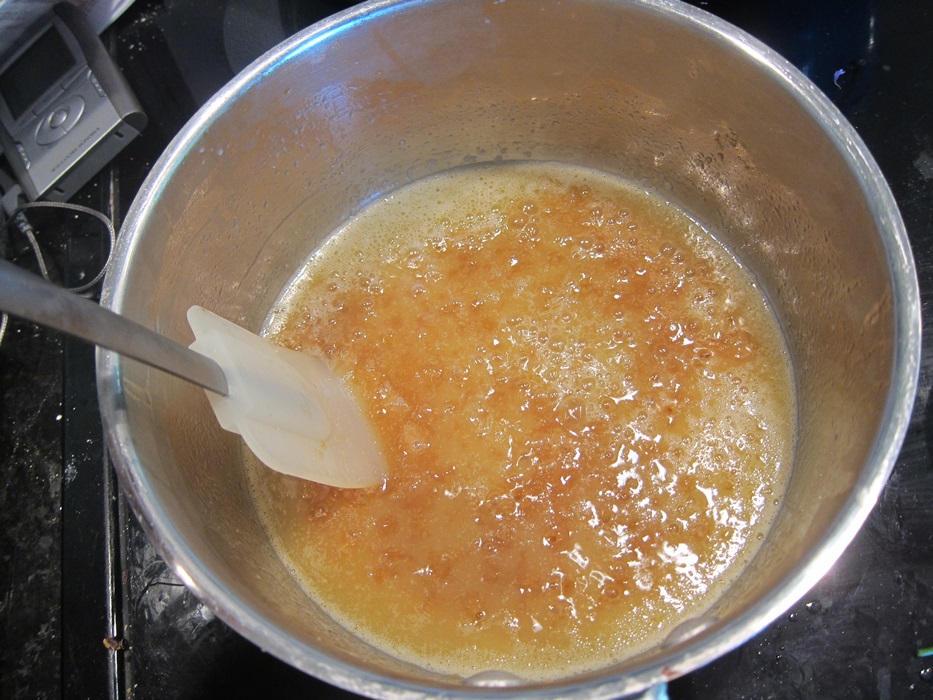
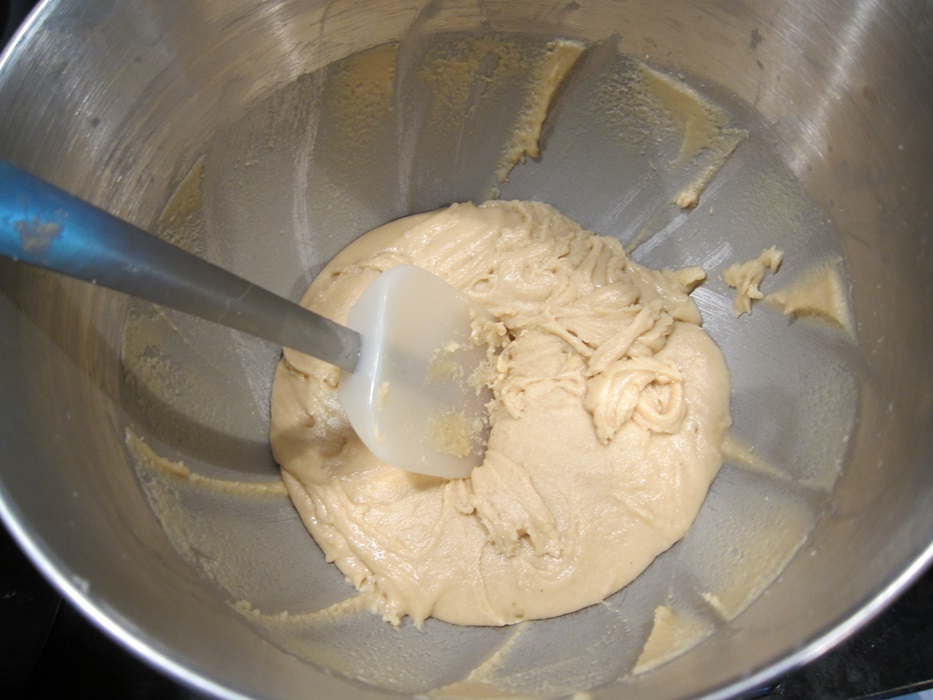
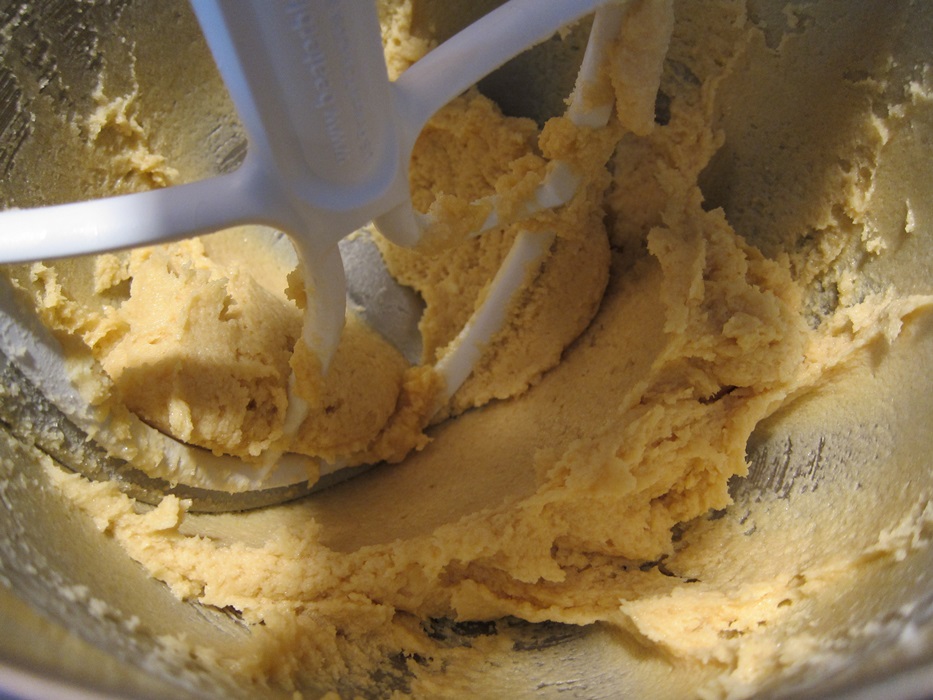
Combine the eggs and sugar in a food processor and process until smoothly mixed, about a minute. Pour off the mixture into a large bowl.
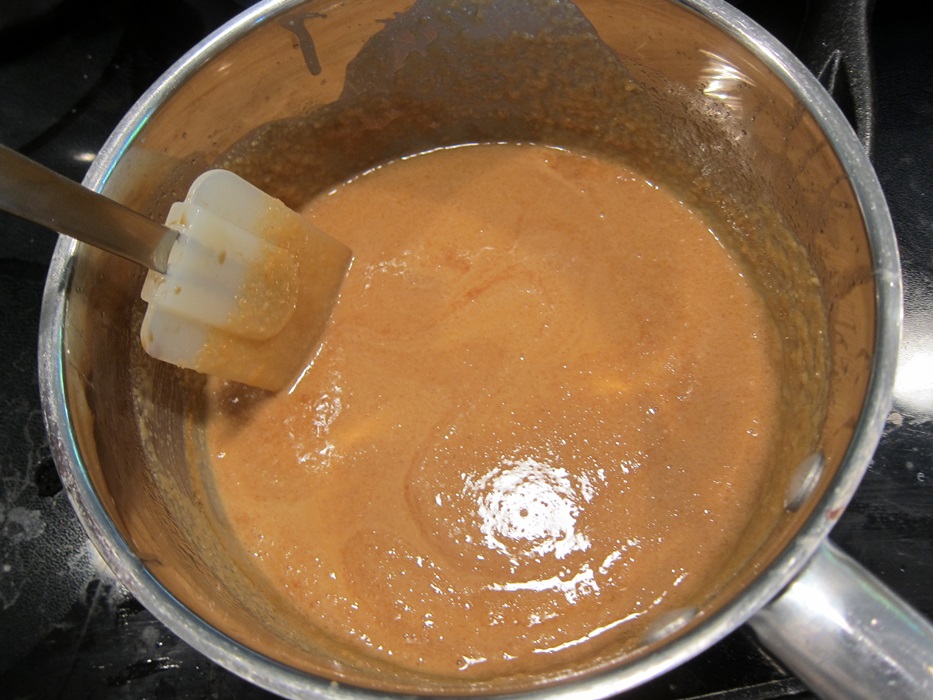
 Cut the oranges in half and remove any seeds. Once the seeds are out, put the oranges, peel and all, into the food processor, and process until smooth.
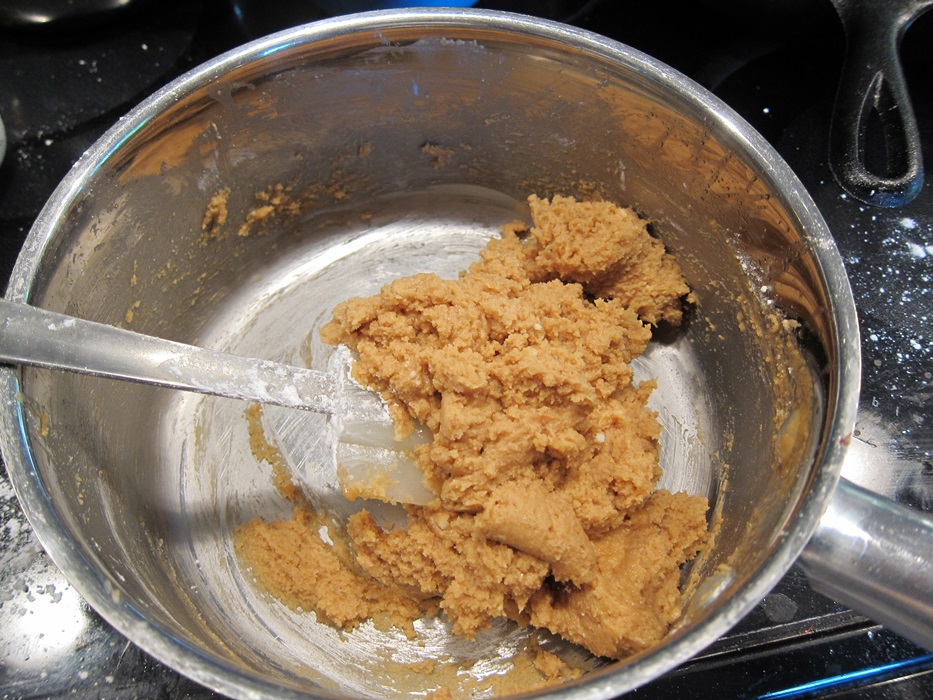
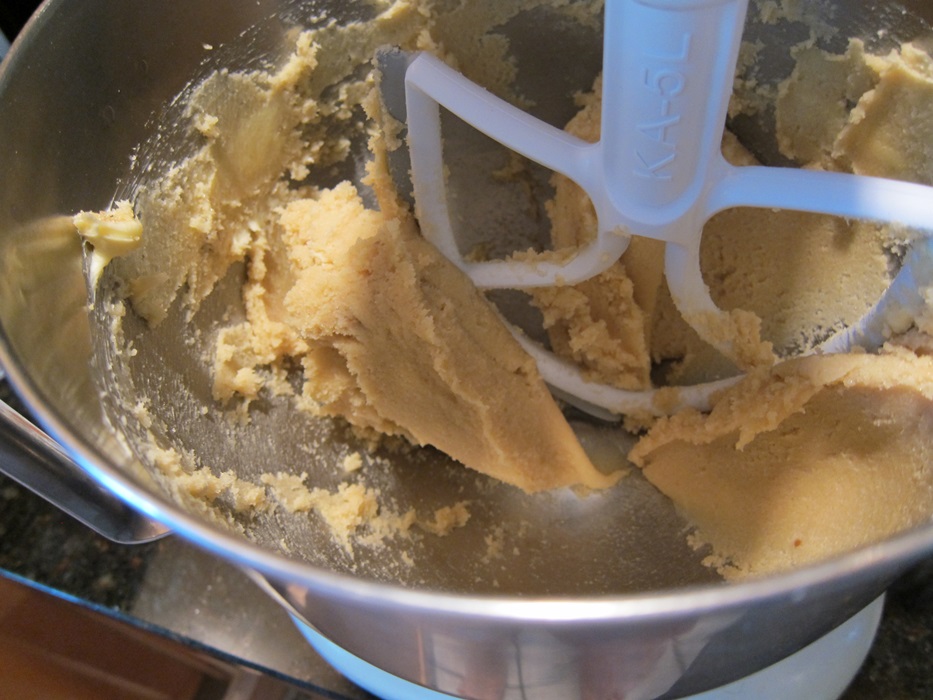
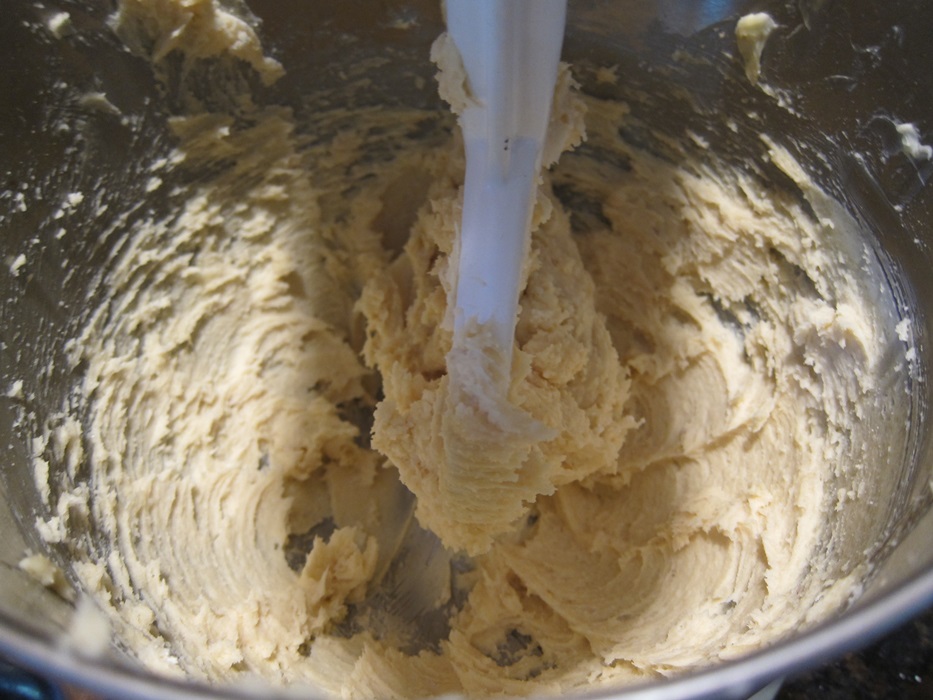
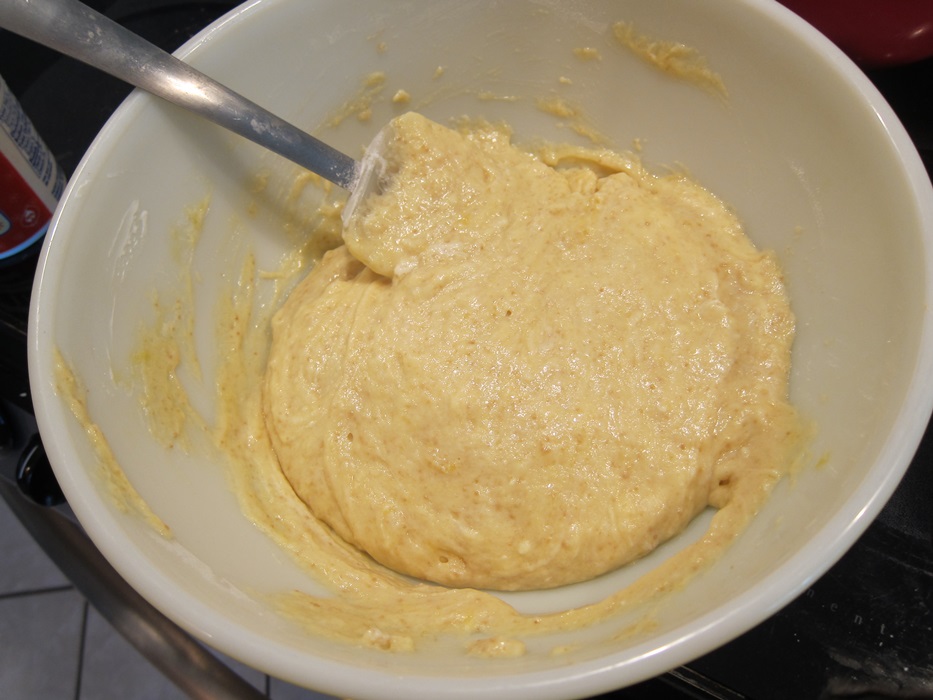
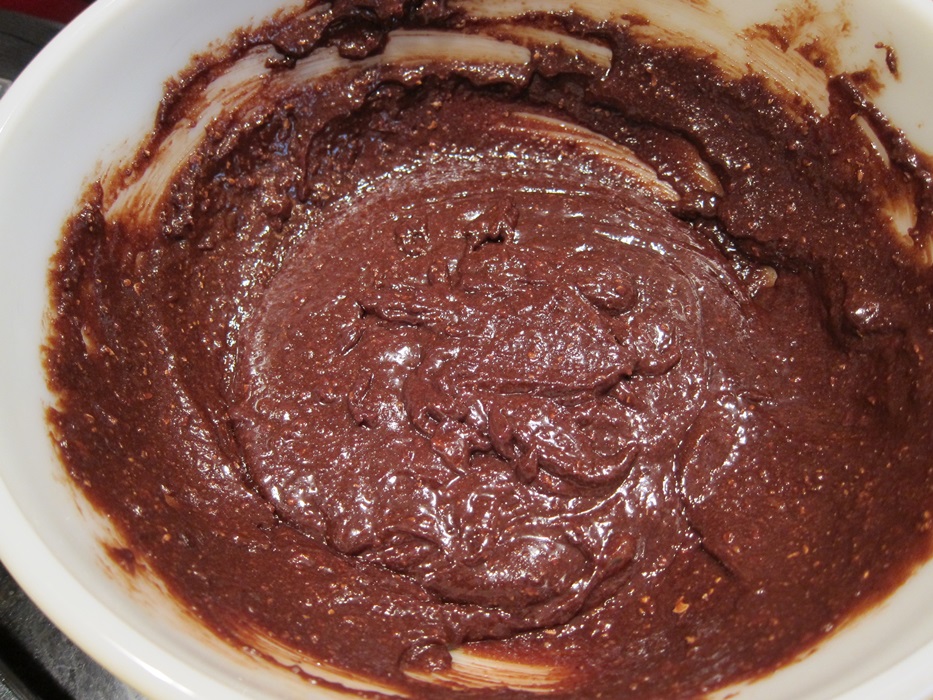
 Pour the orange into the egg mixture, and add the almond flour. You want the oranges to have cooled at least enough that they don’t now start cooking the eggs! Gently stir everything together until smooth, then pour into the springform.
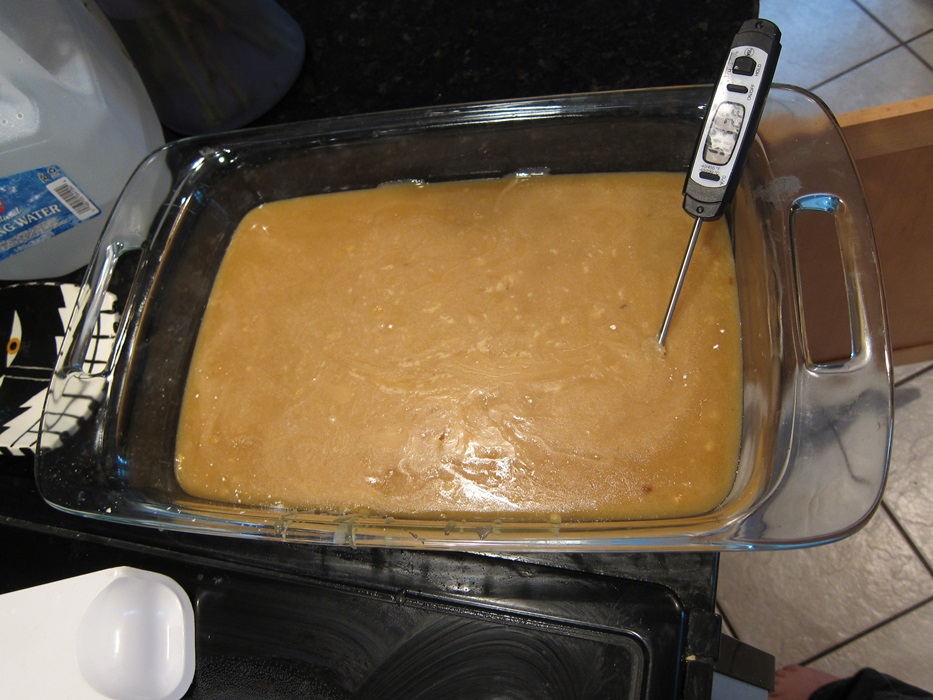
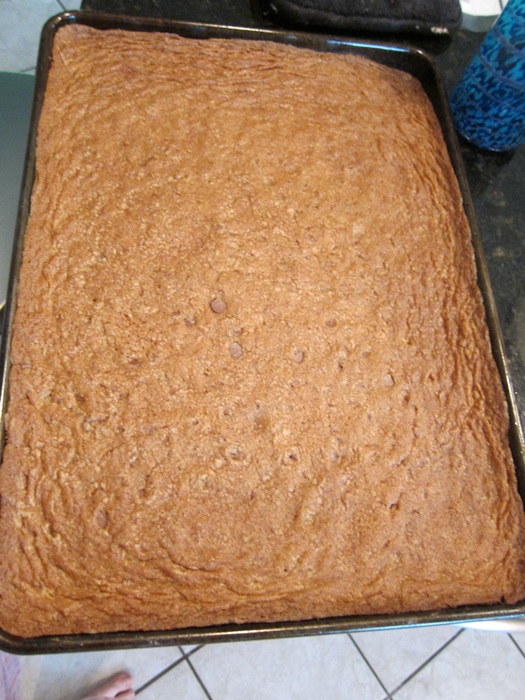
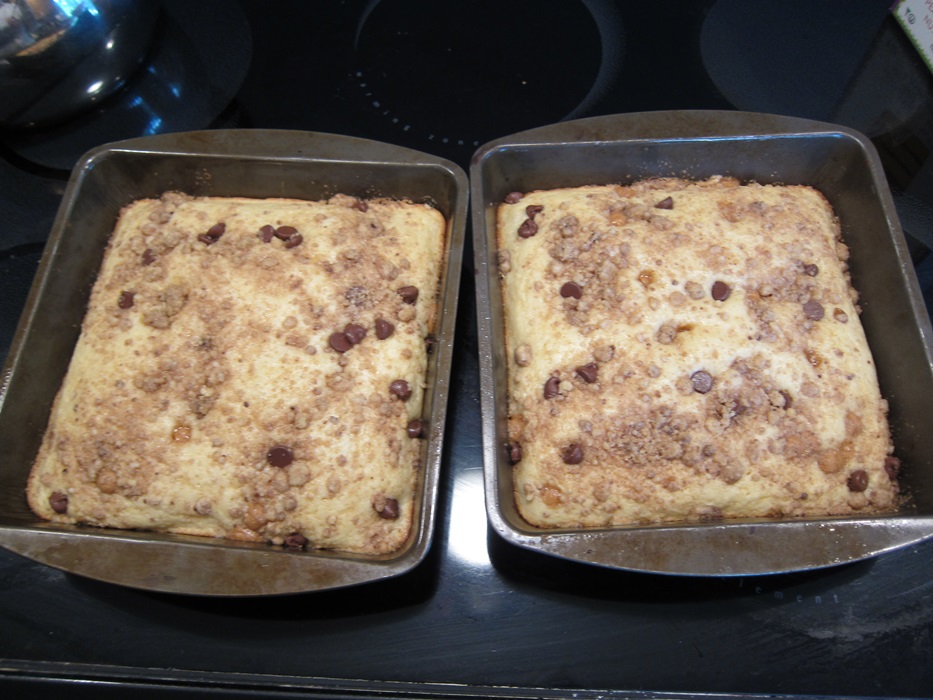
 Bake 50-60 minutes, until the cake passes the toothpick test.
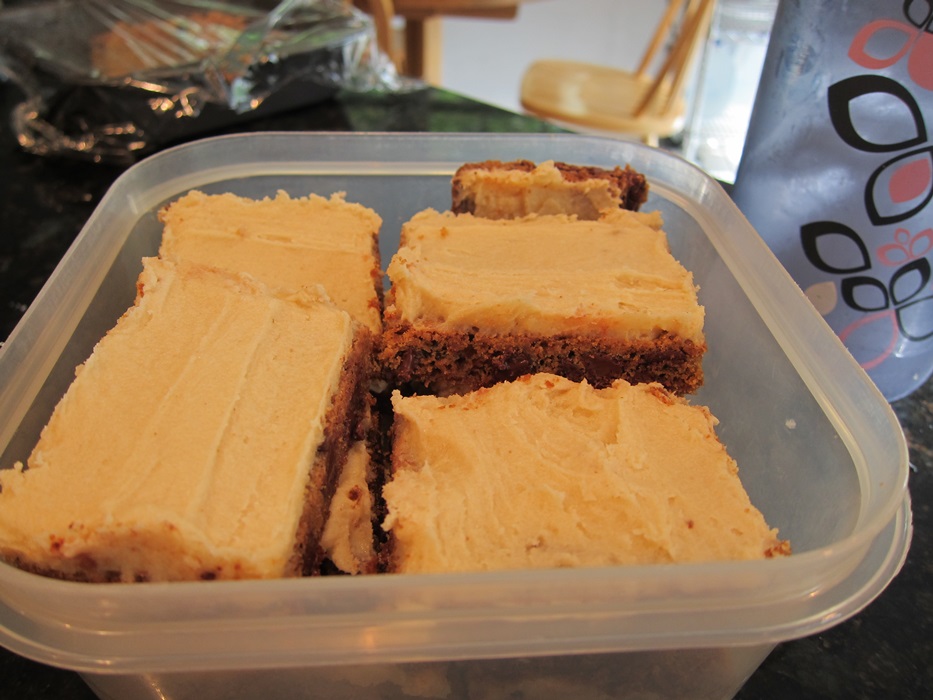
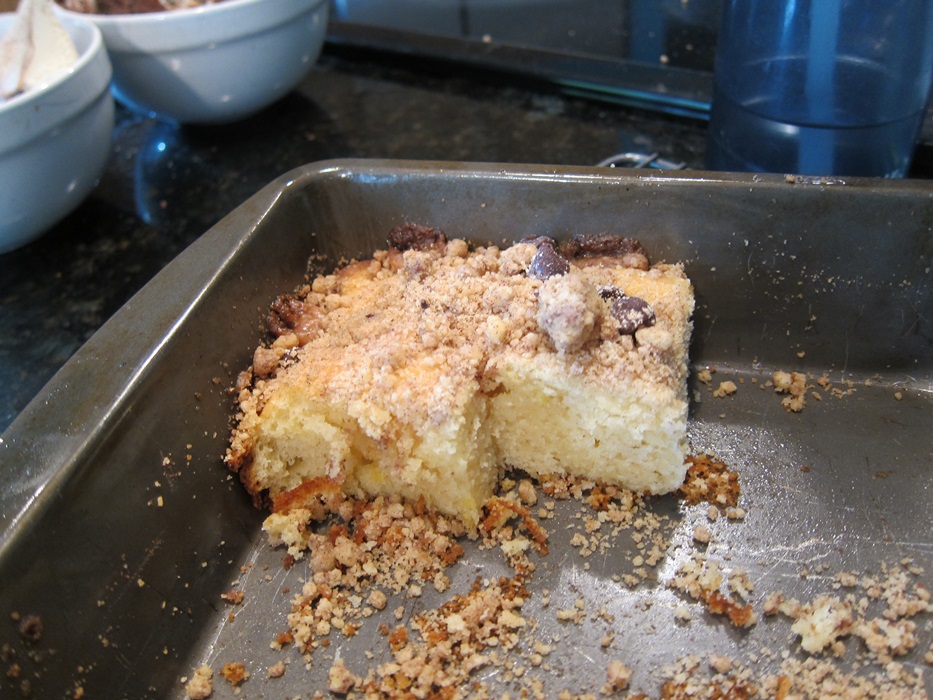
 Let cool in the pan until the edges pull away from the pan. If you don’t let it cool, then unlike the nice sharp edges on the slice in the picture at the top, you’ll get something that comes apart a bit, and you’ll have to disguise it under a mask of whipped cream.
 A worse disaster the world has never seen!
Orange Almond Cake
From Food.com.
- 3 large oranges
- 500 grams sugar
- 6 eggs
- 500 grams almond flour
Put the oranges in a saucepan or small pot with enough water to cover them. Put the pot over high heat, cover, and bring to a boil. Reduce to a simmer and simmer 1 hour, then pour off the water. Set aside to cool.
Preheat the oven to 365 degrees, and grease a 9″ springform pan.
Combine the eggs and sugar in a food processor and process until smoothly mixed, about a minute. Pour off the mixture into a large bowl.
Cut the oranges in half and remove any seeds, then process in the food processor until smooth.
Pour the orange into the egg mixture, and add the almond flour. Gently stir together until smooth, then pour into the springform. Bake 50-60 minutes, until the cake passes the toothpick test.
Let cool in the pan until the edges pull away from the pan.