
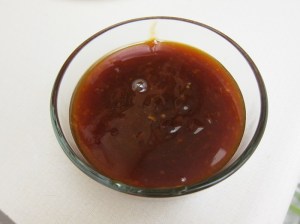
So, even if there’s no way you’re ever going to eat a cauliflower-based food, stick with this one for the sauce, which would go equally wonderfully on chicken nuggets or fried whatever-meat. The sauce is so wonderful, though, that even cauliflower tastes great, so why not do something healthy for a change?
 Ingredients:
- 1 head of cauliflower, cut into bite sized florets
- 2 cups panko bread crumbs
- cooking oil spray
- 2 large eggs
- 2 scallions, finely sliced (for garnish, so if you’re totally going to forget to use them, like I did, don’t bother)
Sauce:
- 3/4 cup cold water
- 4 teaspoons cornstarch
- 3/4 cup honey
- 8 garlic cloves, minced
- 2 teaspoons onion powder
- 3 tablespoons soy sauce
- 1 tablespoon gochujang (put it in EVERYTHING!)
To begin, preheat oven to 350 degrees. Line two large baking sheets with parchment, and set one aside. Spread the panko crumbs in an even layer in the other sheet, and spray with cooking oil.
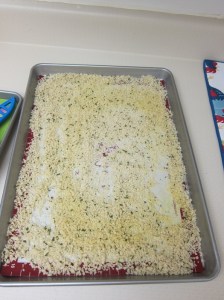 Bake 5-7 minutes, until golden brown. (If using gluten free bread crumbs, remember that most of them somehow never brown, so you’ll just have to pull them after a few minutes anyway.)
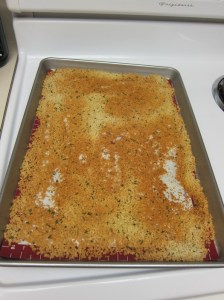 While the panko browns, whisk your eggs well in a small bowl and finish any chopping for the cauliflower. Once the panko is done, dip each piece of cauliflower into the egg, shake off excess, then roll in the panko and place on the other lined sheet pan. This actually took kind of a while, just because there were so many pieces.
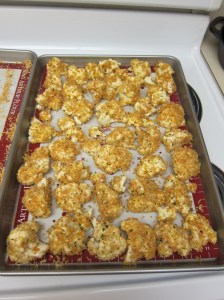 Bake 15-20 minutes, or until the cauliflower is cooked and the crumbs are a darker brown.
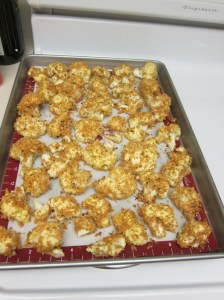 While the cauliflower cooks, make the sauce. First combine the water and cornstarch in a small dish and stir until completely dissolved. Combine the honey, garlic, soy sauce, and gochujang in a saucepan over medium high heat and bring to a simmer.
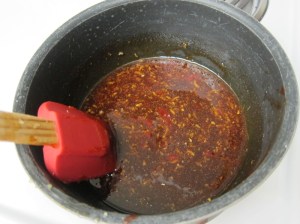
 Add the cornstarch mixture and stir it in. Let simmer until the mixture begins to thicken, stirring occasionally, 3-4 minutes. Remove from the heat and allow to cool briefly to thicken further.
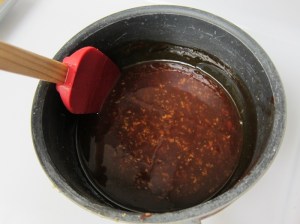 Drizzle the sauce over the baked cauliflower, and garnish with sliced scallions.

whoops, invisible scallions
The sauce is sweet, savory, and just warm (not hot) from this amount of gochujang – it’s really great! As expected with breaded things, the leftovers get less great with refrigeration, but not bad after one day, and that sauce makes up for A LOT.
Honey Garlic Baked Cauliflower
Slightly adapted from Kirbie’s Cravings.
- 1 head of cauliflower, cut into bite sized florets
- 2 cups panko bread crumbs
- cooking oil spray
- 2 large eggs
- 2 scallions, finely sliced
Sauce:
- 3/4 cup cold water
- 4 teaspoons cornstarch
- 3/4 cup honey
- 8 garlic cloves, minced
- 2 teaspoons onion powder
- 3 tablespoons soy sauce
- 1 tablespoon gochujang
Preheat oven to 350 degrees. Line two large baking sheets with parchment, and set one aside. Spread the panko crumbs in an even layer in the other sheet, and spray with cooking oil. Bake 5-7 minutes, until golden brown.
While the panko browns, whisk your eggs well in a small bowl and finish any chopping for the cauliflower. Once the panko is done, dip each piece of cauliflower into the egg, shake off excess, then roll in the panko and place on the other lined sheet pan. Bake 15-20 minutes, or until the cauliflower is cooked and the crumbs are a darker brown.
While the cauliflower cooks, make the sauce. First combine the water and cornstarch in a small dish and stir until completely dissolved. Combine the honey, garlic, soy sauce, and gochujang in a saucepan over medium high heat and bring to a simmer. Add the cornstarch mixture and stir it in. Let simmer until the mixture begins to thicken, stirring occasionally, 3-4 minutes. Remove from the heat and allow to cool briefly to thicken further. Drizzle the sauce over the baked cauliflower, and garnish with sliced scallions.
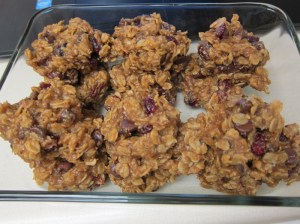
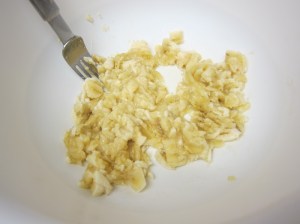 Preheat your oven to 325. Line two baking sheets with parchment.
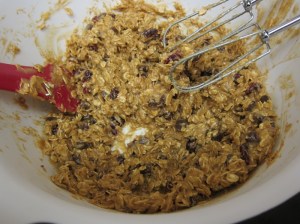
 Add the oats, craisins, and chocolate chips and mix again until evenly combined.
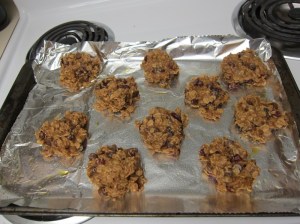
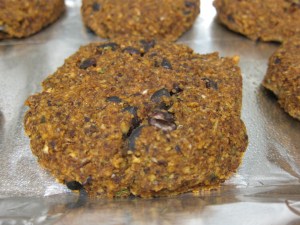
 Scoop 1/4 cup mounds of dough onto the prepared sheets, flattening slightly. The cookies don’t expand much while baking, so you don’t need to space them widely.

 Ingredients:
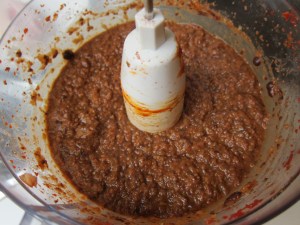 Transfer to a large bowl, then stir in the remaining can of beans, the eggs, and 1 cup of the breadcrumb, until combined.
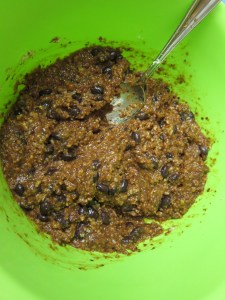 Add the remaining bread crumbs, 1/4 cup at a time, until the mixture holds together and forms patties.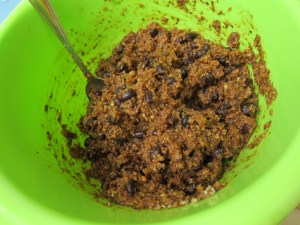
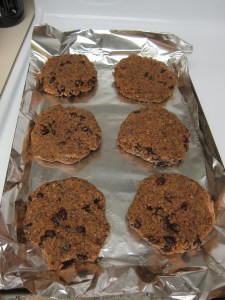
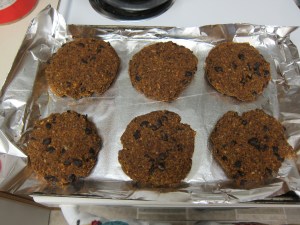 Serve right away, or let cool to room temperature and then freeze. Thawed patties can be reheated in a skillet, on a grill, or in the oven.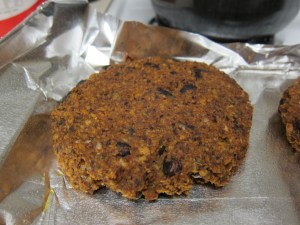
 Ingredients:
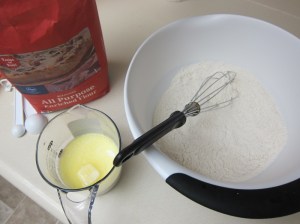 Pour the milk mixture into the flour mixture, and add the egg. Beat on medium speed for 2 minutes, or whisk quickly for a similar period of time.
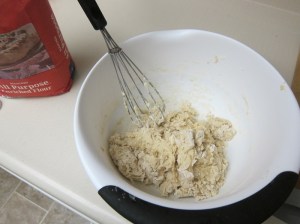
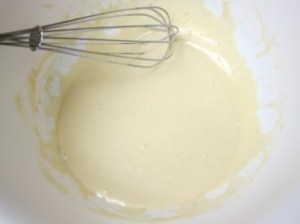 Add an additional 1 3/4 cups of flour and stir together, adding as much of the remaining 1/2 cup as needed to make a soft dough.
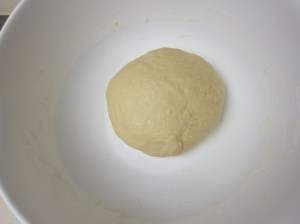
 Knead until soft and elastic, 6-8 minutes. Cover and let rest 10 minutes.
 Roughly chop 2 of the 3 chocolate bars and set aside. Grease a 9×5″ bread pan and set aside.
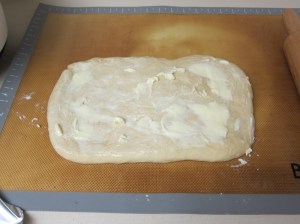 Sprinkle the graham cracker crumbs and chopped chocolate evenly over the surface, pressing them gently to stick into the dough.
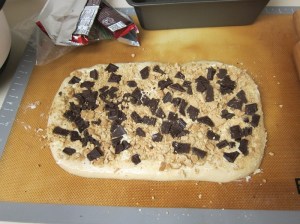 Cut the dough in half lengthwise, and stack one on top of the other.
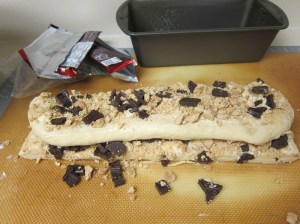 Cut the stack into 6 even pieces.
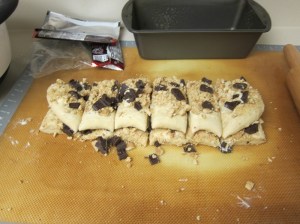 Place the stacks upright in the bread pan, long-side down. Sprinkle any crumbs/chocolate that fall off over the pieces in the pan.
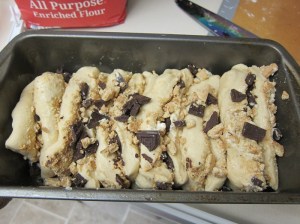 Cover and let rise 30-35 minutes, until just risen to the top of the pan. While the dough rises, preheat oven to 350 degrees.
 Bake the risen loaf 30 minutes.
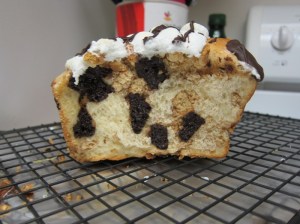
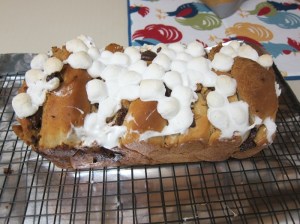
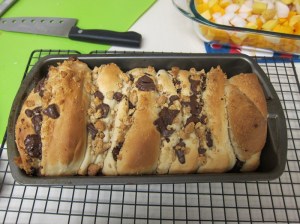 Sprinkle the cup of mini marshmallows over the top, and return to the oven 3-5 minutes until lightly browned.
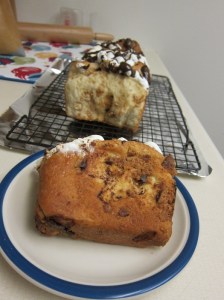
 Cool in the pan 10 minutes, then remove from the pan to cool on a wire rack.
 Melt the remaining chocolate bar and drizzle over the loaf, then serve.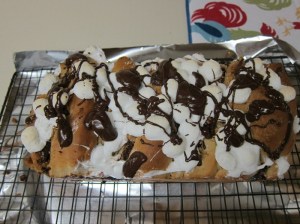
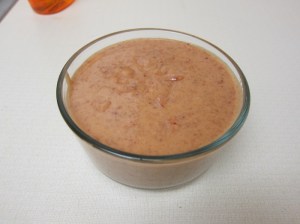
 Ingredients:
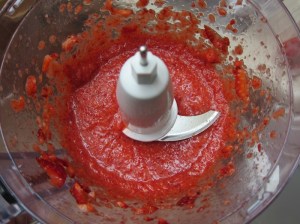 Combine the egg yolks and caster sugar in a medium saucepan and whisk until the sugar has dissolved and the mixture is creamy.
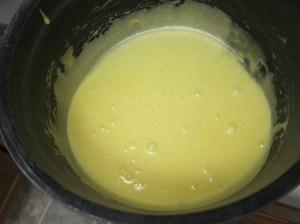 Add the butter and strawberry puree and place over low heat. Cook, stirring constantly, until the mixture nearly comes to a boil (you may need to raise the heat to medium, once the butter has melted). Once the mixture coats the back of a spoon, so that a finger drawn through leaves a solid line that isn’t filled back in with drips, remove from the heat.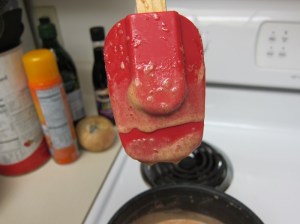
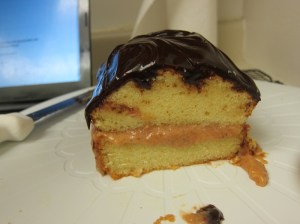
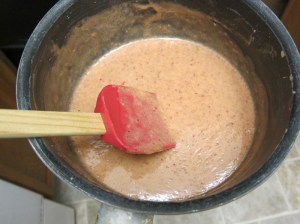 I turned mine into the center of a Neapolitan cake. I baked a plain pound cake (but it wasn’t the most exciting pound cake, so I’m not going to waste your time with that recipe), let the cake cool completely, then sliced it in half, spread about half the strawberry curd in the center, put the top of the cake back on, and topped with most of a jar of fudge sauce. Yum.
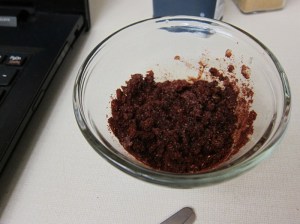 Rub the mixture all over both sides of the ribs.
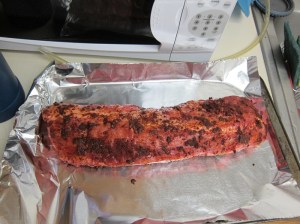 Place the ribs meat-side-up on the lined sheet, and bake 50 minutes for spare ribs, 70 for pork back ribs.
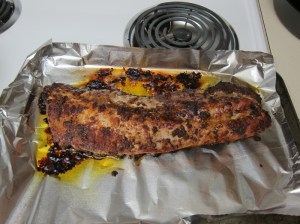 While the ribs cook, combine the berries, ketchup, syrup, ginger, vinegar, and hot sauce in a blender and blend until smooth. (An immersion blender is fine here too, as would be a food processor.)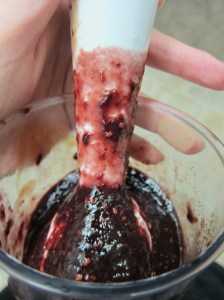

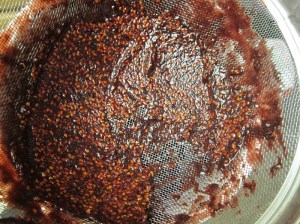
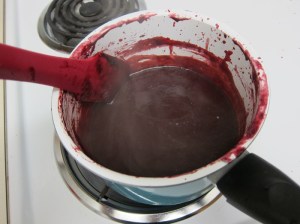
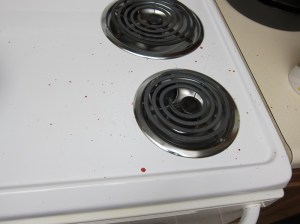
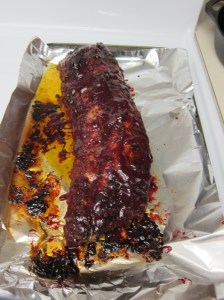 Turn the sauced ribs meat side up again, and bake an additional 10 minutes.
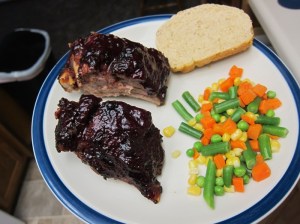
 Remove from the oven and cut into pieces, brush with some more sauce, and serve with the remainder for dipping.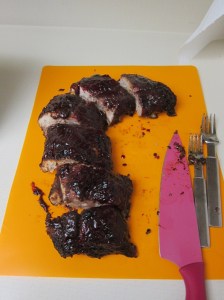
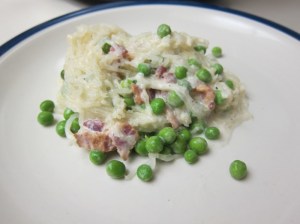
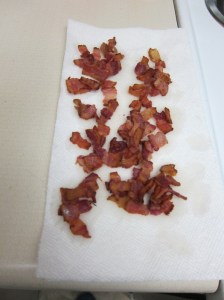
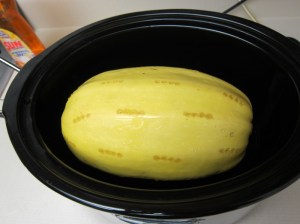 While the squash cooks, cook the bacon. You don’t need to get it fully crispy – it will cook further in the crock pot.
 When the 3 hours are up, remove the squash from the crock pot, leaving the water in the crock. Cut the squash in half. Working around the seeds, scoop out the spaghetti strands and put them back in the crock pot.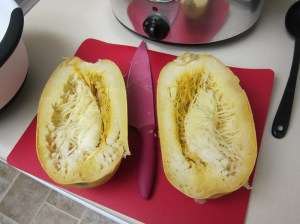
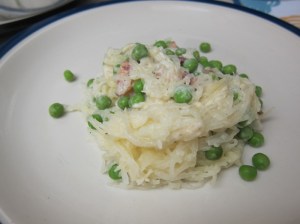
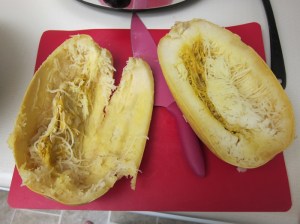 Add the bacon, peas, cream cheese, salt, and pepper. Cover and cook an additional 45-60 minutes.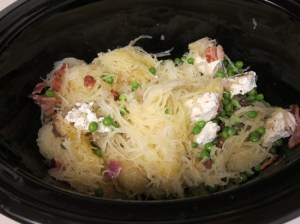
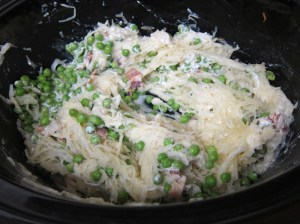 Stir in the Parmesan, then cover and cook an additional 15 minutes, until the cheese has had a chance to melt. Serve with a bit more cheese, if desired, and enjoy.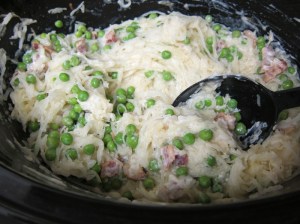
 Ingredients:
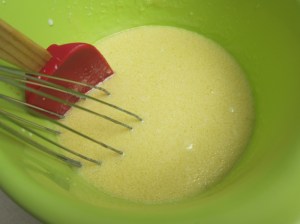 Add the cornmeal, salt, and baking soda and powder and whisk well to break up any chunks of cornmeal. Stir in 1 cup of the cheese. Set aside.
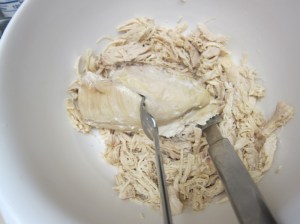
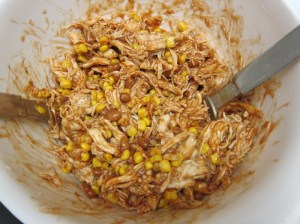
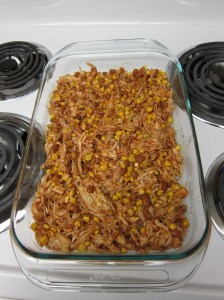 Whisk the cornbread mixture up again quickly, then pour evenly on top of the chicken mixture.
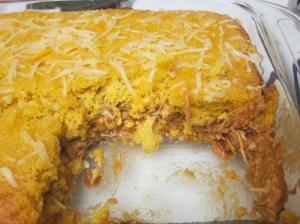
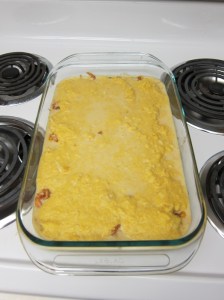 Bake 30-40 minutes, until the cornbread is cooked through. Mine looked golden, but was still pretty jiggly at 30, and had set up and was done at 35.
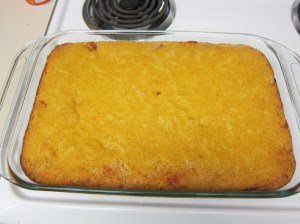 Sprinkle the remaining 1/2 cup cheese over the hot cornbread, then serve.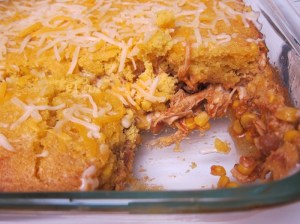
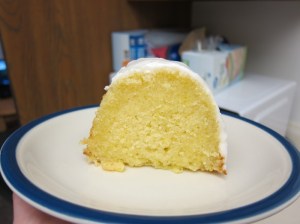
 This cake is tasty but mild, until you douse it with a lemon glaze that soaks lemon flavor all the way through. Even then, though, it’s the optional lemon icing that really provides the seriously lemon-y zing, even though it’s only got a fraction of the lemon juice of the glaze.
 Add the flour mixture in 3 additions, alternating with the milk in 2 additions, beating until combined after each addition. Stir in the lemon zest.
 Grease a 10-12 cup bundt pan well, then gently transfer the batter to the greased pan and smooth the top. Bake 45-60 minutes, until the cake passes the toothpick test. (Mine was done at 45.)
 While the cake bakes, combine the lemon juice and sugar of the glaze. Heat, in the microwave or over the stove, just enough to dissolve the sugar without cooking the lemon juice. I microwaved 30 seconds, stirred well, then microwaved another 20. Line a baking sheet with foil and place a wire rack on top.
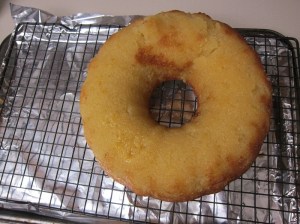 Once the cake is cooled, in a medium bowl combine the powdered sugar and salt. Beat in 2 tablespoons of lemon juice, adding just as much of the additional tablespoon as necessary to create a thick glaze.
 Drizzle over the cake, then serve or let sit for an hour to let the glaze set before serving.

 Ingredients: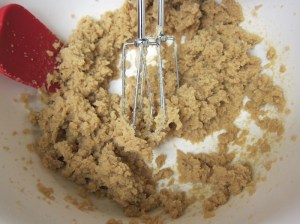
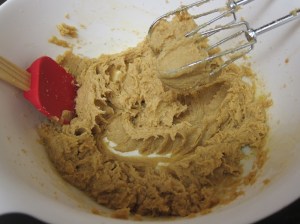 Add the flour, baking soda, and salt, and beat until just combined.
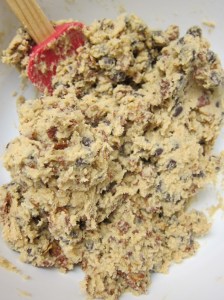
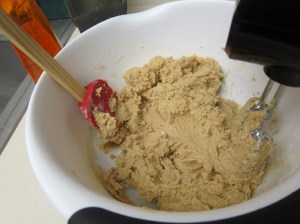 Mix in the cereal and chocolate chips. (By now this is a bit thick for a hand mixer, so stir by hand if necessary. A stand mixer should be able to do it just fine.) Cover the bowl and refrigerate 1 hour, or however long it takes you to go get fingerprinted for your new job.
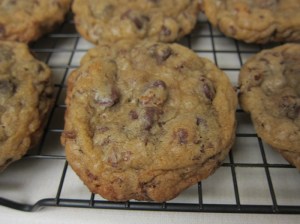
 Once chilled, preheat the oven to 350 degrees and grease or line baking sheets with parchment. Scoop the dough onto the pans, spacing widely.
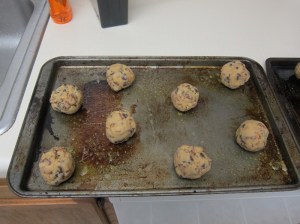 Bake 12-15 minutes, until browned around the edges.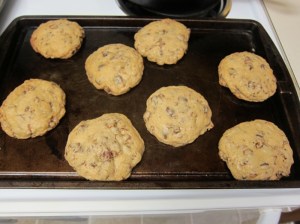
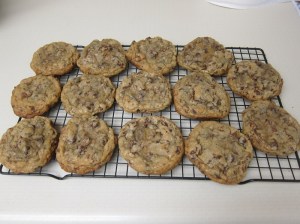 The taste of these is great immediately, but I preferred the texture once cooled.


