
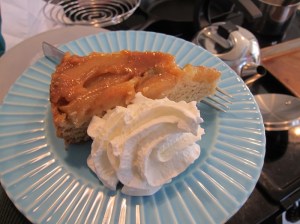
The blog where I read this recipe made it quite clear that she had had a bad experience using a springform pan for this recipe, and not to trust them. I foolishly thought that my (actually sort of tart-pan-ish, removable bottom) pan would be fine – it held water without leaking, after all! But no, when the heat was on, my overconfidence proved unfounded, and just a physics-defying amount of syrup leaked out. A big day for proving the value of silicone oven liners, anyway! It’s possible that I am cursed when it comes to upside-down cakes?

Burnt syrup – turned the oven up as soon as the cake was out to make dinner, this came out later.
So, step one for this cake is finding a 10″ single piece cake pan. It’s all downhill from there!
 Ingredients:
- 1 cup pure maple syrup
- 3 Granny Smith apples, peeled, cored and cut into eighths
- 2 cups all-purpose flour, gluten-free or regular (I used the King Arthur all-purpose gf flour)
- 1 teaspoon baking powder
- 1/2 teaspoon baking soda
- 1 teaspoon salt
- 3 large eggs
- 3/4 cup buttermilk
- 1 tablespoon pure vanilla extract
- 1 1/2 sticks unsalted butter, softened
- 1 1/3 cups sugar
- vanilla ice cream or whipped cream, for serving (optional)
Grease and flour a 10″ cake pan well, then set aside.
Bring the syrup to boil over high heat in a saucepan. Once it reaches boiling (which comes with a dramatic level of bubbling up), reduce the heat and simmer until reduced to roughly 3/4 cup, about 20 minutes.
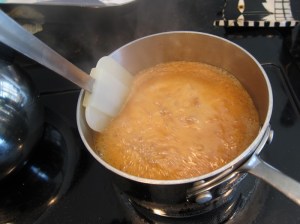
It may seem like nothing’s happening for a long time, and then BAM boiling!
While the syrup cooks, preheat your oven to 350 degrees, and you can start working on the batter. In a medium bowl, combine the flour, baking powder, baking soda, and salt. In another bowl, whisk together the eggs, buttermilk, and vanilla.
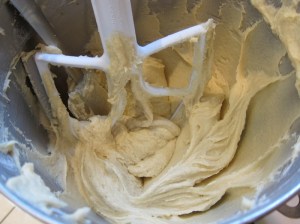
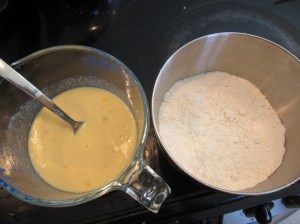 In a large bowl, beat together butter and sugar on medium speed until fluff, about 3 minutes.
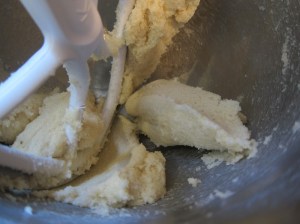 Add the liquid ingredients and the dry ingredients in alternating additions to the sugar mixture in thirds, beating after each addition.
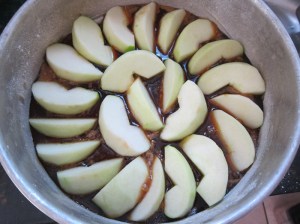
 When the syrup has reduced, pour it into the prepared pan.
 Arrange the apples in a circular pattern to cover the bottom of the pan, overlapping as necessary, and being careful not to burn your fingers.
 Gently transfer the prepared batter over the apples and spread evenly.
 Bake until golden and passing the toothpick test, about 90 minutes.
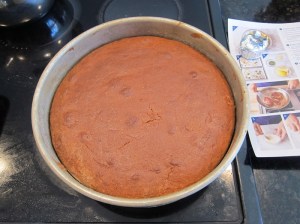 Remove from the oven and cool on a wire rack at least 45 minutes. Flip the cake out onto a plate/platter, and serve with vanilla ice cream/whipped cream as desired.


Maple Apple Upside-Down Cake
From Valerie’s Keepers.
- 1 cup pure maple syrup
- 3 Granny Smith apples, peeled, cored and cut into eighths
- 2 cups all-purpose flour, gluten-free or regular
- 1 teaspoon baking powder
- 1/2 teaspoon baking soda
- 1 teaspoon salt
- 3 large eggs
- 3/4 cup buttermilk
- 1 tablespoon pure vanilla extract
- 1 1/2 sticks unsalted butter, softened
- 1 1/3 cups sugar
- vanilla ice cream or whipped cream, for serving (optional)
Grease and flour a 10″ cake pan well, then set aside.
Bring the syrup to boil over high heat in a saucepan. Once it reaches boiling, reduce the heat and simmer until reduced to roughly 3/4 cup, about 20 minutes.
While the syrup cooks, preheat your oven to 350 degrees, and you can start working on the batter. In a medium bowl, combine the flour, baking powder, baking soda, and salt. In another bowl, whisk together the eggs, buttermilk, and vanilla. In a large bowl, beat together butter and sugar on medium speed until fluff, about 3 minutes. Add the liquid ingredients and the dry ingredients in alternating additions to the sugar mixture in thirds, beating after each addition.
When the syrup has reduced, pour it into the prepared pan. Arrange the apples in a circular pattern to cover the bottom of the pan, overlapping as necessary, and being careful not to burn your fingers. Gently transfer the prepared batter over the apples and spread evenly. Bake until golden and passing the toothpick test, about 90 minutes. Remove from the oven and cool on a wire rack at least 45 minutes. Flip the cake out onto a plate/platter, and serve with vanilla ice cream/whipped cream as desired.

 Transfer the cooked vegetables to a medium bowl and add the remaining ingredients, stirring to combine.
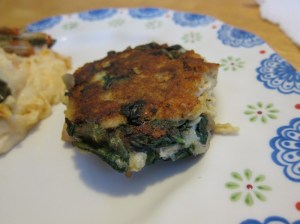
 Use your hands to shape the mixture into 4 patties.
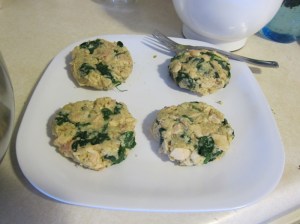 Heat some more oil in the pan, then cook the patties until browned on each side, 3-4 minutes per side.


 Ingredients: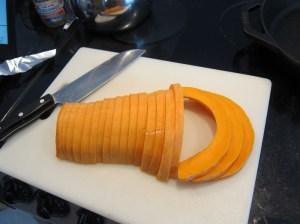
 Add the sliced squash and stir/shake to coat. Lay the squash out, in a single layer, on the lined sheet.
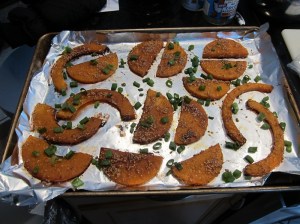
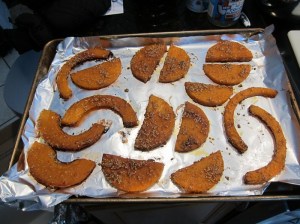 Bake, rotating half-way through, 25-30 minutes until browned. Sprinkle with scallions and salt, and serve.
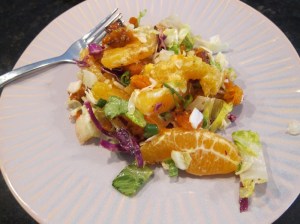
 If desired, cut the squash into bite sized pieces and stir, along with the orange pieces, into the salad mix, using the dressing that comes with the salad.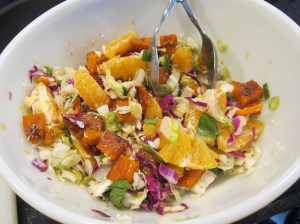
 Ingredients:
 Next, pound the chicken breasts flat. Either put them in a large ziplock or wrap in saran wrap and hit with a meat tenderizer(/can of beans/anything else solid you can hit with) until the chicken has been thinned to under 1/2″ thick. The second time I made this the pieces of chicken were so unreasonably large that I wasn’t able to get the chicken thin enough, which made it a nightmare to roll, so oversized chicken isn’t a plus in this case.
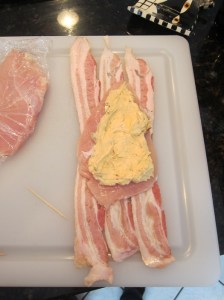
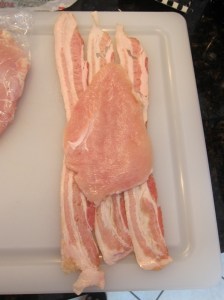 Spread 1/4 of the cream cheese mixture on the chicken.
 Roll up the meats, starting and ending with the loose bacon. Tie the roll shut with 2-3 pieces of kitchen twine, then repeat with the remaining bacon and chicken.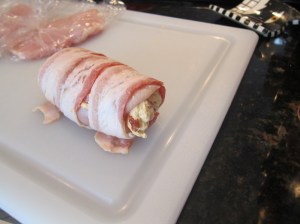
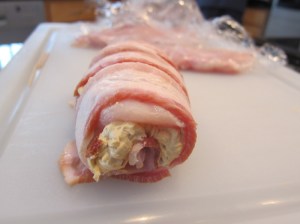
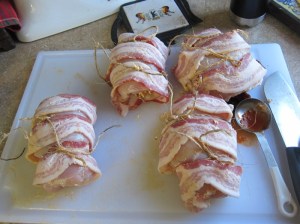
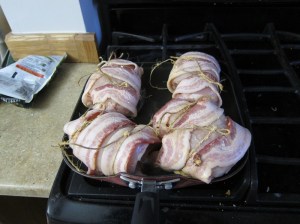
 Once cooked, remove from the heat and brush the remaining adobo sauce from the can over the crispy bacon.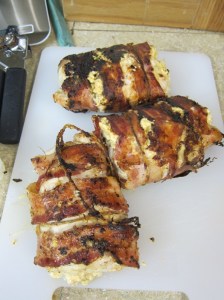
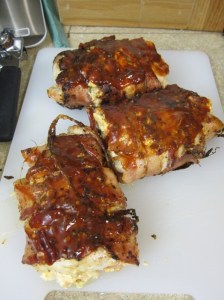 My serving suggestion is to pair with cornbread and something green!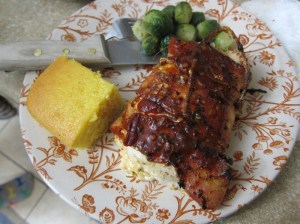
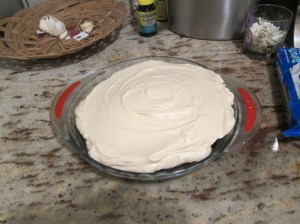 Ingredients:
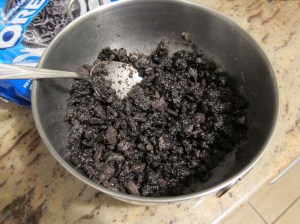 Pour the cookie mixture into a pie dish and press evenly into the bottom and up the sides. Bake 10 minutes, then set aside to cool.
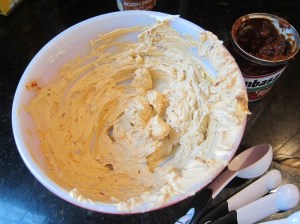
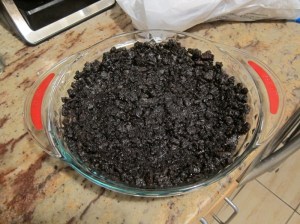 Once the crust has cooled, combine the cream cheese, powdered sugar, vanilla, and salt in a large bowl, and beat until well combined.
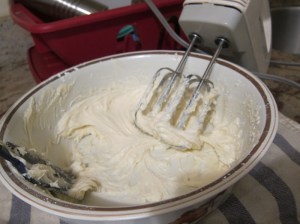 Add in the caramel sauce and beat again.
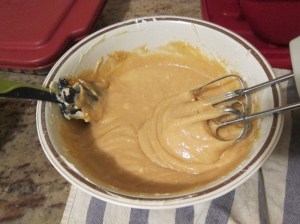 In a separate large bowl, beat the heavy cream until soft peaks form.
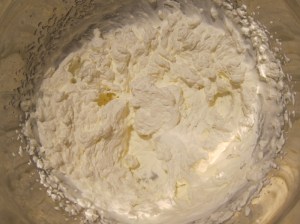 Gently fold the whipped cream into the caramel mixture by hand.
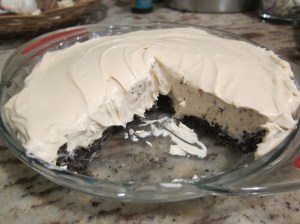
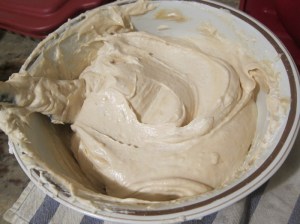 Gently pour the filling into the pie crust, then refrigerate at least 8 hours before serving.
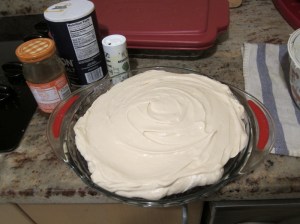 Consider serving with chocolate sprinkles, more caramel sauce, and/or whipped cream.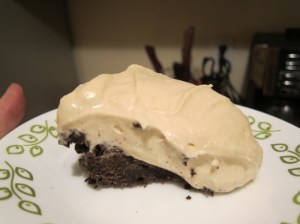
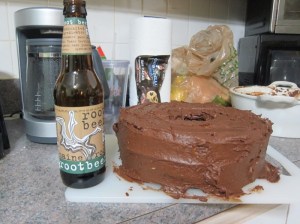
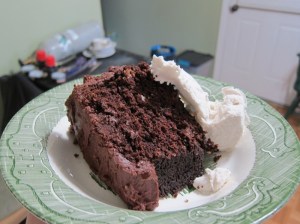 Ingredients:
 Add the sugars and whisk until dissolved.
 Remove from heat and set aside to cool slightly.
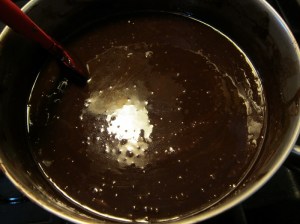 Gently combine the root beer mixture and the flour mixture, stirring until just combined.
 Cool in the pan, then turn out onto a wire rack or platter.
 To make the frosting, combine all the ingredients in a food processor, pulsing in short bursts until the frosting is shiny and smooth. If you don’t have a food processor, this isn’t a time you can substitute in a blender, just use a mixer and beat until smooth.
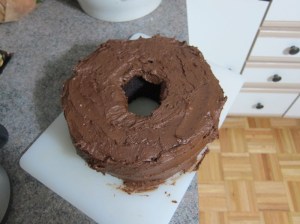
 Serve with vanilla ice cream, and store leftovers well wrapped at room temperature.
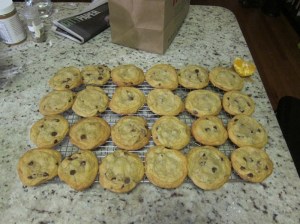 Ingredients:
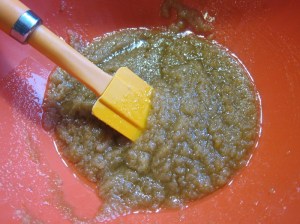 Stir in eggs and vanilla extract.
 Stir in the flour mixture until just combined.
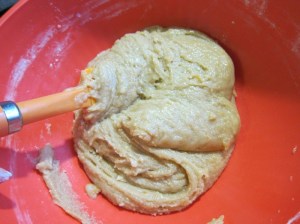 Stir in the chocolate chips, then scoop the dough by heaping tablespoons onto the lined sheets, spacing widely.
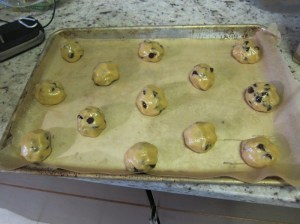 Bake for 10 minutes, rotating pans halfway through.
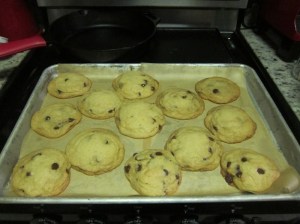 Let cookies cool on pan for 2 minutes, then transfer to a wire rack to cool completely.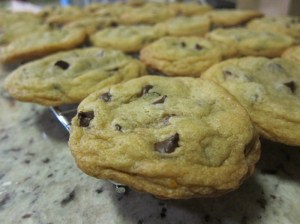
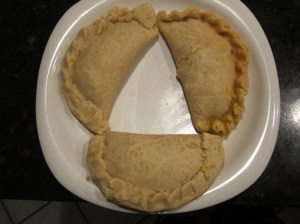 Ingredients:
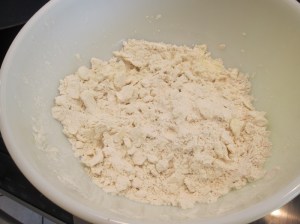 Make a well in the center. Combine the egg, water, and apple cider vinegar in a cup/small bowl.
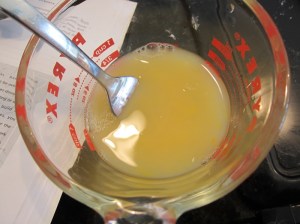 Pour the liquids into the well in the dry mixture. Mix together until the dough holds together.
 Divide the resulting dough into 2 even pieces, wrap in saran wrap, and refrigerate at least 30 minutes.
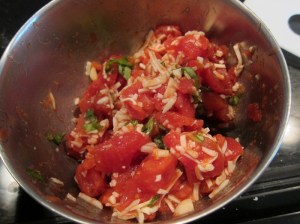
 When the dough is ready, preheat your oven to 350 degrees. Combine the tomatoes, cheese, basil, and garlic in a bowl and set aside.
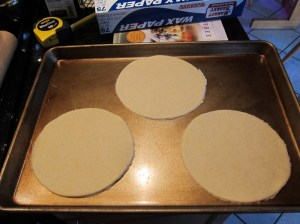
 Roll out one of the pieces of dough to about 1/8″ between 2 sheets of plastic wrap or wax paper. Flip a 6″ diameter bowl and use it as a giant cookie cutter, cutting out 4 rounds from the piece of dough, then doing the same with the second piece of dough. (I actually only got 7 total, guess I didn’t roll thin enough!)
 Place 3 tablespoons of filling on one side of a dough round, leaving some clear space on the edge to seal. It turns out you probably want even more empty space than shown here, as folding up the edges takes room.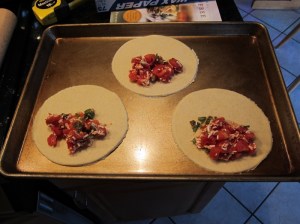
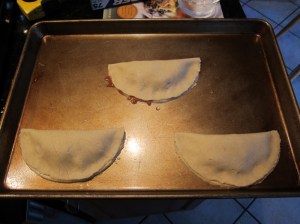 Press together to seal, then fold over the edges, a bit at a time, starting from one edge – the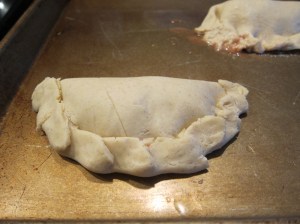
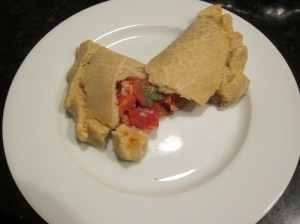
 Bake 10-15 minutes until crispy.
 This (and many) gluten-free dough doesn’t brown much at all, so all your browning will come from the egg wash, so if yours was maybe heavy on the water, don’t wait until the end of time for it to brown!
 These brownies use a small amount of the flour blend from
  Remove from the heat and stir in the eggs, sugars, and vanilla, stirring again until smooth.
 Stir in the flour mix until just combined, then add the caramel chips and again stir until combined.
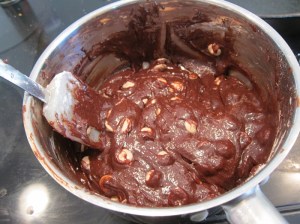 Gently transfer the batter to the prepared pan.
 Bake 30 minutes, until cooked through but still moist.
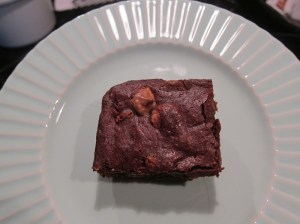
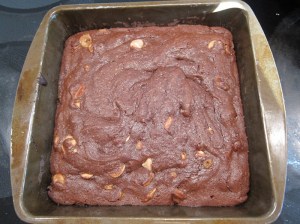 Cool in the pan, then cut and serve. (With ice cream??)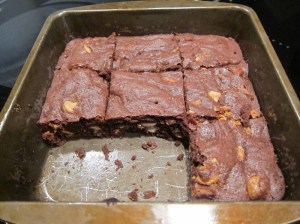
 Ingredients:
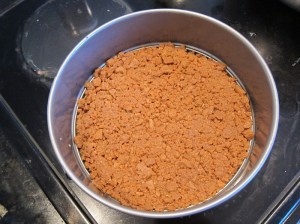
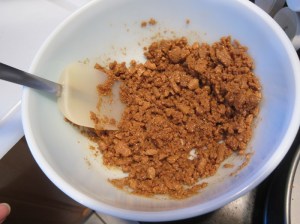 Press evenly into the bottom of a 9″ springform, and up the sides if you have enough crumbs.
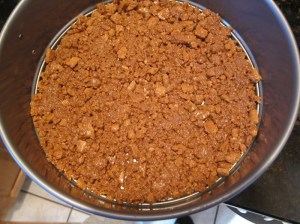 Bake 8 minutes then remove from the oven. Increase oven temperature to 350.
 While the crust bakes, combine the cream cheese, sugar, and vanilla in a large bowl and beat on medium until smooth.
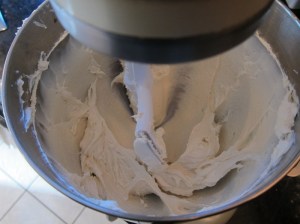 Add the sour cream and beat on low until mixed.
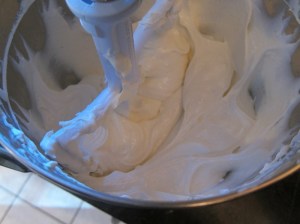 Add the eggs and beat again on low until just mixed.
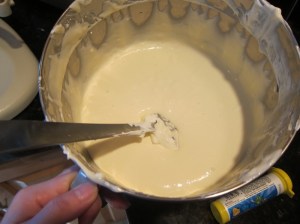 Pour half of the filling evenly into the crust, then sprinkle the 1 1/3 cups of cinnamon chips over the filling.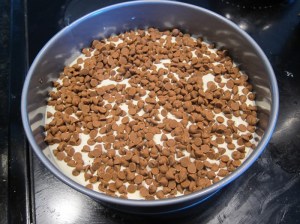
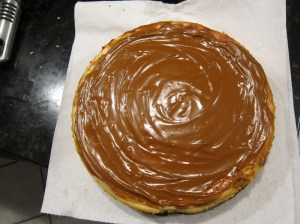
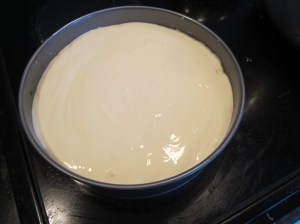 Bake 1 hour, or until center is almost set – I gave mine a bit of extra time based on how mobile it still seemed when I jiggled it at 1 hour. Remove from the oven and place on a wire rack.
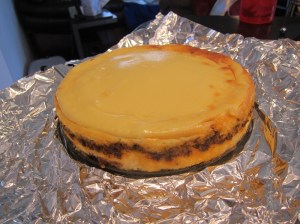 When the cake has cooled the full hour, combine the remaining cinnamon chips and the shortening in a small bowl and microwave in short bursts until the chips can be stirred smooth – they don’t actually have to feel hot to melt, but did require longer than the 30 seconds at 50% power that Hershey’s recommended. Drizzle the melted topping over the cheesecake, then cover and refrigerate at least 4 hours before slicing and serving.


