This is easy enough that it really shouldn’t throw off your already meticulously planned Thanksgiving cooking schedule too much if you (wisely) decide to throw it in! I made this twice last week, once for myself, and once to bring to work. I doubled the topping the second time, and everyone at work REALLY liked it. With the doubled topping, it sort of moves away from ‘scattered, but frequent, blobs of extra delicious’ to a full crust. My coworkers said they really liked that texture, combined with the light/soft cake underneath. I can’t believe I’m saying this, but I might actually have preferred it with just the ‘regular’ amount of topping? It let each bite be a bit different from the next, rather than a solid layer of unchanging topping. (To be fair, the topping is delicious, which is why I tried doubling it in the first place, so having too much of it is a pretty champagne problem!) One bag of cranberries is about enough to make this 3 times, so you might as well try it all sorts of ways and let me know what you think!
 Ingredients:
Buckle:
- 1/2 cup unsalted butter
- 1 1/2 cups all-purpose flour
- 2 teaspoons baking powder
- 1/2 teaspoon salt
- 3/4 cup granulated sugar
- 1 large egg
- 1 teaspoon vanilla
- 1 cup milk
- 1 cup cranberries
Topping (undoubled):
- 1/4 cup packed light brown sugar
- 2 tablespoons all-purpose flour
- 2 tablespoons sliced almonds (I left those out. Yuck.)
- pinch salt
- 2 tablespoons unsalted butter, room temperature and cut into small cubes
- powdered sugar, for garnish
Melt the butter in a 10″ cast iron skillet over medium-low heat. Once melted, pour the butter into a large heatproof bowl.
Preheat oven to 350 degrees.
Whisk together the flour, baking powder, and salt, and set aside.
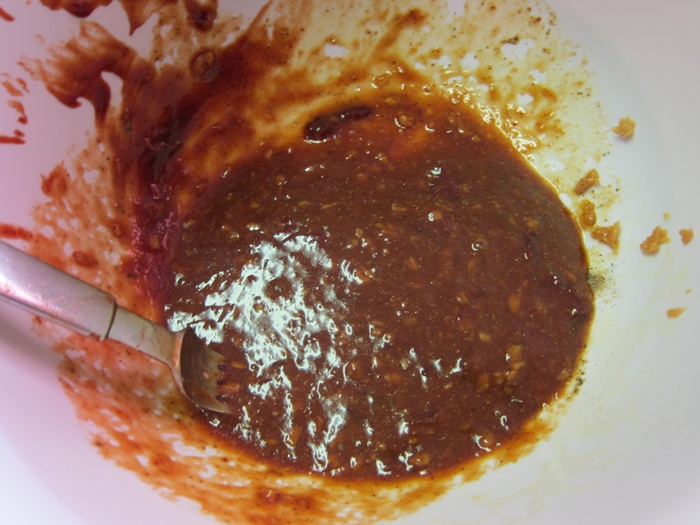
Combine the topping ingredients in a small bowl and mix with a fork or hand, until well combined, with a texture similar to wet sand. Set aside.
 Into the bowl the the butter, add the sugar, egg, and vanilla, stirring until well combined.
 Add the flour mixture in 3 portions, alternating with the milk in two additions. Stir until just combined, then pour into the skillet.
 Scatter the cranberries over the batter, leaving about 1″ clear space around the edges.
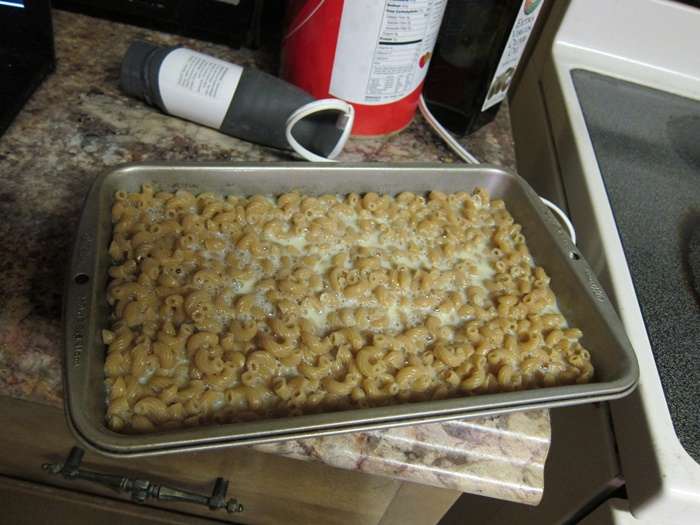
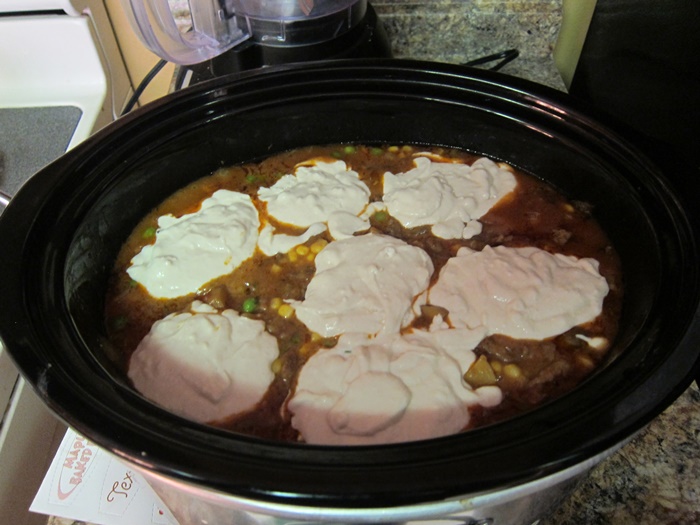
 Sprinkle the topping mixture over the batter.

regular/double
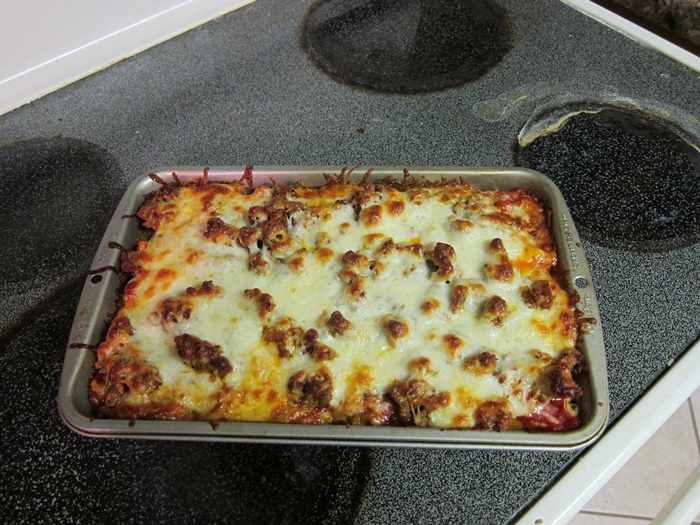
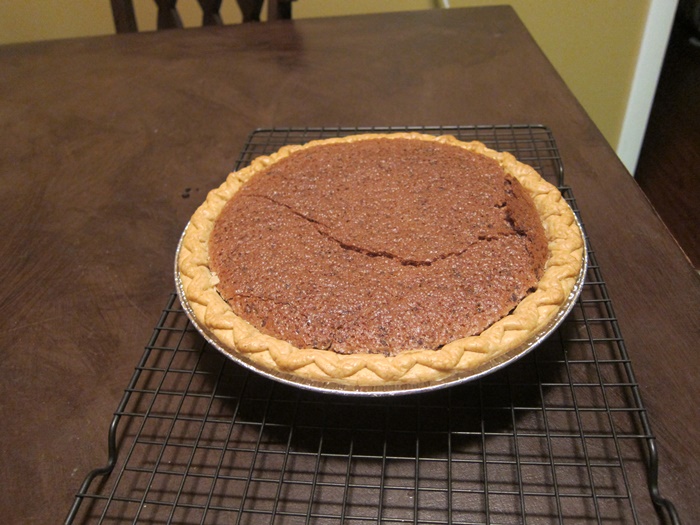
Bake 35-40 minutes, until lightly browned and able to pass the toothpick test. Sprinkle with powdered sugar, then let sit for 10 minutes before serving.
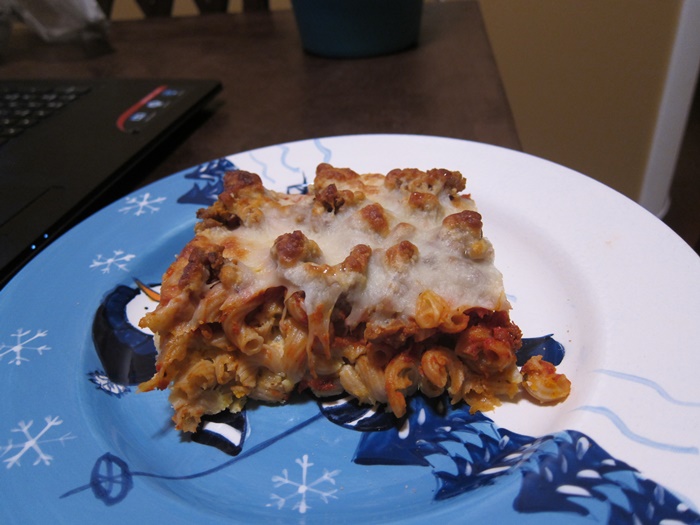
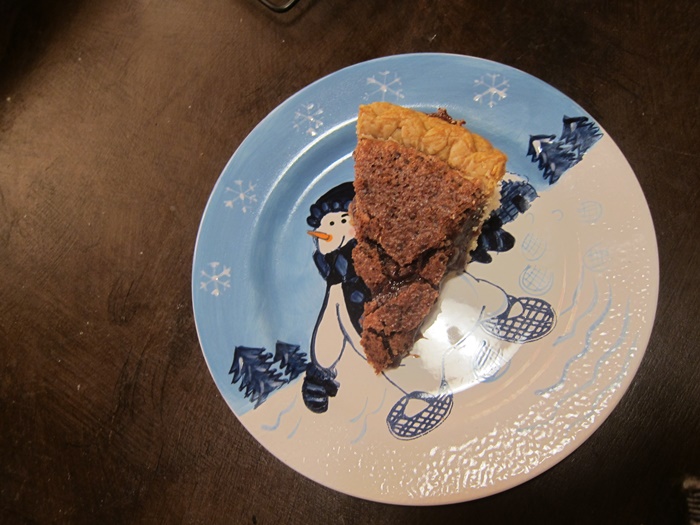
 This is the perfect dessert-turned-tomorrow’s-breakfast cake!
Skillet Cranberry Buckle
From Go Bold With Butter.
Buckle:
- 1/2 cup unsalted butter
- 1 1/2 cups all-purpose flour
- 2 teaspoons baking powder
- 1/2 teaspoon salt
- 3/4 cup granulated sugar
- 1 large egg
- 1 teaspoon vanilla
- 1 cup milk
- 1 cup cranberries
Topping (undoubled):
- 1/4 cup packed light brown sugar
- 2 tablespoons all-purpose flour
- 2 tablespoons sliced almonds (I left those out. Yuck.)
- pinch salt
- 2 tablespoons unsalted butter, room temperature and cut into small cubes
- powdered sugar, for garnish
Melt the butter in a 10″ cast iron skillet over medium-low heat. Once melted, pour the butter into a large heatproof bowl.
Preheat oven to 350 degrees.
Whisk together the flour, baking powder, and salt, and set aside.
Combine the topping ingredients in a small bowl and mix with a fork or hand, until well combined, with a texture similar to wet sand. Set aside.
Into the bowl the the butter, add the sugar, egg, and vanilla, stirring until well combined. Add the flour mixture in 3 portions, alternating with the milk in two additions. Stir until just combined, then pour into the skillet. Scatter the cranberries over the batter, leaving about 1″ clear space around the edges.
Sprinkle the topping mixture over the batter. Bake 35-40 minutes, until lightly browned and able to pass the toothpick test. Sprinkle with powdered sugar, then let sit for 10 minutes before serving.
 Ingredients:
 Preheat the oven and begin to cook the fries according to package (or recipe) instructions.

 In a medium bowl, combine all the caramelized kimchi ingredients and stir together.
 Cook in the same pan over high heat, stirring frequently, until the mixture is thickened, and there isn’t liquid left to run across the pan as you stir it.
 In a small bowl, whisk together the mayonnaise and sriracha.
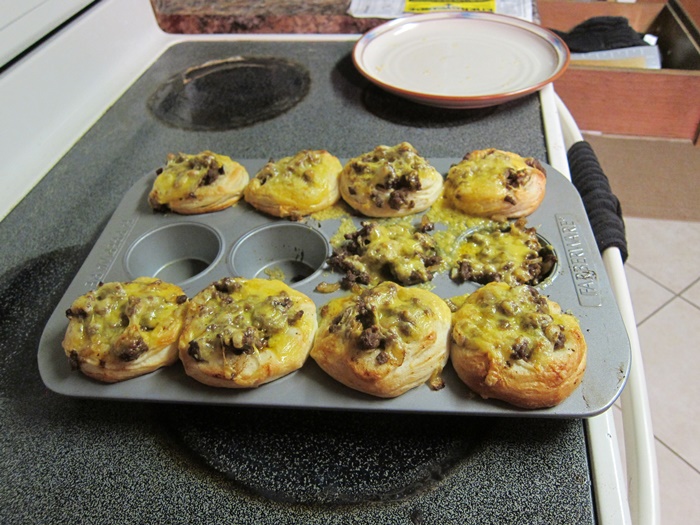
 Drizzle some of the sriracha mayo over the dish, then garnish with the sesame seeds and green onions. Add a dollop of sour cream, if desired. Serve with additional sriracha mayonnaise.
 These will be best still hot from the oven/stove, but if you have leftovers, your best bet is to toast them back up in the toaster oven to minimize fry sogginess.
 While I am often lax about mise en place (getting everything measured out and/or chopped up before you start actually cooking), once this recipe really gets rolling, things go pretty fast, so it’s best if you do get most things set out ahead of time.
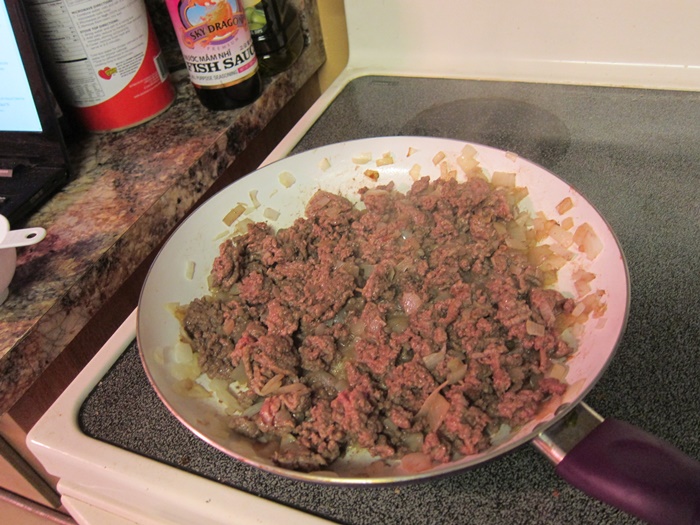
 Add the chicken and continue to cook until the chicken is cooked through.

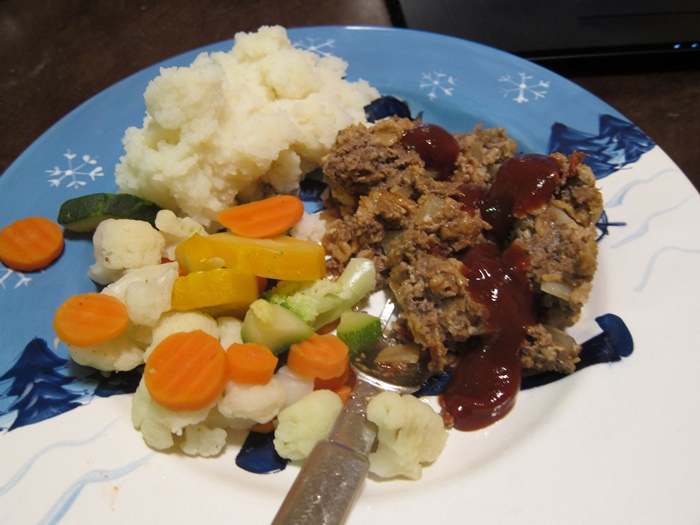
 Stir the couscous mixture into the chicken mixture, and serve.
 I quite enjoyed this! It’s got some sweetness from the fruit, and enough fruits and vegetables that it feels decently healthy, plus it all goes pretty fast once the onions have softened. I’d eat it again!