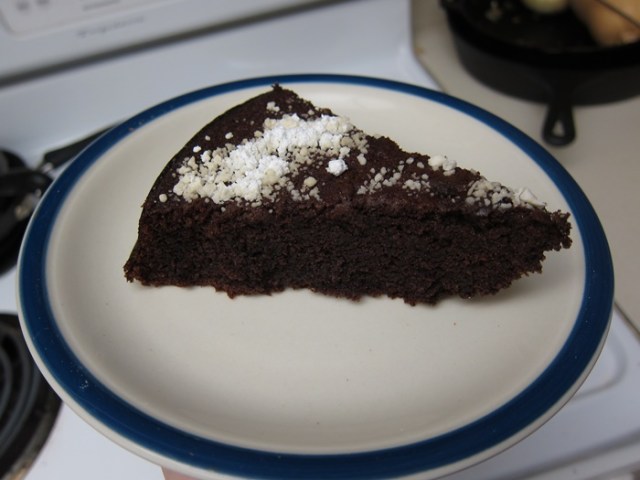
Last year at work we grew buckwheat for the first time. We brought it to a historic mill at the neighboring Metropark system, and just last week got back the first batch of buckwheat flour! This is the first thing I made with the flour, and was a success! There’s surprisingly little flour, but somehow you still get a great texture in the final product. When just cooled I thought there was a slight hint of bitterness, but the next day it was no longer noticeable in the remaining cake. This is something of a ‘grownup’ chocolate cake, as it’s not super sweet, but it’s very nice and everyone I shared with enjoyed it.
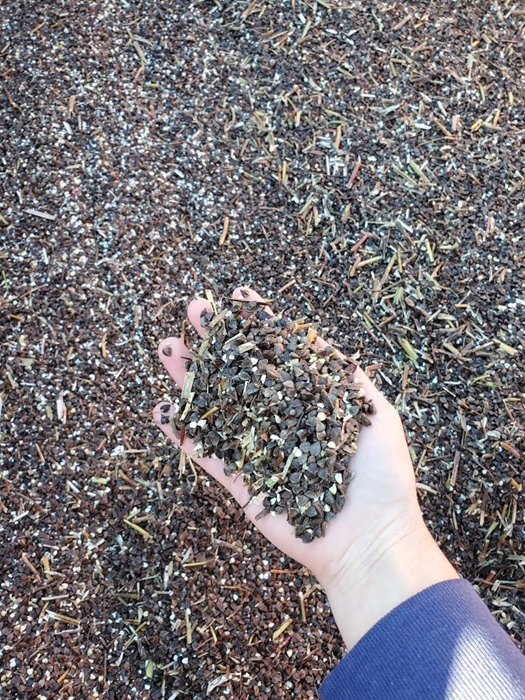
Buckwheat after being threshed. The mill is able to clean out the extra bits of chaff before grinding.
Ingredients:
Sponge:
- 3/4 cup lukewarm water
- 1 teaspoon instant yeast
- 1/2 cup buckwheat flour
- 1 tablespoon honey
Cake:
- 4 large eggs, separated
- 3/4 cup bittersweet chocolate chips
- 1/2 cup unsalted butter, cut into pieces
- 1/4 cup Dutch process unsweetened cocoa powder, sifted
- 1 tablespoon vanilla
- 1 pinch kosher salt
- 1/2 cup granulated sugar, divided
- 2 tablespoons powdered sugar
To make the sponge, place the water in a medium bowl and sprinkle the yeast over it. Add the flour and honey and whisk together.
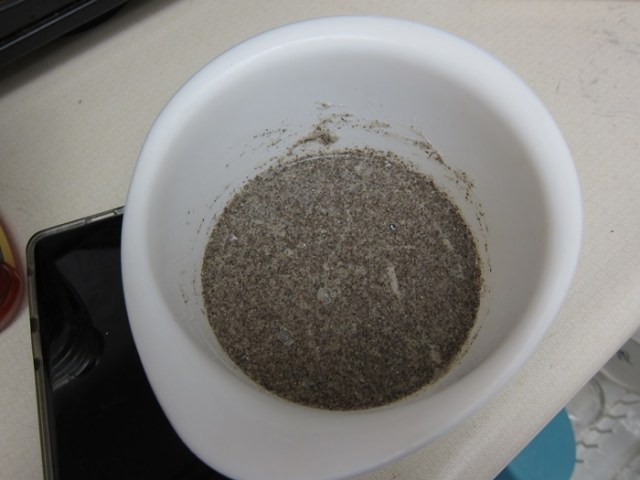
Cover and let sit until it has both large and small bubbles, about 1 hour. While you wait, place a rack in the middle of the oven, grease a 9″ springform pan, and separate the eggs, putting the whites in a bowl large enough to beat them up in. Preheat your oven to 350 degrees.

Once the sponge is complete, combine the chocolate and butter in the bowl of a double boiler over simmering water. Melt the chocolate, stirring occasionally, until completely melted and smooth.
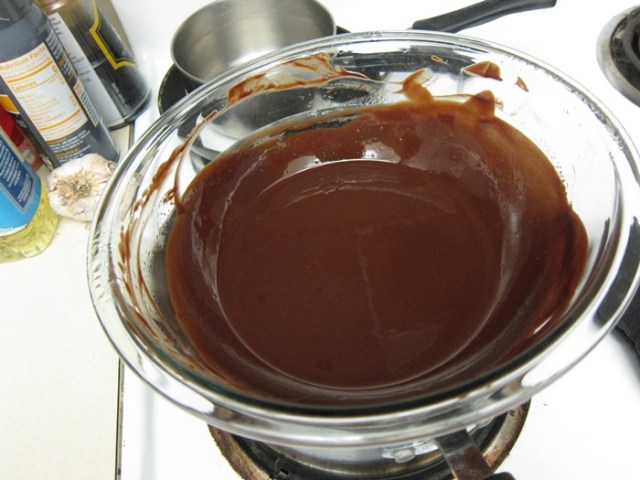
Remove from the heat and whisk in the cocoa powder, vanilla, salt, and 1/4 cup of the sugar.

Continue to whisk, adding the yolks one at a time, until completely mixed, then stir in the sponge.


In a large bowl, add the remaining 1/4 cup sugar to the egg whites. Beat with a mixer on medium-high speed until soft peaks form.
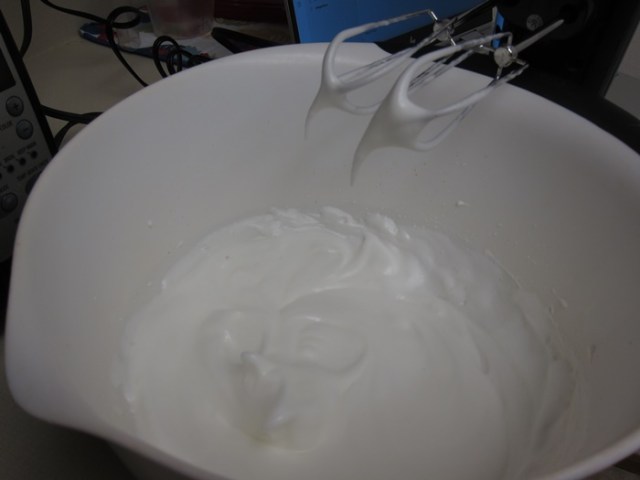
Gently fold half the egg white into the chocolate mixture until smooth.
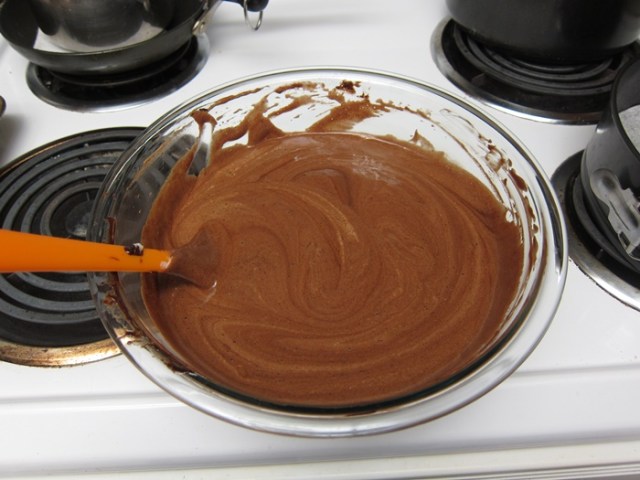
Fold in the remaining egg whites until just combined.

Gently transfer into the prepared pan. Bon Appetit says to ‘smooth the surface’, but this batter is enough of a liquid that there’s not much smoothing to be done.
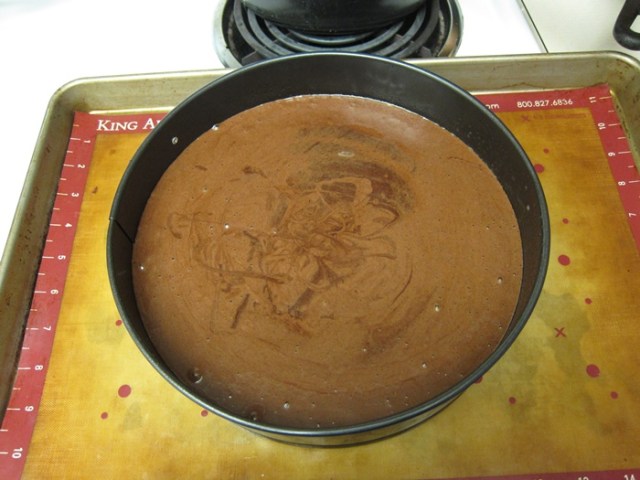
Bake 40-45 minutes, until it passes the toothpick test. A few small crumbs still came out on the toothpick at 40 minutes for mine, but at 42 it was done.
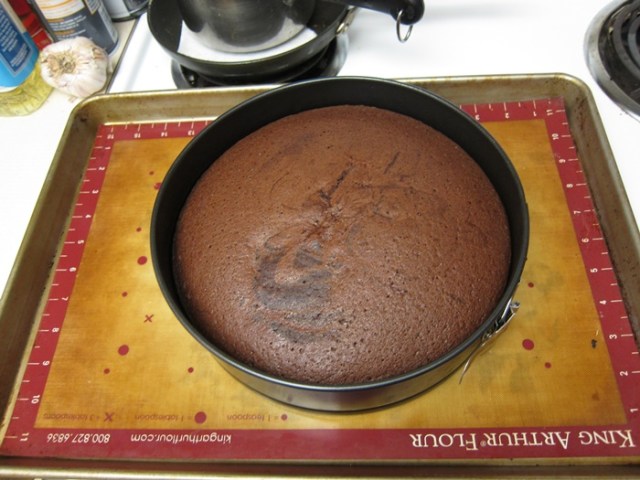
Cool the cake in the pan, then remove the side of the pan and sprinkle with powdered sugar just before serving.
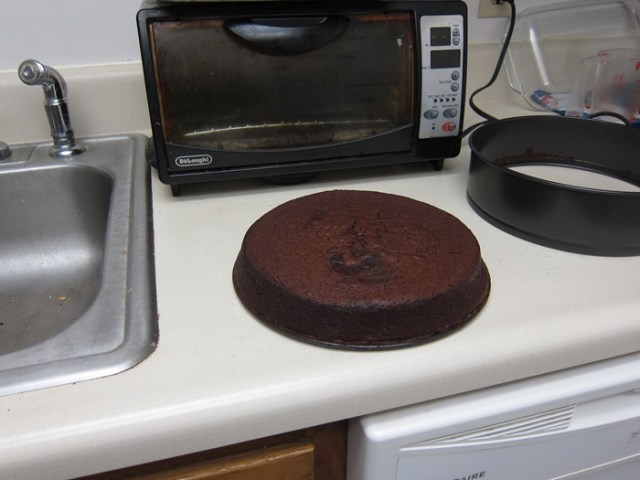

Using the sifter now would’ve looked nicer… next time.
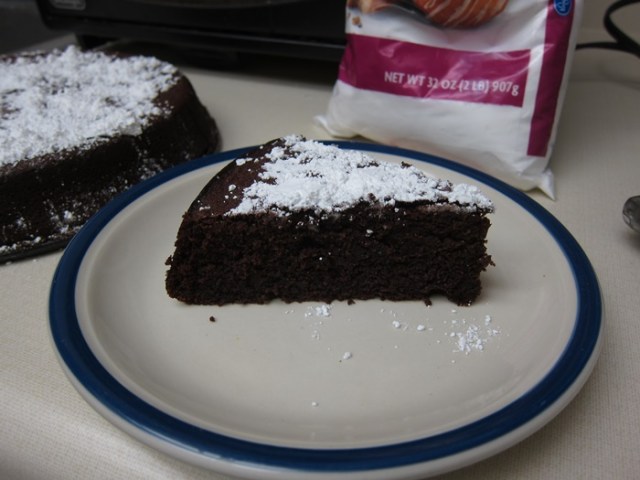
Chocolate Buckwheat Cake
From Bon Appetit.
Sponge:
- 3/4 cup lukewarm water
- 1 teaspoon instant yeast
- 1/2 cup buckwheat flour
- 1 tablespoon honey
Cake:
- 4 large eggs, separated
- 3/4 cup bittersweet chocolate chips
- 1/2 cup unsalted butter, cut into pieces
- 1/4 cup Dutch process unsweetened cocoa powder, sifted
- 1 tablespoon vanilla
- 1 pinch kosher salt
- 1/2 cup granulated sugar, divided
- 2 tablespoons powdered sugar
To make the sponge, place the water in a medium bowl and sprinkle the yeast over it. Add the flour and honey and whisk together. Cover and let sit until it has both large and small bubbles, about 1 hour. While you wait, place a rack in the middle of the oven, grease a 9″ springform pan, and separate the eggs, putting the whites in a bowl large enough to beat them up in. Preheat your oven to 350 degrees.
Once the sponge is complete, combine the chocolate and butter in the bowl of a double boiler over simmering water. Melt the chocolate, stirring occasionally, until completely melted and smooth. Remove from the heat and whisk in the cocoa powder, vanilla, salt, and 1/4 cup of the sugar. Continue to whisk, adding the yolks one at a time, until completely mixed, then stir in the sponge.
In a large bowl, add the remaining 1/4 cup sugar to the egg whites. Beat with a mixer on medium-high speed until soft peaks form. Gently fold half the egg white into the chocolate mixture until smooth, then fold in the remaining half until just combined. Gently transfer into the prepared pan. Bake 40-45 minutes, until it passes the toothpick test. Cool the cake in the pan, then remove the side of the pan and sprinkle with powdered sugar just before serving.
 Ingredients:
 Stir in the eggs, pineapple, and juice, and continue to stir until the mixture thickens, which will take several minutes.
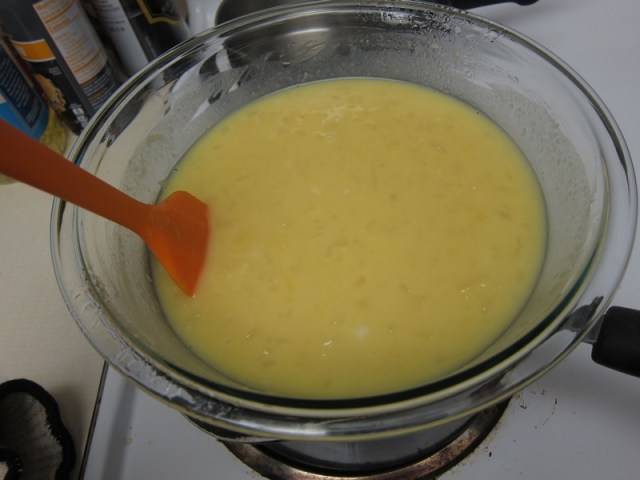 Add the butter to the thickened mixture and stir until melted in, then remove from the heat and allow to cool. The filling can be made a few days ahead and stored in the fridge.
 To start the cake, first make sure there’s a rack on the center shelf of your oven, then start it preheating to 375 degrees. Grease an 18×13″ jelly roll pan, then line with parchment. I wasn’t sure if, later, the silpats I have that fit my pan would be too heavy and would crush the cake, so I did actually use parchment for this one.
 Reduce the mixer speed to medium-high and drizzle in the cooled butter and the vanilla until just combined.
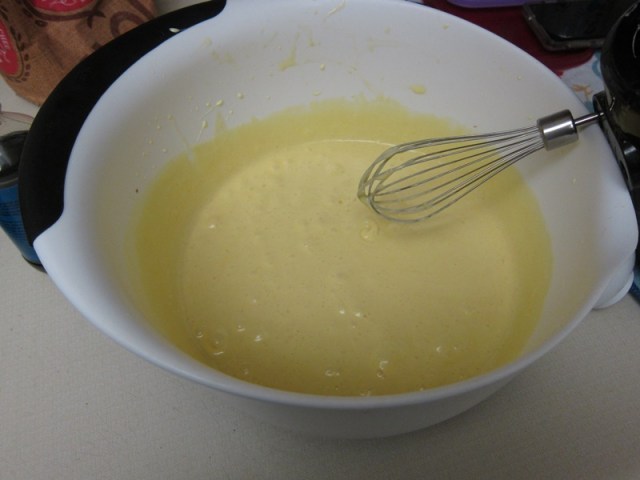 Reduce the speed further to low and add the flour all at once, beating just a few seconds until combined. Fold the mixture once or twice with a rubber spatula to ensure no unmixed spots remain at the bottom of the bowl, then gently turn the mixture out into the prepared pan.
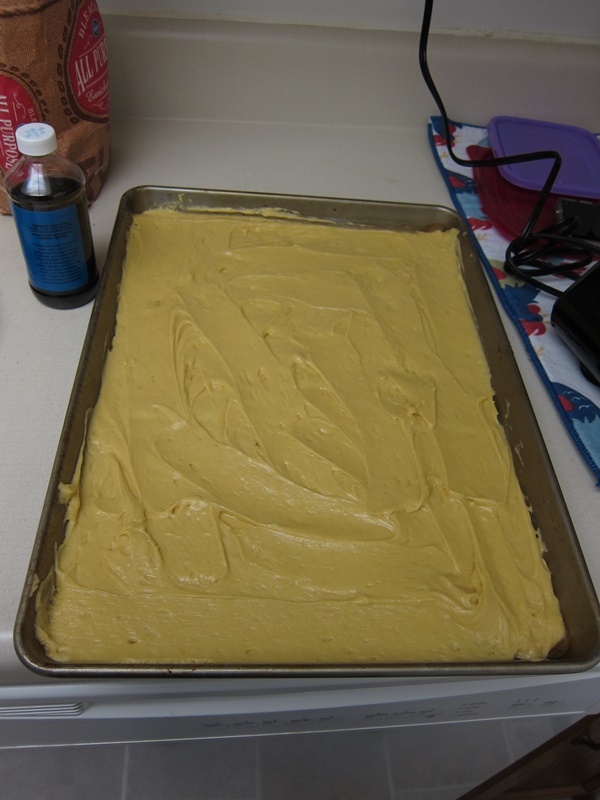
 Gently spread until it makes an even coat over the whole bottom – it may not feel like enough batter, but it’ll reach!
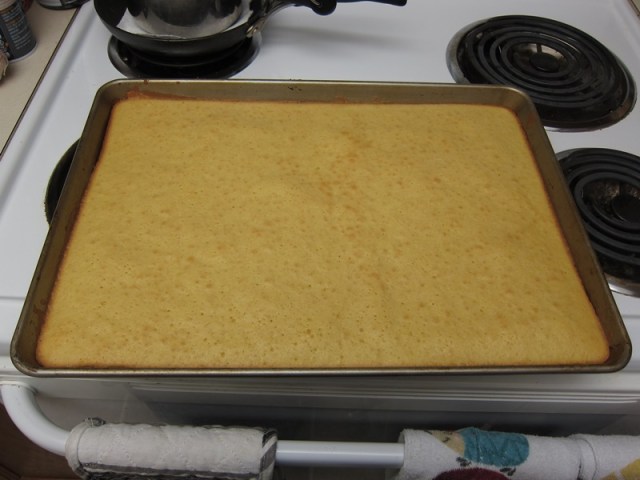
 Bake 15 minutes, or until the top is just set but not yet browned, rotating halfway through.
 Remove from the oven and sift/sprinkle a thin layer of powdered sugar over the surface of the cake. Run a knife around the edge of the cake to loosen it from the pan. I have a plastic-y knife called a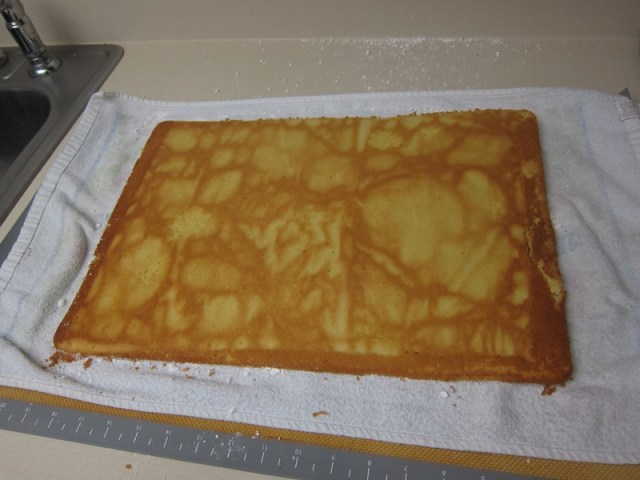
 Allow to cool completely wrapped up with the towel, then gently unroll and remove the towel.
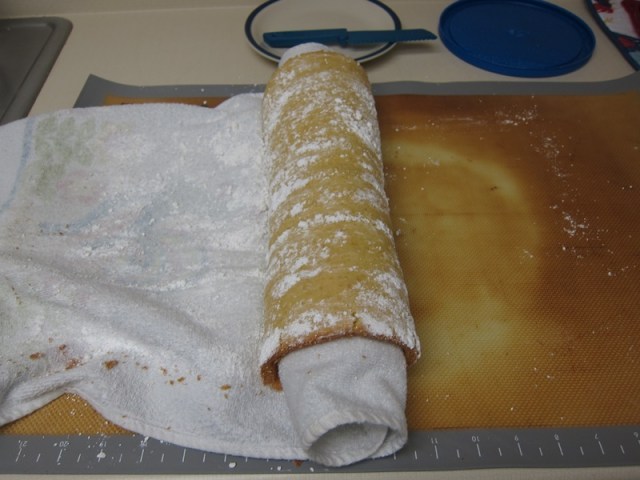 Starting from the end that had been the inside of the roll, fill with the pineapple filling, leaving some clear space at the other edges to allow for spreading.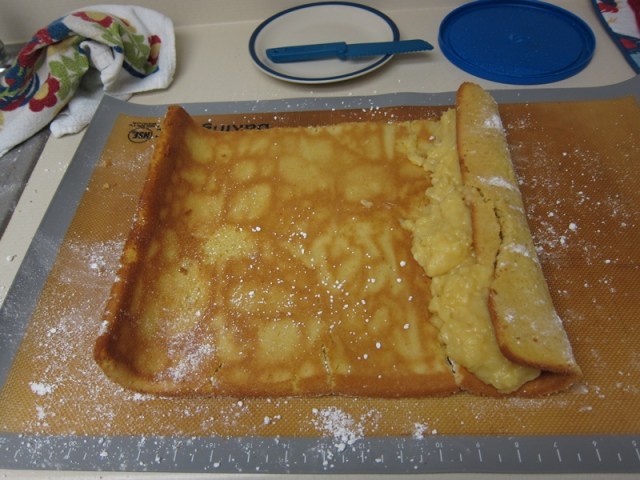
 Roll back up as you work, and once filled position the cake so that it’s seam-side down.
 Spread the Cool Whip over the surface, and serve. This is another one that I finished, then in this case cut into thirds and froze 2/3, so it wouldn’t get gross soggy before I could eat the whole thing, and I didn’t notice any degradation of texture in the parts that were frozen and thawed. Handy!


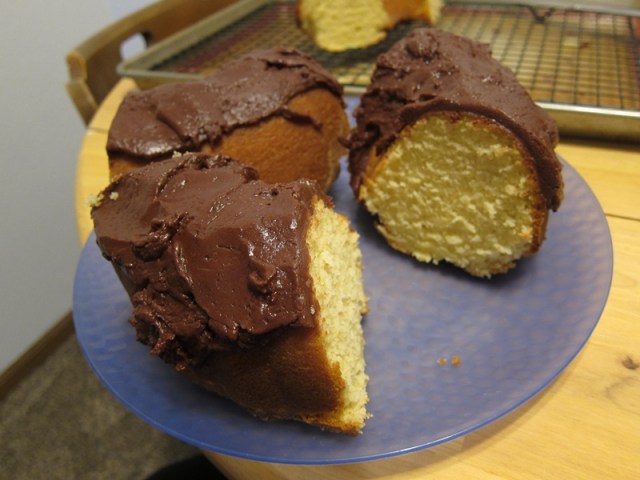
 Beat in the eggs one at a time, scraping down the bowl between each.
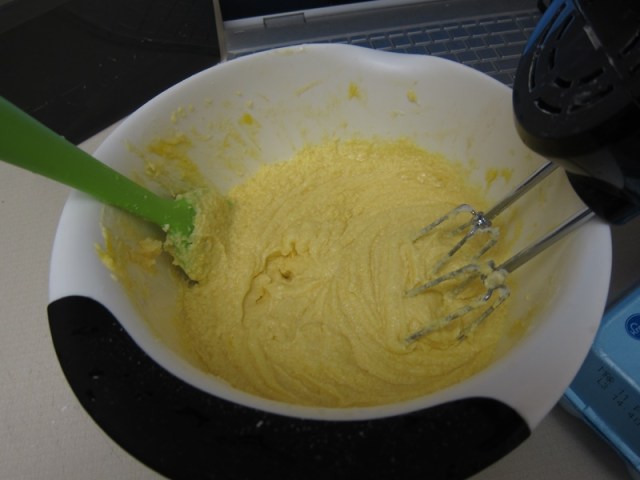 Add the dry goods in 3 additions, alternating with the buttermilk in 2, beating until just combined.
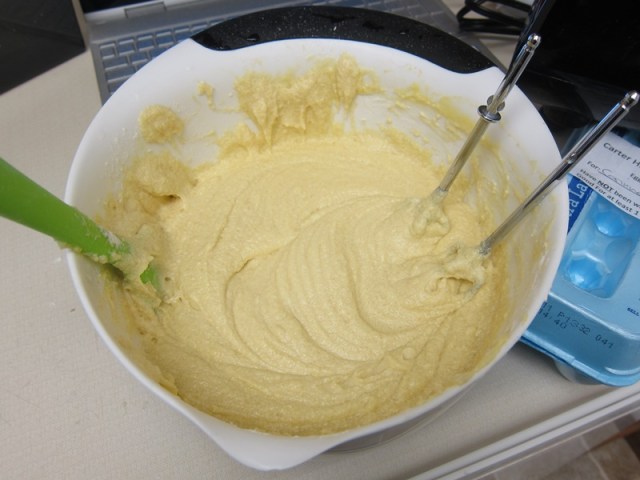 Gently transfer to the prepared pan and bake 1 hour, or until it passes the toothpick test.
 Let cool for 5 minutes in the pan, then flip a wire cooling rack onto the pan and then turn the pan/rack so that the bundt is upside-down. Let sit for 1 minute, then lift the pan off. If it doesn’t come easily, run a thin knife along the inside of the pan and try again.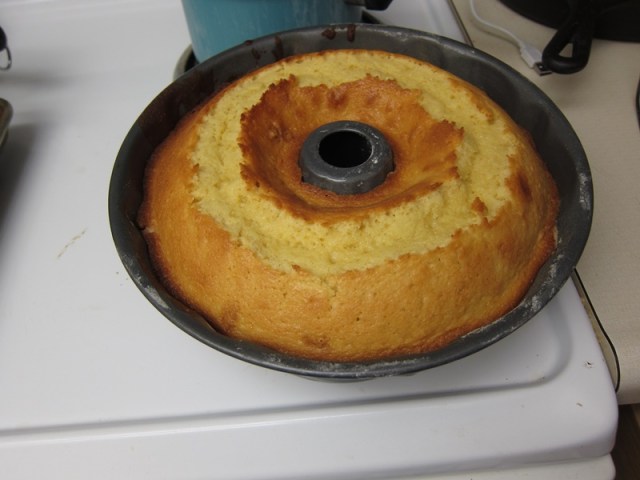
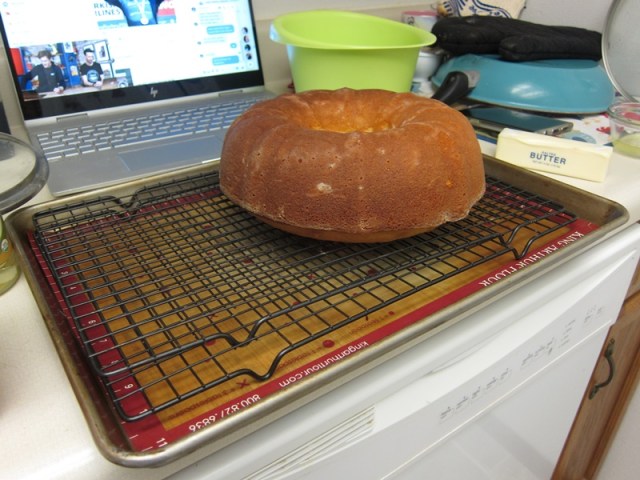 Once the cake has mostly cooled, combine the butter and chocolate of the glaze in a medium dish. Microwave 30 seconds, then stir/swirl. Microwave again in short burst, stirring in between, until the butter and chocolate are completely melted, then stir in the powdered sugar. Stir in 2 tablespoons of hot water, then add more as desired to thin for texture.
 I left mine more of a soft clay than a glaze, because I wanted to hurry up and get it in ziplocks, but you can do what looks nicest to you! Drizzle/pat on, and enjoy!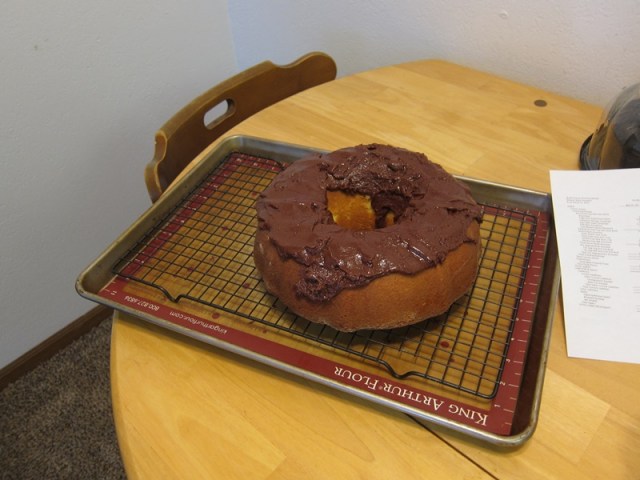
 Ingredients:
 Add 1 cup of the flour; beat until smooth.
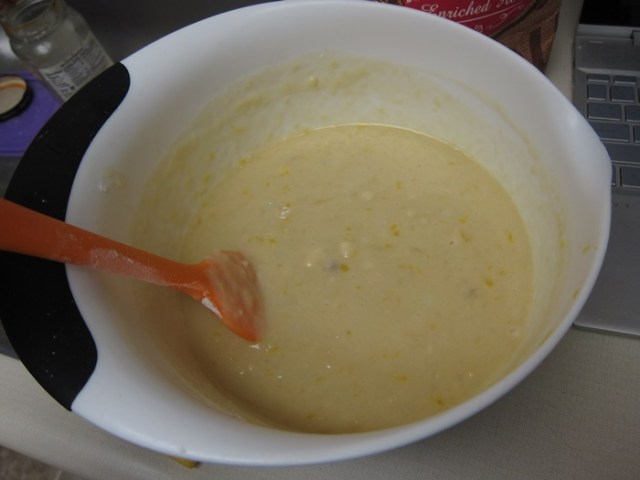 Stir in the yeast and beat in enough of the remaining flour to form a light soft dough. I got to 5 cups, then added another third before realizing I wasn’t making/didn’t want a dense bread, and left it at that, which was the right move.
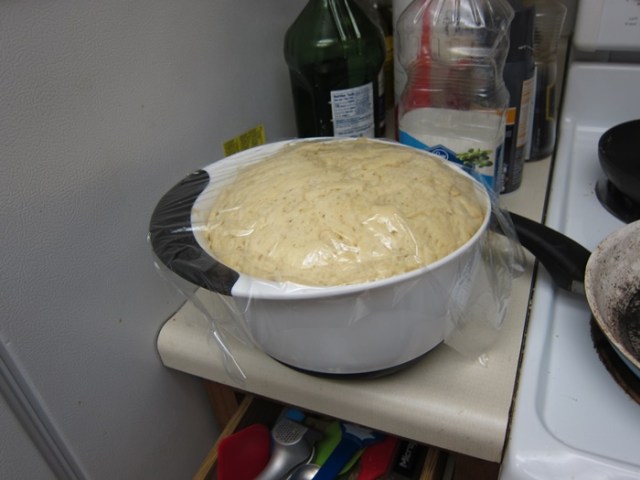
 Cover; let rise in a warm place until doubled, about 2 hours.
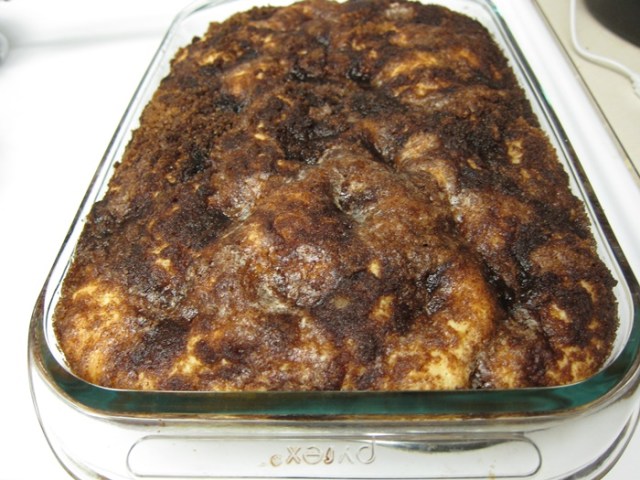
 Divide dough into 3 portions and press evenly into 3 greased 9” square pans.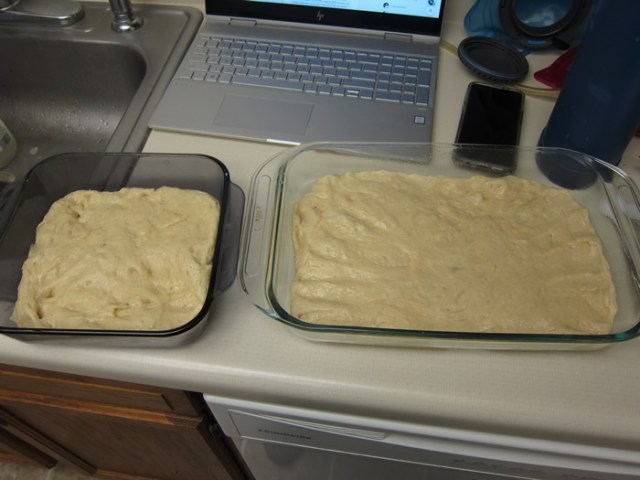
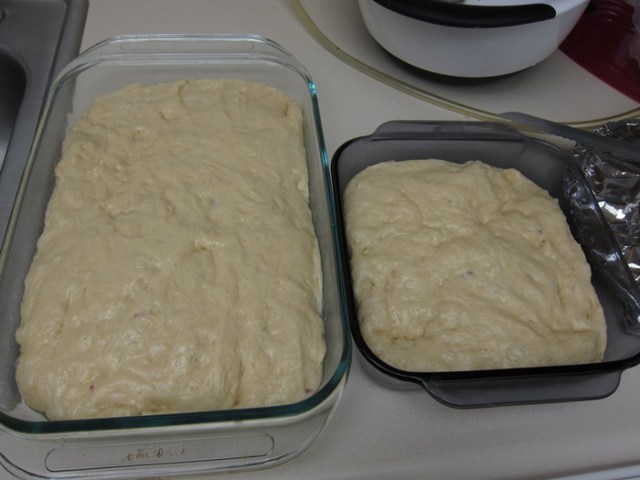 Blend together the brown sugar and cinnamon. Make indentations about 1 inch apart in dough in each pan and spoon sugar mixture into each depression. Drizzle remaining ½ cup melted butter over top of dough.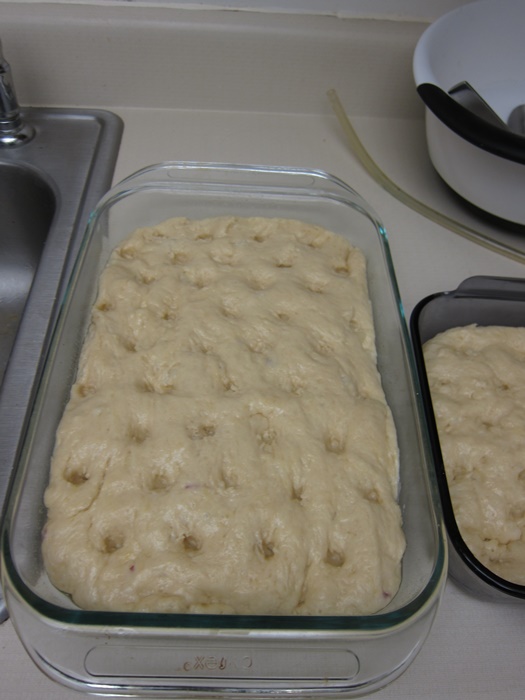
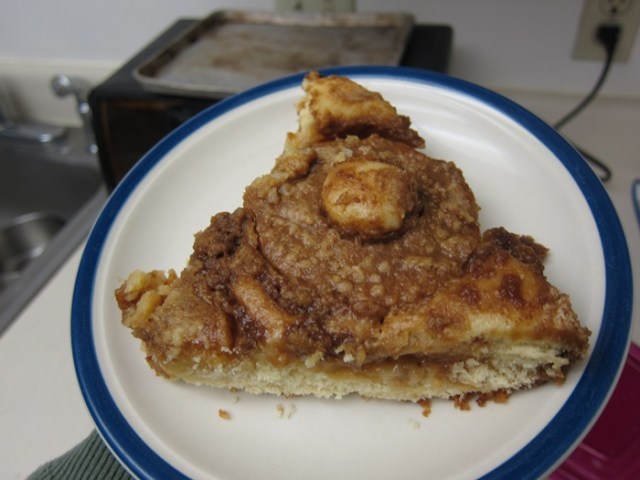
 Bake at 350 about 20 minutes.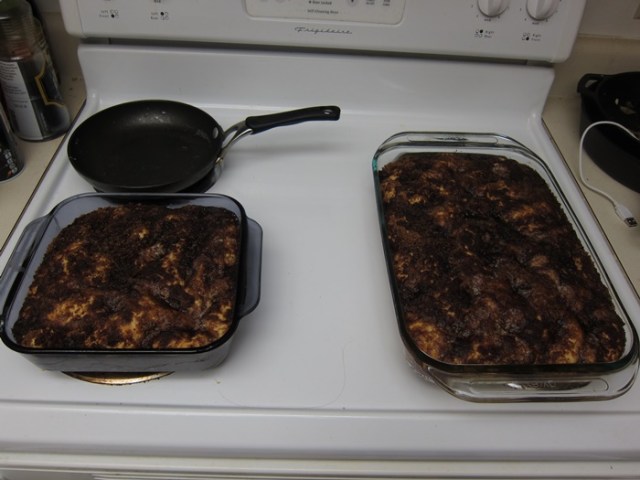
 Ingredients:
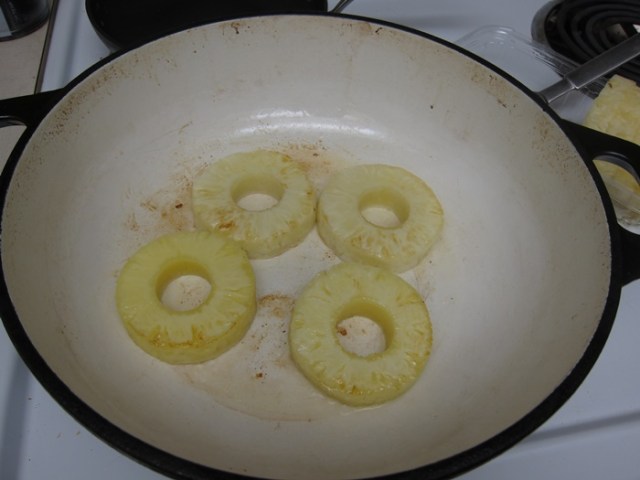 Preheat oven to 350 degrees.
 Add the milk and vanilla and beat again, on low speed, until combined, then increase the speed to high and beat for an additional 2 minutes.
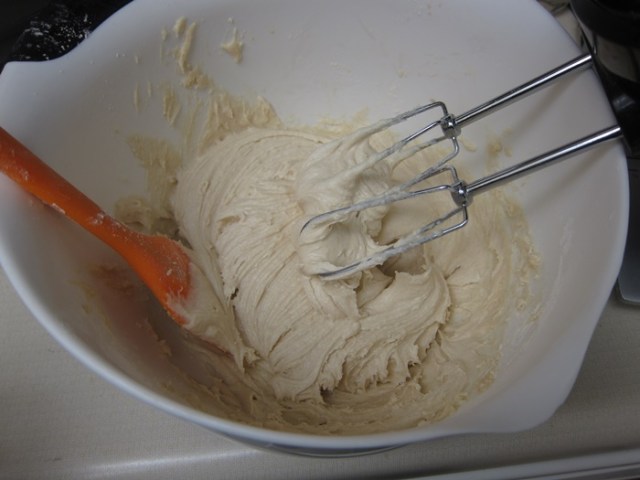 Again at low speed, add the egg yolks one at a time, beating well after each addition.
 Gently transfer the batter to the skillet, then place the browned pineapple rings on top, overlapping if needed.
 Sprinkle the refrigerated topping evenly over the top. Bake 35-40 minutes, until what you can see of the surface of the cake is golden.
 When the cake is done baking, combine the glaze ingredients in a small saucepan over medium heat. Cook, stirring frequently, until the mixture reaches a simmer, then cook another 1 minute, stirring constantly, until the mixture is smooth.
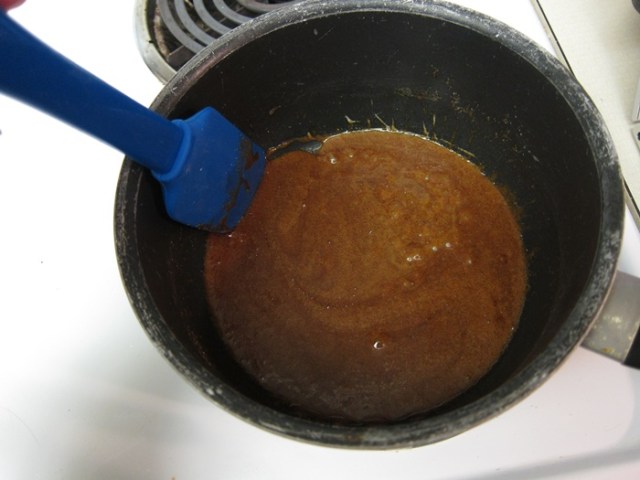 Drizzle over the cake, slice, and ideally serve with vanilla ice cream!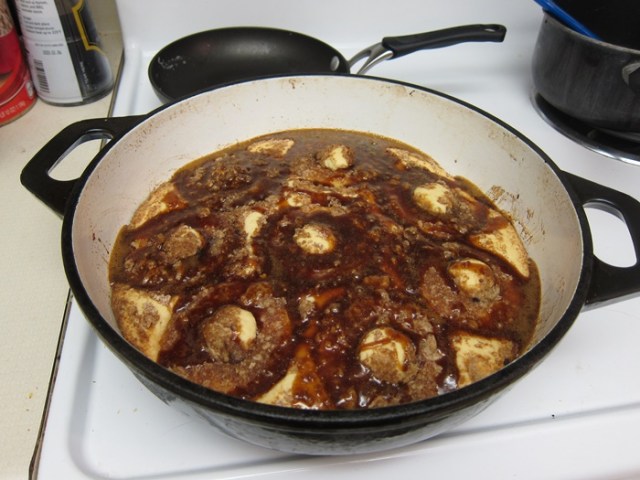
 Ingredients:
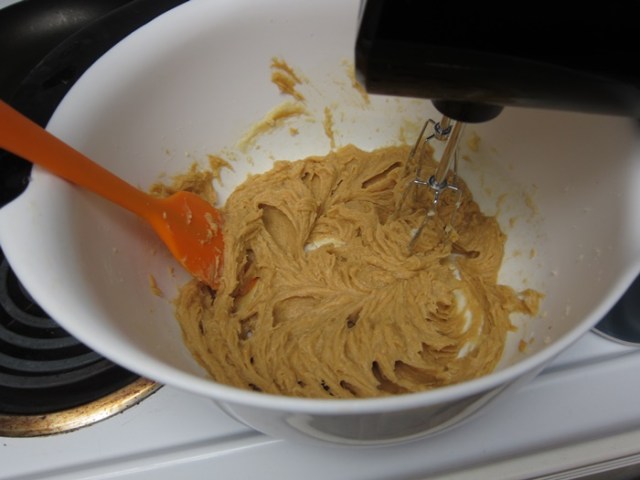 Add the flour, baking soda, and salt, beating until just combined, then add the apple and white chocolate chips, again beating until just evenly mixed through.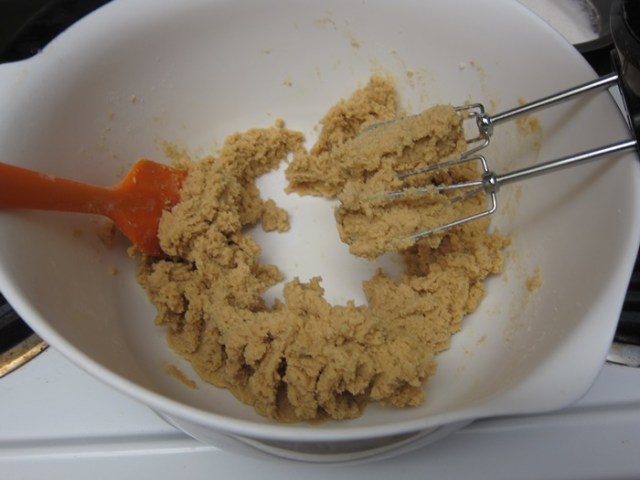
 This would no doubt be easier with a stand mixer and the paddle attachment than with a hand mixer, but we work with what we’ve got!
 Press down on each ball with the tines of a fork, first in one direction and then crossed to make an X a second direction, partially flattening the dough ball.
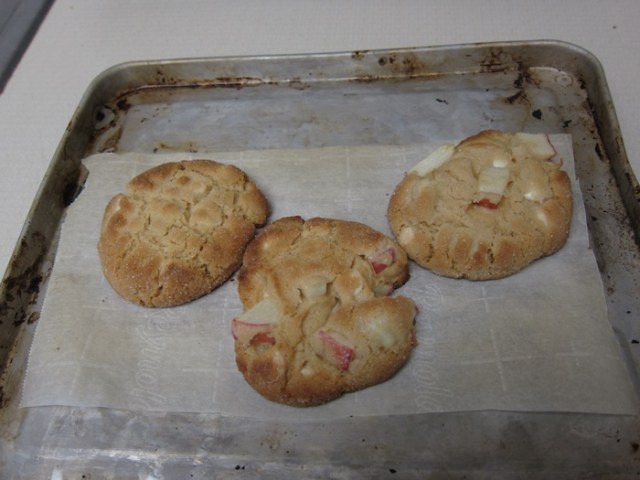
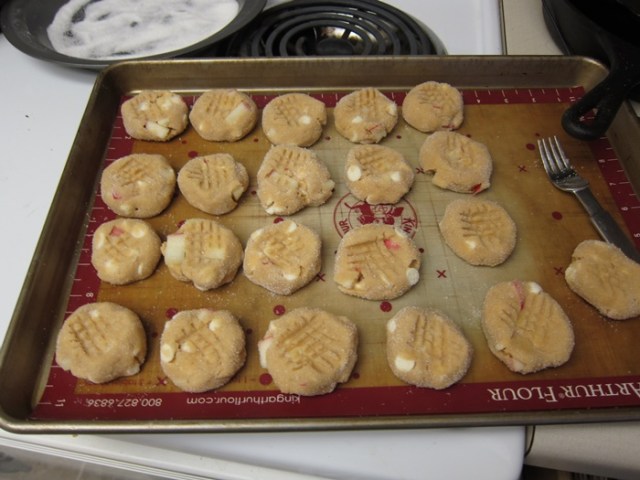 Bake 10-12 minutes, then cool on the pan 15 minutes before transferring to a rack to finish cooling, or a serving plate. I have just been cooking these up 2-3 at a time in the toaster oven, keeping the rest in the freezer, so I’ve been eating them red hot as soon as I can pick up a bit. Deeelicious.
 Ingredients:
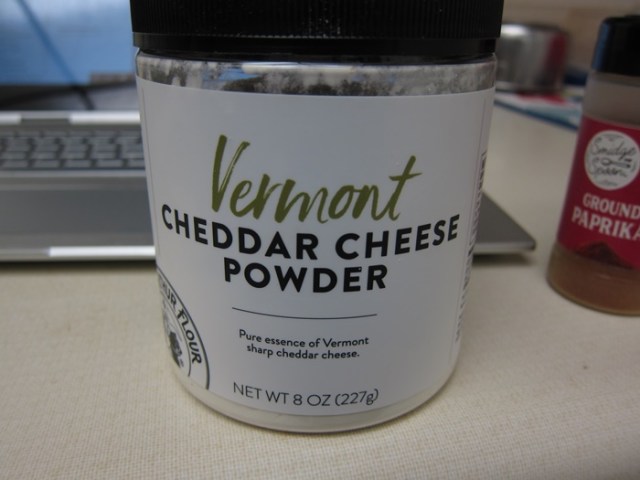 The way the recipe was originally written uses a skillet, steamer, and food processor. Nuts to all those dishes, we’re going to get it all done in 1!
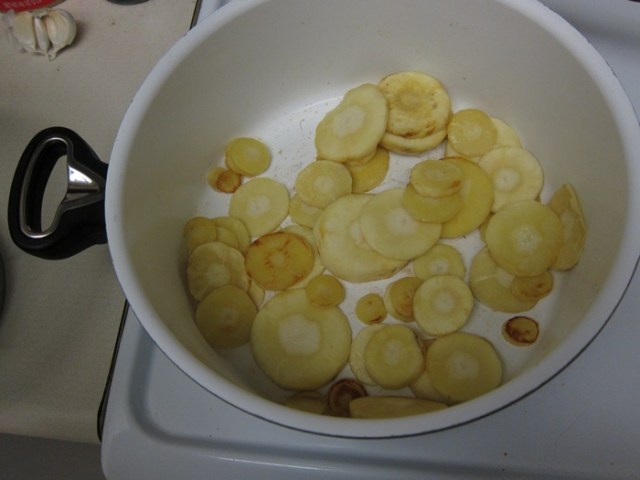 Transfer the cooked veggies into the largest strainer you have and add an inch or so of water to the pot. Bring to a boil, then place the strainer over the pot, and place the lid on top, to create a steamer.
 Steam until soft – the slices should “slip between your fingers as if oiled.”
 Turn off the heat, pour out the water, and put the veggies back in the pot. Add the evaporated milk and blend with an immersion blender until smooth.
 Add seasonings as desired.
 With the cheese powder, this made enough of a cheese sauce to coat an entire 1 pound box of pasta in a quite delicious mac and cheese, but would also make a nice cheese sauce for an au gratin.
 There’s tons of room to experiment, so give it a try!
 Ingredients:
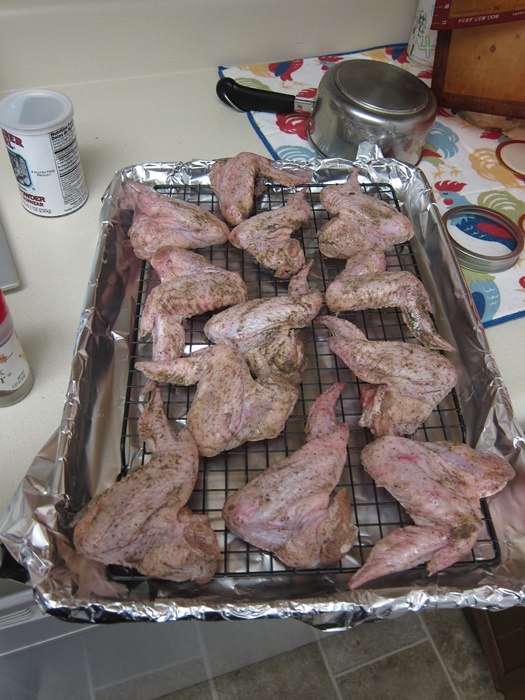 Cook for 40 minutes, then turn the heat up to 425 and cook for an additional 40 minutes, until golden brown and crisp.
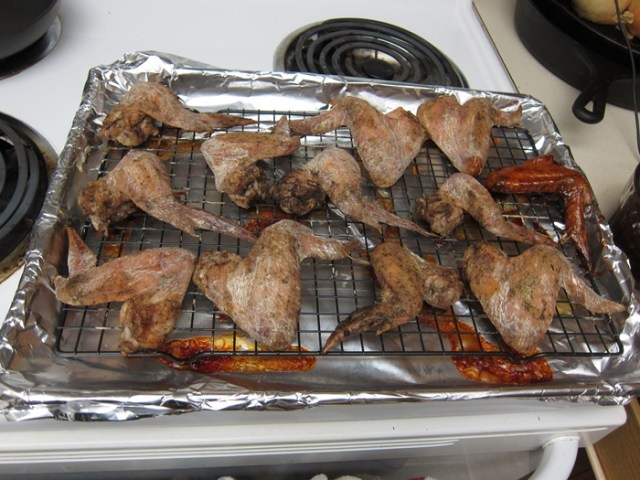 While the wings cook, combine all the sauce ingredients in a medium saucepan over medium-high heat.
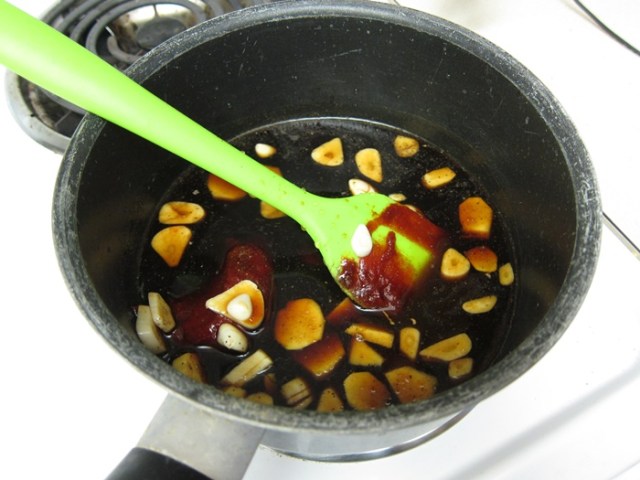 Once simmering, reduce the heat to maintain a simmer, and cook, stirring occasionally, until slightly thickened, 10-15 minutes. Strain, discarding the solids.
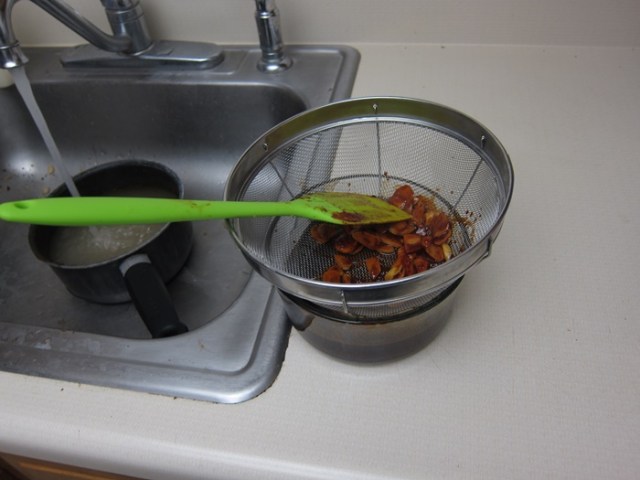 Pour into two containers, freezing one for a later batch of wings.
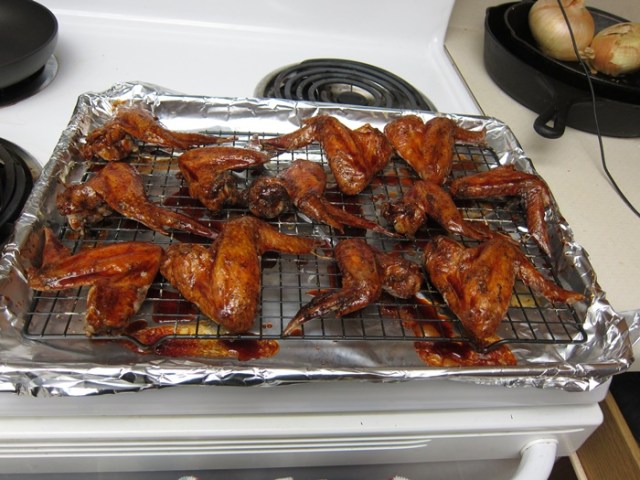
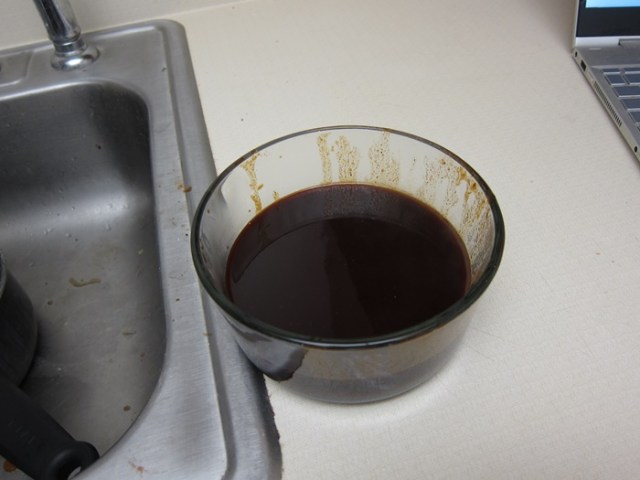 When the wings come out of the oven, brush the top side with the sauce. Wait 5 minutes for the sauce to set, then brush the wings again, all over this time, and serve.
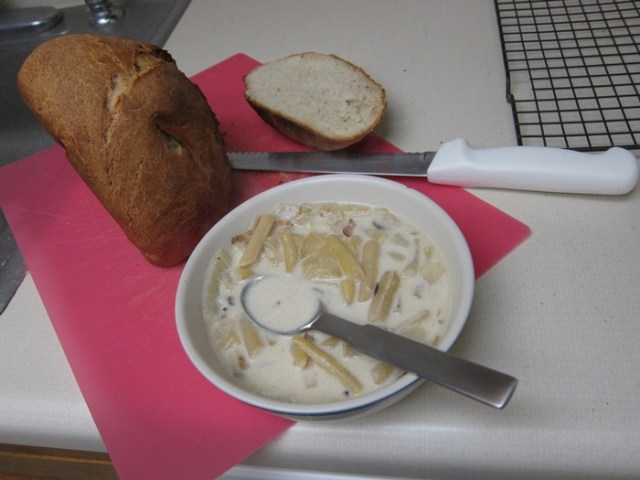 Ingredients:
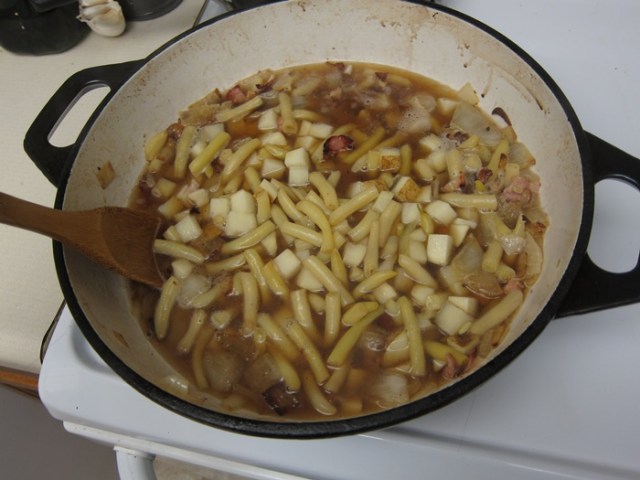
 Add the water, beans, salt, and pepper to the dish. While the water heats, dice the potato and add that as well, cooking until the potato is tender.
 In a small dish, combine the flour and enough of the milk to make a paste.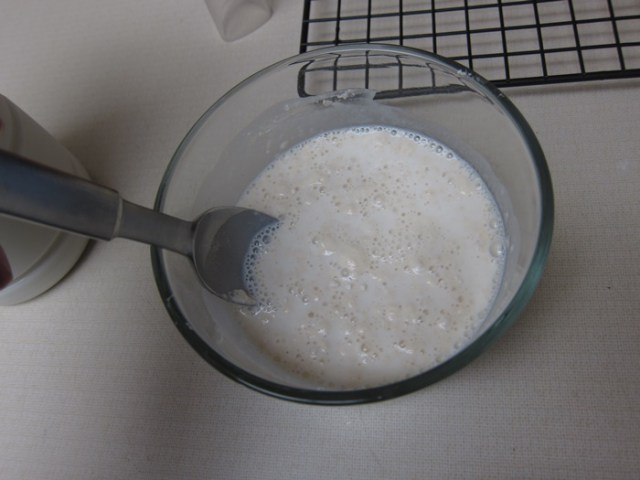
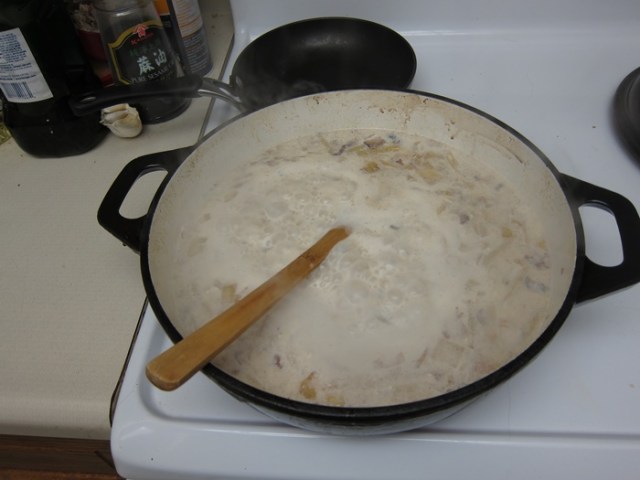 Turn off the heat and add the butter, stirring until the butter has melted in, then serve.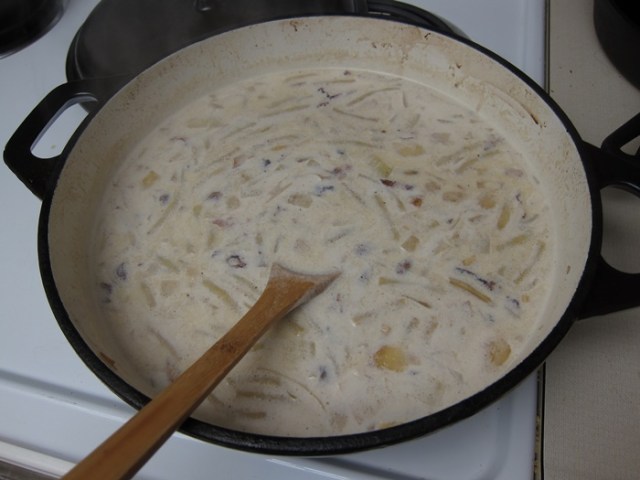
 Ingredients:
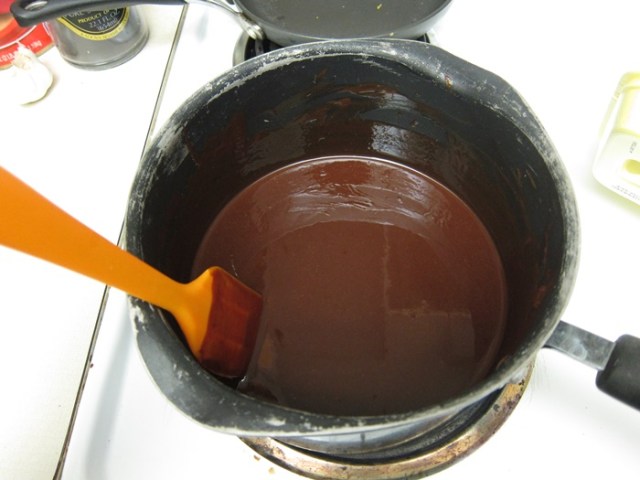 Whisk in the sugar, followed by the eggs and vanilla.
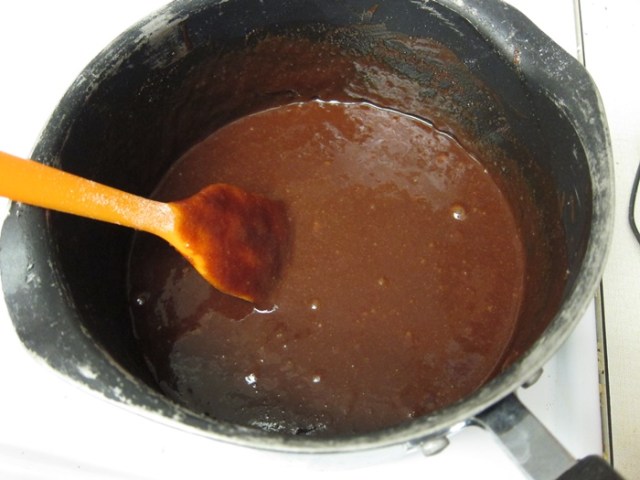 Stir in the cocoa powder, flour, and salt, followed by 1 cup of chocolate chips.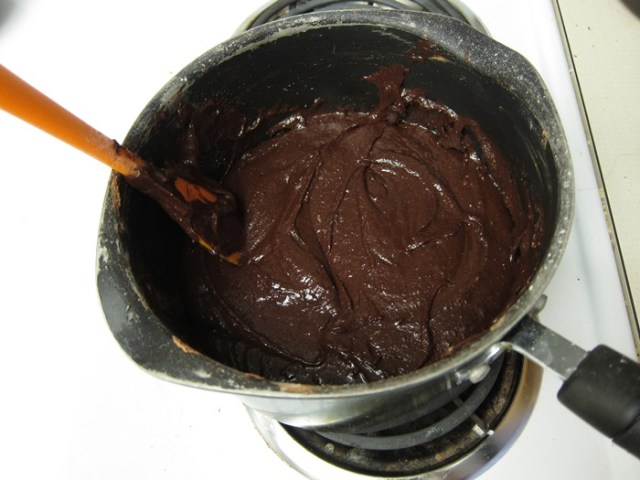
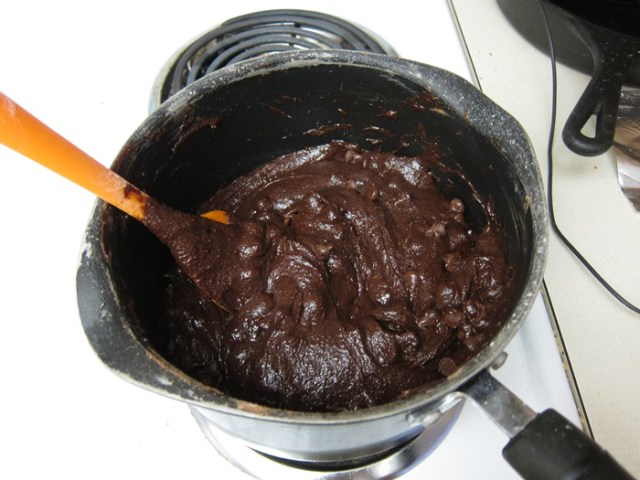 Spread in the prepared pan, and then bake 30-35 minutes.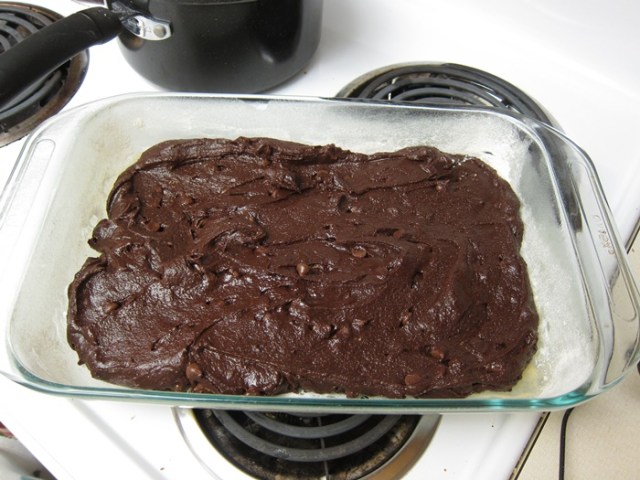
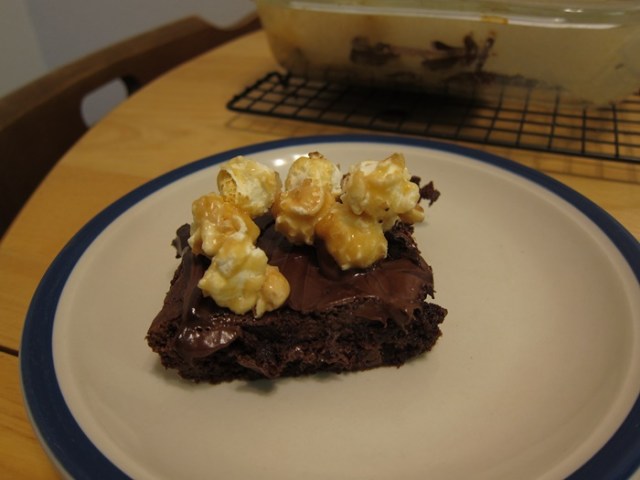
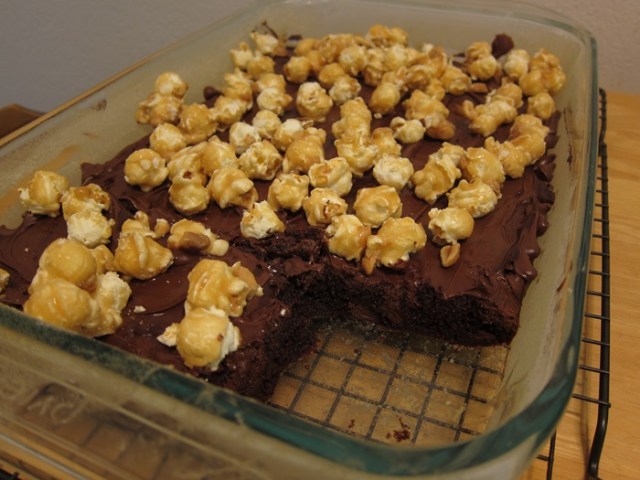
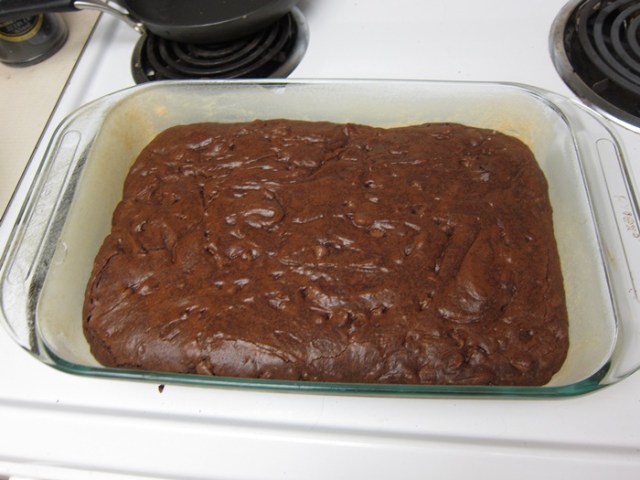 When done, turn off your oven. Sprinkle the remaining chocolate chips evenly over the top of the cooked brownies, and return to the still-warm oven for 1 minutes. Remove from the oven, and use a spatula to spread the chocolate evenly over the brownies, then quickly sprinkle the popcorn (whatever you didn’t manage to eat in that 1 minute) over the brownies.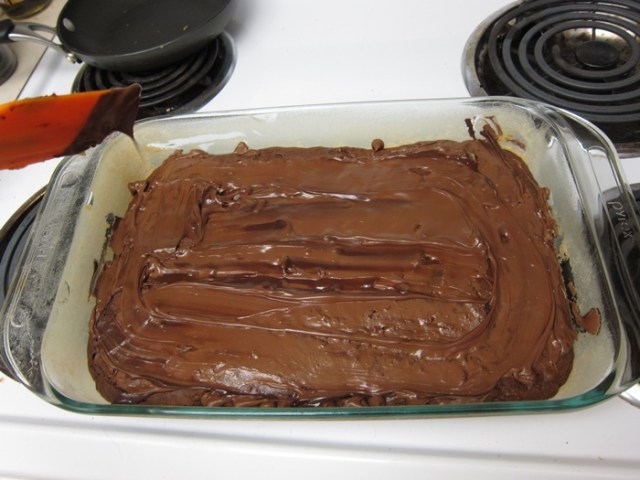
 Let cool completely in the pan, then enjoy!