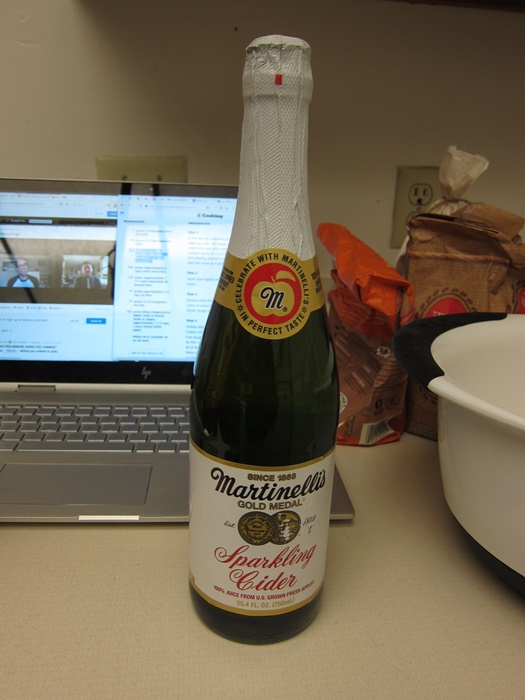
A good way to use up some of the random flours in the pantry, plus an excuse to crack a bottle of sparkling cider, discover it doesn’t have the little plastic lid for re-sealing, and chug half you don’t need for the bread while standing in your kitchen. This bread has a good crisp crust, and the inside is light but sturdy enough to stand up to both slicing and being spread with brie. The cider provides a sort of sharpness to the dough, and the apples, even though you use tart ones, provide some sweetness.
 Due to the various rising times, during normal life this bread is probably best started on a Friday or Saturday evening and finished over a leisurely weekend morning, but during lockdown life…does it even really matter?
Ingredients:
- 2 teaspoons active dry yeast
- 1/4 cup lukewarm water
- 1 1/2 cups sparkling cider (such as Martinelli’s), at room temperature
- 2 cups whole wheat flour (I have white whole wheat, so it’s ok if your dough looks a bit darker colored than mine)
- 1 1/3 cups unbleached all-purpose flour, plus more for dusting
- 2/3 cup rye flour
- 1 3/4 teaspoons sea salt
- 1 1/4 cups finely chopped green apples, about 1 large Granny Smith apple
 In a large bowl, stir the yeast into the warm water and let sit 5 minutes.
 Stir in the cider.
 Add all three flours and the sea salt, and stir together until it forms a shaggy dough.
 Turn out onto a clean surface and knead until it forms a smooth dough.
 Grease your bowl, then put the dough in the bowl, rotating to cover lightly with oil. Cover the bowl with plastic wrap and refrigerate 8 hours or overnight.
 Remove the bowl from the fridge, placing it in a warm spot, such as the oven with just the light on, until room temperature, about 2 hours.
 Gently deflate the dough, then turn out onto a lightly floured surface. Flour your hands, then flatten the dough. Sprinkle a handful of apples over the dough, fold the dough over the apples, flatten again, then repeat until all the apples have been worked into the dough. Shape the dough into a ball.

Never cut directly on a silpat or you’ll damage the heat-proof coating!
 Wash, dry, and grease your bowl, then place the dough ball back in, again rolling to cover lightly in oil, and finishing with the smooth/nice side of the dough ball up. Cover the bowl with a damp towel, then place a dry towel on top. I used just a paper towel for the wet one, it was fine. Return the bowl to your warm place and let rise until the dough is doubled, and a slight indentation remains in the dough if you press it, 2-3 hours.
 Deflate the dough and turn back out to the lightly floured surface. Dough may be moist because of the apples. Flour either a banneton (special bread shaping basket), or a bowl lined with a kitchen towel. Shape the dough into a tight ball and place, rounded-side-down, into the banneton/bowl.
 Cover again with a damp towel, and let rise until doubled, 1 – 1 1/2 hours.
 During the final rise time, preheat oven to 450 degrees, heating a baking stone on the middle rack if you have one. Fill a clean spray bottle with water. Once the dough is ready, remove the baking stone. Dust the baking stone, or a baking sheet, with cornmeal to prevent sticking, and turn the dough out of its banneton/bowl onto it. Cut two 1/2″ deep slashes across the dough with a damp serrated knife.
 Place the baking stone/sheet in the oven and quickly spray a handful of squirts of water into the oven. Bake 3 minutes, then crack the door just enough to quickly spray a bit more water. Bake an additional 15 minutes, then reduce the oven temperature to 400 and bake another 20-25 minutes. When the bread is a deep brown and sounds hollow when tapped on the bottom, it’s fully baked.
 Cool fully on a wire rack before slicing.
If you’re newish to bread baking, a few things to know are that both using the baking stone (also called a pizza stone) and adding steam (via your squirt bottle) during baking help produce a crusty bread. Every time you open the oven door, the temperature goes down, so you don’t want to do it just for the heck of things, or because of curiosity. If bread is sliced while it’s still hot, or even warm, lots of the moisture in it escapes as steam, leading to a less pleasant texture once cooled, so if you don’t have enough people around to eat your entire loaf while still lot, it’s better to let it cool entirely before slicing it at all. You can always warm a slice back up in the toaster later! Finally, slashing the surface of the bread just prior to baking means that when the bread expands in the oven, which it will, you’ve already given it ‘fault lines’ to grow open, rather than just having the top split multiple places in squiggly lines as the pressure builds.
Country Bread with Apples
Adapted from NYT Cooking.
- 2 teaspoons active dry yeast
- 1/4 cup lukewarm water
- 1 1/2 cups sparkling cider (such as Martinelli’s), at room temperature
- 2 cups whole wheat flour
- 1 1/3 cups unbleached all-purpose flour, plus more for dusting
- 2/3 cup rye flour
- 1 3/4 teaspoons sea salt
- 1 1/4 cups finely chopped green apples, about 1 large Granny Smith apple
In a large bowl, stir the yeast into the warm water and let sit 5 minutes. Add the cider, then all three flours and the sea salt. Stir together until it forms a shaggy dough, then turn out onto a clean surface and knead until it forms a smooth dough. Grease your bowl, then put the dough in the bowl, rotating to cover lightly with oil. Cover the bowl with plastic wrap and refrigerate 8 hours or overnight.
Remove the bowl from the fridge, placing it in a warm spot, such as the oven with just the light on, until room temperature, about 2 hours. Gently deflate the dough, then turn out onto a lightly floured surface. Flour your hands, then flatten the dough. Sprinkle a handful of apples over the dough, fold the dough over the apples, flatten again, then repeat until all the apples have been worked into the dough. Shape the dough into a ball.
Wash, dry, and grease your bowl, then place the dough ball back in, again rolling to cover lightly in oil, and finishing with the smooth/nice side of the dough ball up. Cover the bowl with a damp towel, then place a dry towel on top. I used just a paper towel for the wet one, it was fine. Return the bowl to your warm place and let rise until the dough is doubled, and a slight indentation remains in the dough if you press it, 2-3 hours.
Deflate the dough and turn back out to the lightly floured surface. Dough may be moist because of the apples. Flour either a banneton, or a bowl lined with a kitchen towel. Shape the dough into a tight ball and place, rounded-side-down, into the banneton/bowl. Cover again with a damp towel, and let rise until doubled, 1 – 1 1/2 hours.
During the final rise time, preheat oven to 450 degrees, heating a baking stone on the middle rack if you have one. Fill a clean spray bottle with water. Once the dough is ready, remove the baking stone. Dust the baking stone, or a baking sheet, with cornmeal to prevent sticking, and turn the dough out of its banneton/bowl onto it. Cut two 1/2″ deep slashes across the dough with a damp serrated knife. Place the baking stone/sheet in the oven and quickly spray a handful of squirts of water into the oven. Bake 3 minutes, then crack the door just enough to quickly spray a bit more water. Bake an additional 15 minutes, then reduce the oven temperature to 400 and bake another 20-25 minutes. When the bread is a deep brown and sounds hollow when tapped on the bottom, it’s fully baked.

 Ingredients:
 Remove from the heat and stir in the vanilla and melted chocolate or banana, if desired.

 Once the marshmallow mixture has begun to set, whip the cream until it forms stiff peaks.
 Gently fold the marshmallow mixture into the whipped cream.
 Cover, freeze several hours, and enjoy!

 Ingredients:
 Add the eggs 1 at a time, beating after each addition.
 Add the flour, baking soda, salt, bananas, sour cream, and vanilla and beat until evenly combined.
 Stir in the chocolate chips by hand.
 Transfer the batter to the prepared pan and bake 45-50 minutes, until the cake passes the toothpick test. Let cool, at least partially, before slicing and enjoying. Let cool completely before covering/wrapping to store at room temperature.

 Ingredients:
 To prepare the dough, combine the flour, sugar, and salt in a large bowl. Cut in the butter with a pastry blender or two knives until the size of small peas.
 In a measuring cup/small dish, sprinkle the yeast on warm water, stir, and let sit 5 minutes. Pour the yeast mixture into the flour mixture, then add the egg yolks and scalded milk. Stir until it starts to hold together, then knead until smooth. Place the dough in a greased bowl, turning to grease all over, cover, and refrigerate overnight.
 The next day, take the dough out of the fridge and set aside. Melt the butter for the caramel coating in a microwave safe bowl or small saucepan, then stir in the corn syrup.
 Pour half into each of two 15×10″ jelly roll pans, then tilt the pans to cover completely with the butter mixture.
 Sprinkle the brown sugar and nuts over the butter mixture evenly.
 In a small bowl, stir together the brown sugar and cinnamon of the filling.
 Divide the dough into 3 equal parts.
 One at a time, roll the thirds into a 10×15″ rectangle. Brush the center third lengthwise with room temperature butter, then sprinkle 1/6 of the filling on the buttered center third.

 Cut crosswise into 1″ strips, then transfer each strip to one of the prepared pans, holding the ends of each strip in both hands and twisting the ends in opposite directions. Press the ends firmly into the pan, to hold in the twisted shape. Place strips about 1″ apart. Allow to rise for 30 minutes in a warm place.
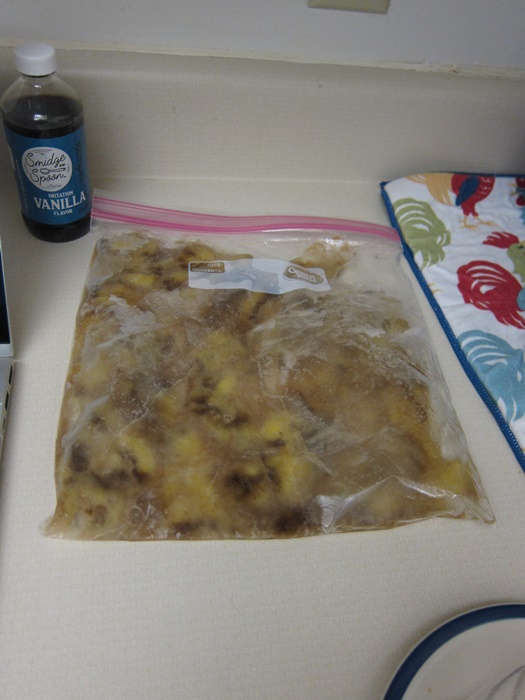
 Because I’ll be eating these locked in alone, I put one pan into the freezer after filling the pan. Once frozen, I wrapped the whole mess up pretty thoroughly with plastic wrap, and will eventually let thaw/rise for an hour before baking.


 While the butter cools, whisk together the flour, baking powder, cinnamon, and salt in a medium bowl. Set aside.
 In a large bowl, whisk the browned butter and the granulated and brown sugars together.
 Whisk in the eggs and vanilla until evenly mixed.
 Add the dry ingredients and stir until just incorporated, then cover and refrigerate at least 1 hour.
 Preheat the oven to 350 degrees and line baking sheets with silpats or parchment.
 Place about 2 inches apart on the lined sheets, then bake 10-12 minutes for soft cookies, or 18-20 minutes for crunchy cookies. Cool on the pan for a few minutes, then transfer to a wire rack to cool completely.


 Melt the remaining 2 tablespoons of butter in the dutch oven over medium heat. Add the leeks and couscous and cook, stirring, until the leeks are softened and the couscous is lightly toasted.
 Stir in the broth and 1 teaspoon of salt, then bring to a simmer. Reduce the heat to medium-low, cover, and cook 12 minutes, or until couscous is tender, stirring occasionally.
 Remove from the heat, then stir in the spinach, cheese, peas, and cream.
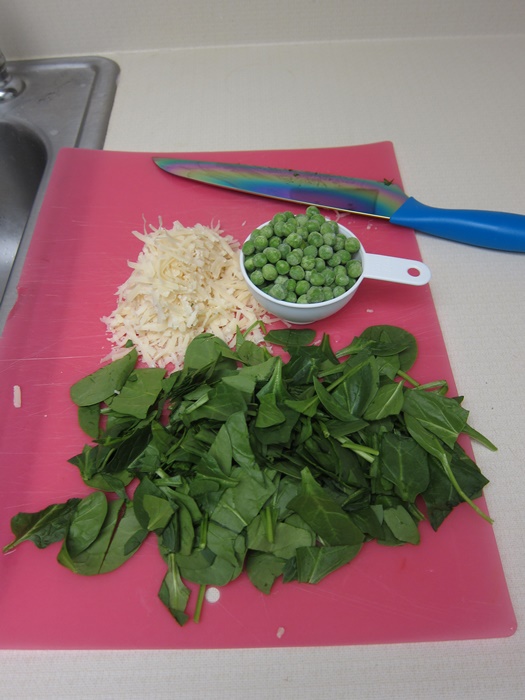 Let sit until the peas are warmed and the cheese is melted in, a further 5 minutes, then serve.
 Ingredients:
 Sift together the flour, baking soda, baking powder, and salt into a medium bowl, then add to the creamed mixture and beat on low until just combined.
 Stir in the chocolate by hand.
 Line a large baking sheet with parchment/a silpat. Using a small cookie dough scoop, scoop out the dough into balls and place them on the sheet. Freeze at least an hour, until firm, and then either wrap the whole pan with plastic wrap, or move the dough balls to a plastic bag. Freeze for at least an additional 11 hours, up to 6 months – the (minimum) 12 hours freezing with allow the gluten in the flour to relax, giving a more tender cookie.
 When ready to bake, preheat the oven to 325 degrees. Space the dough balls at least 3″ apart on a lined baking sheet and cook until just golden brown on the edges, 13-16 minutes. Sprinkle with a bit of large, flaky salt, then let cool 20 minutes. Without the cooling time, the cookies fall apart pretty easily, but…they still taste the same, so who really cares??

 Ingredients:
 Cut the remains of the garlic head, and the entire second one, in two, cutting the top off the bottom, rather than a side from the other side.
 Place two of the halves into the cavity of the chicken, then tie the legs together with kitchen twine. If you don’t have twine, you can poke holes in the skin and finagle the legs through to hold them in place – tried that last week, and it went alright.
 Brush half the oil mixture over the chicken, covering it all the way around. Normally when brushing a sauce onto raw meat, you’d want to be careful not to put the meat-contaminated brush back into the remaining sauce, but in this case all the sauce is going to be cooked, so you don’t have to worry about it.
 In a 12″ cast iron skillet, place the two oil-covered garlic halves cut-side down in the center, then place the chicken on top of them. Arrange the potatoes around the outside of the chicken – not under. I’ve done this in a dutch oven as well, and that also worked!
 Roast the dish for 2 1/2 – 3 hours (with the bigger chicken, probably 3 hours), removing from the oven to rotate the potatoes once or twice.


 Cut the lime in half and squeeze the juice from one half into the potato mixture, as well as the honey. Stir to combine, then taste and add additional salt if needed. Slice the scallions and sprinkle over the potatoes.
 Carve the chicken, then arrange the pieces of the potatoes to serve. People can squeeze the remaining lime half over their dishes as desired, and squeeze some of the roasted garlic cloves out of the skins to eat as desired.
 Ingredients:
 Add the eggs and beat in, then add the marmalade and zest and beat to combine.
 Add half the flour mixture and beat until well mixed. Beat in the water, and then the remaining flour.
 Add the nuts and stir together. (Or not!) Pour into the pan and spread evenly.
 Bake 45-50 minutes, until it browned on the outside and the cake passes the toothpick test. Set aside to cool.
 To make the orange cream, combine the sugar, salt, flour, and zest in a saucepan and whisk together.
 Add the water and orange juice and stir in, being sure to stir up any flour pockets at the edges, then turn the heat on to medium.
 Cook, stirring constantly, until warm. Stir in the butter, then the egg yolks. Continue to cook and stir until the mixture thickens to a custard texture, with a big bubble or two coming up from the bottom.
 Remove from the heat and beat in the lemon juice. Continue stirring until it’s stopped steaming, then let continue to cool about another half an hour. Spread on the cake, then cool in the fridge until chilled.


 Cut the strawberries into small chunks, continuing to collect the juice at it leaks off, then set the chopped berries aside. Add the gelatin to the collected berry juice in a small microwaveable dish, stir briefly, and let stand until softened, about 5 minutes. Microwave 20-30 seconds, until dissolved. Set aside briefly to cool – not long enough that the mixture begins to congeal.
 Beat the heavy cream until soft peaks form, then add the sugar. Continue beating until stiff peaks form, then fold in the strawberry gelatin and the chopped strawberries.
 Cut the angel food cake into 2 layers. Spread the strawberry whipped cream over the bottom layer, add the top layer, and cover completely with the remaining whipped cream. Refrigerate at least 2 hours before serving.
