
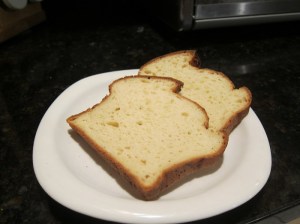
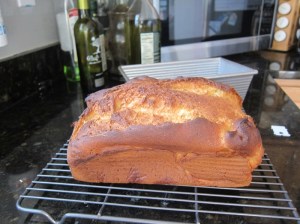
This is probably the best-textured gf bread I’ve had! It’s got a firm crust, but is super lovely and soft inside. If you have to eat gluten free anyway, I definitely recommend trying this one out for some fantastic toast or sandwiches!
 Ingredients:
- 1/4 cup plus 1 tablespoon room temperature water
- 1 cup buttermilk, room temperature
- 3 large eggs, lightly beaten, room temperature
- 1/4 cup canola oil
- 2 cup brown rice flour
- 1/2 cup potato starch
- 1/2 cup tapioca flour
- 3 1/2 teaspoons xanthan gum
- 1 1/2 teaspoons salt
- 1/4 cup sugar
- 1 package (2 1/4 teaspoons) active dry yeast
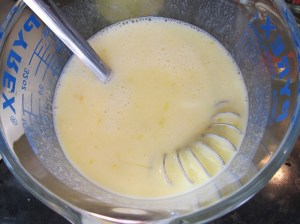
Grease a 9×5″ loaf pan and set aside. Preheat oven to 375 degrees. Combine the water, buttermilk, eggs, and canola oil in a large bowl.
 In another bowl, combine the remaining ingredients and mix thoroughly. (You can also combine the dry ingredients in a large ziplock and shake well to combine if that sounds more fun.)
Gradually add the dry ingredients to the wet ingredients while beating with a mixer on low speed.
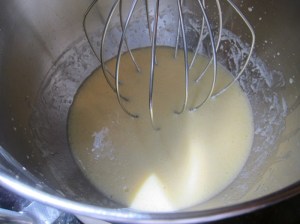
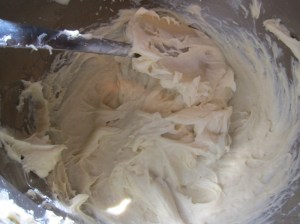 Continue to beat about 10 minutes, then transfer the batter into the greased bread pan, smoothing the top of the batter to be roughly even.
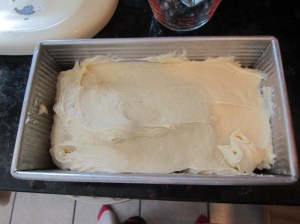 Cover loosely and let rise in a warm place approximately 1 hour.
Bake 60 minutes, or until browned on top and the loaf passes the toothpick test.
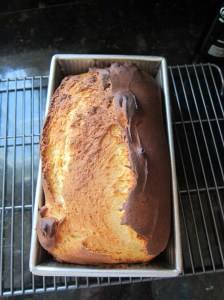 Cool in the pan 10 minutes, then turn out to cool completely on a wire rack.
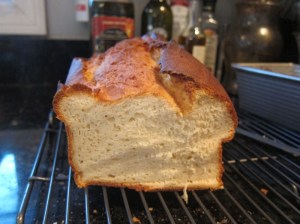
Gluten Free Buttermilk Bread
From Red Star Yeast (bread machine directions available at link).
- 1/4 cup plus 1 tablespoon room temperature water
- 1 cup buttermilk, room temperature
- 3 large eggs, lightly beaten, room temperature
- 1/4 cup canola oil
- 2 cup brown rice flour
- 1/2 cup potato starch
- 1/2 cup tapioca flour
- 3 1/2 teaspoons xanthan gum
- 1 1/2 teaspoons salt
- 1/4 cup sugar
- 1 package (2 1/4 teaspoons) active dry yeast
Grease a 9×5″ loaf pan and set aside. Preheat oven to 375 degrees. Combine the water, buttermilk, eggs, and canola oil in a large bowl. In another bowl, combine the remaining ingredients and mix thoroughly.
Gradually add the dry ingredients to the wet ingredients while beating with a mixer on low speed. Continue to beat about 10 minutes, then transfer the batter into the greased bread pan, smoothing the top of the batter to be roughly even. Cover loosely and let rise in a warm place approximately 1 hour.
Bake 60 minutes, or until browned on top and the loaf passes the toothpick test. Cool in the pan 10 minutes, then turn out to cool completely on a wire rack.
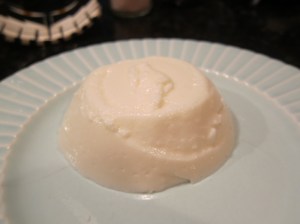 Ingredients:
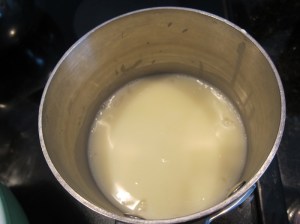
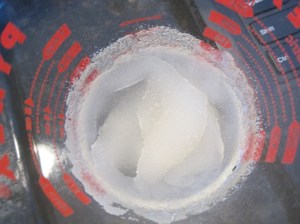 In a small saucepan, combine 1/2 cup of the cream and the sugar. Cook over medium heat, stirring frequently, until the sugar completely dissolves, then remove from the heat and whisk in the gelatin mixture.
 In a medium bowl, combine the buttermilk, vanilla, and remaining 1/2 cup cream. Add the warm cream mixture and stir to combine.
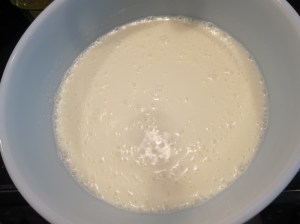 Divide the mixture evenly among the greased ramekins, then cover and refrigerate at least 3 hours.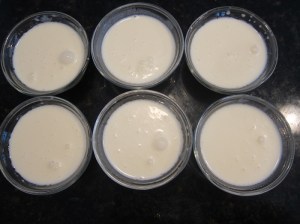
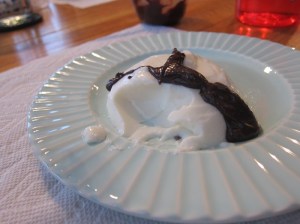
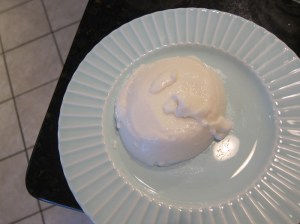 Accompany with chocolate, berries, or anything else that strikes your fancy.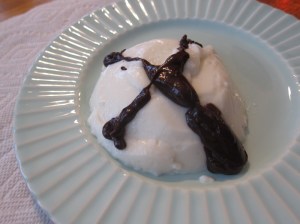
 Ingredients:
 In a large bowl, whisk together the 1 1/4 cups flour, sugar, baking powder, salt, and baking soda.
 In a small bowl, combine the eggs, buttermilk, melted butter, and vanilla.
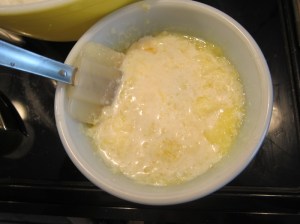 Stir the wet ingredients into the bowl of dry ingredients.
 Stir until the mixture is well combined and light yellow, then fold in the caramels and chocolate chips.
 Spoon into the lined pans, filling each cupcake paper 2/3 full.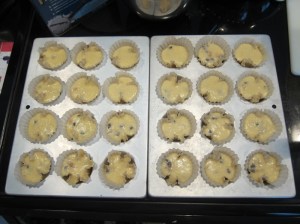
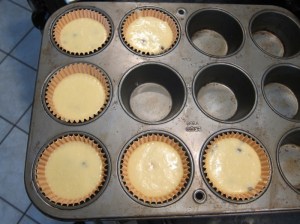 Bake 12-15 minutes, until the cupcakes pass the toothpick test. Cool on a rack before icing.
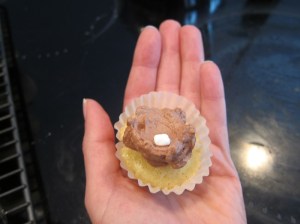
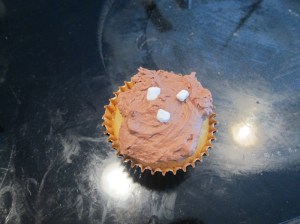
 Frost the cooled cupcakes with the beaten chocolate mixture, and enjoy.
 This is another one where one real easy change (using gluten-free soy sauce) makes the whole meal easily gf!
 Continue to cook 3-4 minutes until the coleslaw mix has begun to soften, then remove from the heat and sprinkle on the green onions and sesame oil.
 Serve, in a bowl and/or with rice if you like!
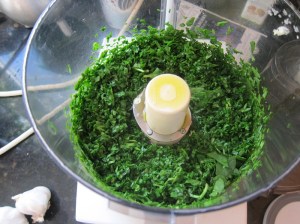
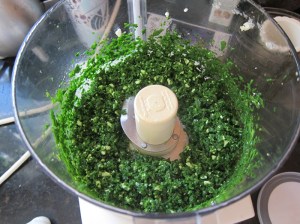 In a large bowl, combine the chicken, egg, worcestershire sauce, salt, pepper, 1/3 cup of panko, and the spinach mixture, stirring with your hands until just combined. If the mixture is too wet to shape into balls, stir in a bit more panko. Mix another 2 ounces of feta.
 Bake 20-25 minutes, until cooked through.

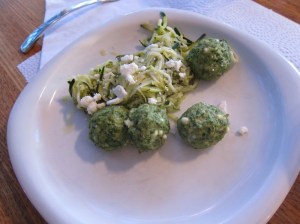
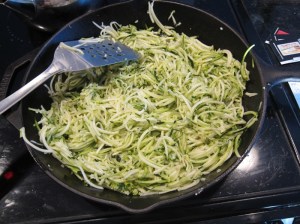 Serve the meatballs with zoodles, top with extra feta and/or oregano, feel healthy but not like you are giving up anything to be so.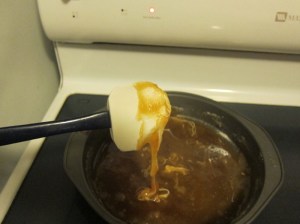
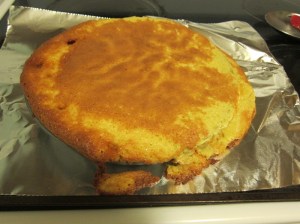
 You’re going to want a 2″ tall 9″ cake pan for this – ideally a springform. I didn’t 100% trust mine not to leak and wrapped the bottom in foil, and this turned out to have been a good move.
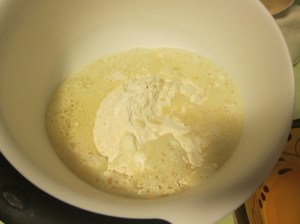
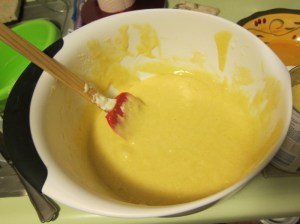
 Gently transfer the egg whites into the bowl with the batter mixture, and, by hand, fold the yolks into the batter until evenly combined.
 Put the remaining cup of sugar in the cake pan and place on the stove over medium-low heat. Let cook until the sugar melts and forms a golden caramel. This will feel like it’s taking FOREVER, but once it finally starts it goes pretty fast, and you need to keep an eye on it because burnt sugar tastes horrendous.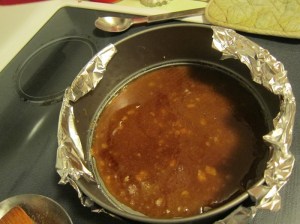
 Spoon the batter over the pineapple.
 Bake, checking on it at about 40 minutes and putting a piece of foil over the top if it’s getting too browned while still being very uncooked – my cake was still liquid in the middle at this point. Remove from the oven when the cake passes the toothpick test, around an hour.
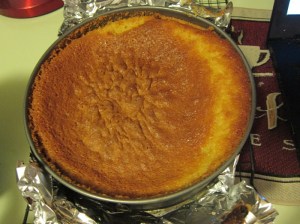 Let cool in the pan about 15 minutes, until it has started to separate from the edges a bit, then run a knife or thin spatula around the inside of the pan to separate the cake. Remove the edges of the pan, if using a springform, and invert onto a platter to serve.
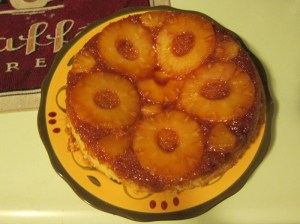 It’s not perfect, but everyone thought this was a really fantastic tasting cake! And remember: hot, hot water is your friend for cleaning the pan afterwards!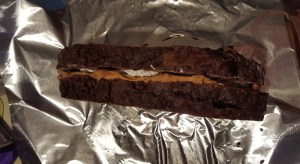
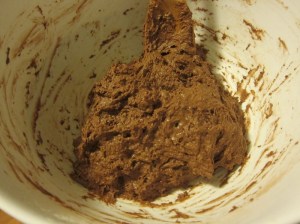 Cover and let rest 12-18 hours (if you do this while dinner is cooking some evening, you can get the baking knocked out before work the next day – at least if you drag out your mornings like I do!)
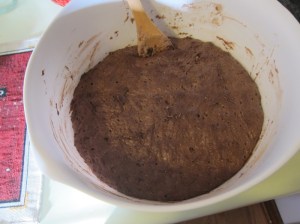 In the morning, place a cast iron dutch oven in your oven and preheat to 350 degrees, preheating at least 40 minutes, even if your oven beeps before that, so that the dutch oven gets sufficiently hot. Towards the end of that time, chop your chocolate and stir it into the dough, and place a piece of parchment paper on your counter.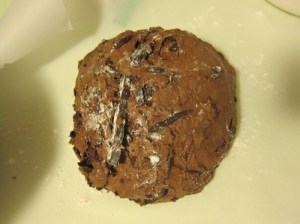
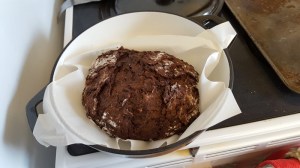
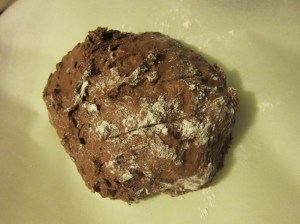 Remove the dutch oven from the oven and uncover. Transfer the parchment paper with the dough on it into the dutch oven, recover, and return to the oven for 25 minutes.
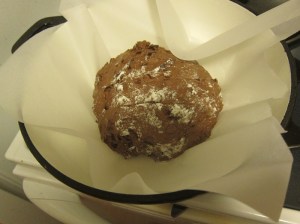 At that time, uncover and bake an additional approximately 10 minutes. If the bread sounds hollow when tapped on the bottom, it’s done baking. Cool on a wire rack before slicing.

 Ingredients:
 In a large bowl, beat together the butter and brown sugar until light and smooth.
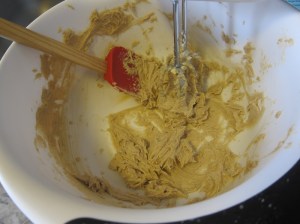 Add the dry goods mixture in 3 additions, alternating with 2 additions of the liquid mixture. It looks kind of gross after both times you add liquid, but goes back to a decent looking batter with the addition of more dry goods.
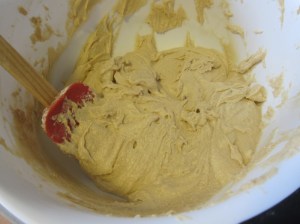 Pour the batter into the greased bundt pan and spread with a spatula to even it out.
 Bake 35-40 minutes, until golden brown at the edges, and it passes the toothpick test.
 Cool in the pan for 15 minutes, at which point the cake should have slightly separated from the edges of the pan. If you see any parts where it’s still stuck, gently pry it off with a knife or small spatula. Invert on a dish or rack and cool completely, about another hour.
 When the cake is cool, whisk together the icing ingredients.
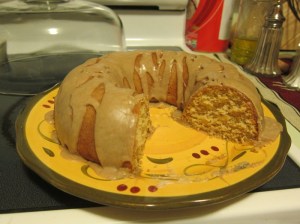
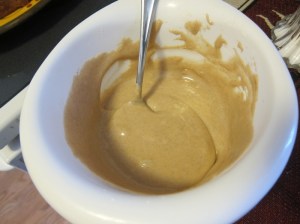 Drizzle/pour the icing over the cake. Let set for 15 minutes prior to serving.
 Ingredients:
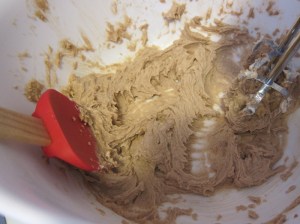 Beat in the malted milk powder, then the egg.
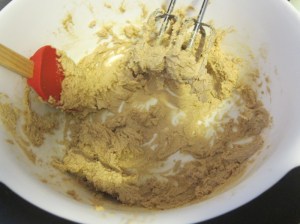 Add the flour mixture and beat on low until combined.
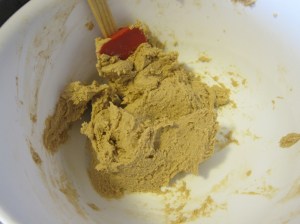 Scoop the dough by teaspoonfuls onto the lined sheets.
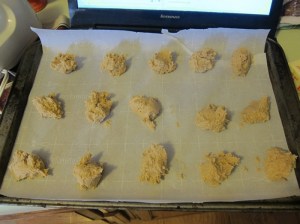 Bake 12-14 minutes, rotating from top to bottom and spinning the pans halfway around halfway through the baking time. Let cool a few minutes (3-5) on the pans, then transfer to wire racks to cool completely.
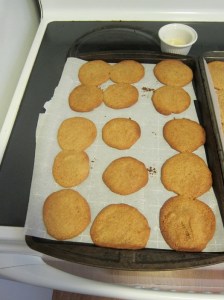 Once the cookies are cool (which doesn’t take too long), beat together all the filling ingredients until smooth.
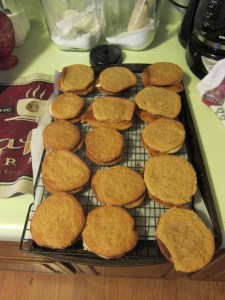
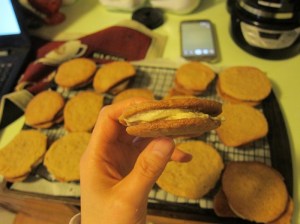
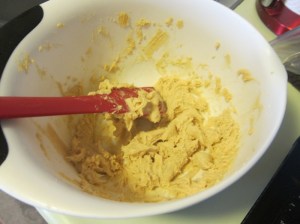 Scoop into a piping bag (or sandwich baggie that you seal and then snip a corner off of) and pipe about 2 teaspoons’ worth onto half the cookies.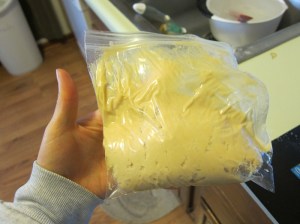
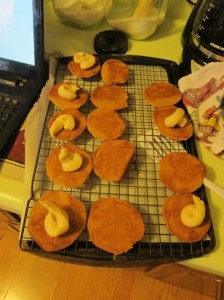 Use the remaining cookies to create sandwiches, then let rest for about an hour for the filling to firm up before serving.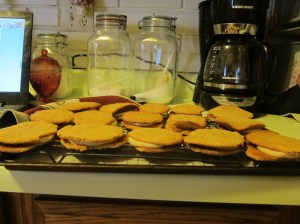
 Ingredients:
 Once everything is evenly mixed, pour it into the lined pan. Using a spatula, or your hand and another piece of wax paper/foil, press the mixture firmly to fill the bottom of the pan, creating a thin even layer.
 Cut into 12 even pieces, then freeze at least 1 hour.
 Wrap, and store in the freezer until ready to eat – they don’t need to thaw, but can be eaten straight from the freezer. If you used the non-stick foil, if you just stack the bars up, you can probably wrap them in that same foil. So thrifty!
 I have these after almost every workout these days, and I love them!


